Custom Transition Activity ( tạo hiệu ứng chuyển màn hình giống IOS)
Bài đăng này đã không được cập nhật trong 4 năm
1. Giới thiệu
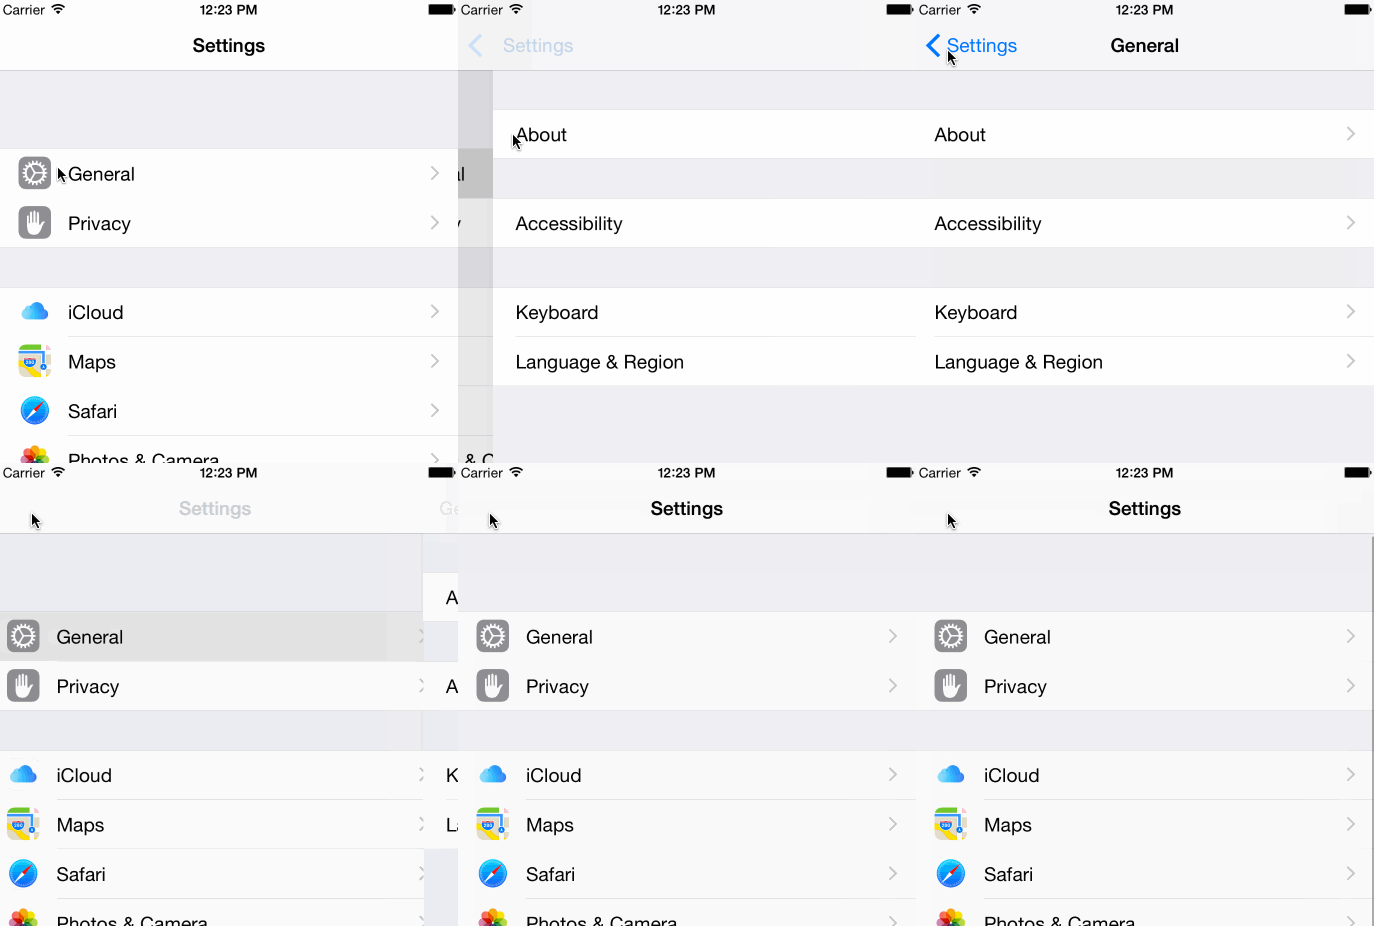
Có khi nào bạn quá nhàm chán với cách chuyển tiếp giữa các activity chưa ? Hoặc muốn việc chuyển tiếp đó giống như IOS chẳng hạn ? Bài viết này mình sẽ hướng dẫn mọi người cách "Custom Transition Activity"
2. Custom Transition Activity
- Cách dùng mình sẽ nói ở mục 3

2.1. Chuyển tiếp giữa các activity giống IOS
- Mục 2.1.1 và 2.1.2 là 2 file xml tạo hiệu ứng khi thêm 1 activity mới
- Mục 2.1.3 và 2.1.4 là 2 file xml tạo hiệu ứng khi back lại ( xóa 1 activity đi )
Chú ý :
- interpolator : định nghĩa đường cong gia tốc (ví dụ tuyến tính, giảm tốc, vv).
- duration : xác định thời gian kéo dài cuả hiệu ứng
- fromXDelta, fromYDelta, toXDelta, toYDelta vị trí bắt đầu và kết thúc
2.1.1. File slide_in_from_right.xml
Tạo file xml slide_in_from_right.xml trong thư mục anim
<?xml version="1.0" encoding="utf-8"?>
<set xmlns:android="http://schemas.android.com/apk/res/android"
     android:interpolator="@android:anim/decelerate_interpolator"
     android:shareInterpolator="true">

    <translate
        android:duration="500"
        android:fromXDelta="100%"
        android:fromYDelta="0%"
        android:toXDelta="0%"
        android:toYDelta="0%"/>
</set>
2.1.2. File slide_out_to_left.xml
Tạo file slide_out_to_left.xml trong thư mục anim trong thư mục anim
<?xml version="1.0" encoding="utf-8"?>
<set xmlns:android="http://schemas.android.com/apk/res/android"
     android:interpolator="@android:anim/decelerate_interpolator"
     android:shareInterpolator="true">

    <translate
        android:duration="500"
        android:fromXDelta="0%"
        android:fromYDelta="0%"
        android:toXDelta="-100%"
        android:toYDelta="0%"/>
</set>
2.1.3. File slide_in_from_left.xml
Tạo file slide_in_from_left.xml trong thư mục anim trong thư mục anim
<?xml version="1.0" encoding="utf-8"?>
<set xmlns:android="http://schemas.android.com/apk/res/android"
     android:interpolator="@android:anim/linear_interpolator"
     android:shareInterpolator="true">

    <translate
        android:duration="500"
        android:fromXDelta="-100%"
        android:fromYDelta="0%"
        android:toXDelta="0%"
        android:toYDelta="0%"/>
</set>
2.1.4. File slide_out_to_right.xml
Tạo file slide_out_to_right.xml trong thư mục anim trong thư mục anim
<?xml version="1.0" encoding="utf-8"?>
<set xmlns:android="http://schemas.android.com/apk/res/android"
     android:interpolator="@android:anim/linear_interpolator"
     android:shareInterpolator="true">

    <translate
        android:duration="500"
        android:fromXDelta="0%"
        android:fromYDelta="0%"
        android:toXDelta="100%"
        android:toYDelta="0%"/>
</set>
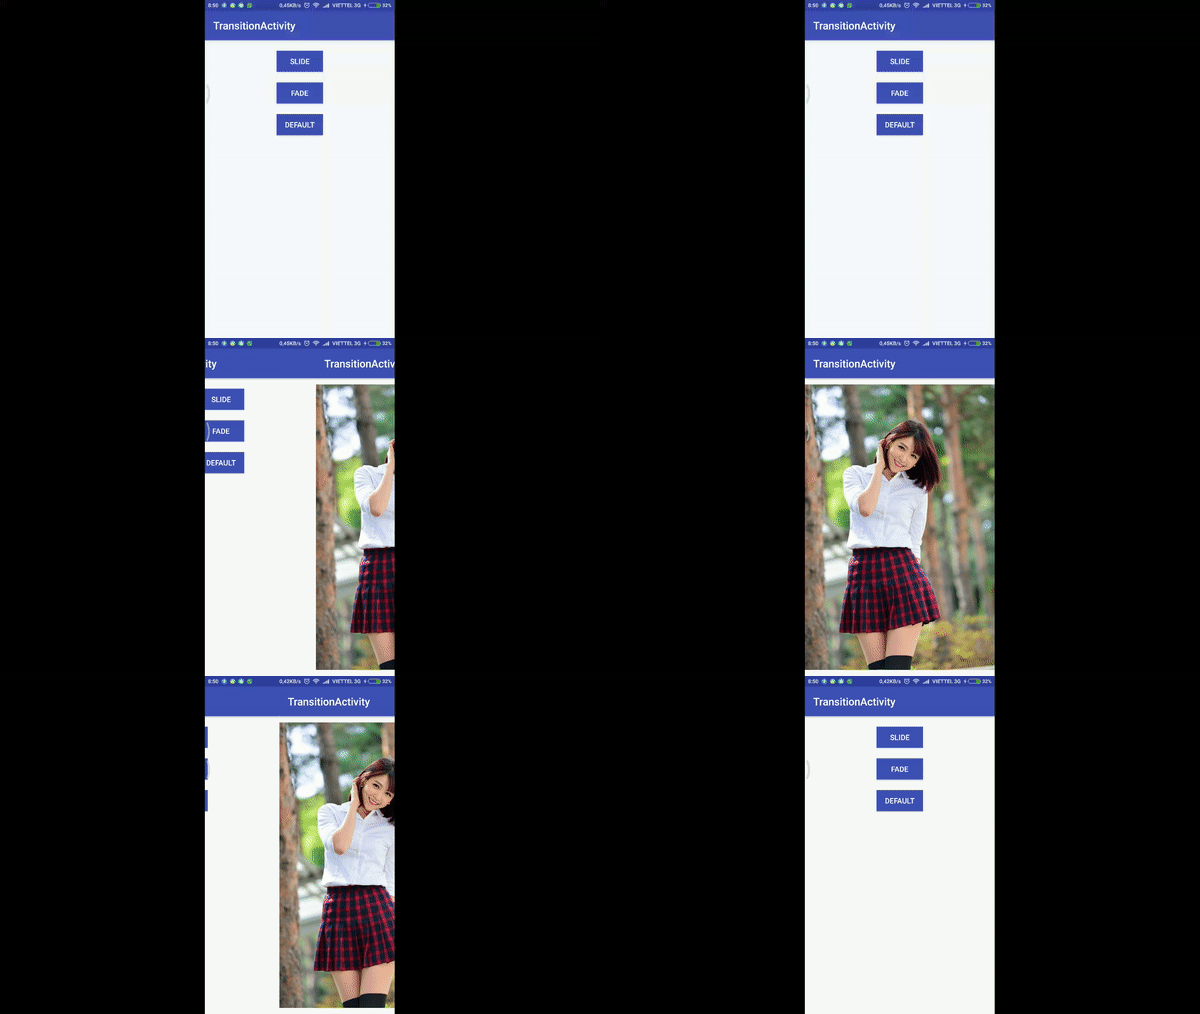
Kết quả

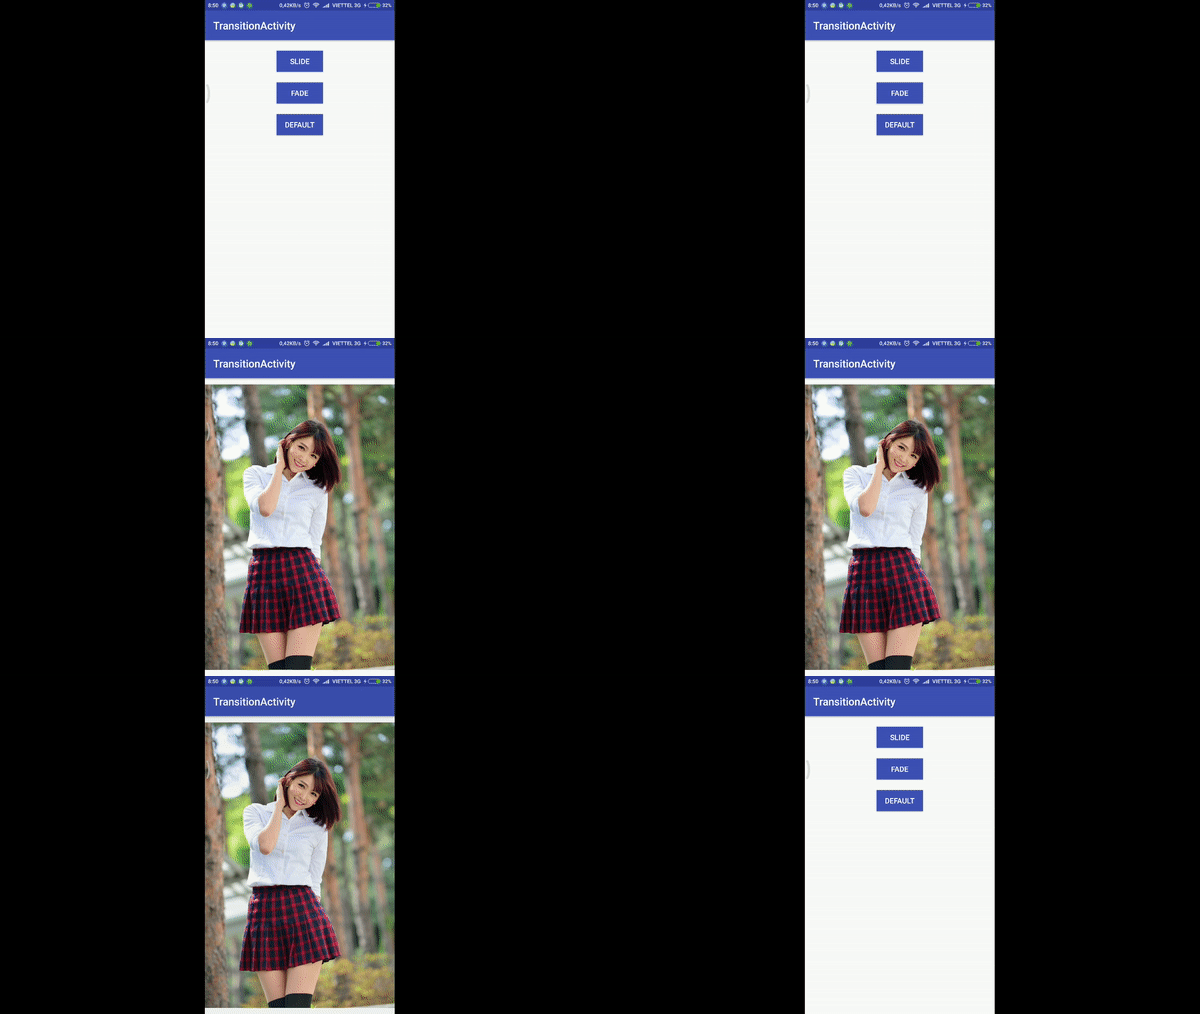
2.2. Hiệu ứng ẩn hiện
Mình xài 2 file xml có sẵn trong android là android.R.anim.fade_in và android.R.anim.fade_out
fade_in.xml
<?xml version="1.0" encoding="utf-8"?>
<alpha xmlns:android="http://schemas.android.com/apk/res/android"
        android:interpolator="@interpolator/decelerate_quad"
        android:fromAlpha="0.0" android:toAlpha="1.0"
        android:duration="@android:integer/config_longAnimTime" />
fade_out.xml
<?xml version="1.0" encoding="utf-8"?>
alpha xmlns:android="http://schemas.android.com/apk/res/android" android:interpolator="@interpolator/accelerate_quad"
    android:fromAlpha="1.0"
    android:toAlpha="0.0"
    android:duration="@android:integer/config_mediumAnimTime"
/>

3. Cách dùng
Chúng ta sẽ dùng function overridePendingTransition() để thay đổi hiệu ứng chuyển tiếp màn hình
3.1. MainActivity
Mình tạo 3 nút với 3 tùy chỉnh khác nhau
- buttonSlide : Tạo hiệu ứng giống IOS
- buttonFade : Tạo hiệu ứng ẩn hiện activity mới
- buttonDefault : Giữ nguyên hiệu ứng mặc định của điện thoại để so sánh
Chú ý : Phải để overridePendingTransition() sau startActivity() nhé
Mình cũng tạo intent để truyền type hiệu ứng chuyển tiếp màn hình để lúc back về lấy hiệu ứng tương ứng
package com.tuananh.transitionactivity;

import android.content.Intent;
import android.os.Bundle;
import android.support.v7.app.AppCompatActivity;
import android.view.View;

public class MainActivity extends AppCompatActivity implements View.OnClickListener {
    @Override
    protected void onCreate(Bundle savedInstanceState) {
        super.onCreate(savedInstanceState);
        setContentView(R.layout.activity_main);
        findViewById(R.id.button_slide).setOnClickListener(this);
        findViewById(R.id.button_fade).setOnClickListener(this);
        findViewById(R.id.button_default).setOnClickListener(this);
    }

    @Override
    public void onClick(View view) {
        Intent intent = new Intent(this, ImageActivity.class);
        switch (view.getId()) {
            case R.id.button_slide:
                intent.putExtra("type", 1);
                startActivity(intent);
                overridePendingTransition(R.anim.slide_in_from_right, R.anim.slide_out_to_left);
                break;
            case R.id.button_fade:
                intent.putExtra("type", 2);
                startActivity(intent);
                overridePendingTransition(android.R.anim.fade_in, android.R.anim.fade_out);
                break;
            default:
                startActivity(intent);
                break;
        }
    }
}
3.2. ImageActivity
Nhận intent từ MainActivity để lấy type tương ứng
- type = 1 : hiệu ứng giống IOS
- type = 2 : hiệu ứng ẩn hiện
- type = 0 : mặc định của điện thoại
package com.tuananh.transitionactivity;

import android.os.Bundle;
import android.support.v7.app.AppCompatActivity;

public class ImageActivity extends AppCompatActivity {
    private int mType;

    @Override
    protected void onCreate(Bundle savedInstanceState) {
        super.onCreate(savedInstanceState);
        setContentView(R.layout.activity_image);
        if (getIntent() != null) {
            mType = getIntent().getIntExtra("type", 0);
        }
    }

    @Override
    public void onBackPressed() {
        super.onBackPressed();
        switch (mType) {
            case 1:
                overridePendingTransition(R.anim.slide_in_from_left, R.anim.slide_out_to_right);
                break;
            case 2:
                overridePendingTransition(android.R.anim.fade_in, android.R.anim.fade_out);
                break;
            default:
                break;
        }
    }
}
Resource
Tham khảo
All rights reserved