Push notification android with alarm manager
Bài đăng này đã không được cập nhật trong 4 năm
Hôm nay mình sẽ hướng dẫn mọi người cách cài đặt push notification cho android dùng AlarmManager -> phần code lõi để tạo lên ứng dụng báo thức .
1. Thiết lập Notification
1.1. Thiết lập Notification
NotificationCompat.Builder builder =
            new NotificationCompat.Builder(this)
                .setSmallIcon(R.mipmap.ic_launcher)
                .setContentTitle(getString(R.string.app_name))
                .setContentText("index = " + index)
                .setSound(Settings.System.DEFAULT_NOTIFICATION_URI)
                .setDefaults(Notification.DEFAULT_SOUND)
                .setAutoCancel(true)
                .setPriority(6)
                .setVibrate(new long[]{TIME_VIBRATE, TIME_VIBRATE, TIME_VIBRATE, TIME_VIBRATE,
                    TIME_VIBRATE})
                .setContentIntent(contentIntent);
        NotificationManager notificationManager =
            (NotificationManager) getSystemService(Context.NOTIFICATION_SERVICE);
        notificationManager.notify(index, builder.build());
Notification trong Android được thể hiện thông qua class Notification. Để tạo ra Notification bạn sử dụng class NotificationManager cùng với một Context, chẳng hạn như một activity hoặc một service, thông qua phương thức getSystemService().
 NotificationManager notificationManager =
            (NotificationManager) getSystemService(Context.NOTIFICATION_SERVICE);
1.2. Hủy notification
Người dùng có thể xóa mọi Notifications hoặc nếu bạn thiết lập chúng tự động xóa khi người dùng bấm vào chúng. Bạn cũng có thể gọi cancel() đối với một Notification ID nhất định trong NotificationManager. Phương thức cancelAll() sẽ xóa mọi Notification bạn tạo ra trước đó
NotificationManager.cancelAll() to remove all notification.
NotificationManager.cancel(notificationId) to remove particular notification.
2. Pending Intent
        int index = intent.getIntExtra(Constant.KEY_TYPE, 0);
        Intent notificationIntent = new Intent(this, MainActivity.class);
        notificationIntent
            .setFlags(Intent.FLAG_ACTIVITY_CLEAR_TOP | Intent.FLAG_ACTIVITY_SINGLE_TOP);
        int requestID = (int) System.currentTimeMillis();
        PendingIntent contentIntent = PendingIntent
            .getActivity(this, requestID, notificationIntent, PendingIntent.FLAG_UPDATE_CURRENT);
Trong đó :
- notificationIntent khởi tạo intent để chuyển màn hình theo yêu cầu
- requestID để phân biệt các notification
- PendingIntent.FLAG_UPDATE_CURRENT cờ update . Có 4 loại cờ có thể xem chi tiết tại link
3. Ví dụ thực tế
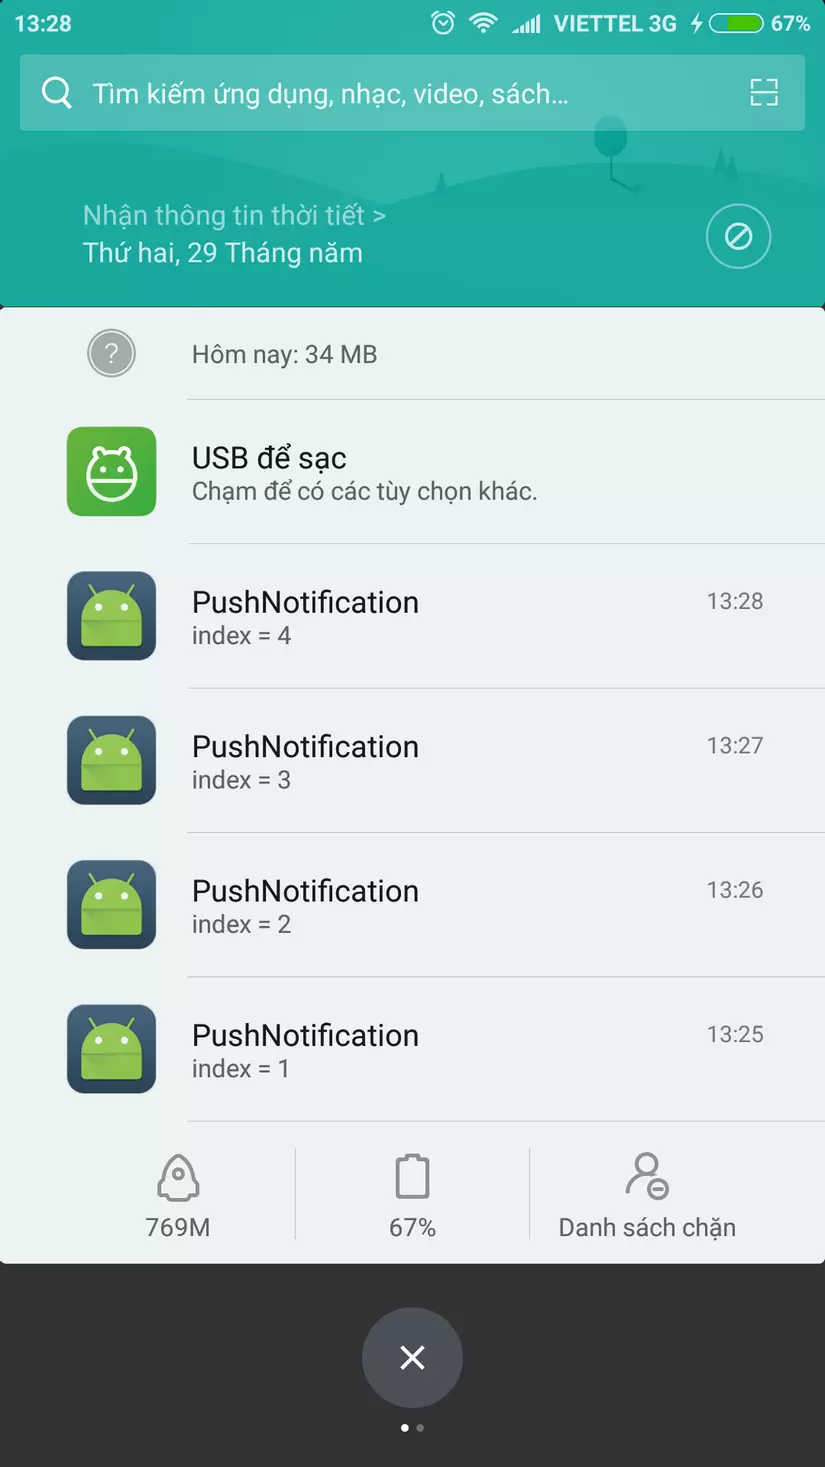
Chúng ta sẽ thực hiện tạo 10 notification trong vòng 10 phút từ khi bật app. (mỗi notification cách nhau 1 phút)
3.1. MainActivity
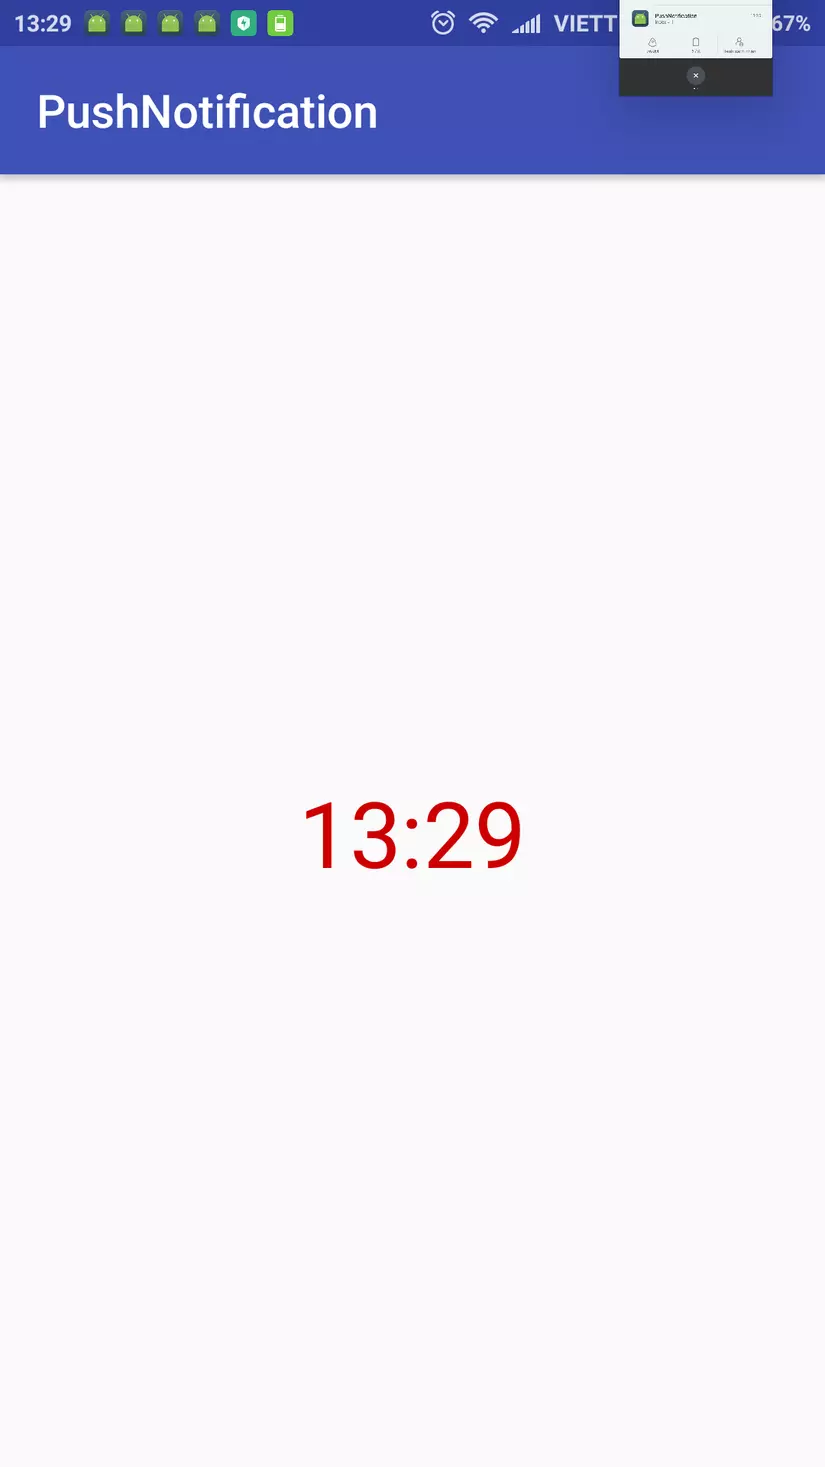
layout activity_main.xml có 1 TextClock để hiển thị thời gian hiện tại
<?xml version="1.0" encoding="utf-8"?>
<LinearLayout
    android:id="@+id/activity_main"
    xmlns:android="http://schemas.android.com/apk/res/android"
    xmlns:tools="http://schemas.android.com/tools"
    android:layout_width="match_parent"
    android:layout_height="match_parent"
    android:gravity="center"
    android:orientation="vertical"
    tools:context="tuananh.com.push.notification.view.activity.MainActivity">

    <TextClock
        android:id="@+id/time_picker"
        android:layout_width="wrap_content"
        android:layout_height="wrap_content"
        android:layout_gravity="center"
        android:layout_marginTop="10dp"
        android:textColor="@android:color/holo_red_dark"
        android:textSize="40sp"/>
</LinearLayout>
MainActivity.java
package tuananh.com.push.notification.view.activity;

import android.os.Bundle;
import android.support.v7.app.AppCompatActivity;

import tuananh.com.push.notification.R;
import tuananh.com.push.notification.utils.AlarmUtils;

public class MainActivity extends AppCompatActivity {
    @Override
    protected void onCreate(Bundle savedInstanceState) {
        super.onCreate(savedInstanceState);
        setContentView(R.layout.activity_main);
        AlarmUtils.create(this);
    }
}
Function AlarmUtils.create(this); này khởi tạo 10 notification .
3.2. AlarmUtils Khởi tạo notification
package tuananh.com.push.notification.utils;

import android.app.AlarmManager;
import android.app.PendingIntent;
import android.content.Context;
import android.content.Intent;
import android.os.Build;

import java.util.Calendar;

import tuananh.com.push.notification.Constant;
import tuananh.com.push.notification.service.SchedulingService;

/**
 * Created by framgia on 23/05/2017.
 */
public class AlarmUtils {
    private static int INDEX = 1;

    public static void create(Context context) {
        AlarmManager alarmManager = (AlarmManager) context.getSystemService(Context.ALARM_SERVICE);
        Intent intent = new Intent(context, SchedulingService.class);
        for (int i = 0; i < 10; i++) {
            intent.putExtra(Constant.KEY_TYPE, INDEX);
            PendingIntent pendingIntent =
                PendingIntent.getService(context, INDEX, intent, PendingIntent.FLAG_UPDATE_CURRENT);
            INDEX++;
            Calendar calendar = Calendar.getInstance();
            calendar.add(Calendar.MINUTE, INDEX);
            if (Build.VERSION.SDK_INT >= Build.VERSION_CODES.KITKAT) {
                alarmManager
                    .setExact(AlarmManager.RTC_WAKEUP, calendar.getTimeInMillis(), pendingIntent);
            } else {
                alarmManager
                    .set(AlarmManager.RTC_WAKEUP, calendar.getTimeInMillis(), pendingIntent);
            }
        }
    }
}
- Chúng ta sẽ khởi tạo service chạy ngầm là AlarmManger AlarmManager alarmManager = (AlarmManager) context.getSystemService(Context.ALARM_SERVICE);
- Dùng 1 vòng for để khởi tạo intent SchedulingService
- Kích hoạt alarmmanager
if (Build.VERSION.SDK_INT >= Build.VERSION_CODES.KITKAT) {
                alarmManager
                    .setExact(AlarmManager.RTC_WAKEUP, calendar.getTimeInMillis(), pendingIntent);
            } else {
                alarmManager
                    .set(AlarmManager.RTC_WAKEUP, calendar.getTimeInMillis(), pendingIntent);
            }
Chú ý là trên version 19 thì mới có thêm function setExact với độ chính xác cao hơn
3.3. SchedulingService nhận kết quả và khởi tạo notification
Tạo notification
NotificationManager notificationManager =
            (NotificationManager) getSystemService(Context.NOTIFICATION_SERVICE);
        notificationManager.notify(index, builder.build());
Nếu muốn cho các notification đè lên nhau thì xài chung 1 index nếu muốn tạo nhiều notification khác nhau thì cho index khác nhau
- Cấu hình
NotificationCompat.Builder builder =
            new NotificationCompat.Builder(this)
                .setSmallIcon(R.mipmap.ic_launcher)
                .setContentTitle(getString(R.string.app_name))
                .setContentText("index = " + index)
                .setSound(Settings.System.DEFAULT_NOTIFICATION_URI)
                .setDefaults(Notification.DEFAULT_SOUND)
                .setAutoCancel(true)
                .setPriority(6)
                .setVibrate(new long[]{TIME_VIBRATE, TIME_VIBRATE, TIME_VIBRATE, TIME_VIBRATE,
                    TIME_VIBRATE})
1.                 .setContentIntent(contentIntent);
- Full:
package tuananh.com.push.notification.service;

import android.app.IntentService;
import android.app.Notification;
import android.app.NotificationManager;
import android.app.PendingIntent;
import android.content.Context;
import android.content.Intent;
import android.provider.Settings;
import android.support.v4.app.NotificationCompat;

import tuananh.com.push.notification.Constant;
import tuananh.com.push.notification.R;
import tuananh.com.push.notification.view.activity.MainActivity;

/**
 * Created by framgia on 23/05/2017.
 */
public class SchedulingService extends IntentService {
    private static final int TIME_VIBRATE = 1000;

    public SchedulingService() {
        super(SchedulingService.class.getSimpleName());
    }

    @Override
    protected void onHandleIntent(Intent intent) {
        int index = intent.getIntExtra(Constant.KEY_TYPE, 0);
        Intent notificationIntent = new Intent(this, MainActivity.class);
        notificationIntent
            .setFlags(Intent.FLAG_ACTIVITY_CLEAR_TOP | Intent.FLAG_ACTIVITY_SINGLE_TOP);
        int requestID = (int) System.currentTimeMillis();
        PendingIntent contentIntent = PendingIntent
            .getActivity(this, requestID, notificationIntent, PendingIntent.FLAG_UPDATE_CURRENT);
        NotificationCompat.Builder builder =
            new NotificationCompat.Builder(this)
                .setSmallIcon(R.mipmap.ic_launcher)
                .setContentTitle(getString(R.string.app_name))
                .setContentText("index = " + index)
                .setSound(Settings.System.DEFAULT_NOTIFICATION_URI)
                .setDefaults(Notification.DEFAULT_SOUND)
                .setAutoCancel(true)
                .setPriority(6)
                .setVibrate(new long[]{TIME_VIBRATE, TIME_VIBRATE, TIME_VIBRATE, TIME_VIBRATE,
                    TIME_VIBRATE})
                .setContentIntent(contentIntent);
        NotificationManager notificationManager =
            (NotificationManager) getSystemService(Context.NOTIFICATION_SERVICE);
        notificationManager.notify(index, builder.build());
    }
}
3.4. Manifest
<?xml version="1.0" encoding="utf-8"?>
<manifest package="tuananh.com.push.notification"
          xmlns:android="http://schemas.android.com/apk/res/android">

    <uses-permission android:name="android.permission.VIBRATE"/>
    <uses-permission android:name="android.permission.RECEIVE_BOOT_COMPLETED"/>

    <application
        android:allowBackup="true"
        android:icon="@mipmap/ic_launcher"
        android:label="@string/app_name"
        android:supportsRtl="true"
        android:theme="@style/AppTheme">
        <activity android:name=".view.activity.MainActivity">
            <intent-filter>
                <action android:name="android.intent.action.MAIN"/>
                <category android:name="android.intent.category.LAUNCHER"/>
            </intent-filter>
        </activity>

        <service android:name=".service.SchedulingService"/>
    </application>
</manifest>
4. Ảnh minh họa


5. Mã nguồn
All rights reserved