Custom View Trong Android Với Kotlin
Bài đăng này đã không được cập nhật trong 8 năm
 Trong nền tảng android có rất nhiều những class View khác nhau đáp ứng nhu cầu cho việc xây dựng những ứng dụng điển hình trong android.Tuy nhiên trong một số trường hợp những View này không phù hợp với nhu cầu được thiết kế trong ứng dụng của bạn và bạn cần xây dựng một customview để đáp ứng những yêu cầu đại loại như:
- Một thiết kế giao diện người dùng sáng tạo
- Tương tác người dùng khác nhau
- Hiển thị những loại dữ liệu khác nhau
- Tối ưu hoá về hiệu suất
- Khả năng sử dụng lại nhiều lần trong ứng dụng
Trong bài viết này, chúng ta sẽ cùng nhau tìm hiểu làm sao để tạo một customview bằng ngôn ngữ kotlin
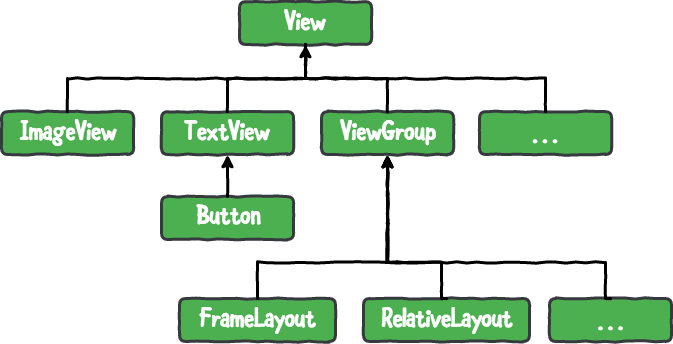
Trong Android có bộ các loại view khac nhau và View là class cơ bản nhất. hình bên dưới sẽ hiển thị cho các bạn một phần của hệ thống phân cấp các component trong android.
Bạn có 2 cách để tạo một thể hiện của một loại View và thiết lập giá trị các thuộc tính (attributes) cho nó trong ứng dụng android:
- Từ file xml của bạn(file layout)
- Từ trong code của bạn
Làm việc Với View trong kotlin
Bạn có thể add một TextView vào trong layout của bạn trong kotlin . Mở MainActivity và thay thế setContentView(R.layout.activitymain) trong method onCreate() với những dòng code bên dưới:
// 1
val textView = TextView(this)
// 2
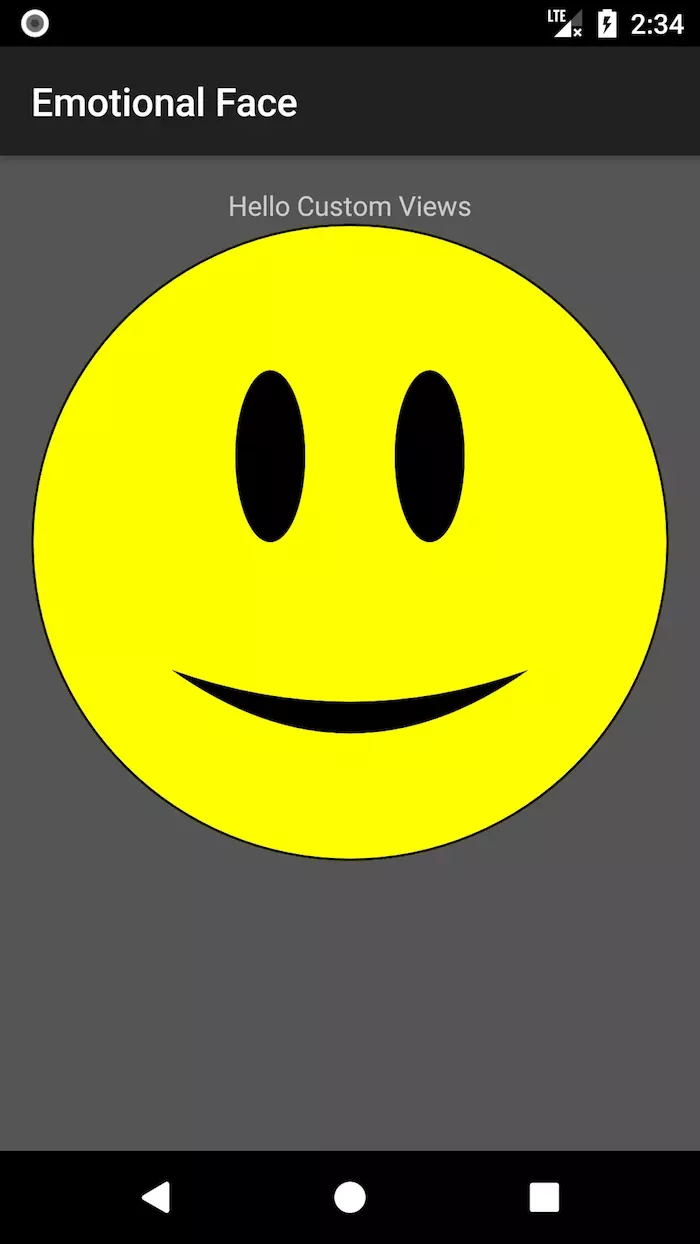
textView.text = "Hello Custom Views"
// 3
setContentView(textView)
Ở đây:
- Tạo một TextView bằng cách sử dụng một constructor với một tham số là activity context
- Với “Hello Custom Views” là text của TextView
- sét TextView như là content view của activity
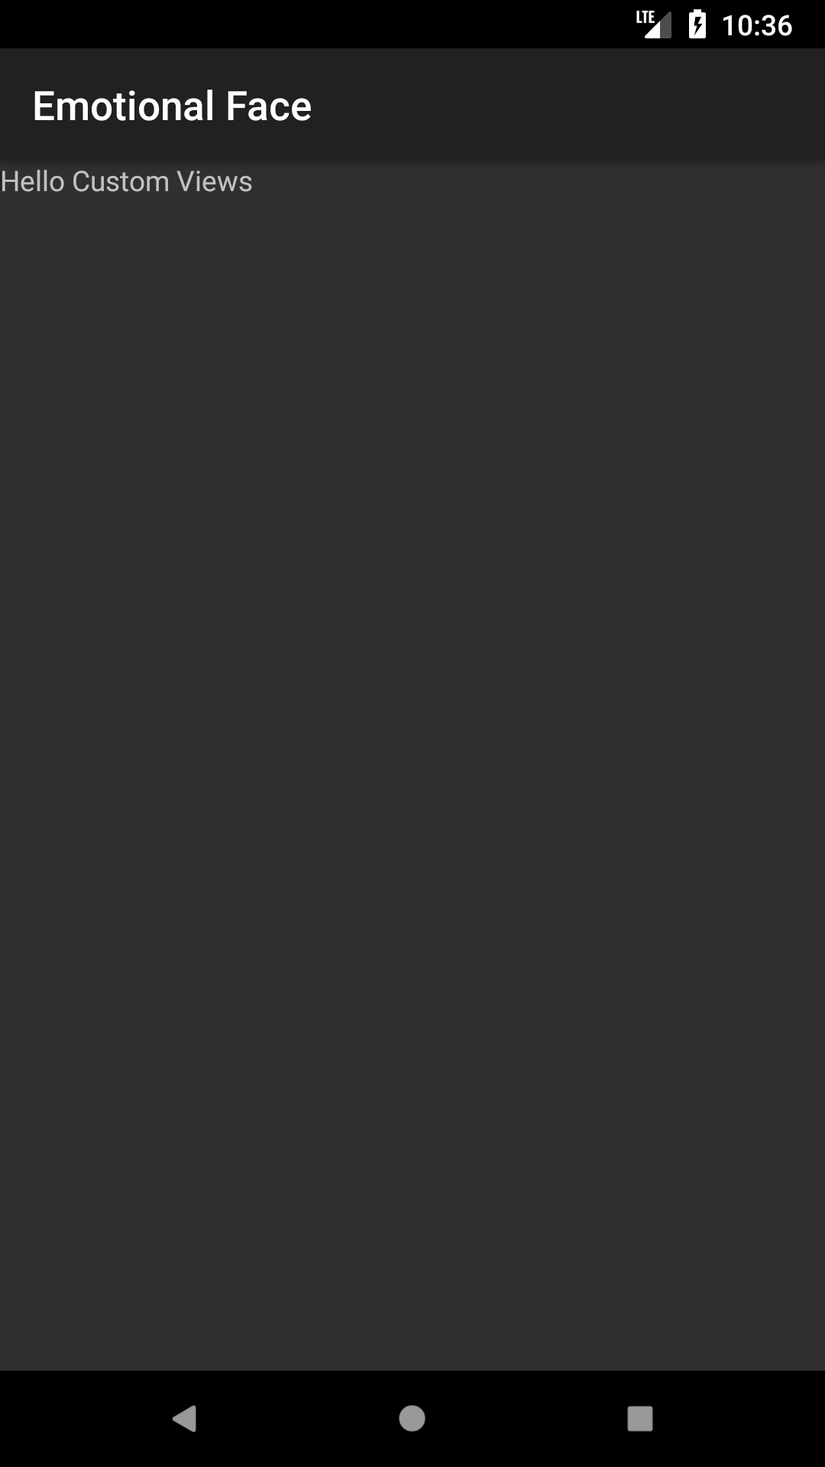
Bạn build và run app, bạn sẽ nhìn thấy kết quả như bên dưới:
Làm việc Với View trong XML
Bây giờ mở file res/layout/activitymain.xml xử dụng một widgets cơ bản trong android như TextView như đoạn code bên dưới
<TextView
  android:id="@+id/textView"
  android:layout_width="wrap_content"
  android:layout_height="wrap_content"
  android:layout_alignParentTop="true"
  android:layout_centerHorizontal="true"
  android:text="Hello Custom Views"/>
Bạn có thể thay đổi nhiều thuộc tính cơ bản từ class View trong xml chẳng hạn như id, layout_width, layout_height, alpha, visibility, elevation, padding...
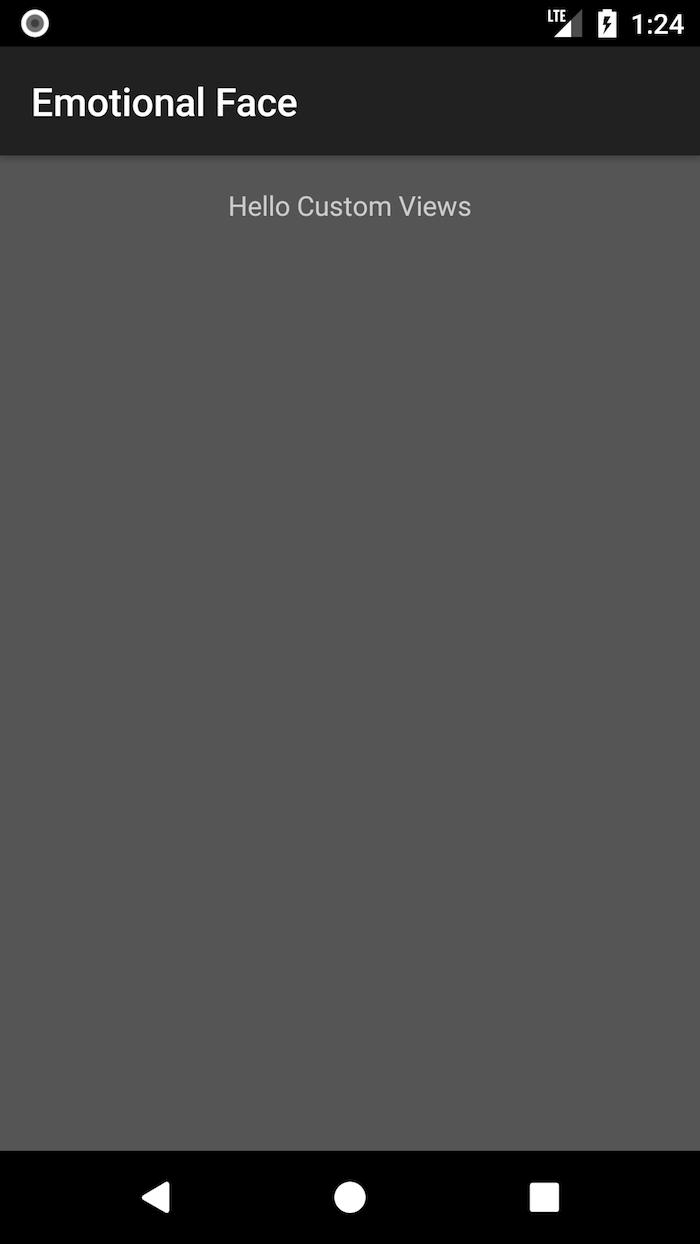
tương tự như trên trong MainActivity bạn sử dụng setContentView(R.layout.activitymain). Sau đó bạn xoá bỏ những đoạn code mà bạn đã thêm trước đó.Bây giờ bạn chạy ứng dụng bạn cũng sẽ nhìn thấy màn hình như này.
Làm thế nào Android vẽ những View
Khi một Activity được mở và ở trạng thái foreground. Android coi nó như là một root view. Root View là view trên cùng của file layout trong hệ thống phân cấp.Sau đó Android vẽ toàn bộ hệ thống phân cấp view. Android vẽ hệ thống phân cấp view từ parent top sau đó đến các con (child) của nó. Nếu một trong những view con là một ViewGroup, Android sẽ vẽ con của nó trước khi vẽ view con thứ 2. Android sẽ vẽ view con của một ViewGroup theo chỉ số (index)cuả view con(vị trí của nó trong xml file). Vậy view nào được add trước sẽ vẽ trước. Android vẽ hệ thống view trong 3 giai đoạn:
- Measuring stage : mỗi view phải đo chính kích thước của nó.
- Layout stage: mỗi ViewGroup tìm đúng vị trí cho những view con của nó trên màn hình bằng sử dụng kích thước của các view con và theo những quy tắc layout
- Drawing stage: Sau khi đo và định vị được tất cả các view , mỗi view sẽ vễ chính nó.
Tạo một Custom View
Bây giờ là thời điểm chúng ta tạo một custom view Bắt đầu bằng việc tạo một class mới trong kotlin với tên của nó là EmotionalFaceView và làm nó kết thừa từ View
class EmotionalFaceView : View
Bây giờ nếu bạn di chuột trên từ View bạn sẽ nhận được một message: “This type has a constructor, and thus must be initialized here” View sẽ có 4 constructor và bạn sẽ cần override ít nhất một trong số chúng để bắt đầu việc custom của bạn. Kiểm tra tất cả trong số chúng và chọn một cái phù hợp nhất với bạn.
- constructor(context: Context): Tạo một thể hiện của view trong kotlin , với một tham số yêu cầu là activity context
- constructor(context: Context, attrs: AttributeSet): Tạo một thể hiện của view trong xml
- constructor(context: Context, attrs: AttributeSet, defStyleAttr: Int): Tạo một thể hiện của view từ xml với một style từ theme attribute
- constructor(context: Context, attrs: AttributeSet, defStyleAttr: Int, defStyleRes: Int): Tạo một thể hiện của view từ xml với một style từ theme attribute và một style resource. Ở đây tôi chọn constructor thứ 2 và bọn có thể override constructor trong thân của class.
constructor(context: Context, attrs: AttributeSet): super(context, attrs)
hoặc làm nó như một constrcutor chính như này:
class EmotionalFaceView(context: Context, attrs: AttributeSet) : View(context, attrs)
Bây giờ bạn có thể add một customview của bạn tại trung tâm của layout và bên dưới TextView bằng cách add những dòng code bên dưới vào trong file activitymain.xml
<!--Full path for the cusom view -->
<com.raywenderlich.emotionalface.EmotionalFaceView
   android:id="@+id/emotionalFaceView"
   android:layout_width="match_parent"
   android:layout_height="match_parent"
   android:layout_centerInParent="true"
   android:layout_below="@+id/textView" />
Vẽ trên Canvas
Chuẩn bị các công cụ vẽ của bạn vào trong EmotionalFaceView bằng cách khai báo một thuộc tính Paint cho color và style
// Paint object for coloring and styling
private val paint = Paint(Paint.ANTI_ALIAS_FLAG)
// Some colors for the face background, eyes and mouth.
private var faceColor = Color.YELLOW
private var eyesColor = Color.BLACK
private var mouthColor = Color.BLACK
private var borderColor = Color.BLACK
// Face border width in pixels
private var borderWidth = 4.0f
// View size in pixels
private var size = 320
Bây giờ bắt đầu vẽ bằng việc override method onDraw().
override fun onDraw(canvas: Canvas) {
  // call the super method to keep any drawing from the parent side.
  super.onDraw(canvas)
}
Tạo 3 phương thức cho việc vẽ một khuôn mặt hạnh phúc. Tất cả 3 phương thức có cùng một đối tượng Canvas như là một tham số
override fun onDraw(canvas: Canvas) {
  // call the super method to keep any drawing from the parent side.
  super.onDraw(canvas)

  drawFaceBackground(canvas)
  drawEyes(canvas)
  drawMouth(canvas)
}

private fun drawFaceBackground(canvas: Canvas) {
}

private fun drawEyes(canvas: Canvas) {
}

private fun drawMouth(canvas: Canvas) {
}
Vẽ nền khuôn mặt
Add những đoạn code bên dưới tới drawFaceBackground()
// 1
 paint.color = faceColor
 paint.style = Paint.Style.FILL

 // 2
 val radius = size / 2f

 // 3
 canvas.drawCircle(size / 2f, size / 2f, radius, paint)

 // 4
 paint.color = borderColor
 paint.style = Paint.Style.STROKE
 paint.strokeWidth = borderWidth

 // 5
 canvas.drawCircle(size / 2f, size / 2f, radius - borderWidth / 2f, paint)
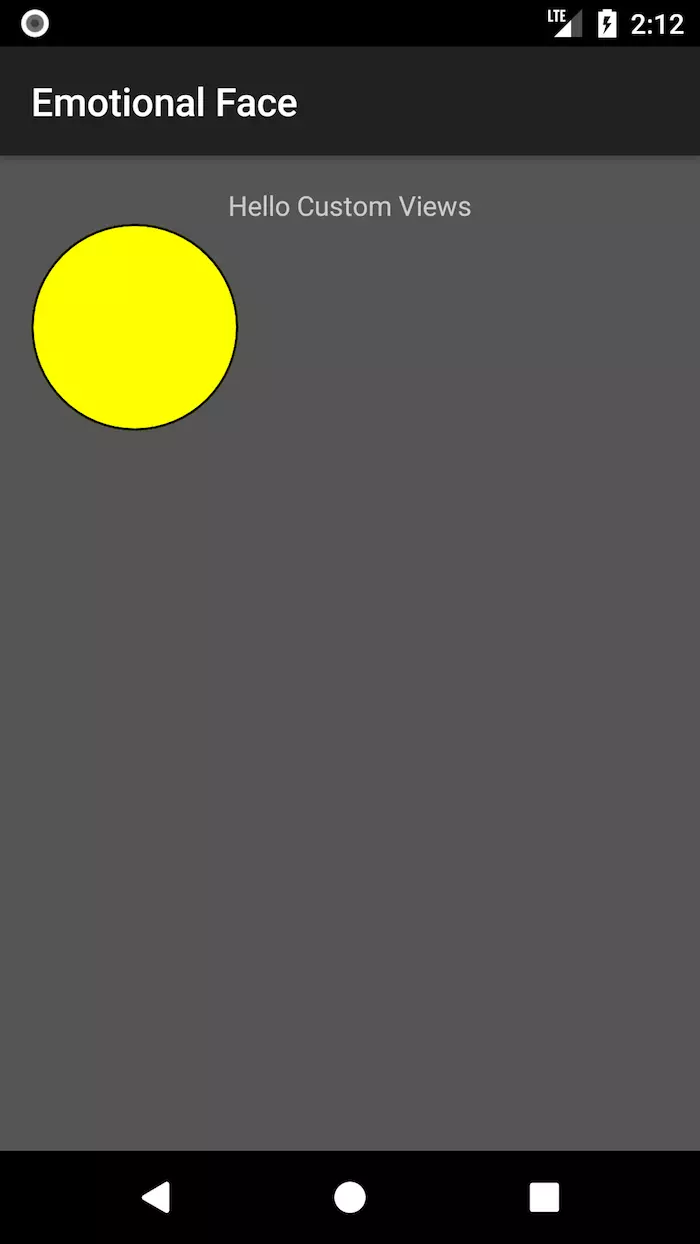
bạn build và run app bạn sẽ thấy như bên dưới
Vẽ mắt cho khuôn mặt
add những đoạn code bên dưới tơi drawEyes()
// 1
paint.color = eyesColor
paint.style = Paint.Style.FILL

// 2
 val leftEyeRect = RectF(size * 0.32f, size * 0.23f, size * 0.43f, size * 0.50f)

canvas.drawOval(leftEyeRect, paint)

// 3
val rightEyeRect = RectF(size * 0.57f, size * 0.23f, size * 0.68f, size * 0.50f)

canvas.drawOval(rightEyeRect, paint)
ở dây
- thiết lập paint color tới eyesColor và làm nó lấp đầy khu vực vẽ
- Tạo một đối tượng RectF vơi left, top, right and bottom sử dụng tỉ lệ phần trăm của kích thước (32%, 23%, 43%, 50%). Sau đó bạn vẽ mắt trái bằng cách vẽ một hình oval với RectF đã được tạo
- Làm tương tự như bước trên nhưng với tỉ lệ phần trăm của kích thước là (57%, 23%, 68%, 50%) bây giờ run app bạn sẽ nhìn thấy một màn hình như này:

Vẽ mồm của khuôn mặt
Để vẽ đường con trên canvas bạn cần tạo một đối tượng path
private val mouthPath = Path()
Sau khi tạo một object Path, chúng ta sẽ tạo đường cong cho nó băng cách thêm đoạn code bên dưới vào trong phương thức drawMouth()
// 1 move to (x0,y0)
mouthPath.moveTo(size * 0.22f, size * 0.7f)
// 2 vẽ một đường cong bắt đầu từ điểm (x0, y0) đi qua các điểm (x1, y1) và (x2, y2)
mouthPath.quadTo(size * 0.50f, size * 0.80f, size * 0.78f, size * 0.70f)
// 3 vẽ 1 đường cong từ điểm (x2, y2) tới điẻm (x0, y0) đi qua điểm (x3, y3)
mouthPath.quadTo(size * 0.50f, size * 0.90f, size * 0.22f, size * 0.70f)
// 4
paint.color = mouthColor
paint.style = Paint.Style.FILL
// 5
canvas.drawPath(mouthPath, paint)

bạn run app sẽ nhìn thấy hình như bên dưới:

Hiện tại customview của bạn đang fix cứng một size nhưng bạn muốn nó đáp ứng và phù hợp với kích thước view cha chưa nó.Ngoài ra bạn cũng muốn khuôn mặt customview của bạn luôn luôn là hình tròn chứ không phải hình oval. Android đo chiều rộng và chiều cao view của bạn và bạn có thể lấy được những giá trị này bằng cách sử dụng measuredWidth, measuredHeight. Bạn chỉ cần override phương thức onMeasure()
override fun onMeasure(widthMeasureSpec: Int, heightMeasureSpec: Int) {
super.onMeasure(widthMeasureSpec, heightMeasureSpec)
size = Math.min(measuredWidth, measuredHeight)

setMeasuredDimension(size, size)
}
bạn run app và sẽ nhìn thấy kết quả như hình bên dưới:
Tạo Custom XML Attributes
Tạo một XML attribute bạn vào thư mục res/values và tạo một file attrs.xml và thêm những đoạn code bên dưới:
<!--1-->
<declare-styleable name="EmotionalFaceView">
  <!--2-->
  <attr name="faceColor" format="color" />
  <attr name="eyesColor" format="color" />
  <attr name="mouthColor" format="color" />
  <attr name="borderColor" format="color" />
  <attr name="borderWidth" format="dimension" />
  <attr name="state" format="enum">
    <enum name="happy" value="0" />
    <enum name="sad" value="1" />
  </attr>
</declare-styleable>
- mở một tag declare-styleable và thiết lập thuộc tính name như là tên class customview của bạn
- thêm những attribute mới với những tên khác nhau và định dạng giá trị của chúng tới file res/layout/activitymain.xml và thêm những view mới tơi RelativeLayout
<com.raywenderlich.emotionalface.EmotionalFaceView
   android:id="@+id/happyButton"
   android:layout_width="@dimen/face_button_dimen"
   android:layout_height="@dimen/face_button_dimen"
   android:layout_alignParentLeft="true"
   android:layout_alignParentStart="true"
   app:borderColor="@color/white"
   app:eyesColor="@color/white"
   app:faceColor="@color/red"
   app:mouthColor="@color/white"
   app:state="happy" />

<com.raywenderlich.emotionalface.EmotionalFaceView
   android:id="@+id/sadButton"
   android:layout_width="@dimen/face_button_dimen"
   android:layout_height="@dimen/face_button_dimen"
   android:layout_alignParentEnd="true"
   android:layout_alignParentRight="true"
   app:borderColor="@color/black"
   app:eyesColor="@color/black"
   app:faceColor="@color/light_grey"
   app:mouthColor="@color/black"
   app:state="sad" />
Bạn đã thêm 2 đối tượng EmotionalFaceView tới layout và sử dụng custom xml attributes.Điều này chứng minh khái niệm sử dụng lại của customview.
Để có thể nhận về những giá trị của xml attribute và sử dụng chúng trong class EmotionalFaceView chúng ta cần update tất cả những dòng code mà chúng ta đã setup trong phương thức onDraw()
// 1
companion object {
  private const val DEFAULT_FACE_COLOR = Color.YELLOW
  private const val DEFAULT_EYES_COLOR = Color.BLACK
  private const val DEFAULT_MOUTH_COLOR = Color.BLACK
  private const val DEFAULT_BORDER_COLOR = Color.BLACK
  private const val DEFAULT_BORDER_WIDTH = 4.0f

  const val HAPPY = 0L
  const val SAD = 1L
}

// 2
private var faceColor = DEFAULT_FACE_COLOR
private var eyesColor = DEFAULT_EYES_COLOR
private var mouthColor = DEFAULT_MOUTH_COLOR
private var borderColor = DEFAULT_BORDER_COLOR
private var borderWidth = DEFAULT_BORDER_WIDTH

private val paint = Paint()
private val mouthPath = Path()
private var size = 0

// 3
var happinessState = HAPPY
  set(state) {
    field = state
    // 4
    invalidate()
  }

// 5
init {
  paint.isAntiAlias = true
  setupAttributes(attrs)
}

private fun setupAttributes(attrs: AttributeSet?) {
  // 6
  // Obtain a typed array of attributes
  val typedArray = context.theme.obtainStyledAttributes(attrs, R.styleable.EmotionalFaceView,
      0, 0)

  // 7
  // Extract custom attributes into member variables
  happinessState = typedArray.getInt(R.styleable.EmotionalFaceView_state, HAPPY.toInt()).toLong()
  faceColor = typedArray.getColor(R.styleable.EmotionalFaceView_faceColor, DEFAULT_FACE_COLOR)
  eyesColor = typedArray.getColor(R.styleable.EmotionalFaceView_eyesColor, DEFAULT_EYES_COLOR)
  mouthColor = typedArray.getColor(R.styleable.EmotionalFaceView_mouthColor, DEFAULT_MOUTH_COLOR)
  borderColor = typedArray.getColor(R.styleable.EmotionalFaceView_borderColor,
      DEFAULT_BORDER_COLOR)
  borderWidth = typedArray.getDimension(R.styleable.EmotionalFaceView_borderWidth,
      DEFAULT_BORDER_WIDTH)

  // 8
  // TypedArray objects are shared and must be recycled.
  typedArray.recycle()
}
Bây giờ chạy app bạn sẽ nhìn thấy màn hình giống như này:
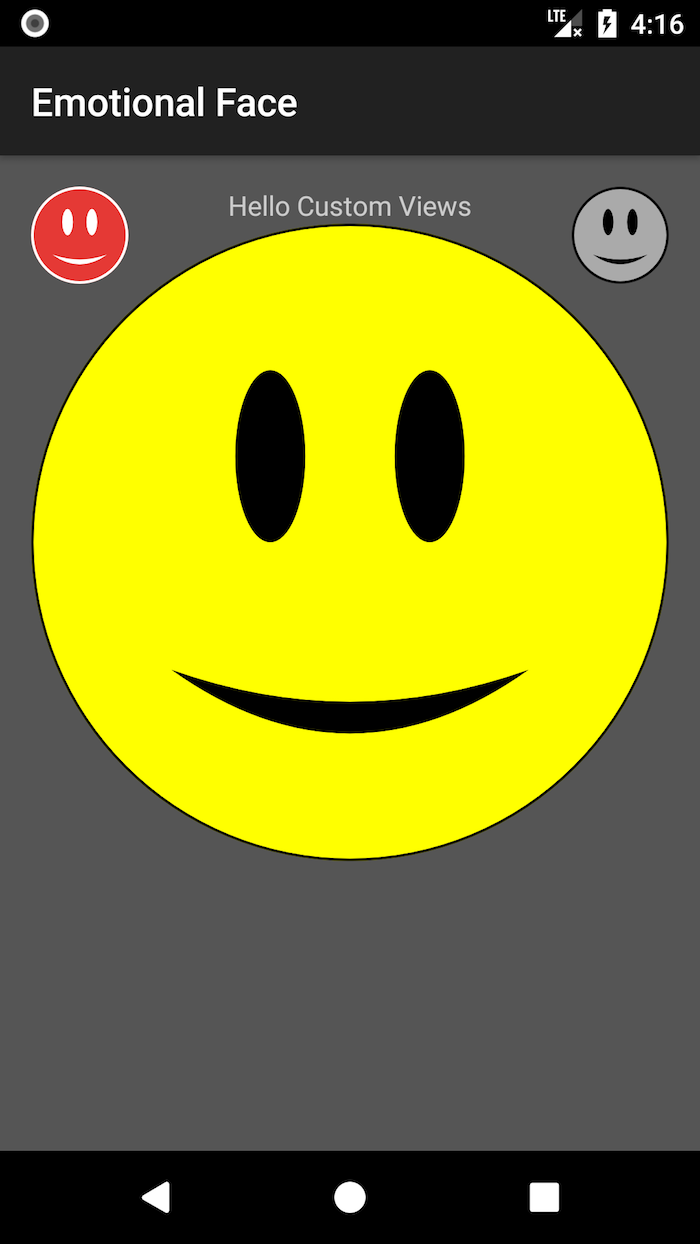 như bạn đang nhìn thấy happinessState vẫn chưa hiệu quả và cả 2 button EmotionalFaceView vẫn có trạng thái happy.
chúng ta cần update lại code của phương thức drawMouth() như bên dưới:
như bạn đang nhìn thấy happinessState vẫn chưa hiệu quả và cả 2 button EmotionalFaceView vẫn có trạng thái happy.
chúng ta cần update lại code của phương thức drawMouth() như bên dưới:
private fun drawMouth(canvas: Canvas) {

  // Clear
  mouthPath.reset()

  mouthPath.moveTo(size * 0.22f, size * 0.7f)

  if (happinessState == HAPPY) {
    // Happy mouth path
    mouthPath.quadTo(size * 0.5f, size * 0.80f, size * 0.78f, size * 0.7f)
    mouthPath.quadTo(size * 0.5f, size * 0.90f, size * 0.22f, size * 0.7f)
  } else {
    // Sad mouth path
    mouthPath.quadTo(size * 0.5f, size * 0.50f, size * 0.78f, size * 0.7f)
    mouthPath.quadTo(size * 0.5f, size * 0.60f, size * 0.22f, size * 0.7f)
  }

  paint.color = mouthColor
  paint.style = Paint.Style.FILL

  // Draw mouth path
  canvas.drawPath(mouthPath, paint)
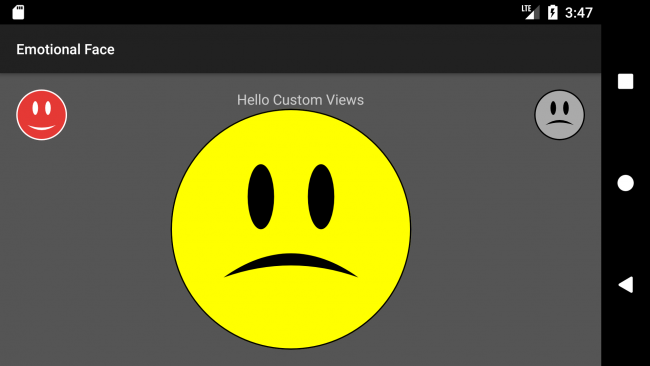
build và run app bạn sẽ thấy như bên dưới

Tương tác người dùng Bạn có thể thay đổi thay đổi trạng thái cảm xúc khuôn mặt trong customview của bạn bằng cách click vào 2 button trái hoặc phải bằng cách thêm đoạn code bên dưới vào trong onCreate() của MainActivity
// 1
happyButton.setOnClickListener({
   emotionalFaceView.happinessState = EmotionalFaceView.HAPPY
})
// 2
sadButton.setOnClickListener({
   emotionalFaceView.happinessState = EmotionalFaceView.SAD
})

Lưu lại trạng thái của customview Bạn có thể lưu lại trạng thái customview của bạn trong trường hơp config của device thay đổi bằng cách override lại các phương thức onSaveInstanceState() and onRestoreInstanceState(). Thêm những đoạn code sau tới customview của bạn:
override fun onSaveInstanceState(): Parcelable {
 // 1
 val bundle = Bundle()
 // 2
 bundle.putLong("happinessState", happinessState)
 // 3
 bundle.putParcelable("superState", super.onSaveInstanceState())
 return bundle
}

override fun onRestoreInstanceState(state: Parcelable) {
 // 4
 var viewState = state
 if (viewState is Bundle) {
   // 5
   happinessState = viewState.getLong("happinessState", HAPPY)
   // 6
   viewState = viewState.getParcelable("superState")
 }
 super.onRestoreInstanceState(viewState)
}
build app và thay đổi hướng của device ,
tài liệu tham khảo:
https://www.raywenderlich.com/175645/android-custom-view-tutorial
All rights reserved
