Tạo ứng dụng QR code Scanner nhanh chóng với thư viện ZXING
Bài đăng này đã không được cập nhật trong 4 năm
Giới thiệu
ZXing là một thư viện xử lý hình ảnh mã vạch 1D / 2D mã nguồn mở được triển khai trên Java, Đây là một thư viện mạnh mẽ được rất nhiều người sử dụng vì yếu tố nhanh chóng và dễ sử dụng của nó, ngày hôm nay tôi sẽ hướng dẫn cho bạn làm thế nào để sử dụng thư viện này một cách nhanh chóng nhất
Tiến hành
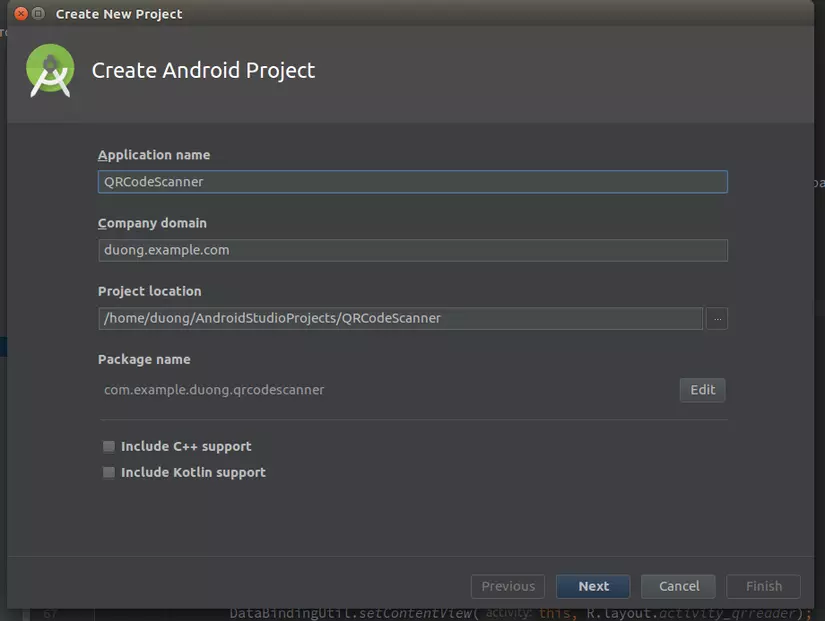
- Tạo project QR code Sanner

- Import thư viện ZXING vào project
dependencies {
    compile 'me.dm7.barcodescanner:zxing:1.9'
}
- Add permission cần thiết vào Manifest
<uses-permission android:name="android.permission.CAMERA"/>
 <uses-feature android:name="android.hardware.camera"/>
 <uses-feature android:name="android.hardware.camera.autofocus"/>
4 Implement sự kiện ZXingScannerView.ResultHandler trong MainActivity
public class MainActivity extends AppCompatActivity implements ZXingScannerView.ResultHandler {
    private static final int REQUEST_CAMERA = 1;
    private ZXingScannerView scannerView;
Constant REQUEST_CAMERA để nhận permission request camera ZXingScannerView cung cấp giao diện để quét mã QR 5 Thiết lập scannerView trong hàm onCreate()
@Override
    protected void onCreate(Bundle savedInstanceState) {
        super.onCreate(savedInstanceState);
        scannerView = new ZXingScannerView(this);
        setContentView(scannerView);
        int apiVersion = android.os.Build.VERSION.SDK_INT;
        if (apiVersion >= android.os.Build.VERSION_CODES.M) {
            if (!checkPermission()) {
                requestPermission();
            }
        }
    }
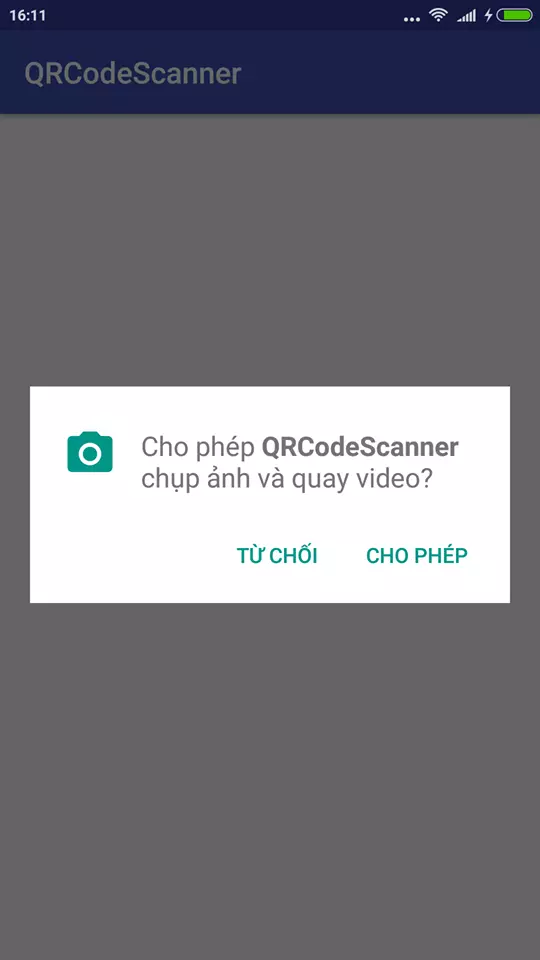
- Các hàm request permission( Đối với android từ phiên bản 6.0 trở lên cần request permisson camera)
private boolean checkPermission() {
        return (ContextCompat.checkSelfPermission(getApplicationContext(), Manifest.permission.CAMERA) == PackageManager.PERMISSION_GRANTED);
    }

    private void requestPermission() {
        ActivityCompat.requestPermissions(this, new String[]{Manifest.permission.CAMERA}, REQUEST_CAMERA);
    }

    public void onRequestPermissionsResult(int requestCode, String permissions[], int[] grantResults) {
        switch (requestCode) {
            case REQUEST_CAMERA:
                if (grantResults.length > 0) {

                    boolean cameraAccepted = grantResults[0] == PackageManager.PERMISSION_GRANTED;
                    if (cameraAccepted){
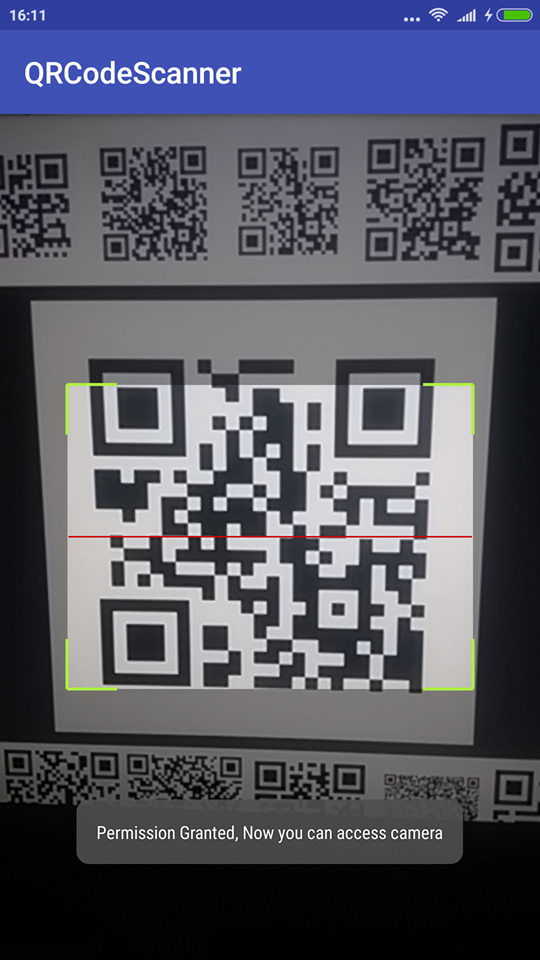
                        Toast.makeText(getApplicationContext(), "Permission Granted, Now you can access camera", Toast.LENGTH_LONG).show();
                    }else {
                        Toast.makeText(getApplicationContext(), "Permission Denied, You cannot access and camera", Toast.LENGTH_LONG).show();
                        if (Build.VERSION.SDK_INT >= Build.VERSION_CODES.M) {
                            if (shouldShowRequestPermissionRationale(Manifest.permission.CAMERA)) {
                                showMessage("You need to allow access to both the permissions",
                                        new DialogInterface.OnClickListener() {
                                            @Override
                                            public void onClick(DialogInterface dialog, int which) {
                                                if (Build.VERSION.SDK_INT >= Build.VERSION_CODES.M) {
                                                    requestPermissions(new String[]{Manifest.permission.CAMERA},
                                                            REQUEST_CAMERA);
                                                }
                                            }
                                        });
                                return;
                            }
                        }
                    }
                }
                break;
        }
    }

    private void showMessage(String message, DialogInterface.OnClickListener okListener) {
        new android.support.v7.app.AlertDialog.Builder(MainActivity.this)
                .setMessage(message)
                .setPositiveButton("OK", okListener)
                .setNegativeButton("Cancel", null)
                .create()
                .show();
    }
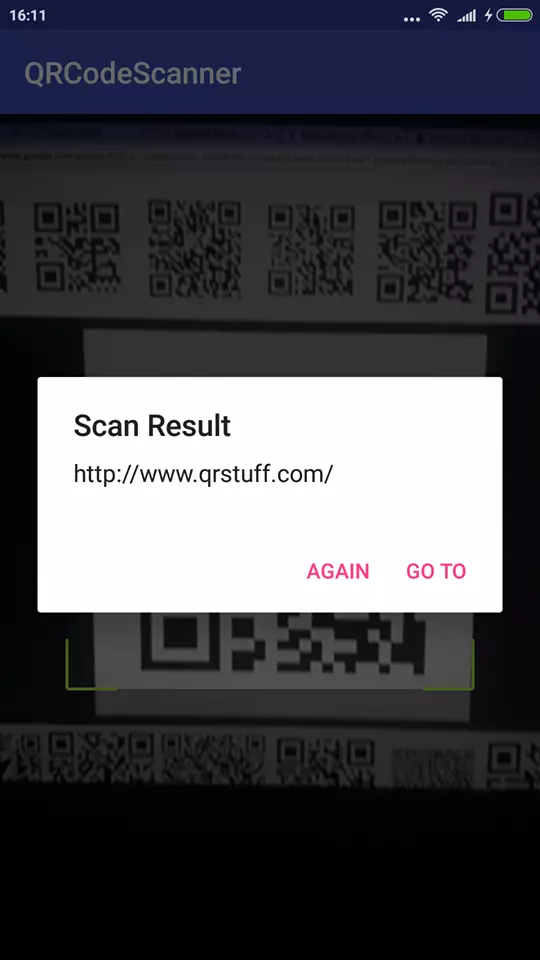
- Hàm handle sự kiện ZXING (ở đây mình mở browser đến đường link quét được từ mã QR mọi người có thể xử lý khác tùy theo mục đích của mình)
@Override
    public void handleResult(Result result) {
        final String stringResult = result.getText();
        AlertDialog.Builder builder = new AlertDialog.Builder(this);
        builder.setTitle("Scan Result");
        builder.setNegativeButton("Again", new DialogInterface.OnClickListener() {
            @Override
            public void onClick(DialogInterface dialog, int which) {
                scannerView.resumeCameraPreview(MainActivity.this);
            }
        });
        builder.setPositiveButton("Go to", new DialogInterface.OnClickListener() {
            @Override
            public void onClick(DialogInterface dialog, int which) {
                Intent browserIntent = new Intent(Intent.ACTION_VIEW, Uri.parse(stringResult));
                startActivity(browserIntent);
            }
        });
        builder.setMessage(stringResult);
        AlertDialog alert = builder.create();
        alert.show();
    }
Kết quả
Chỉ với vài bước đơn giản chúng ta đã tạo được một ứng dụng quét QR code với đầy đủ tính năng dựa trên thư viện ZXING. Hy vọng sẽ hữu ích với các bạn. Cảm ơn vì đã theo dõi


All rights reserved