CodePush - Cập nhật ứng dụng React Native một cách nhanh chóng
Bài đăng này đã không được cập nhật trong 6 năm
CodePush ra đời chủ yếu để giúp chúng ta có thể cập nhật ứng dụng đến người dùng nhanh chóng mà không cần phải release bản .ipa hay .apk rồi đưa lại lên app store/google play rất mất thời gian đúng không quý vị!. Các bài giới thiệu về CodePush cũng có nhiều rồi, ở bài này mình chỉ giới thiệu cách cài đặt và sử dụng CodePush (trên IOS) cơ bản nhất nha. 
1. Init project
$react-native init <project-name> --version X.XX.X
I used react-native version 0.59.8
2. Sign up account in CodePush https://appcenter.ms
3. Install code-push cli and add application in code-push
  $ npm install -g code-push-cli
  $ code-push login
  $ code-push app add <project-name> ios react-native
4. Install code-push SDK in app
4.1 Add SDK to the project
$ npm install appcenter appcenter-analytics appcenter-crashes --save-exact
4.2 Link the SDK
$ react-native link
or
$ react-native link react-native-code-push
-
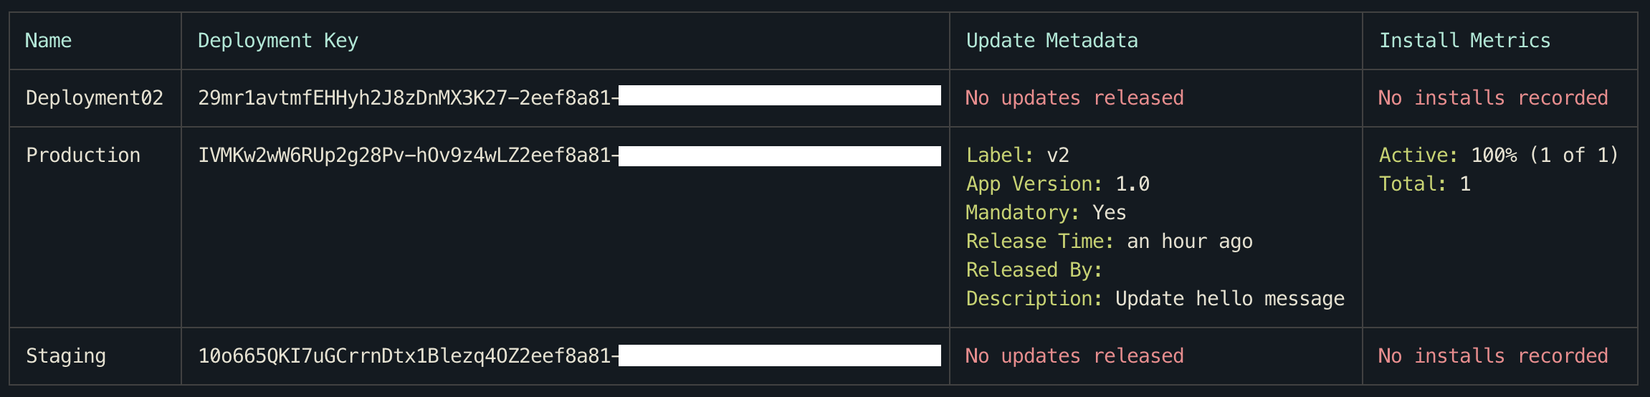
To see deployment key:$ code-push deployment ls -k![]() 4.3 Edit app secret
4.3 Edit app secret -
IOS:Add
CodePushDeploymentKeyintoInfo.plist<key>CodePushDeploymentKey</key> <string>IVMKw2wW6RUp2g28Pv-hOv9z4wLZ2eef8a81-xxxx-xxxx-xxxx-xxxxxxxxxxxx</string>Edit ios/{YourAppName}/AppCenter-Config.plist and replace YOUR_APP_SECRET placeholder value with your application secret.
<key>AppSecret</key> <string>2ea4e686-xxxx-xxxx-xxxx-xxxxxxxxxxxx</string> -
Android:Edit android/app/src/main/assets/appcenter-config.json; then add object:
{"app_secret": "2ea4e686-xxxx-xxxx-xxxx-xxxxxxxxxxxx"}4.4 Wrap root component with CodePush
import codePush from "react-native-code-push";
class App extends Component {
            componentWillMount() {
                codePush.sync({
                updateDialog: true,
                installMode: codePush.InstallMode.IMMEDIATE
            });
        }
        …
}
export default codePush(App)
NOTE (important): Linking the iOS SDK requires CocoaPods: Access this link bellow to see updating: https://docs.microsoft.com/en-us/appcenter/sdk/getting-started/react-native#4-troubleshooting
-
Prerequisites:
- React native version 0.34 or later.
- Android version 4.1, API level 16 or later, IOS version 9.0 or later.
- You are not using any other library that provides Crash Reporting functionality on iOS.
- Install CocoaPods (the default way to use the SDK in ios)
-
Create your app to app-center portal.
-
Add the app-center SDK module.
-
Link SDK automatically.
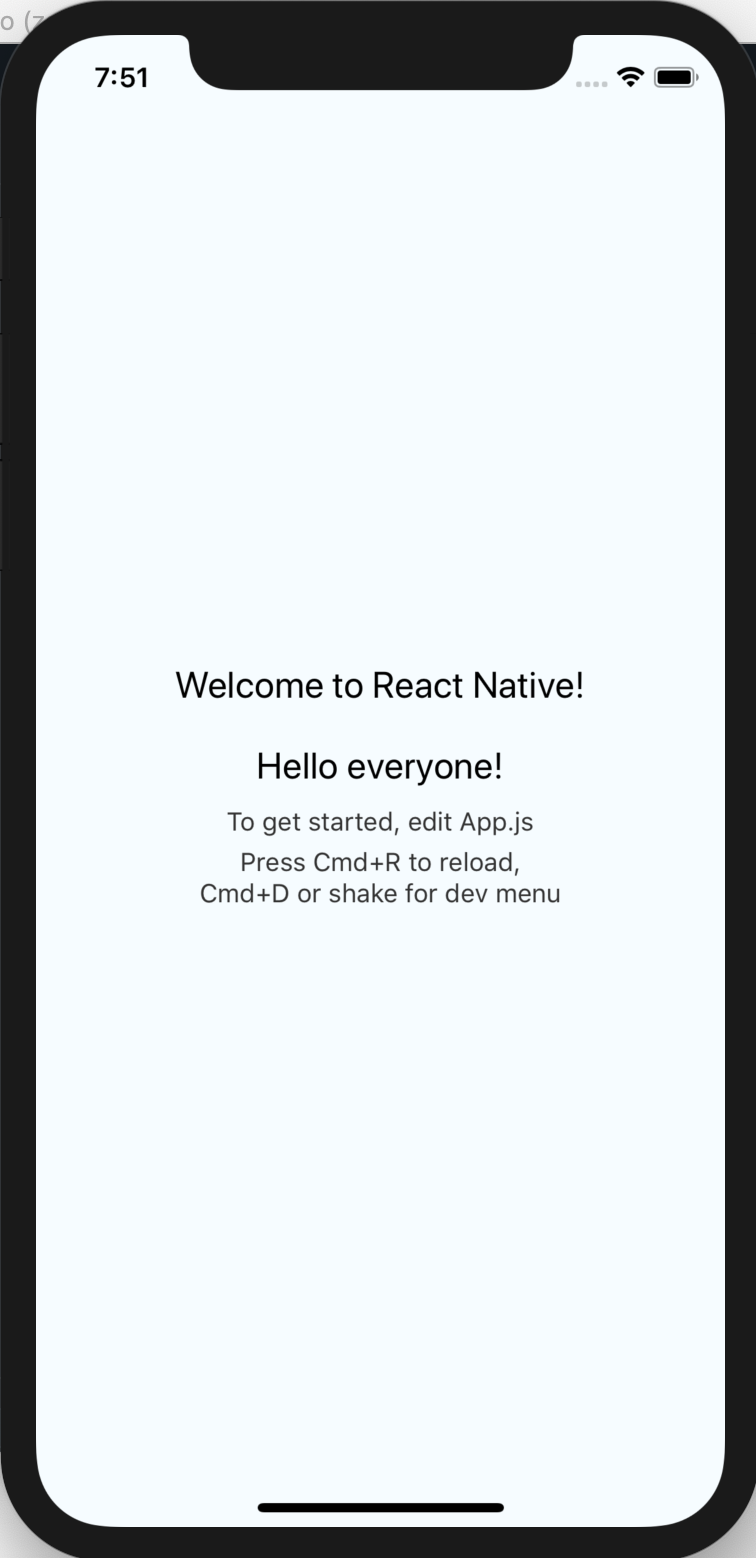
4.5 Change some thing in code
<Text style={styles.welcome}>Hello everyone!</Text>
5. Deployment and release
-
Deployment:
$ code-push deployment add <appName> <deploymentName>If you use this command line:
$ code-push deployment add <appName> --defaultTwo brand "Staging" and "Production" will be added automatically.
![]()
![]()
Now I create “Deployment02” brand to deploy
![]()
-
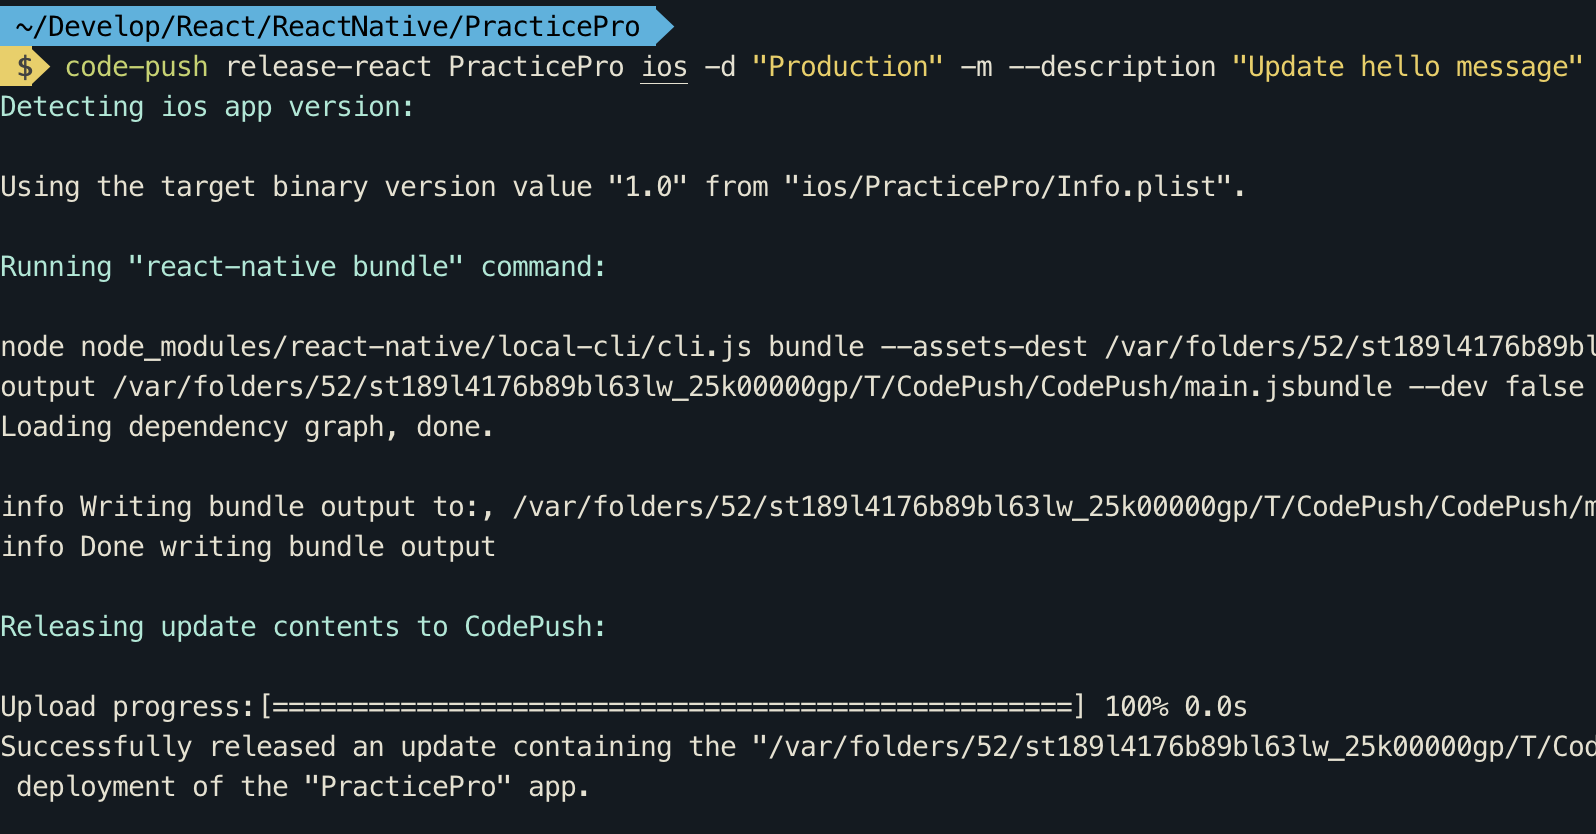
Let’s release (sắp xong rồi nè):
$ code-push release <appName> <updateContents> <targetBinaryVersion> [--deploymentName <deploymentName>] [--description <description>] [--disabled <disabled>] [-mandatory] --rollout <rolloutPercentage>]![]() 7. Update -> deployment -> release -> see result on device
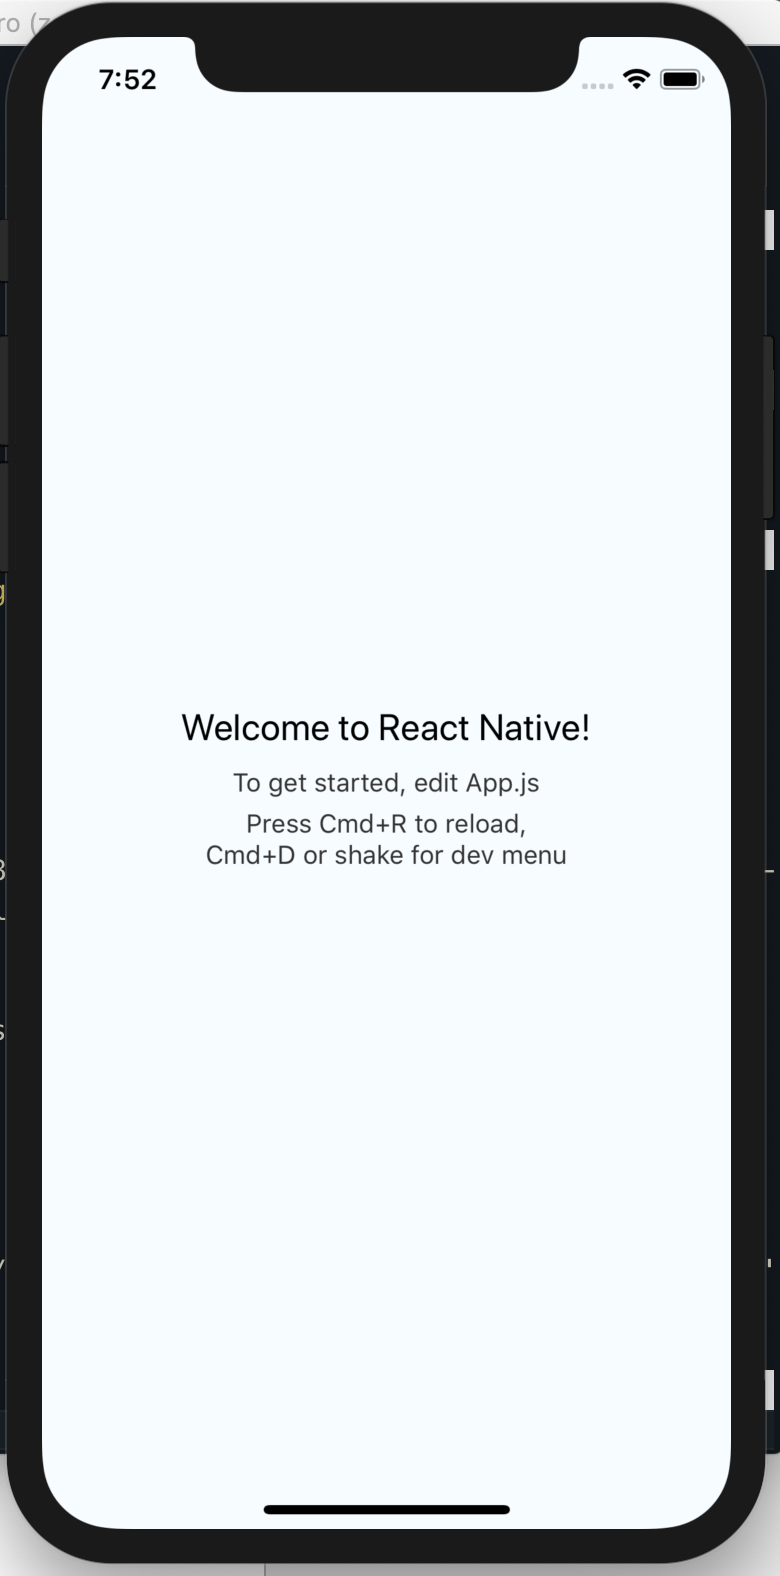
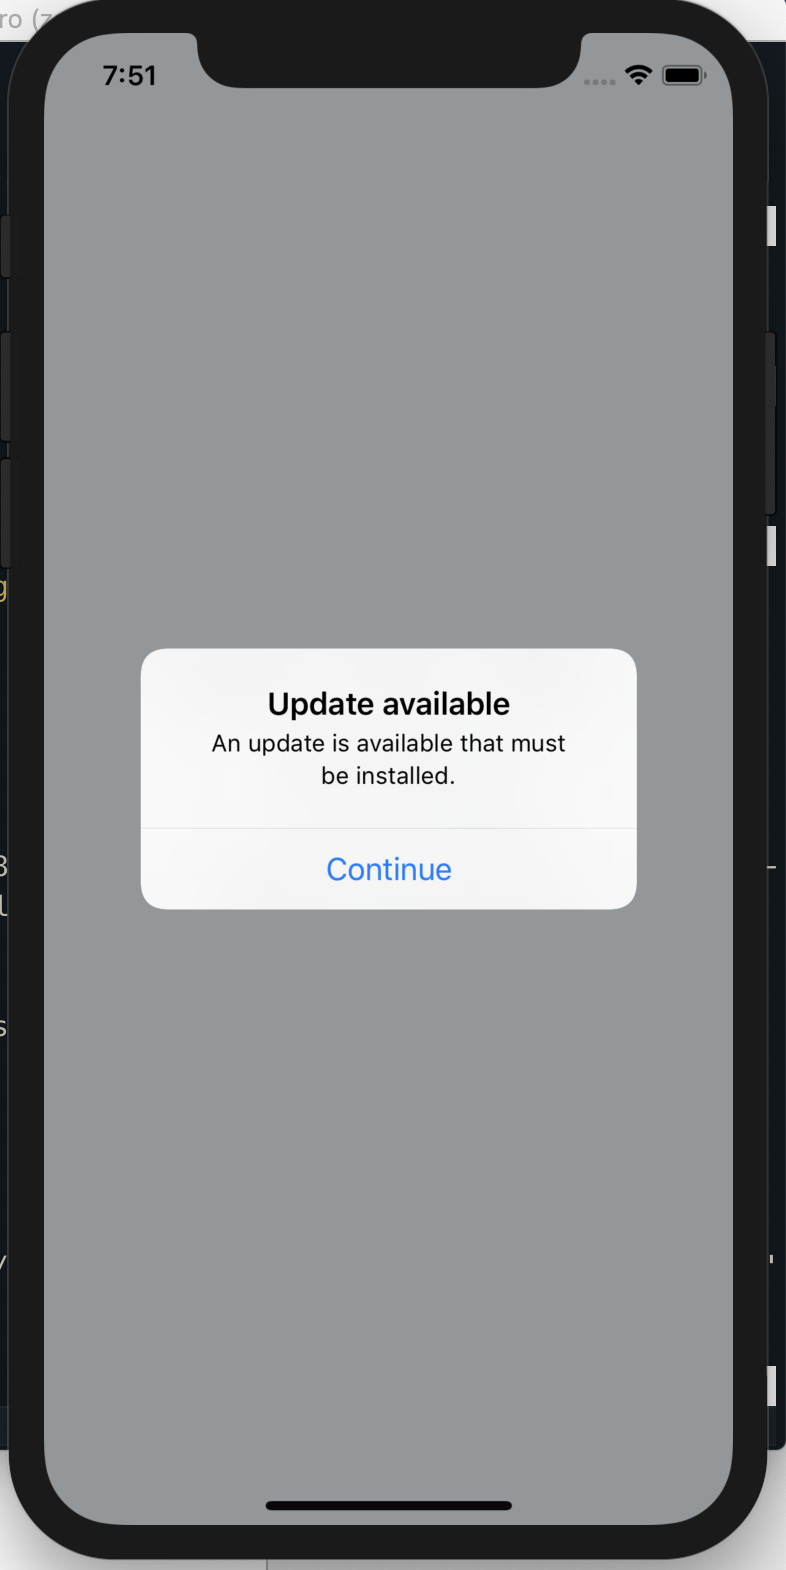
7. Update -> deployment -> release -> see result on device
![]()
![]()
![]()
If there is any update from CodePush configuration in the future, please follow this page https://docs.microsoft.com/en-us/appcenter/distribution/codepush/
Cảm ơn ace đã đọc bài này nha! Thanks all


8. References
All rights reserved
