Phần 4: Basic Handler
Bài đăng này đã không được cập nhật trong 8 năm
Proejct 7: Getting current date and time
Khởi tạo project và tạo giao diện cho app như sau
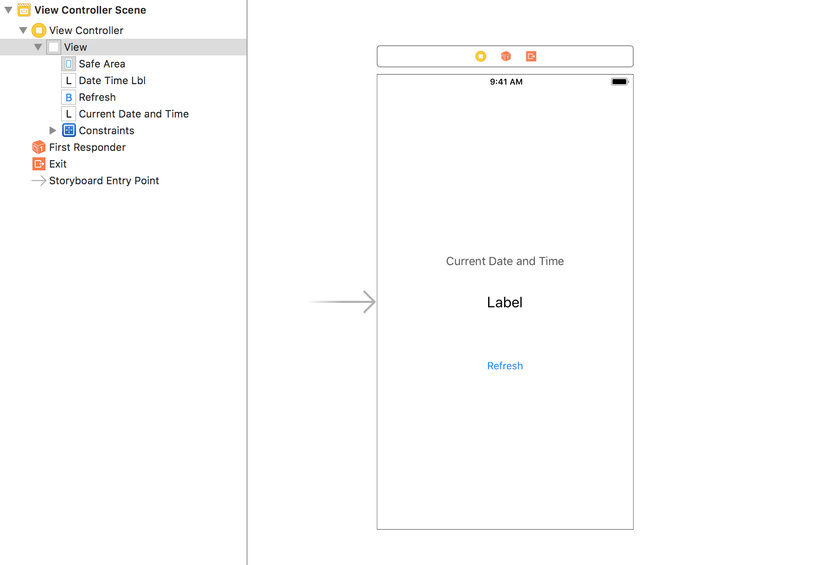
Kéo Outlet cho Label
@IBOutlet weak var dateTimeLbl: UILabel!
Kéo thả Action cho button Refesh
 @IBAction func refreshAction(_ sender: Any) {
    }
tiếp theo viết function getCurrentDateTime để lấy được datetime và hiển thị
    func getCurrentDateTime() {
        let date = Date()
        let dateFormatter = DateFormatter()
        dateFormatter.dateFormat = "MMM dd, yyyy, HH:mm:ss"
        let dateString = dateFormatter.string(from: date)
        dateTimeLbl.text = dateString
    }
Ở đây mình lấy current datetime của device qua hàm Date(), sau đó khởi tạo 1 dateFormatter để chuyển từ định dạng mặc định sang đinh dạng mong muốn là "MMM dd, yyyy, HH:mm:ss". Sau đó convert từ kiểu DateTime sang String để hiển thị
Ở ViewDidLoad gọi đến function getCurrentDateTime() để hiển thị ngay khi vào app, và ở action của button Refesh để giá trị datetime được cập nhật
    override func viewDidLoad() {
        super.viewDidLoad()
        getDateTime()
    }
    @IBAction func refreshAction(_ sender: Any) {
        getDateTime()
    }
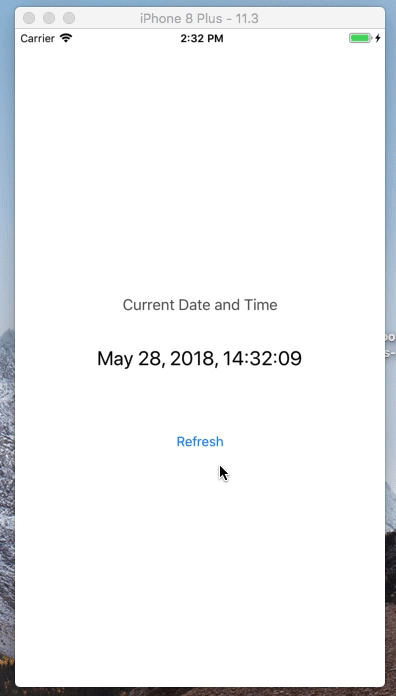
Đã xong. Hãy chạy ứng dụng và xem thành quả của mình nhé
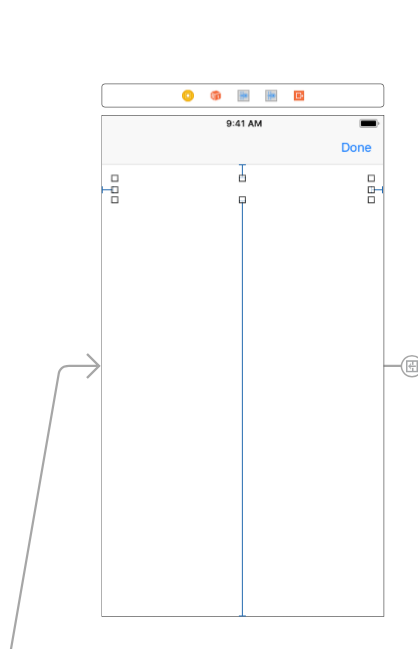
Project 8: Passing data to another view
Đầu tiên là khởi tạo project và tạo giao diện cho app
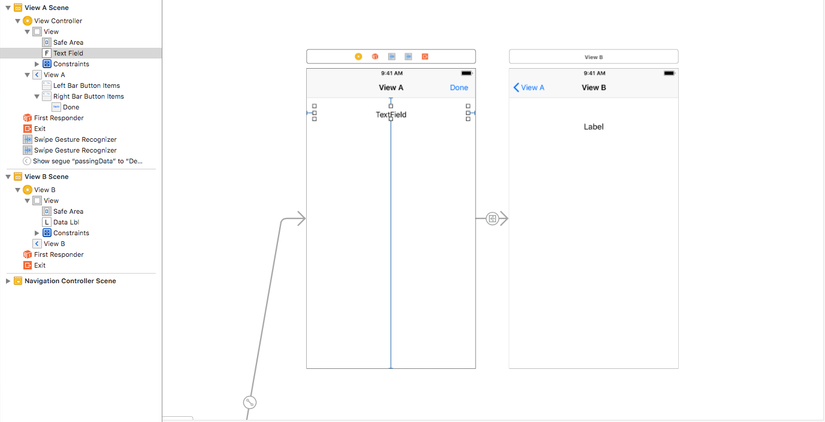
App sẽ có 2 View. View A có 1 textfield để người dùng nhập thông tin. Sau đó ấn done để chuyển dữ liệu này sang View B. Ở View B sẽ có 1 label để hiển thị thông tin đc truyền sang từ View A Có nhiều cách để truyền dữ liệu giữa 2 ViewController trong IOS, nhưng mình dùng cách đơn giản và dễ nhất (dữ liệu cũng rất đơn giản, chỉ là String) là viết lại function prepareForSegue
    override func prepare(for segue: UIStoryboardSegue, sender: Any?) {
        if let destinationViewController = segue.destination as? DestinationViewController  {
            destinationViewController.data = textField.text ?? ""
        }
    }
check đúng View B (mình đặt tên là DestinationViewController) thi sẽ lấy text ở textfield gắn cho giá trị data mình đã cài đặt ở DestinationViewcontroller var data = ""
Lưu ý: Sự kiện ấn và button done đển chuyển sang View B mình kéo thả trên giao diện luôn, và có đặt tên cho segue
Okay, đơn giản vậy thôi. Bây giờ hay chạy ứng dụng và xem thành quả nhé
Project 9: Spwipe to dismiss keyboard
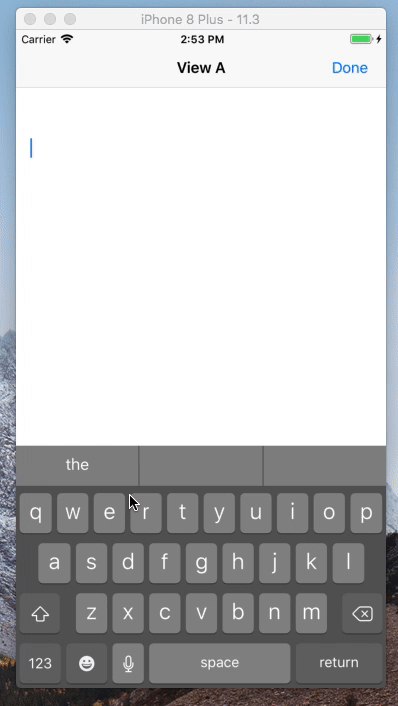
Tạo mới 1 project và trong giao diện có 1 textfield
Ở phần giao diện ta kéo thêm 2 gesture recognizer
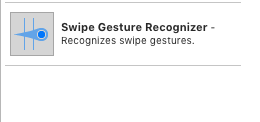
Kéo vào sẽ hiện như sau
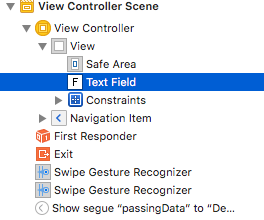
Có 2 gesture để cho 2 sự kiện đó swipe up để shwo bàn phím và swipe down để ẩn bàn phím
Sau đó ta kéo IBAction và viết code xử lý cho 2 gesture đó
    @IBAction func swipeUpHandler(_ sender: UISwipeGestureRecognizer) {
        if sender.state == .ended {
            if sender.direction == .down {
                textField.becomeFirstResponder()
            } else if sender.direction == .up {
                textField.resignFirstResponder()
            }
        }
    }

    @IBAction func swipeDownHandler(_ gestureRecognizer : UISwipeGestureRecognizer) {
        if gestureRecognizer.state == .ended {
            if gestureRecognizer.direction == .up {
                textField.becomeFirstResponder()
            } else if gestureRecognizer.direction == .down {
                textField.resignFirstResponder()
            }

        }
    }
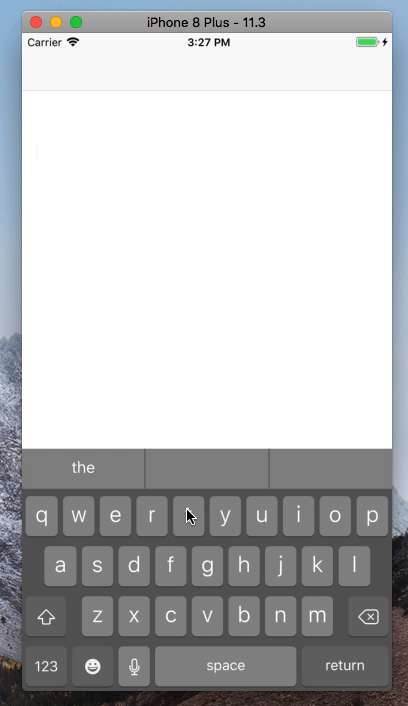
Đã xong, bây giờ hãy chạy ứng dụng và xem kết quả nào
Project 10: Add photo from camera roll
Khởi tạo project và tạo giao diện cho ứng dụng
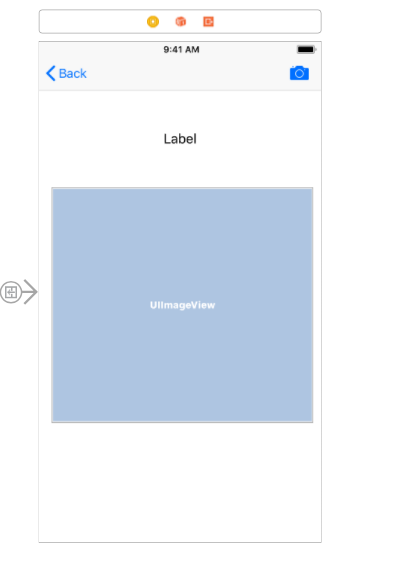
Đặt IBOutlet cho imageView
@IBOutlet weak var imageView: UIImageView!
Kéo action cho camera button và viết code xử lý
    @IBAction func cameraAction(_ sender: Any) {
        if UIImagePickerController.isSourceTypeAvailable(.photoLibrary) {
            let imagePicker = UIImagePickerController()
            imagePicker.delegate = self
            imagePicker.sourceType = .photoLibrary
            self.present(imagePicker, animated: true, completion: nil)
        }
    }
Nhớ implement 2 delegate UIImagePickerControllerDelegate, UINavigationControllerDelegate, rồi viết lại function imagePickerController
    func imagePickerController(_ picker: UIImagePickerController, didFinishPickingMediaWithInfo info: [String : Any]) {
        if let pickedImage = info[UIImagePickerControllerOriginalImage] as? UIImage {
            imageView.image = pickedImage
        }
        self.dismiss(animated: true, completion: nil)
    }
Đã xong, bây giờ hãy chạy ứng dụng và xem kết quả. Và đây là kết quả của mình
All rights reserved
