Mẹo làm việc với keyboard
Bài đăng này đã không được cập nhật trong 7 năm
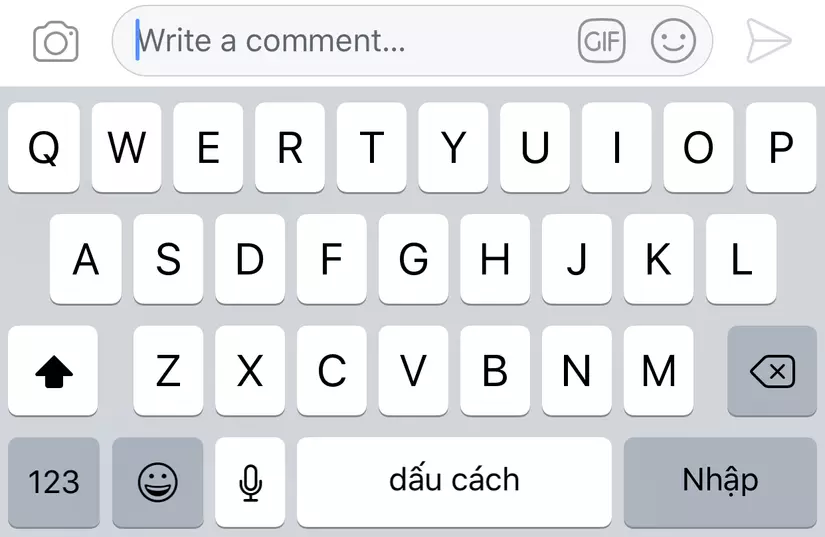
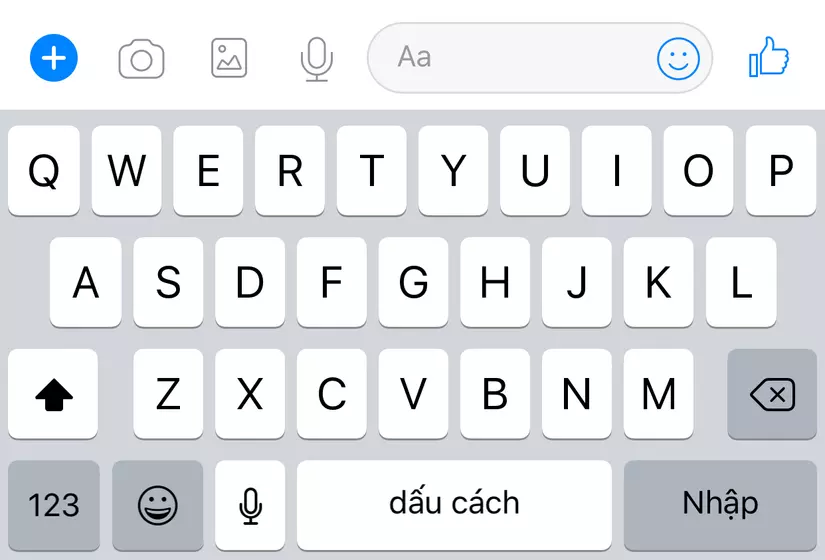
Đã khi nào bạn sử dụng những ứng dụng chat app, social app với những phần comment, gửi tin nhắn chưa? Liệu có khi nào bạn suy nghĩ làm sao để keyboard có thể show lên được như thế chưa? và làm sao để custom lại view bên trên keyboard đó chăng?
Khá hay ho đúng không. Vậy nên bài viết hôm nay mình sẽ hướng dẫn các bạn làm được điều đó. Mình tạm gọi View bên trên keyboard là inputView. Để inputView có thể chuyển động theo keyboard như thế thì mình biết có 2 cách. Cách thứ nhất là dùng inputAccessory có sẵn của thằng textView hoặc textField, cách thứ 2 là custom 1 View và bắt sự kiện keyboardWillShow rồi dùng constraint để thay đổi vị trí của inputView
Mình sẽ hướng dẫn các thứ 2 trước
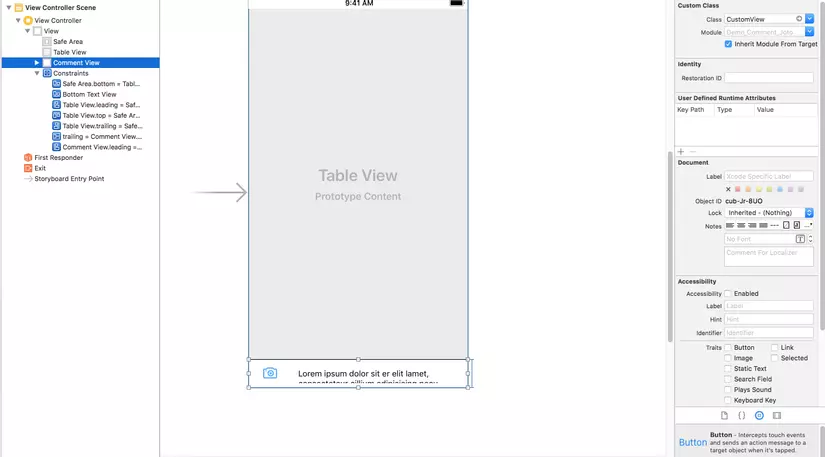
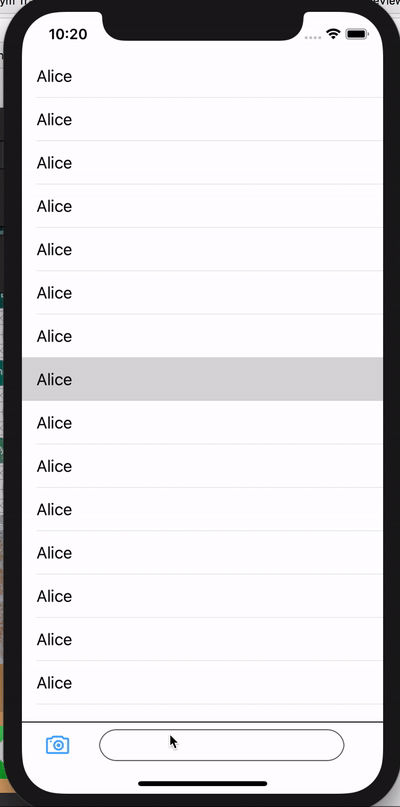
- Tạo mới project với giao diện như sau:
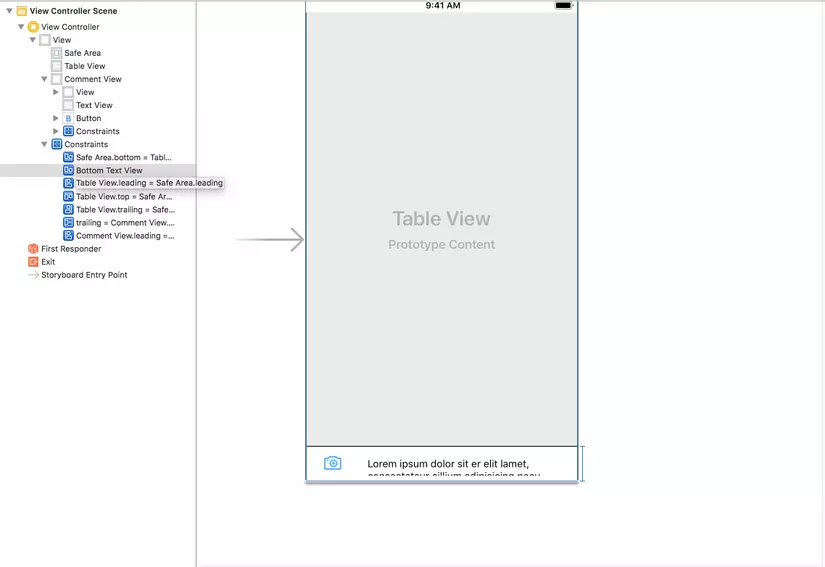
autolayout constaint, kéo Outlet cho CommentView, TableView, TextView cho chúng. Và nhớ kéo cả Outlet cho constaint bottom của CommentView để sử dụng
- Làm đẹp 1 chút cho các View mình đã kéo vào nhé
        tableView.keyboardDismissMode = .onDrag
        textView.layer.borderColor = UIColor.darkGray.cgColor
        textView.layer.borderWidth = 1
        textView.layer.cornerRadius = 18
        textView.text = nil
        textView.contentInset = UIEdgeInsets(top: 8, left: 8, bottom: 3, right: 0)
- Tiếp theo bắt sự kiện show và dismiss của keyboard qua Notification
        NotificationCenter.default.addObserver(self, selector: #selector(handleKeyboardNotification),
                                               name: NSNotification.Name.UIKeyboardWillShow, object: nil)

        NotificationCenter.default.addObserver(self, selector: #selector(handleKeyboardNotification),
                                               name: NSNotification.Name.UIKeyboardWillHide, object: nil)
viết hàm để khi xử lý cho 2 sự kiện trên
 @objc func handleKeyboardNotification(_ notification: Notification) {
        // check bàn phím show hay dismiss
        let isKeyBoardShowing = notification.name == Notification.Name.UIKeyboardWillShow
        guard let rectNotification = notification.userInfo?[UIKeyboardFrameEndUserInfoKey] as? NSValue else {
            return
        }

        // lấy ra fram của keyboard khi show
        let keyboardRect = rectNotification.cgRectValue
        if isKeyBoardShowing {

            // thay đổi constraint bottom của CommentView khi show keyboard
            bottomTextView.constant = keyboardRect.height
        } else {

            // thay đổi constraint bottom của CommentView khi show keyboard
            bottomTextView.constant = 0
        }

        // lấy thời gian của việc show bàn phím để thực hiện animation cho việc đẩy CommentView lên
        let animationDuration = (notification.userInfo?[UIKeyboardAnimationDurationUserInfoKey] as? NSNumber)?.doubleValue ?? 0

        // Animation cho việc đẩy CommentView lên
        UIView.animate(withDuration: animationDuration, delay: 0, options: .curveEaseOut, animations: {
            self.view.layoutIfNeeded()
        }, completion: nil)
    }
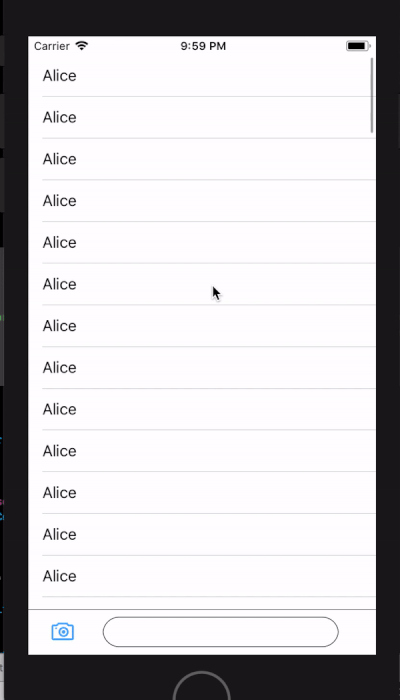
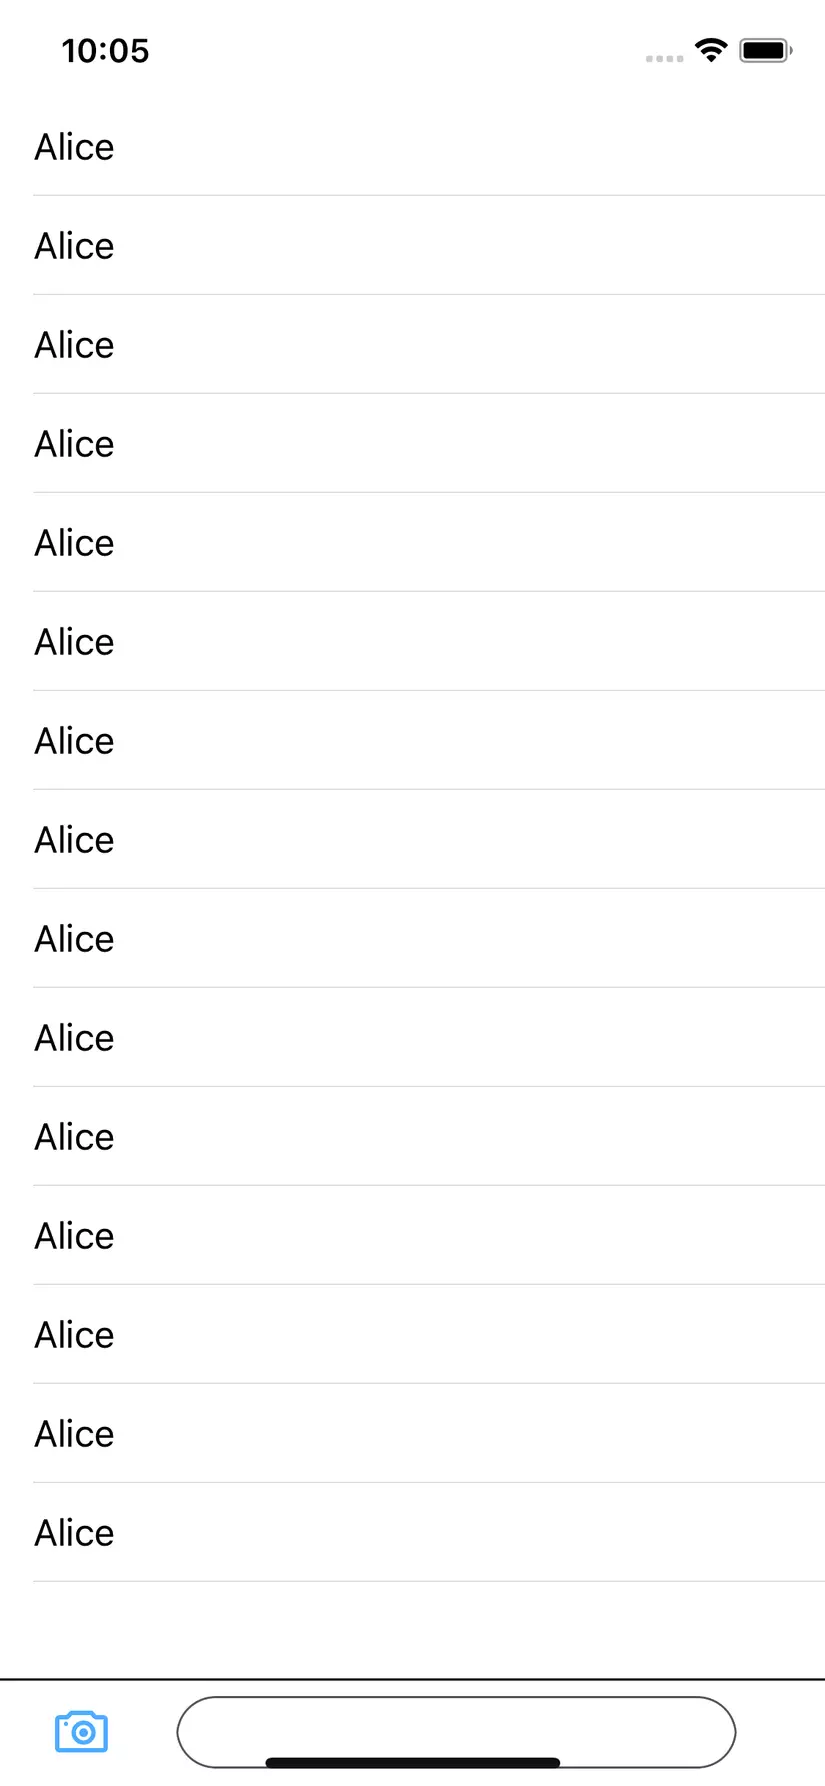
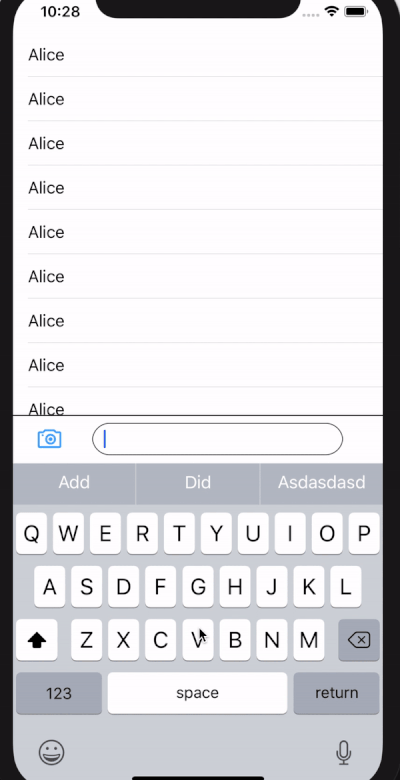
ok, bây giờ chúng ta cùng xem kết quả nào
cũng rất ổn rồi đúng không. Nhưng không chờ 1 chút nào, hãy chạy trên simulator của iPhone X xem nào
hãy nhìn xem có chuyện gì xảy ra vậy. CommentView của ta đã ở tít tít tận cuối rồi phải không? Vì chúng ta constraint CommentView với superView và bằng 0 nên đương nhiên nó sẽ ở dưới cùng như vậy rồi. =)) Do vũng safe area của iPhone X, nên hãy thử đổi constraint từ CommentView với superView sang với safe area xem sao
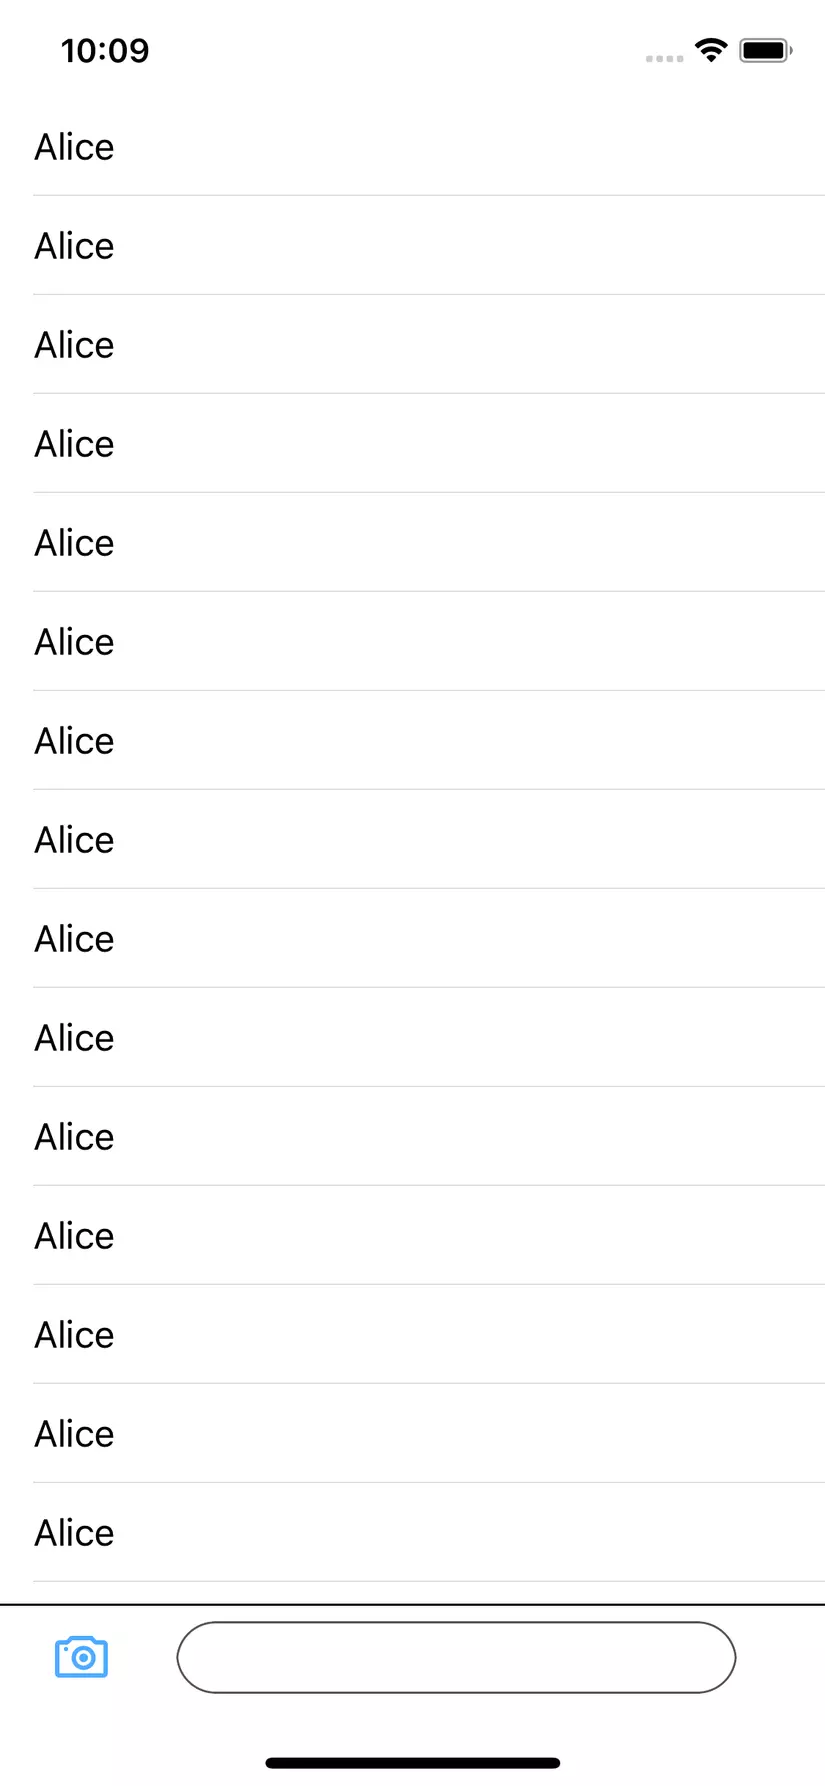
ồh, mọi thứ đã ổn rồi phải không? không không đâu, hãy thử show bàn phím lên xem sao!
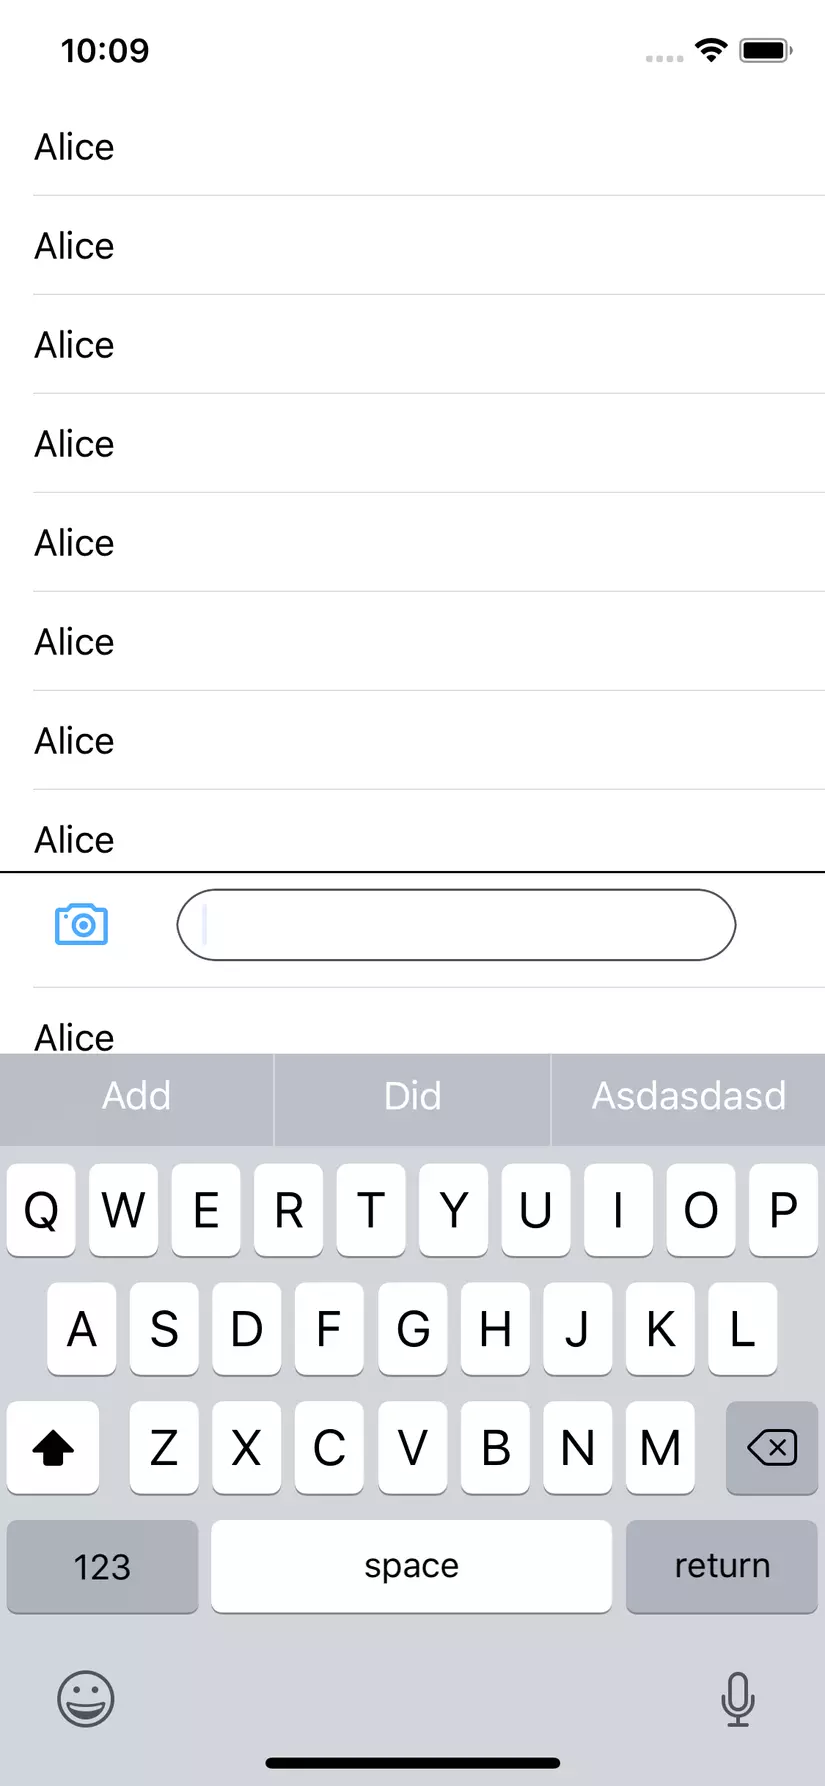
cái khoảng trống khỉ gió ở giữa CommentView và keyboard ở đâu ra vậy?
Và sau 1 hồi hỏi bác gô gồ thì đây là solution là quay lại dùng constraint CommentView với superView. Sau đó tạo ra 1 customView và override lại hàm didMoveToWindow() và dùng cho CommentView của mình
class CustomView: UIView {

    override func didMoveToWindow() {
        super.didMoveToWindow()
        if #available(iOS 11.0, *) {
            if let window = self.window {
                self.bottomAnchor.constraintLessThanOrEqualToSystemSpacingBelow(window.safeAreaLayoutGuide.bottomAnchor,
                                                                                multiplier: 1.0).isActive = true
            }
        }
    }

}
okay, hay xem kết quả nào
Thật tuyệt vời đúng không nào. Đã không có khe nào xuất hiện khi show và dismiss keyboard. Ầu, những hay xem lại doạn quay chậm là animation khi ẩn và hiện bàn phím. Vâng, lại là cái khe khỉ gió đó xuất hiện. dù rất nhanh thôi những cũng đủ làm bạn khó chịu đúng không nào. haiz
Bây giờ xử lý triệt để cái khe này nào!
bắt sự kiện UIKeyboardWillChangeFrame
   NotificationCenter.default.addObserver(self,
                                               selector: #selector(_onKeyboardFrameWillChangeNotificationReceived(_:)),
                                               name: NSNotification.Name.UIKeyboardWillChangeFrame,
                                               object: nil)
Và khi nó được gọi đến
 @objc private func _onKeyboardFrameWillChangeNotificationReceived(_ notification: Notification) {
        guard let userInfo = notification.userInfo,
                let keyboardFrame = (userInfo[UIKeyboardFrameEndUserInfoKey] as? NSValue)?.cgRectValue else {
                    return
            }

            let keyboardFrameInView = view.convert(keyboardFrame, from: nil)
            let safeAreaFrame = view.safeAreaLayoutGuide.layoutFrame.insetBy(dx: 0, dy: -additionalSafeAreaInsets.bottom)
            let intersection = safeAreaFrame.intersection(keyboardFrameInView)

            let animationDuration: TimeInterval = (notification.userInfo?[UIKeyboardAnimationDurationUserInfoKey] as? NSNumber)?.doubleValue ?? 0
            let animationCurveRawNSN = notification.userInfo?[UIKeyboardAnimationCurveUserInfoKey] as? NSNumber
            let animationCurveRaw = animationCurveRawNSN?.uintValue ?? UIViewAnimationOptions.curveEaseInOut.rawValue
            let animationCurve = UIViewAnimationOptions(rawValue: animationCurveRaw)

            UIView.animate(withDuration: animationDuration, delay: 0, options: animationCurve, animations: {
                self.additionalSafeAreaInsets.bottom = intersection.height
                self.view.layoutIfNeeded()
            }, completion: nil)
    }
Okay xong hết rồi đó, hay cùng xem thành quả của mình nào
All rights reserved
