Phần 5: Working with tableView
Bài đăng này đã không được cập nhật trong 8 năm
Project 11: Pull to refesh tableView
Khởi tạo project và giao diện cho app
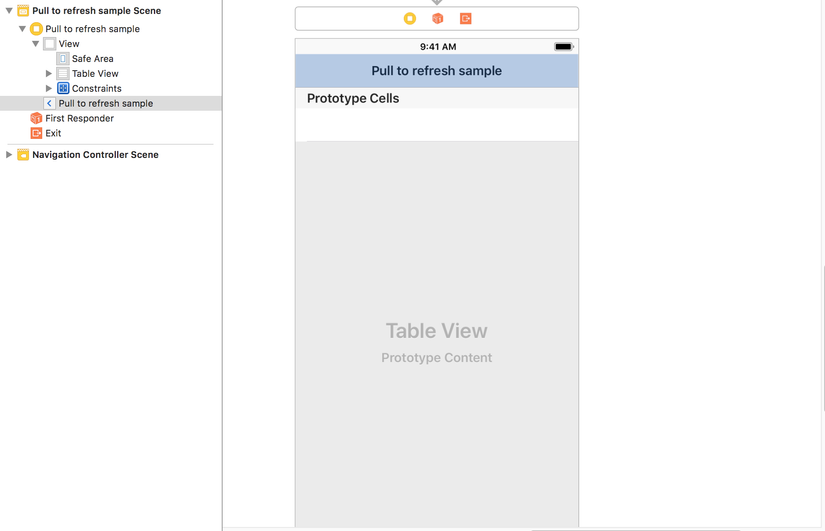
Add UIRefreshControl cho tableView
-
Khai báo và khởi tạo
var refreshControll = UIRefreshControl() -
Thêm các thuộc tính
refreshControll.attributedTitle = NSAttributedString(string: "Pull to refresh")
refreshControll.addTarget(self, action: #selector(refreshData), for: .valueChanged)
tableView.addSubview(refreshControll)
Phương thức để refresh data
    @objc func refreshData() {
    count = count + 1
    data.append(String(format: "Pull to refresh %d time ", count))
    refreshControll.endRefreshing()
    tableView.reloadData()
}
tạo thêm 1 biến count để dễ nhận biết lần pull nào
Đây là dữ liệu tạm thời mình có
var data = ["Sony", "Apple","Samsung", "HTC", "Nokia"]
Implement 2 phương thức của UITableViewDataSource
      func tableView(_ tableView: UITableView, numberOfRowsInSection section: Int) -> Int {
        return data.count
    }

    func tableView(_ tableView: UITableView, cellForRowAt indexPath: IndexPath) -> UITableViewCell {
        let cell = tableView.dequeueReusableCell(withIdentifier: "cell", for: indexPath)
        cell.textLabel?.text = data[indexPath.row]
        return cell
    }
Đã xong, bây giờ hãy xem kết quả nào

Project 12: Deleting and rearranging
Chúng ta lấy project 6: basic tableView của phần 3 để làm phần này
chỉnh thêm ở action của edit Bar button
   @IBAction func editAction(_ sender: Any) {
        if tableView.isEditing {
            tableView.setEditing(false, animated: true)
            editBarButton.style = .plain
            editBarButton.title = "Edit"
        } else {
            tableView.setEditing(true, animated: true)
            editBarButton.style = .done
            editBarButton.title = "Done"
        }
    }
}
Để thực hiện việc xóa 1 row trong tableView
    func tableView(_ tableView: UITableView, commit editingStyle: UITableViewCellEditingStyle, forRowAt indexPath: IndexPath) {
        if editingStyle == .delete {
            dataSource.remove(at: indexPath.row)
            tableView.deleteRows(at: [indexPath], with: .automatic)
        }
    }
Để reorder các row trong tableView, sắp xếp lại thứ tự trong dataSource
    func tableView(_ tableView: UITableView, moveRowAt sourceIndexPath: IndexPath, to destinationIndexPath: IndexPath) {
        let string = dataSource[sourceIndexPath.row]
        dataSource.remove(at: sourceIndexPath.row)
        dataSource.insert(string, at: destinationIndexPath.row)

    }
Và quan trọng nhất là canEditRowAt cho phép edit tableView bằng cách trả về true ở phương thức dưới
    func tableView(_ tableView: UITableView, canEditRowAt indexPath: IndexPath) -> Bool {
        return true
    }
Vậy là đã xong, hãy cùng xem kết quả nào
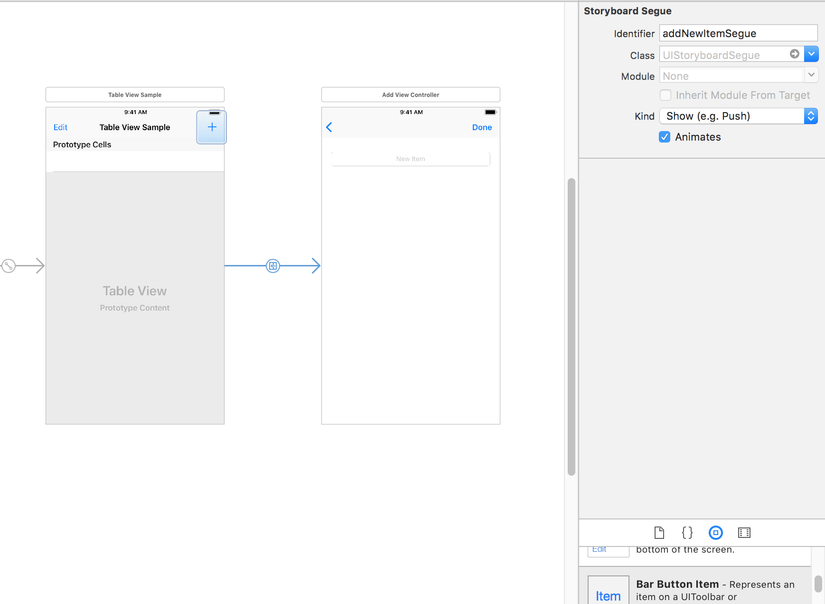
Project 13: Add new item
Sử dụng lại chính project 12 chúng ta vừa làm ở trên trong file storyboard tạo thêm bar button để chuyển sang view add item, đặt identifier của segue là addNewItemSegue, tạo viewcontroller add new item có 1 textfield để nhập text
Kéo outlet cho textField @IBOutlet weak var textField: UITextField!
Viết hàm để thực hiện việc add item
    func addNewItem() {
        if textField.text != "" {
            self.delegate?.addItemToList(string: textField.text!)
            self.navigationController?.popViewController(animated: true)
        }
    }
Ta truyền dữ liệu giữa 2 view qua delegate AddNewItemDelegate
protocol AddNewItemDelegate: NSObjectProtocol {
    func addItemToList(string: String)
}
Viết hàm để thực hiện việc add mới 1 item
    func addNewItem() {
        if textField.text != "" {
            self.delegate?.addItemToList(string: textField.text!)
            self.navigationController?.popViewController(animated: true)
        }
    }
Thực hiện việc add new item khi ấn done bar button
@IBAction func doneAction(_ sender: Any) {
        self.addNewItem()
    }
Và ở Viewcontroller ta implement lại delegate AddNewItemDelegate
extension ViewController: AddNewItemDelegate {
    func addItemToList(string: String) {
        self.dataSource.append(string)
        self.tableView.reloadData()
    }
}
Xử lý việc ấn done ở keyboard Chọn return key là Done

Để bắt sự kiện ấn nút done ở keyboard ta cần implement UITextFieldDelegate
Đầu tiên cần có self.textField.delegate = self
Sau đó xử lý việc ấn keyboard và add new item
extension AddViewController: UITextFieldDelegate {
    func textFieldShouldReturn(_ textField: UITextField) -> Bool {
        textField.resignFirstResponder()
        addNewItem()
        return true
    }
}
Mọi thứ đã xong, giờ hay chạy và xem kết quả nào

All rights reserved
