Cùng tìm hiểu về Kotlin (Phần 3) - Hướng dẫn tạo demo app đơn giản sử dụng Kotlin
Bài đăng này đã không được cập nhật trong 4 năm
Như đã hứa, hôm nay mình xin giới thiệu viết app Android đơn giản sử dụng Kotlin Các bạn hãy xem lại cách cài đặt các Kotlin cũng như việc code Kotlin như nào ở Phần 1 và Phần 2 nhé
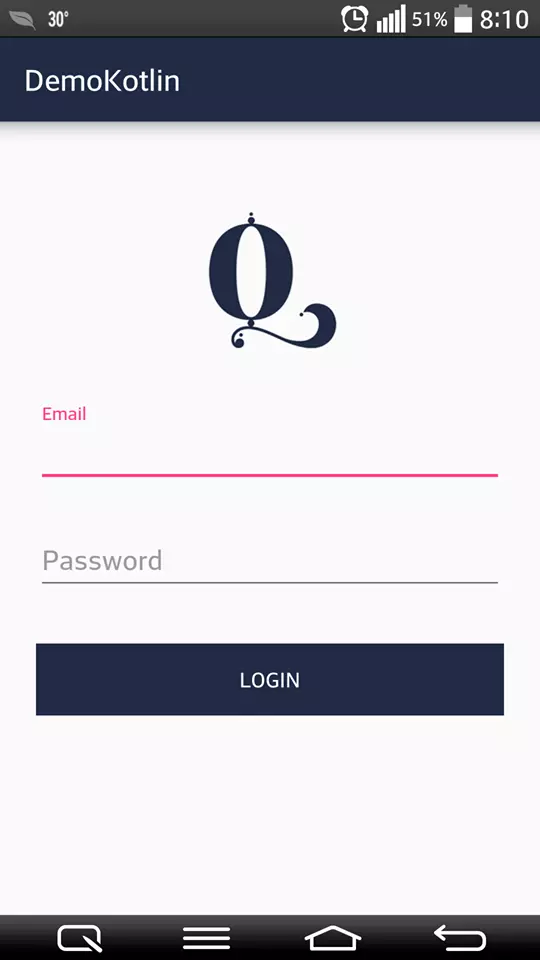
1. Màn hình Login
Bước 1. Tạo project mới: Vào File -> chọn New project. Sau đó nhập các thông tin của app: tên app, version SDK... rồi chọn loại Empty Activity
Bước 2. Tạo UI màn hình login: activity_login.xml
<?xml version="1.0" encoding="utf-8"?>
<ScrollView xmlns:android="http://schemas.android.com/apk/res/android"
    android:layout_width="fill_parent"
    android:layout_height="fill_parent"
    android:fitsSystemWindows="true">

    <LinearLayout
        android:orientation="vertical"
        android:layout_width="match_parent"
        android:layout_height="wrap_content"
        android:paddingTop="56dp"
        android:paddingLeft="24dp"
        android:paddingRight="24dp">

        <ImageView android:src="@drawable/logo"
            android:layout_width="100dp"
            android:layout_height="100dp"
            android:layout_marginBottom="24dp"
            android:layout_gravity="center_horizontal" />

        <!-- Email Label -->
        <android.support.design.widget.TextInputLayout
            android:layout_width="match_parent"
            android:layout_height="wrap_content"
            android:layout_marginTop="8dp"
            android:layout_marginBottom="8dp">
            <EditText android:id="@+id/input_email"
                android:layout_width="match_parent"
                android:layout_height="wrap_content"
                android:inputType="textEmailAddress"
                android:hint="Email" />
        </android.support.design.widget.TextInputLayout>

        <!-- Password Label -->
        <android.support.design.widget.TextInputLayout
            android:layout_width="match_parent"
            android:layout_height="wrap_content"
            android:layout_marginTop="8dp"
            android:layout_marginBottom="8dp">
            <EditText android:id="@+id/input_password"
                android:layout_width="match_parent"
                android:layout_height="wrap_content"
                android:inputType="textPassword"
                android:hint="Password"/>
        </android.support.design.widget.TextInputLayout>

        <android.support.v7.widget.AppCompatButton
            android:background="@color/colorPrimary"
            android:id="@+id/btn_login"
            android:layout_width="fill_parent"
            android:layout_height="wrap_content"
            android:layout_marginTop="24dp"
            android:layout_marginBottom="24dp"
            android:padding="12dp"
            android:textColor="@color/colorWhite"
            android:text="Login"/>


    </LinearLayout>
</ScrollView>
Bước 3. Viết code để kiểm tra tài khoản login.
class LoginActivity : AppCompatActivity() {

override fun onCreate(savedInstanceState: Bundle?) {
    super.onCreate(savedInstanceState)
    setContentView(R.layout.activity_login)
    btn_login.setOnClickListener {
        login()
    }
}

private fun login(){
    if(input_email.text.toString().equals(Util.ACCOUNT) && input_password.text.toString().equals(Util.PASS_WORD)) {
        val builder = android.app.AlertDialog.Builder(this)

        builder.setMessage("Login success")
                .setPositiveButton("Ok", { dialogInterface: DialogInterface, i: Int -> goHome() })
                .show()
    } else {
        val builder = android.app.AlertDialog.Builder(this)

        builder.setMessage("Login faild")
                .setNegativeButton("Ok", { dialogInterface: DialogInterface, i: Int -> dismissDialog(1)})
                .show()
    }
}

private fun goHome() {
    startActivity(Intent(this, MainActivity::class.java))
}
}
Bước 4. Ở đây tôi fix ở file Util cho tài khoản đăng nhập:
public class Util {
    public static final String ACCOUNT = "test@gmail.com";
    public static final String PASS_WORD = "123456";
}
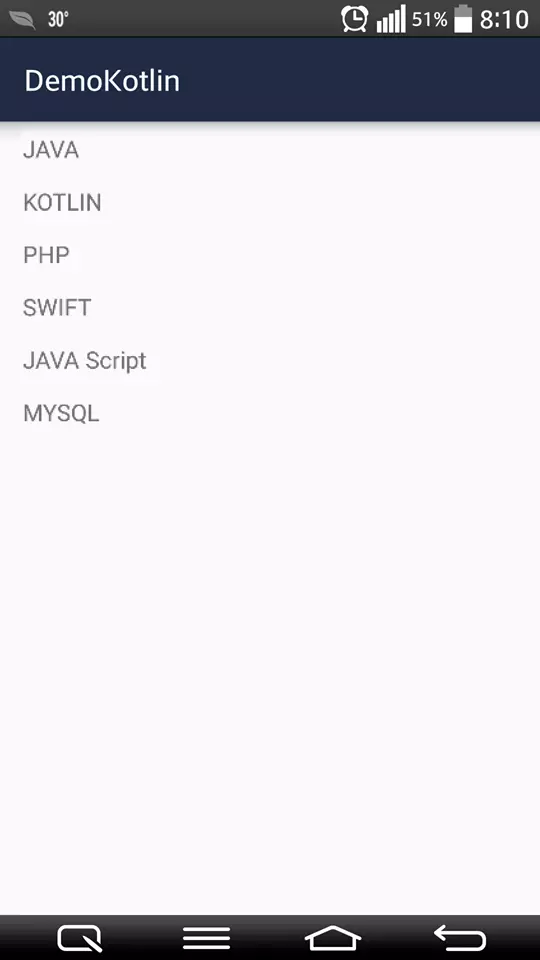
2. Màn hình list
Bước 5. Tạo UI cho màn hình list các ngôn ngữ lập trình: activity_main.xml
<?xml version="1.0" encoding="utf-8"?>
<LinearLayout xmlns:android="http://schemas.android.com/apk/res/android"
    xmlns:app="http://schemas.android.com/apk/res-auto"
    xmlns:tools="http://schemas.android.com/tools"
    android:layout_width="match_parent"
    android:layout_height="match_parent"
    tools:context="com.example.nguyenmanhquan.kotlindemo.MainActivity">

    <android.support.v7.widget.RecyclerView
        android:id="@+id/list"
        android:layout_width="match_parent"
        android:layout_height="match_parent" />

</LinearLayout>
Bước 6. Tạo adapter cho recyclerview
class ListAdapter (var c: Context, var lists: ArrayList<String>) : RecyclerView.Adapter<RecyclerView.ViewHolder>() {

    override fun onCreateViewHolder(parent: ViewGroup, viewType: Int): RecyclerView.ViewHolder? {
        var view : View =  LayoutInflater.from(parent.context).inflate(R.layout.item, parent, false)
        return ViewHolder(view)
    }

    override fun getItemCount(): Int {
        return lists.size
    }

    override fun onBindViewHolder(holder: RecyclerView.ViewHolder, position: Int) {
        (holder as ViewHolder).bindData(lists[position])
    }

    class ViewHolder(itemView: View) : RecyclerView.ViewHolder(itemView) {
        fun bindData(_list: String) {
            itemView.textView.text = _list
        }
    }
}
Bước 7. Ta viết code để hiển thị list các ngôn ngữ lập trình trên màn hình Main
class MainActivity : AppCompatActivity() {

    override fun onCreate(savedInstanceState: Bundle?) {
        super.onCreate(savedInstanceState)
        setContentView(R.layout.activity_main)

        list.layoutManager = LinearLayoutManager(this)
        list.hasFixedSize()
        list.adapter = ListAdapter(applicationContext, getLists())

    }

    fun getLists(): ArrayList<String> {
        var lists = ArrayList<String>()
        lists.add("JAVA")
        lists.add("KOTLIN")
        lists.add("PHP")
        lists.add("SWIFT")
        lists.add("JAVA Script")
        lists.add("MYSQL")
        return lists;
    }
}
Bước 4. Chỉnh sửa lại trong file AndroidManifest
<?xml version="1.0" encoding="utf-8"?>
<manifest xmlns:android="http://schemas.android.com/apk/res/android"
    package="com.example.nguyenmanhquan.kotlindemo">

    <application
        android:allowBackup="true"
        android:icon="@mipmap/ic_launcher"
        android:label="@string/app_name"
        android:roundIcon="@mipmap/ic_launcher_round"
        android:supportsRtl="true"
        android:theme="@style/AppTheme">
        <activity android:name=".LoginActivity">
            <intent-filter>
                <action android:name="android.intent.action.MAIN" />

                <category android:name="android.intent.category.LAUNCHER" />
            </intent-filter>
        </activity>
        <activity android:name=".MainActivity"></activity>
    </application>

</manifest>
3. Chạy thử ứng dụng
3.1. Màn hình đăng nhập
3.2. Màn hình list
Hy vọng với app demo này có thể giúp mọi người tiếp cận dễ dàng hơn với Kotlin
All rights reserved
