Kubernetes Practice (English) - User management and RBAC Configuration on ArgoCD
Bài đăng này đã không được cập nhật trong 3 năm
In this post, we will learn how to create new users and manage RBAC Configuration on ArgoCD.

By default, ArgoCD provides you with an admin user that has full access to the system. There is no problem if you work alone, but when your team scale, the boss will ask you: "Is there a way for developers to check logs on ArgoCD without asking you for help?". You can't provide a user admin to developers, so we have to create a new user account and assign it the appropriate permissions.
Create new account
In ArgoCD creating a new account is quite simple, we just need to manipulate the ConfigMap named argocd-cm in the namespace where we install ArgoCD, for example, if we install it in the namespace argocd, the default configuration is argocd-cm as follows:
apiVersion: v1
kind: ConfigMap
metadata:
  name: argocd-cm
  namespace: argocd
  labels:
    app.kubernetes.io/name: argocd-cm
    app.kubernetes.io/part-of: argocd
data:
  url: https://argocd.example.com
You copy the default configuration and create a file named argocd-cm.yaml then paste the above configuration snippet. Next, we update argocd-cm to create a user with the username hanli.
apiVersion: v1
kind: ConfigMap
metadata:
  name: argocd-cm
  namespace: argocd
  labels:
    app.kubernetes.io/name: argocd-cm
    app.kubernetes.io/part-of: argocd
data:
  url: https://argocd.example.com
  accounts.hanli: login
In the data property of the argocd-cm ConfigMap, we declare the user we want to create, the format is as follows:
accounts.<username>: <capabilities>
Each user might have two capabilities:
- apiKey - allows generating authentication tokens for API access
- login - allows to login using UI
In the above configuration, we named the user hanli and it only can log in. Next, we update the ConfigMap.
kubectl apply -f argocd-cm.yaml
ArgoCD will create a new user named hanli. Next, we need to set the password for the user hanli so that it can log in to ArgoCD, we run the following command.
argocd account update-password --account hanli --new-password hanli --current-password <admin-password> --grpc-web
The value of the current-password is the admin's password. Now, the user hanli can log in to ArgoCD, open the ArgoCD UI and log in.
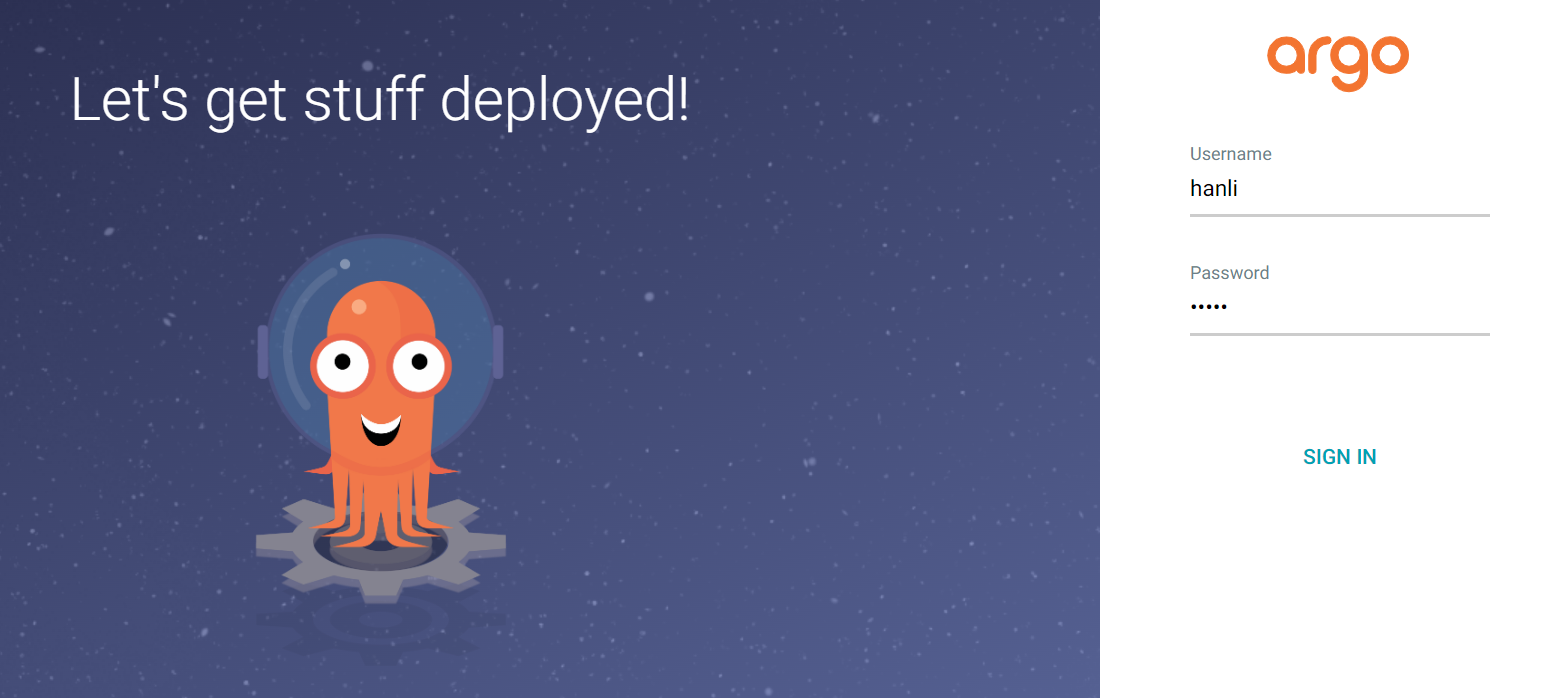
With the username and password as hanli that we have configured above. By default, when we create a new user, it only has read-only permissions, and can not perform any other actions. For example, the user hanli needs to restart Deployment so that all Pods of that Deployment are updated to the new ConfigMap, but it can not.
Next, we will learn how to assign permissions to users on ArgoCD.
RBAC Configuration
To set additional RBAC roles for users, we will manipulate the ConfigMap named argocd-rbac-cm, its default configuration is as follows.
apiVersion: v1
kind: ConfigMap
metadata:
  name: argocd-rbac-cm
  namespace: argocd
data:
  policy.default: role:readonly
As we can see it will have a field of policy.default: role:readonly, this field will grant read-only permission to the user if that user is not granted permission anywhere. Copy and paste it into a file named argocd-rbac-cm.yaml, to grant permission to a user, we will add a field named policy.csv as follows:
apiVersion: v1
kind: ConfigMap
metadata:
  name: argocd-rbac-cm
  namespace: argocd
data:
  policy.default: role:readonly
  policy.csv: |
We will define permissions in the field policy.csv with the format.
p, <role/user/group>, <resource>, <action>, <object>
Or
p, <role/user/group>, <resource>, <action>, <appproject>/<object>
The <role/user/group> is the name of the role or user or group.
Resources: clusters, projects, applications, repositories, certificates, accounts, gpgkeys, logs, exec
Actions: get, create, update, delete, sync, override, action/<group/kind/action-name>
We want the user to have permission to restart Deployment, then we will format it as follows.
apiVersion: v1
kind: ConfigMap
metadata:
  name: argocd-rbac-cm
  namespace: argocd
data:
  policy.default: role:readonly
  policy.csv: |
    p, hanli, applications, action/apps/Deployment/restart, default/*, allow
The resource we will leave is applications, and with the action in the format action/<group/kind/action-name>, then we will have the action to restart the Deployment as action/apps/Deployment/restart.
Next, the value <object> we leave is default/*, by default when we install ArgoCD, it will have a project named default, and if we do not create more projects, all applications that we are running will be in this default project. And the value default/* means that we want this permission to be applied to the entire application in the default project.
If you want to limit it to one application, declare it as default/<application-name>.
However, if we have many users, we need to copy all the above permissions, now our ConfigMap will be quite verbose, for example:
apiVersion: v1
kind: ConfigMap
metadata:
  name: argocd-rbac-cm
  namespace: argocd
data:
  policy.default: role:readonly
  policy.csv: |
    p, hanli, applications, action/apps/Deployment/restart, default/*, allow
    p, natsu, applications, action/apps/Deployment/restart, default/*, allow
    p, lucy, applications, action/apps/Deployment/restart, default/*, allow
We can shorten it by creating a common role and assigning it to different users, for example like this:
apiVersion: v1
kind: ConfigMap
metadata:
  name: argocd-rbac-cm
  namespace: argocd
data:
  policy.default: role:readonly
  policy.csv: |
    p, role:deployment-restart, applications, action/apps/Deployment/restart, default/*, allow


    g, hanli, role:deployment-restart
    g, natsu, role:deployment-restart
    g, lucy, role:deployment-restart
Update the argocd-rbac-cmConfigMap, our user will have the corresponding permissions.
kubectl apply -f argocd-rbac-cm.yaml
Done 😁. Please like the DevOps VN page to receive notifications of the earliest posts.
Conclusion
So we have learned how to create users and manage RBAC Configuration on ArgoCD, you can read more on here RBAC Configuration. If you have any questions or need more clarification, you can ask in the comment section below.
All rights reserved
