Kubernetes Practice (English) - Automating Blue/Green Deployment with Argo Rollouts
Bài đăng này đã không được cập nhật trong 3 năm
In this article, we will learn how to automate Blue/Green Deployment on Kubernetes with Argo Rollouts.
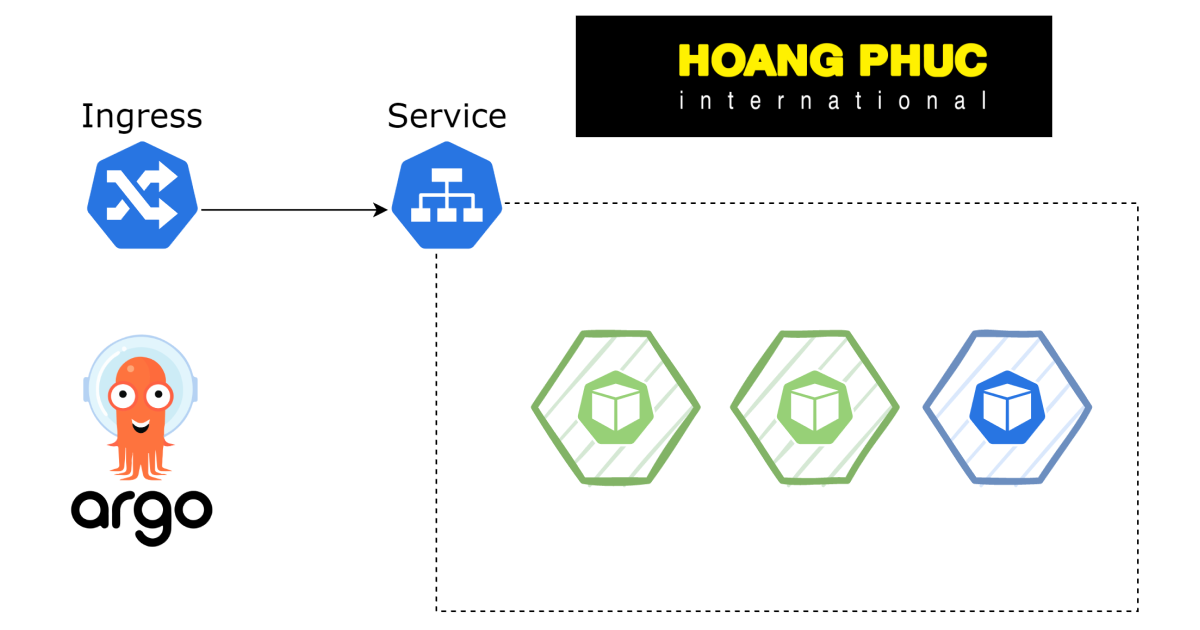
Argo Rollouts
Argo Rollouts is a Kubernetes Controller and set of Custom Resource Definitions (CRDs) that provide advanced features for application deployment on Kubernetes compared to the native Kubernetes Deployment Object.
Argo Rollouts provide deployment capabilities such as blue-green, canary, canary analysis, experimentation, and progressive delivery features to Kubernetes.
Because Argo Rollouts are a set of CRDs, we need to install them into the Kubernetes Cluster. Run the following commands to install Argo Rollouts.
kubectl create namespace argo-rollouts

namespace/argo-rollouts created
kubectl apply -n argo-rollouts -f https://github.com/argoproj/argo-rollouts/releases/latest/download/install.yaml

customresourcedefinition.apiextensions.k8s.io/analysisruns.argoproj.io created
customresourcedefinition.apiextensions.k8s.io/analysistemplates.argoproj.io created
customresourcedefinition.apiextensions.k8s.io/clusteranalysistemplates.argoproj.io created
customresourcedefinition.apiextensions.k8s.io/experiments.argoproj.io created
customresourcedefinition.apiextensions.k8s.io/rollouts.argoproj.io created
serviceaccount/argo-rollouts created
clusterrole.rbac.authorization.k8s.io/argo-rollouts created
clusterrole.rbac.authorization.k8s.io/argo-rollouts-aggregate-to-admin created
clusterrole.rbac.authorization.k8s.io/argo-rollouts-aggregate-to-edit created
clusterrole.rbac.authorization.k8s.io/argo-rollouts-aggregate-to-view created
clusterrolebinding.rbac.authorization.k8s.io/argo-rollouts created
secret/argo-rollouts-notification-secret created
service/argo-rollouts-metrics created
deployment.apps/argo-rollouts created
Check if we installed it successfully.
kubectl get pod -n argo-rollouts
NAME                             READY   STATUS    RESTARTS   AGE
argo-rollouts-76fcfc8d7f-k6mth   1/1     Running   0          58s
Argo Rollouts Deployment Strategy
To use Argo Rollouts, we declare a resource with the apiVersion attribute as argoproj.io/v1alpha1 and the kind as Rollout, like below:
apiVersion: argoproj.io/v1alpha1
kind: Rollout
The configuration of Argo Rollouts has a strategy property for us to choose the deployment strategy we want, with two values of blueGreenand canary.
See detail here Rollout Specification. Don’t try to understand all properties for now.
In this article, we will learn about blue/green.
Practice
I use Minikube to run Kubernetes Cluster for the demo. Create a file named bluegreen-rollout.yaml.
apiVersion: argoproj.io/v1alpha1
kind: Rollout
metadata:
  name: bluegreen-demo
  labels:
    app: bluegreen-demo
spec:
  replicas: 2
  revisionHistoryLimit: 1
  selector:
    matchLabels:
      app: bluegreen-demo
  template:
    metadata:
      labels:
        app: bluegreen-demo
    spec:
      containers:
        - name: bluegreen-demo
          image: argoproj/rollouts-demo:green
          imagePullPolicy: Always
          ports:
            - name: http
              containerPort: 8080
              protocol: TCP
  strategy:
    blueGreen:
      autoPromotionEnabled: false
      activeService: bluegreen-demo
      previewService: bluegreen-demo-preview
All properties of Rollout are the same as a native Deployment Object, only the strategy attribute is different. In the file above, we declare 3 properties:
autoPromotionEnabled: false- Indicates if the rollout should automatically promote the new ReplicaSet to the active service or enter a paused state. If not specified, the default value is true.activeService: bluegreen-demo- Reference to service that the rollout modifies as the active service.previewService: bluegreen-demo-preview- Name of the service that the rollout modifies as the preview service.
Next, we create a file named service.yaml.
apiVersion: v1
kind: Service
metadata:
  name: bluegreen-demo
  labels:
    app: bluegreen-demo
spec:
  type: NodePort
  selector:
    app: bluegreen-demo
  ports:
    - port: 80
      targetPort: http
      protocol: TCP
      name: http

---
apiVersion: v1
kind: Service
metadata:
  name: bluegreen-demo-preview
  labels:
    app: bluegreen-demo
spec:
  type: NodePort
  selector:
    app: bluegreen-demo
  ports:
    - port: 80
      targetPort: http
      protocol: TCP
      name: http
The two Services properties are the same except for the name property. Next, we create a Rollout Object.
kubectl apply -f bluegreen-rollout.yaml

rollout.argoproj.io/bluegreen-demo created
kubectl get rollout

NAME             DESIRED   CURRENT   UP-TO-DATE   AVAILABLE   AGE
bluegreen-demo   2         2         2            2           30s
When we create a Rollout, the Argo Rollouts implicit create a ReplicaSet for a current revision. Let’s check:
kubectl get rs

NAME                       DESIRED   CURRENT   READY   AGE
bluegreen-demo-fbc7b7f55   2         2         2       4m37s
kubectl get pod

NAME                             READY   STATUS    RESTARTS   AGE
bluegreen-demo-fbc7b7f55-g6fst   1/1     Running   0          37s
bluegreen-demo-fbc7b7f55-vvdth   1/1     Running   0          37s
Ensure that Replica Set and Pod are running, next, we create a Service.
kubectl apply -f service.yaml

service/bluegreen-demo created
service/bluegreen-demo-preview created
At this time, both the bluegreen-demo and bluegreen-demo-preview are pointing to the same ReplicaSet as bluegreen-demo-fbc7b7f55.
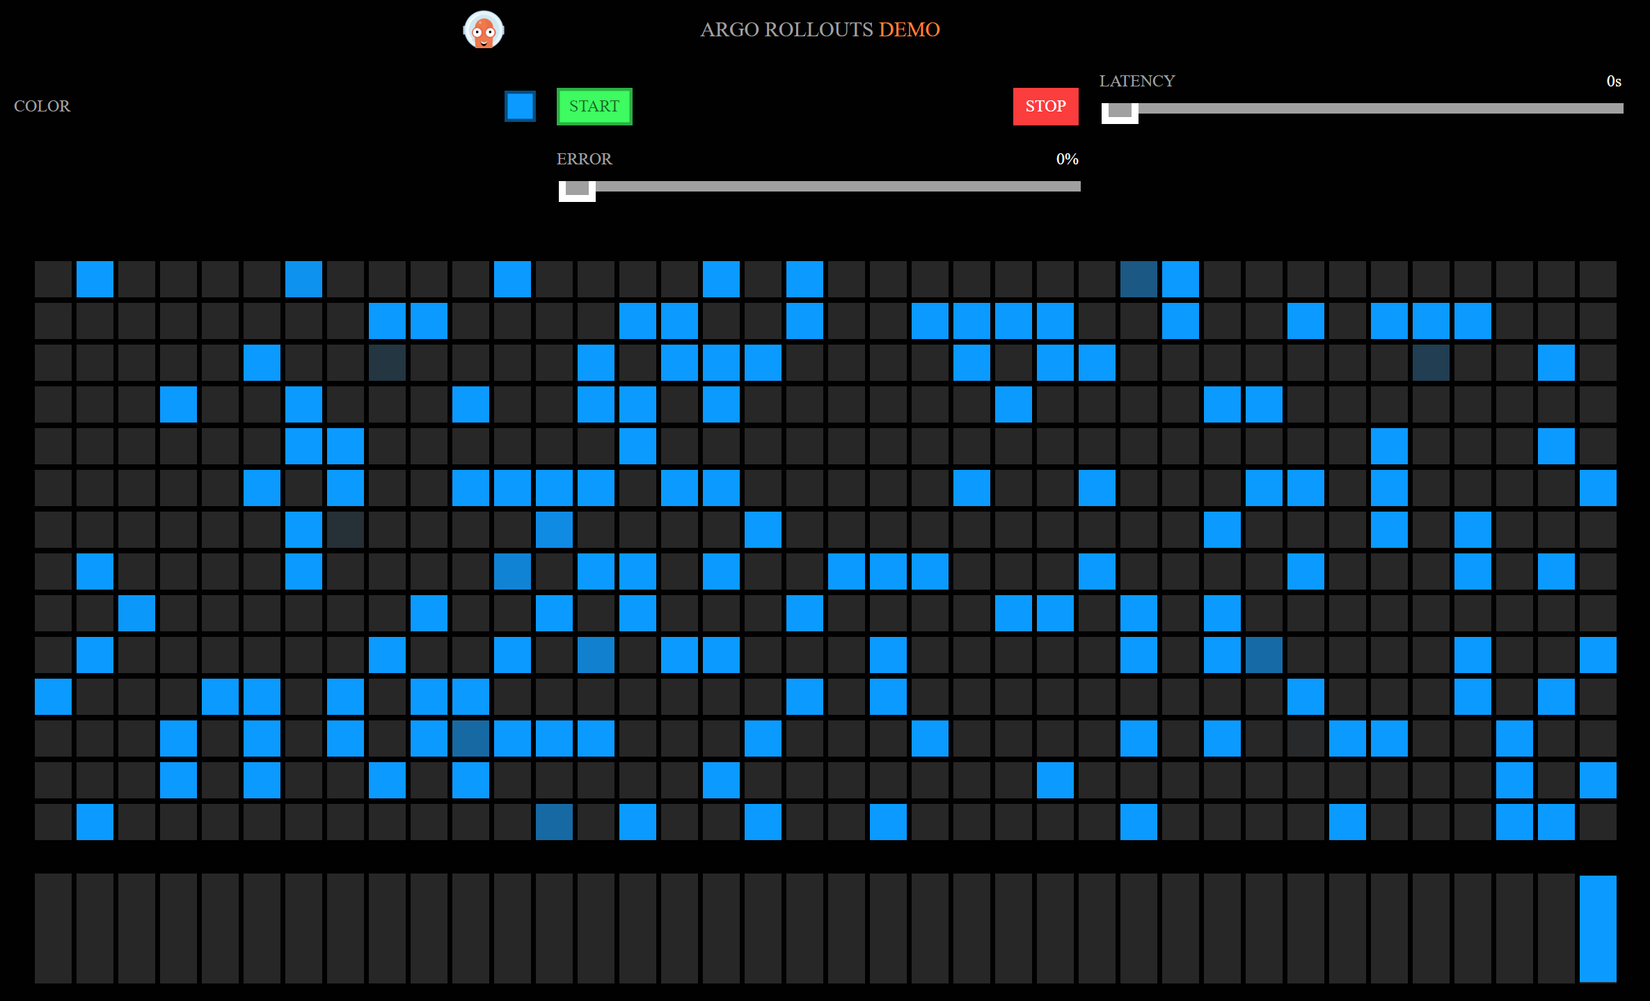
Let’s test, we run the following commands to get the URL of both services.
minikube service bluegreen-demo --url
172.26.123.245:30000
minikube service bluegreen-demo-preview --url
172.26.123.245:30001
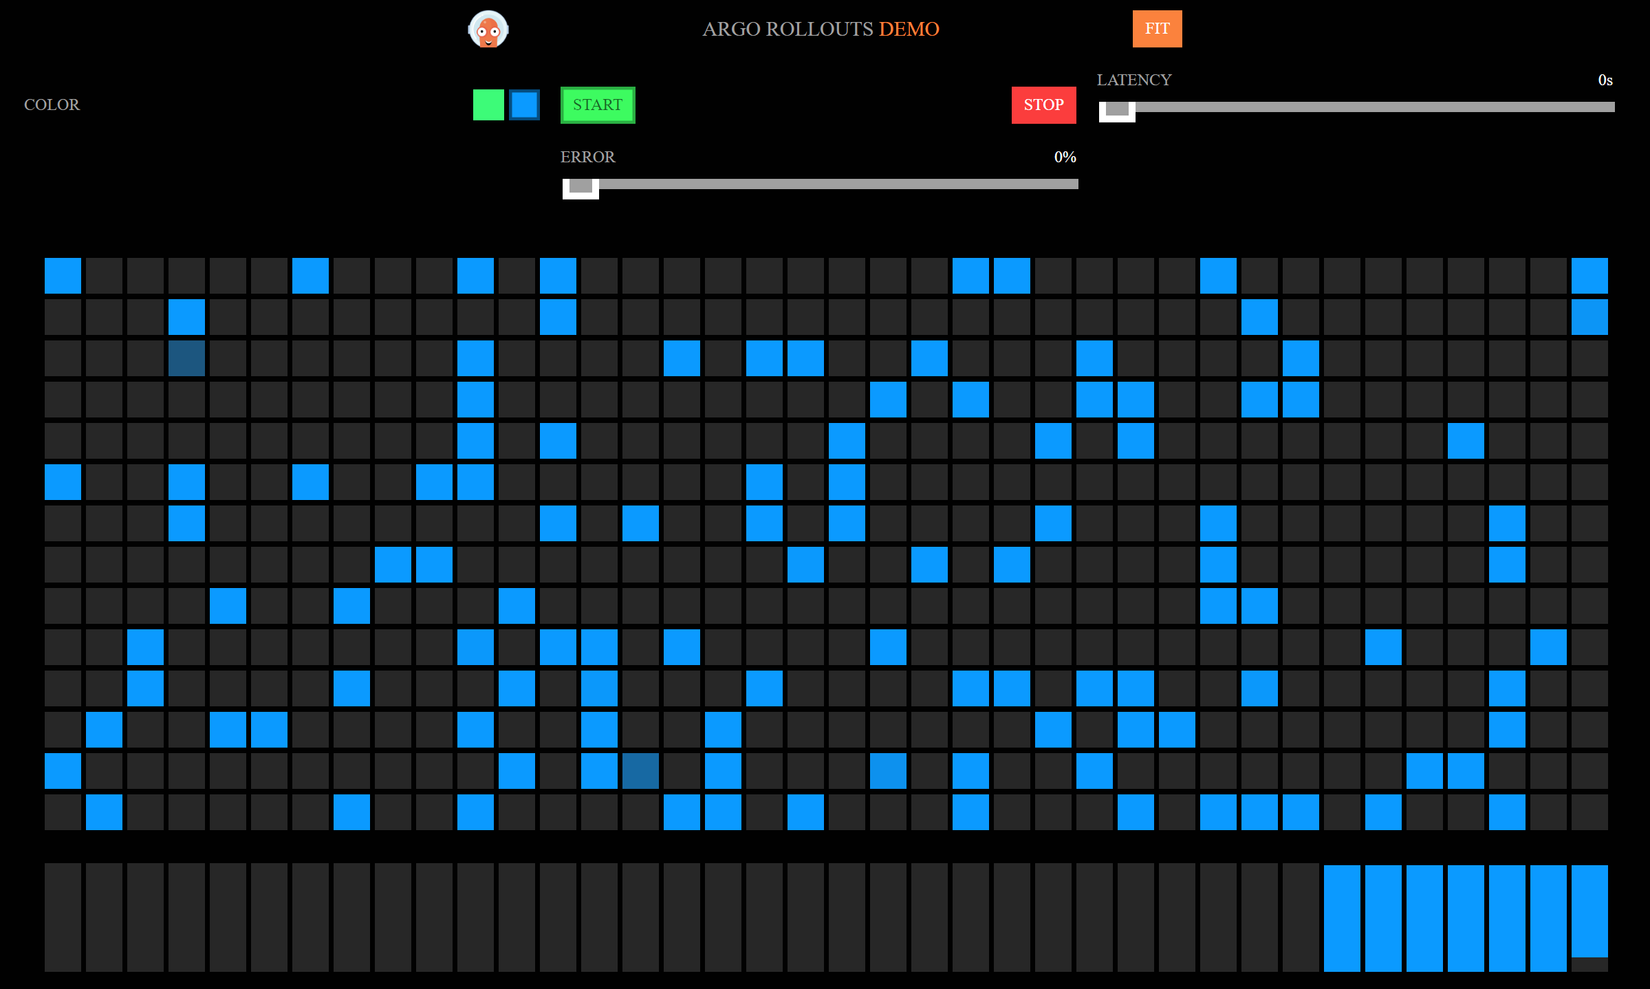
Open the browser, we will see the UI below.

Now, we change the image property of Rollout Object.
...
spec:
  containers:
    - name: bluegreen-demo
      image: argoproj/rollouts-demo:blue
...
Updating Rollout Object.
kubectl apply -f bluegreen-rollout.yaml

rollout.argoproj.io/bluegreen-demo configured
At this point, Argo Rollouts will create a new ReplicaSet for the new configuration.
kubectl get rs

bluegreen-demo-7d6459646d   2         2         2       2m11s
bluegreen-demo-fbc7b7f55    2         2         2       41m
kubectl get pod

NAME                              READY   STATUS    RESTARTS   AGE
bluegreen-demo-7d6459646d-2zm56   1/1     Running   0          2m13s
bluegreen-demo-7d6459646d-xz9bj   1/1     Running   0          2m13s
bluegreen-demo-fbc7b7f55-g6fst    1/1     Running   0          41m
bluegreen-demo-fbc7b7f55-vvdth    1/1     Running   0          41m
Then the bluegreen-demo-preview service is modified to point to the new ReplicaSet. Accessing the preview service address will see a different UI.
And the bluegreen-demo service does not change.
After we check the new ReplicaSet and see that all is well, next, we promote the new revision of ReplicaSet by updating the bluegreen-demo service to point to it, we run the following command (don’t follow, we will use another way).
kubectl argo rollouts promote bluegreen-demo

rollout 'bluegreen-demo' promoted
Now, Argo Rollouts update the bluegreen-demo service to point to the new ReplicaSet, after waiting (default 30 seconds), the old ReplicaSet is scaled down.
UI Dashboard
In my opinion, DevOps Engineers should not do the work “promotes” the new ReplicaSet, our task is just to build the CI/CD so that the Rollout can be updated when a new version of the application is available. Leave it to QC Engineer.
But QC can’t run CLI so we need to have a dashboard for QC to do this. Fortunately, Argo Rollout provides us with a dashboard, which we can enable using kubectl or using quay.io/argoproj/kubectl-argo-rollouts container image.
kubectl argo rollouts dashboard

INFO[0000] Argo Rollouts Dashboard is now available at localhost 3100
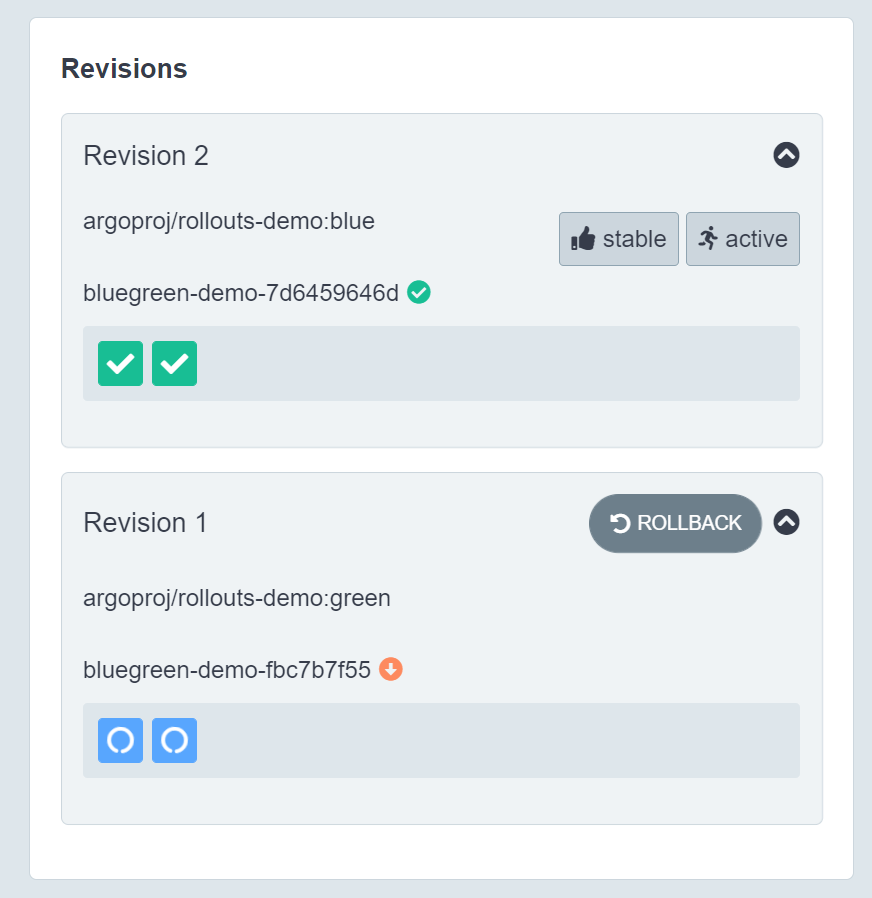
Go to localhost:3100 we will see the dashboard of Argo Rollouts.

Choose to bluegreen-demo.
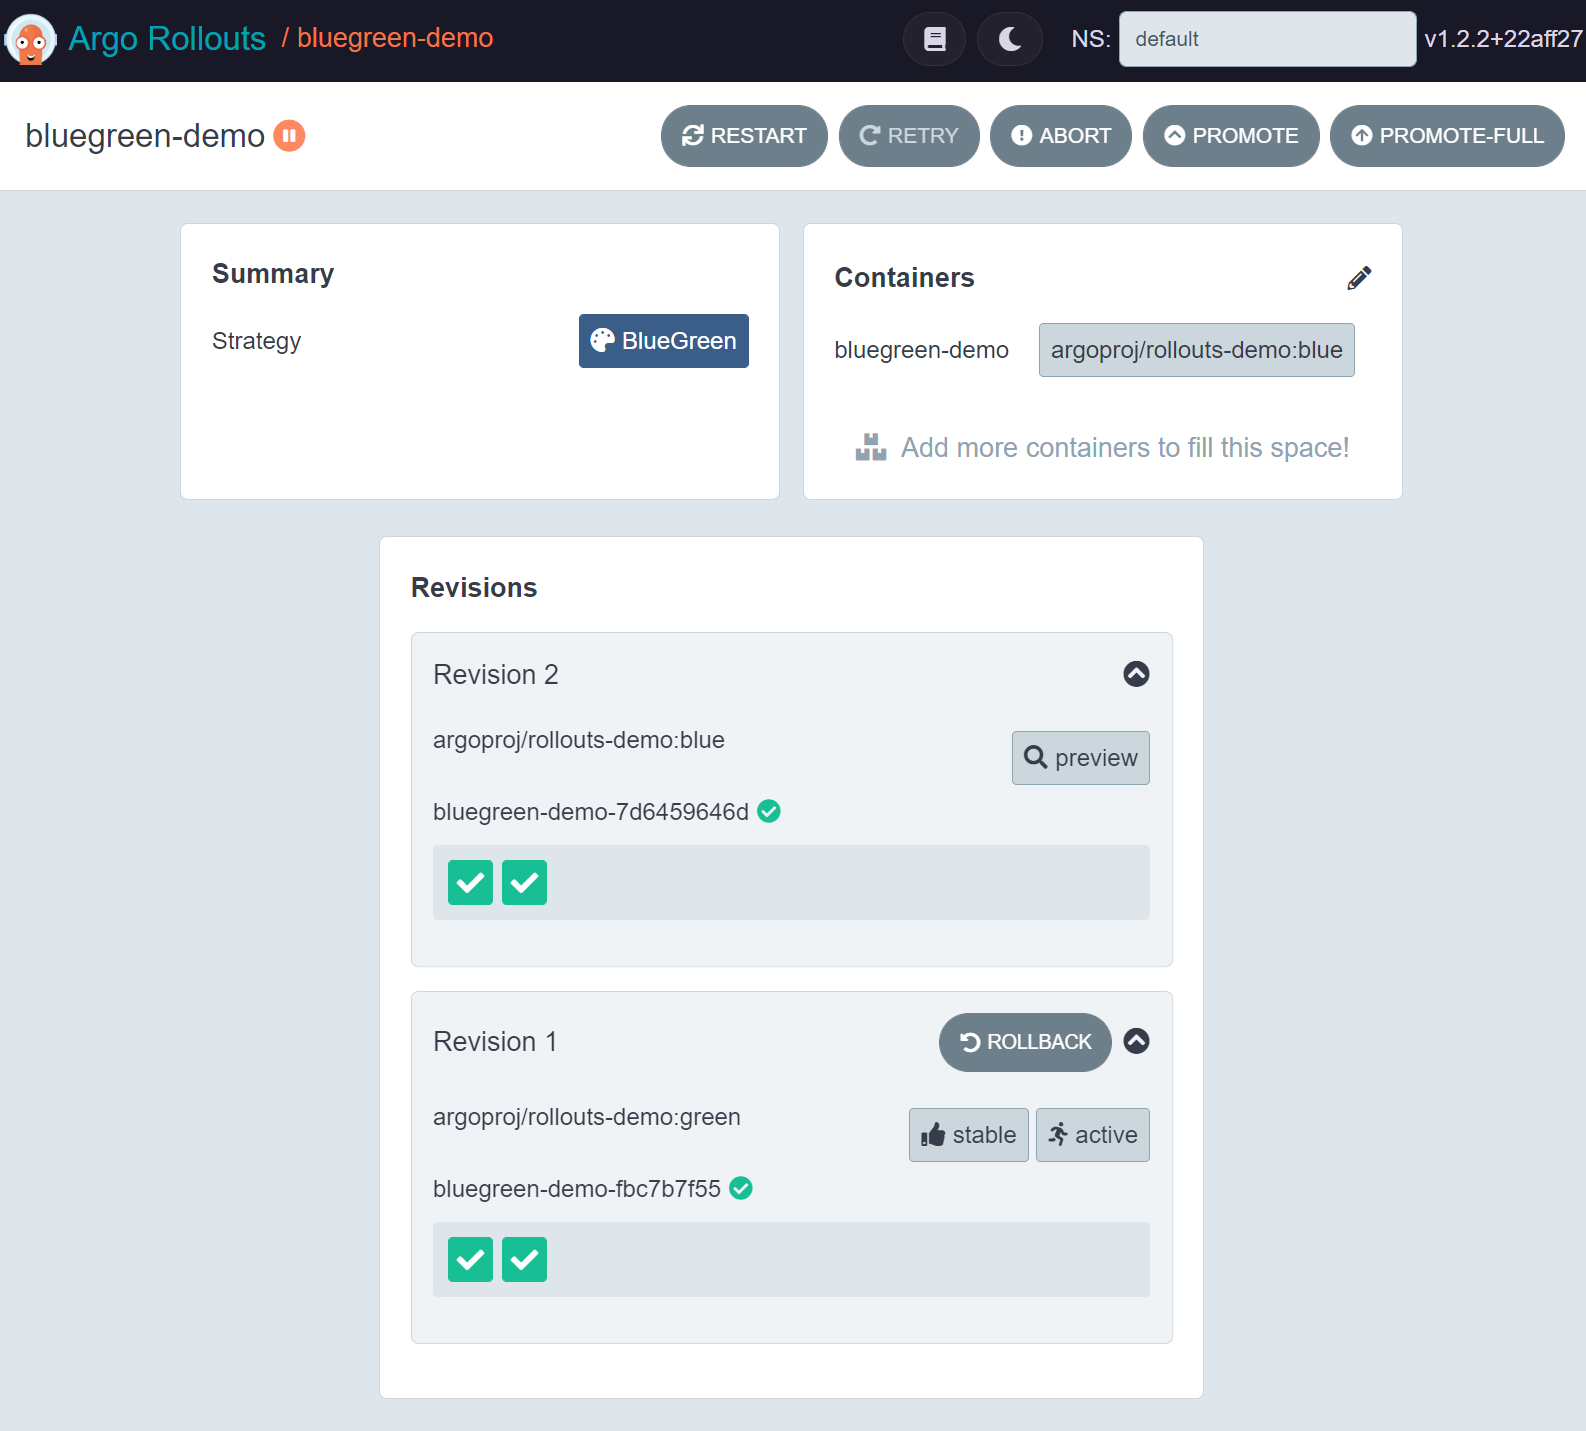
You will see the Promote button, the person who clicks this button will be the QC, if anything is wrong, the QC will be responsible =)))), let’s click on the promote button.

Click Sure.

Now you access both the bluegreen-demo and the bluegreen-demo-preview service we will see the same UI.
Ingress
Ingress configuration for public access if you need.
apiVersion: networking.k8s.io/v1beta1
kind: Ingress
metadata:
  name: bluegreen-demo
  annotations:
    ingress.kubernetes.io/proxy-body-size: 100M
    kubernetes.io/ingress.class: nginx
    ingress.kubernetes.io/app-root: /
spec:
  rules:
  - host: blue-green.example.com
    http:
      paths:
      - path: /
        backend:
          serviceName: bluegreen-demo
          servicePort: 80

---
apiVersion: networking.k8s.io/v1beta1
kind: Ingress
metadata:
  name: bluegreen-demo-preview
  annotations:
    ingress.kubernetes.io/proxy-body-size: 100M
    kubernetes.io/ingress.class: nginx
    ingress.kubernetes.io/app-root: /
spec:
  rules:
  - host: blue-green-preview.example.com
    http:
      paths:
      - path: /
        backend:
          serviceName: bluegreen-demo-preview
          servicePort: 80
Done 😁.
Conclusion
So we have learned how to automate Blue/Green Deployment with Argo Rollouts, as you can see, it’s also simple 😁. If you have any questions or need further clarification, you can ask in the comment section below.
All rights reserved
