Cài đặt eksctl Tools của AWS, Deploy Kubernetes Dashboard
Bài đăng này đã không được cập nhật trong 6 năm
Ở phần trước mình đã setup môi trường cũng như những thứ cần thiết, đến bài viết này mình sẽ cài đặt eksctl của AWS phát triển.
Setup eksctl
curl --silent --location "https://github.com/weaveworks/eksctl/releases/download/latest_release/eksctl_$(uname -s)_amd64.tar.gz" | tar xz -C /tmp

sudo mv -v /tmp/eksctl /usr/local/bin
Check version:
eksctl version
Nếu nó hiển thị [ℹ] version.Info{BuiltAt:"", GitCommit:"", GitTag:"0.12.0" thì đã cài đặt thành công
Enable eksctl trong bash-completion
eksctl completion bash >> ~/.bash_completion
. /etc/profile.d/bash_completion.sh
. ~/.bash_completion
Tạo EKS Cluster
eksctl create cluster --name=eks-eksctl --nodes=3 --node-type=t2.medium --managed --alb-ingress-access --region=${AWS_REGION}
Bạn nên nhớ để quyền eks-admin cho instance nhé, nếu không là lỗi
Câu lệnh này có ý nghĩa tạo cluster với name eks-eksctl bao gồm 3 worker node server cấu hình dạng t2.micro (1 CPU, 1G RAM, ít tiền nên xài đồ cùi, nếu để --node-type mà ko có thì mặc định là t5.large) các bạn đợi tầm khoảng 15 phút là được, AWS sẽ cấu hình tất cả cho các bạn, rất tiện lợi
Deploy Dashboard kubernetes
kubectl apply -f https://raw.githubusercontent.com/kubernetes/dashboard/v1.10.1/src/deploy/recommended/kubernetes-dashboard.yaml
cấp quyền truy cập với proxy
kubectl proxy --port=8080 --address='0.0.0.0' --disable-filter=true &
Access dashboard kubernetes
Trong cloud9 truy cập Tools / Preview / Preview Running Application
Tại cuối đường dẫn URL gõ thêm
/api/v1/namespaces/kube-system/services/https:kubernetes-dashboard:/proxy/

Mở một terminal mới
aws eks get-token --cluster-name eks-eksctl | jq -r '.status.token'
ra được token thì sẽ dán chúng như hình để đằng nhập
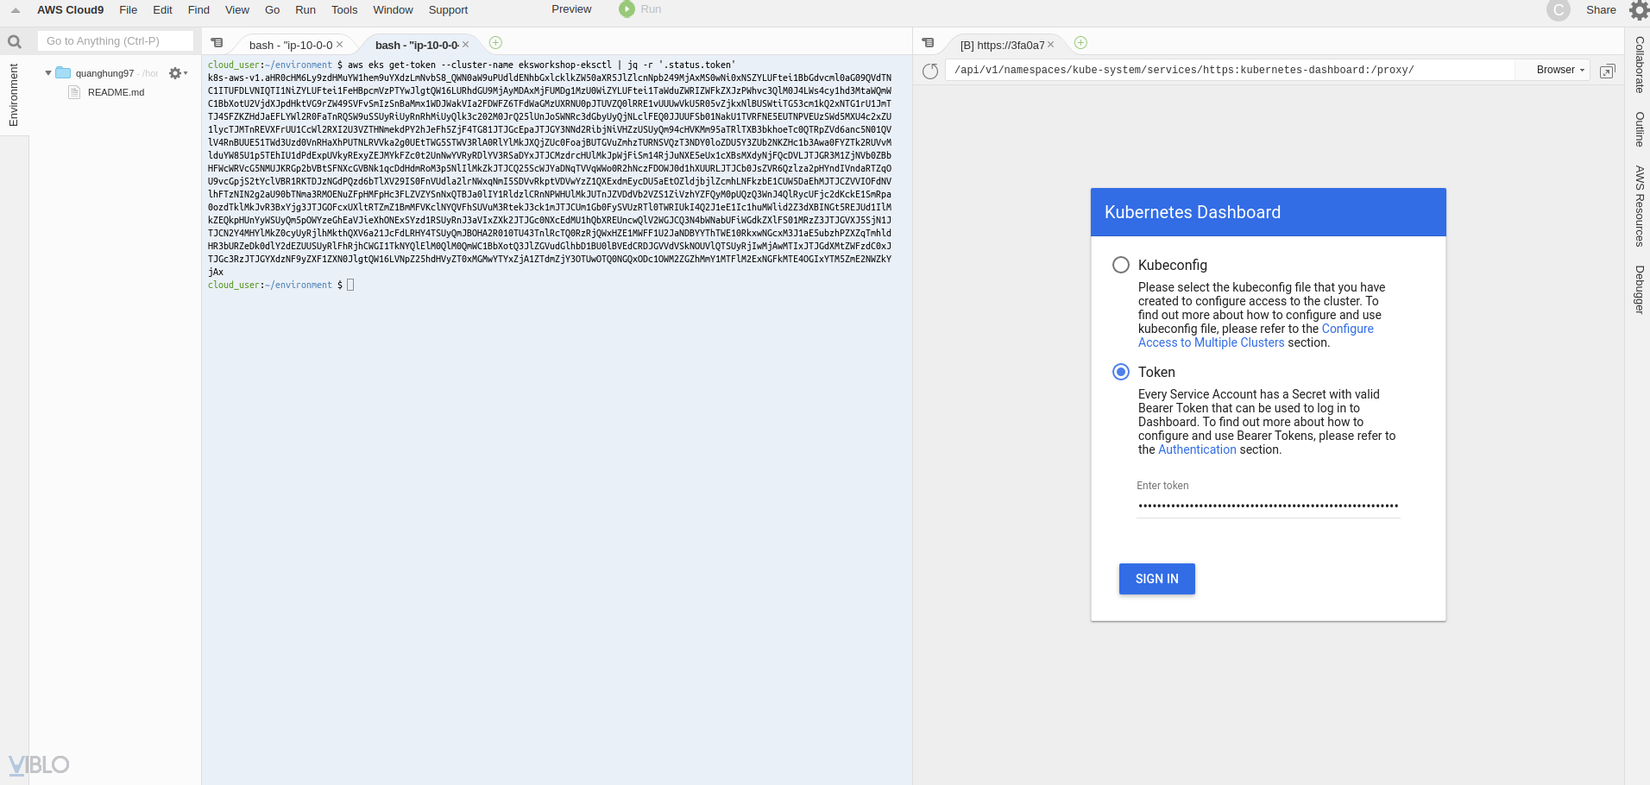
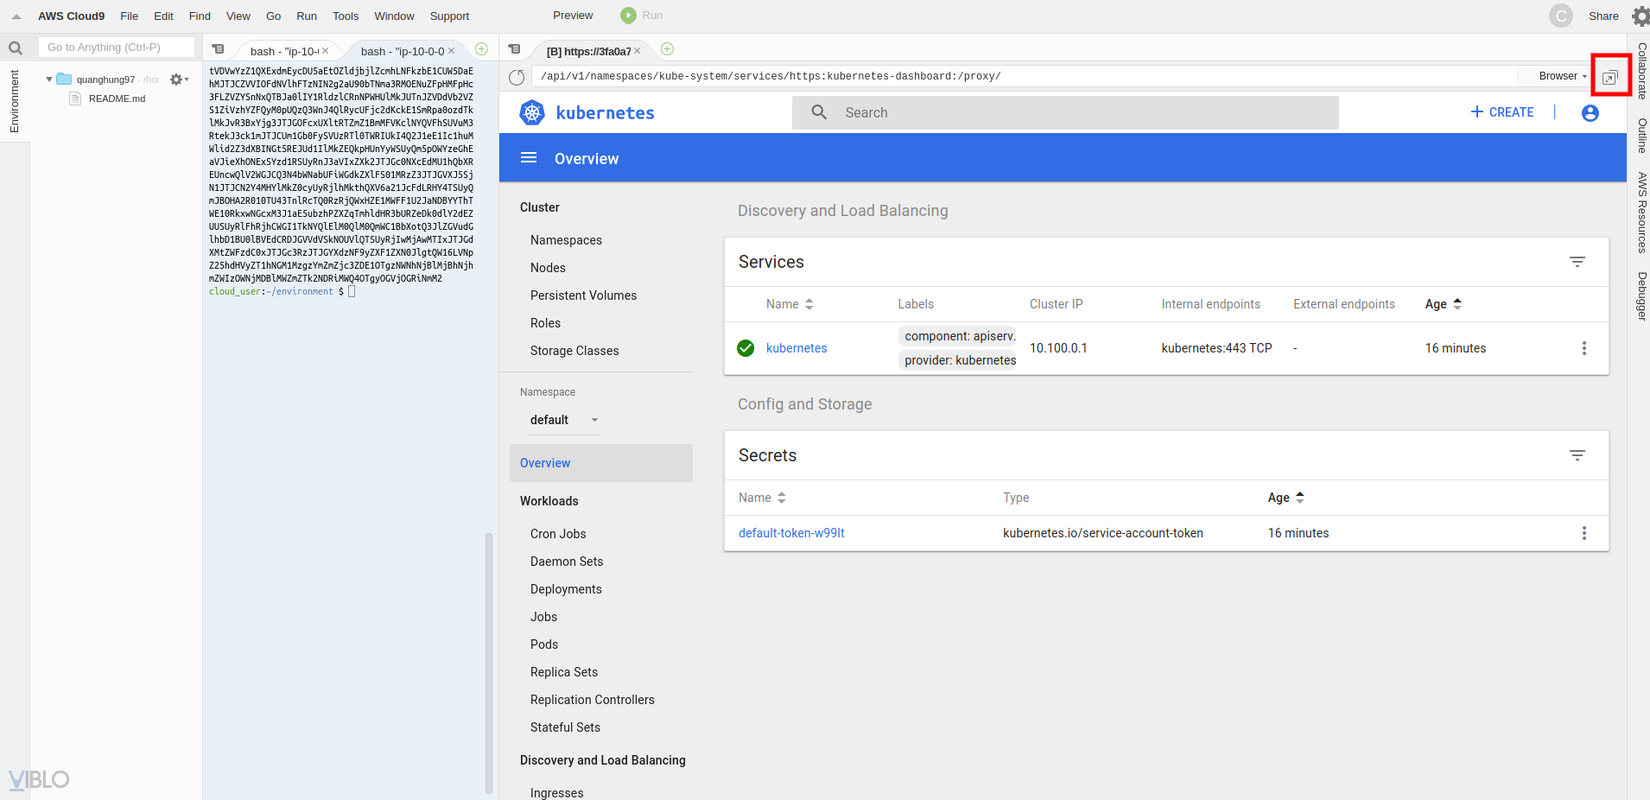
bây giờ chúng ta đã vào dashboard của kubernetes
Tiếp theo
Chúng ta sẽ deploy air-viewer đơn giản trên AWS.
All rights reserved
