Build cross platform desktop apps with Electron
Bài đăng này đã không được cập nhật trong 7 năm
Electron là Framwork (open source bởi Github), Electron sẽ cho phép các lập trình viên có thể dùng JavaScript cùng các ngôn ngữ căn bản khác của web như HTML và CSS để tạo ra các ứng dụng desktop chạy được trên Windows, Linux và MacOS dựa trên công nghệ web (nodejs).
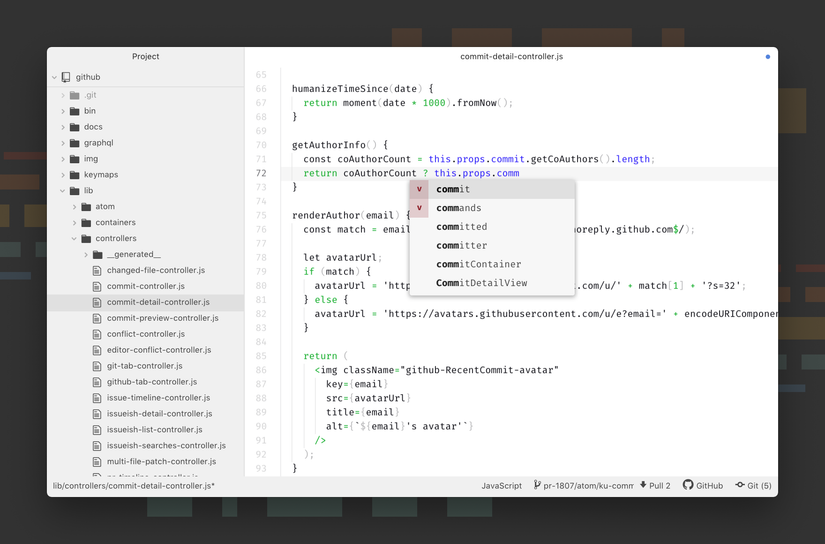
Ứng dụng đầu tiên được xây dựng bằng Electron cũng khá nổi tiếng đến đó chính là trình soạn thảo [Atom của Github] (https://github.com/atom/atom).
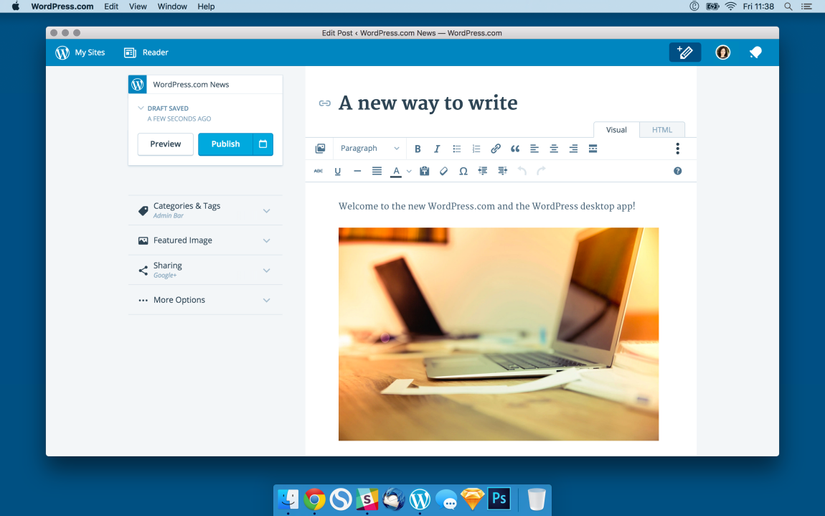
WordPress Desktop
Slack Desktop
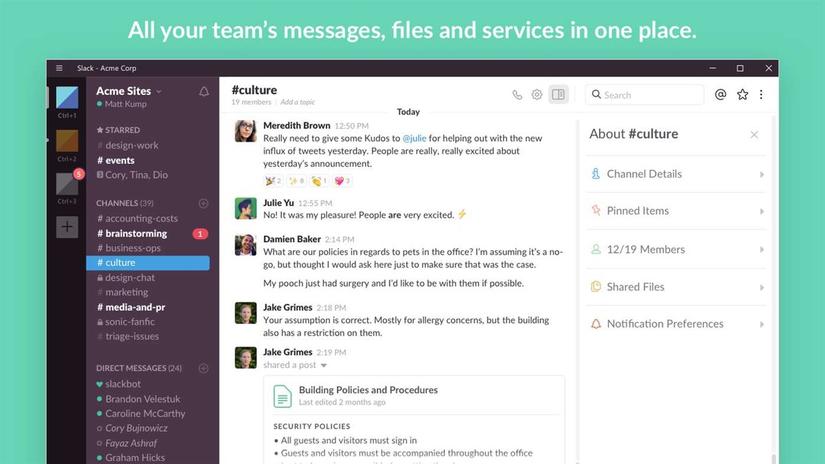
Rất nhiều ứng dụng được tạo bởi electronjs, có thể tham khảo tại https://electronjs.org/apps
Viết một ứng dụng cơ bản
Bản chất một ứng dụng Electron sẽ giống như là một ứng dụng Nodejs. Bắt đầu chương trình thì vẫn sẽ có package.json, giống hệt với module Nodejs. Nên đầu tiên các bạn phải cài Nodejs, nếu các bạn đã có sẵn phiên bản Nodejs thì có thể bỏ qua bước này.
Một ứng dụng Electron cơ bản nhất sẽ có cấu trúc như sau:
your-app/
├── package.json
├── main.js
└── index.html
Tạo mới một folder trống cho ứng dụng Electron của bạn. Mở command line và chạy lệnh npm int trên chính thư mục đó.
npm init
{
  "name": "demo",
  "version": "1.0.0",
  "description": "this is demo",
  "main": "main.js",
  "scripts": {
    "test": "echo \"Error: no test specified\" && exit 1"
  },
  "author": "",
  "license": "ISC"
}
Chú ý: Nếu file main.js không có trong package.json, Electron sẽ cố gắng tải một file index.js (như trong Nodejs). Nếu đây là một ứng dụng đơn giản, bạn sẽ thêm một start script để thực thi package hiện tại:
{
  "name": "demo",
  "version": "1.0.0",
  "description": "this is demo",
  "main": "main.js",
  "scripts": {
   "start": "node ."
 }
}
Thay đổi ứng dụng Node này thành ứng dụng Electron khá đơn giản, chúng ta chỉ cần thay thế “start”: “node .” bằng “start”: “electron .”
{
  "name": "demo",
  "version": "1.0.0",
  "description": "this is demo",
  "main": "main.js",
  "scripts": {
   "start": "electron ."
 }
}
Cài đặt Electron
Bạn sẽ cần phải cài đặt electron. Cách làm được khuyên dùng là cài đặt nó dưới dạng development trong ứng dụng của bạn, cho phép bạn làm việc trên nhiều ứng dụng với các phiên bản Electron khác nhau. Để làm như vậy, hãy chạy lệnh sau từ thư mục của ứng dụng của bạn:
npm install --save-dev electron
Xây dựng file Main.js
Nội dung của file được tham khảo trên [electron quick start] (https://electronjs.org/docs/tutorial/first-app)
main.js
const { app, BrowserWindow } = require('electron')

// Keep a global reference of the window object, if you don't, the window will
// be closed automatically when the JavaScript object is garbage collected.
let win

function createWindow () {
  // Create the browser window.
  win = new BrowserWindow({
    width: 800,
    height: 600,
    webPreferences: {
      nodeIntegration: true
    }
  })

  // and load the index.html of the app.
  win.loadFile('index.html')

  // Open the DevTools.
  win.webContents.openDevTools()

  // Emitted when the window is closed.
  win.on('closed', () => {
    // Dereference the window object, usually you would store windows
    // in an array if your app supports multi windows, this is the time
    // when you should delete the corresponding element.
    win = null
  })
}

// This method will be called when Electron has finished
// initialization and is ready to create browser windows.
// Some APIs can only be used after this event occurs.
app.on('ready', createWindow)

// Quit when all windows are closed.
app.on('window-all-closed', () => {
  // On macOS it is common for applications and their menu bar
  // to stay active until the user quits explicitly with Cmd + Q
  if (process.platform !== 'darwin') {
    app.quit()
  }
})

app.on('activate', () => {
  // On macOS it's common to re-create a window in the app when the
  // dock icon is clicked and there are no other windows open.
  if (win === null) {
    createWindow()
  }
})

// In this file you can include the rest of your app's specific main process
// code. You can also put them in separate files and require them here.
File index.html chính là nội dung bạn muốn hiển thị ra màn hình.
<!DOCTYPE html>
<html>
<head>
    <meta charset="UTF-8">
    <title>Hello World!</title>
</head>
<body>
<h1>Hello World!</h1>
We are using node <script>document.write(process.versions.node)</script>,
Chrome <script>document.write(process.versions.chrome)</script>,
and Electron <script>document.write(process.versions.electron)</script>.
</body>
</html>
Running Your App
npm start
Kết quả:
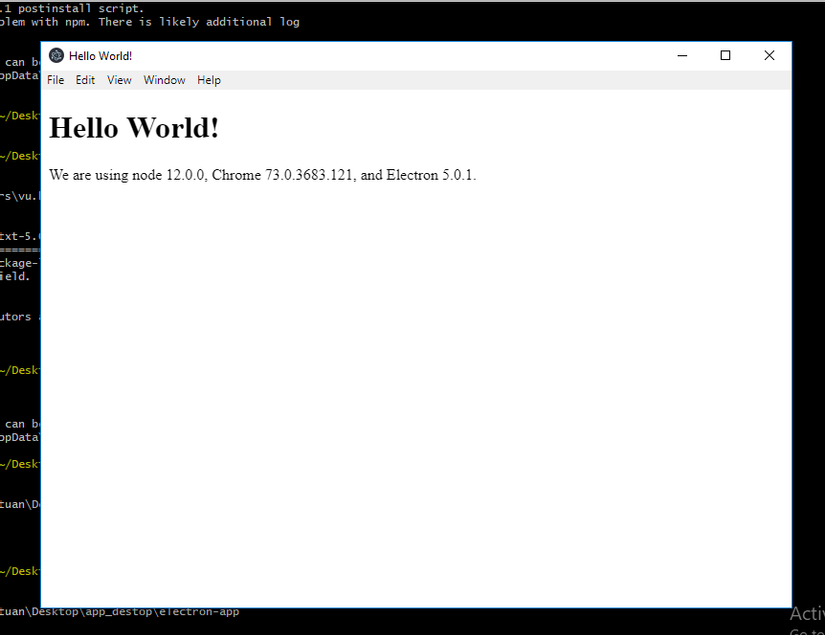
Như vậy mình đã giới thiệu qua ứng dụng Electron Framwork, trong bài tới mình sẽ tìm hiểu sâu hơn, cũng như viết 1 ứng dụng destop. Thanks.
Bạn có thể clone và run code trên tại địa chỉ electron/electron-quick-start repository.
Lưu ý: Bắt buộc phải cài Git and npm.
# Clone the repository
$ git clone https://github.com/electron/electron-quick-start
# Go into the repository
$ cd electron-quick-start
# Install dependencies
$ npm install
# Run the app
$ npm start
Tham khảo: https://electronjs.org/
All rights reserved
