Tìm hiểu WebRTC
Bài đăng này đã không được cập nhật trong 7 năm
I. Giới Thiệu
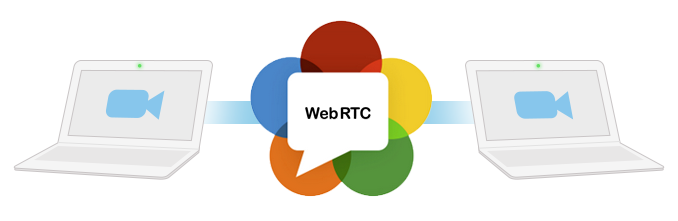
WebRTC là gì ?
WebRTC (Web Real Time Communication) là tập hợp các tiêu chuẩn và giao thức cho phép các trình duyệt Web thực hiện trực tiếp các tính năng truyền thông đa phương tiện thời gian thực như gọi điện, tin nhắn hình, truyền dữ liệu bằng các API JavaScript.
Lịch sử WebRTC
Ý tưởng về WebRTC được đưa ra bởi nhóm phát triển Google Hangouts từ năm 2009. Tại thời điểm đó, để thực hiện truyền thông đa phương tiện trên nền Web, người sử dụng phải cài đặt Flash và các plugin khác. Năm 2010, Google mua lại hai công ty là On2 và Global IP Solutions (GIPS). Sau đó họ chuyển các công nghệ liên quan đến RTC của hai công ty này thành mã nguồn mở và kết hợp với IETF và W3C để đưa ra WebRTC vào năm 2011.
Ưu điểm
- Điểm đột phá của WebRTC là ta có thể tham gia cuộc hội thoại ngay trên trình duyệt mà không cần cài thêm bất cứ một phần mềm hay plugin nào khác, được hỗ trợ bởi các trình duyệt Google Chrome, Mozilla Firefox và Opera trên PC và Android.
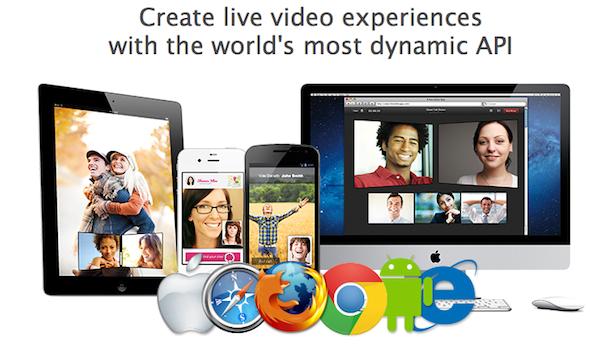
- WebRTC có thể hoạt động trên bất cứ thiết bị nào có cài một trong các trình duyệt hỗ trợ WebRTC.
- Đối với nhà phát triển, với WebRTC tất cả công việc để tạo ra một cuộc hội thoại chỉ nằm trong vài chục dòng lệnh. Việc phát triển ứng dụng với chức năng gọi điện, video chat và chia sẻ file,.. là rất đơn giản khi dùng WebRTC kết hợp giữa JavaScript và HTML5.
- Đối với người dùng cuối chỉ cần thông qua trình duyệt Web. Ví dụ, hai người dùng chỉ cần truy cập vào cùng một đường dẫn web để gọi video với nhau sử dụng trình duyệt Google Chrome hay Mozilla Firefox.
II. Cách sử dụng như thế nào?
WebRTC cung cấp 3 API JavaScript :
- GetUserMedia: cho phép trình duyệt truy cập vào camera và microphone để thu dữ liệu
- RTCPeerConnection: tạo và truyền dữ liệu cho cuộc gọi audio/video
- RTCDataChannels: kênh truyền dữ liệu bất kỳ cho text, gaming,…
Để viết một ứng dụng WebRTC ta sử dụng 3 API này để lấy được dữ liệu từ camera, microphone, thiết lập phiên truyền thông và truyền tải dữ liệu audio, video cũng như dữ liệu bất kỳ. Ngoài ra, bước quan trọng là báo hiệu cho phiên truyền thông được thực hiện bên ngoài WebRTC bằng một phương thức do người lập trình lựa chọn.
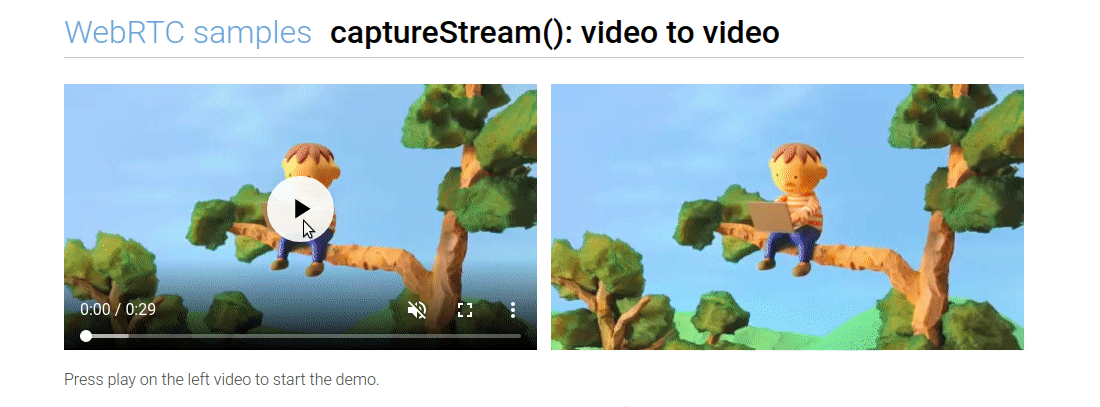
Sau đây là 1 vài demo:
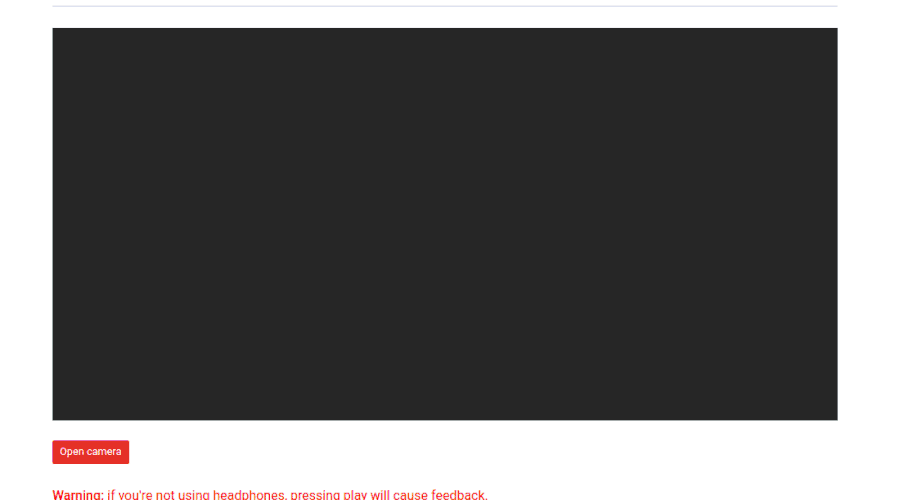
1. Truy cập sử dụng webcam bằng WebRTC getUserMedia
STEP 1: Create index.html
<!DOCTYPE html>
<html>
<head>
    <meta charset="utf-8">
    <title>getUserMedia</title>
    <link href="//fonts.googleapis.com/css?family=Roboto:300,400,500,700" rel="stylesheet" type="text/css">
    <link rel="stylesheet" href="https://webrtc.github.io/samples/src/css/main.css">
    <script src="https://webrtc.github.io/adapter/adapter-latest.js"></script>
</head>
<body>
<div id="container">
    <h1>
        <a href="#" title="WebRTC samples homepage">WebRTC samples</a>
        <span>getUserMedia</span></h1>
        <video id="gum-local" autoplay playsinline></video>
        <button id="showVideo">Open camera</button>
    <div id="errorMsg"></div>
    <p class="warning"><strong>Warning:</strong> if you're not using headphones, pressing play will cause feedback.</p>
    <p>Display the video stream from <code>getUserMedia()</code> in a video element.</p>
    <p>The <code>MediaStream</code> object <code>stream</code> passed to the <code>getUserMedia()</code> callback is in
        global scope, so you can inspect it from the console.</p>
</div>
Layout

STEP 2: Add javascript
<script type="text/javascript">
'use strict';

// Put variables in global scope to make them available to the browser console.
const constraints = window.constraints = {
  audio: false,
  video: true
};

function handleSuccess(stream) {
  const video = document.querySelector('video');
  const videoTracks = stream.getVideoTracks();
  console.log('Got stream with constraints:', constraints);
  console.log(`Using video device: ${videoTracks[0].label}`);
  window.stream = stream; // make variable available to browser console
  video.srcObject = stream;
}

function handleError(error) {
  if (error.name === 'ConstraintNotSatisfiedError') {
    let v = constraints.video;
    errorMsg(`The resolution ${v.width.exact}x${v.height.exact} px is not supported by your device.`);
  } else if (error.name === 'PermissionDeniedError') {
    errorMsg('Permissions have not been granted to use your camera and ' +
      'microphone, you need to allow the page access to your devices in ' +
      'order for the demo to work.');
  }
  errorMsg(`getUserMedia error: ${error.name}`, error);
}

function errorMsg(msg, error) {
  const errorElement = document.querySelector('#errorMsg');
  errorElement.innerHTML += `<p>${msg}</p>`;
  if (typeof error !== 'undefined') {
    console.error(error);
  }
}

async function init(e) {
  try {
    const stream = await navigator.mediaDevices.getUserMedia(constraints);
    handleSuccess(stream);
    e.target.disabled = true;
  } catch (e) {
    handleError(e);
  }
}

document.querySelector('#showVideo').addEventListener('click', e => init(e));
</script>
Giải thích chút:
- Khi click vào "Open Camera" thì function init() được gọi, trong function này có gọi đến getUserMedia() , function này có nhiệm vụ yêu cầu lấy Video từ webcam.
- Nếu truy cập webcam thành công, video stream truy xuất từ webcam sẽ được gắn vào thẻ video mà bạn đã chèn vào trang HTML5, bằng hàm handleSuccess
- Nếu truy cập webcam lỗi, hoặc máy k có webcam chẳng hạn thì function handleError() sẽ được gọi, và hiển thị thông tin lỗi.
STEP3: DEMO
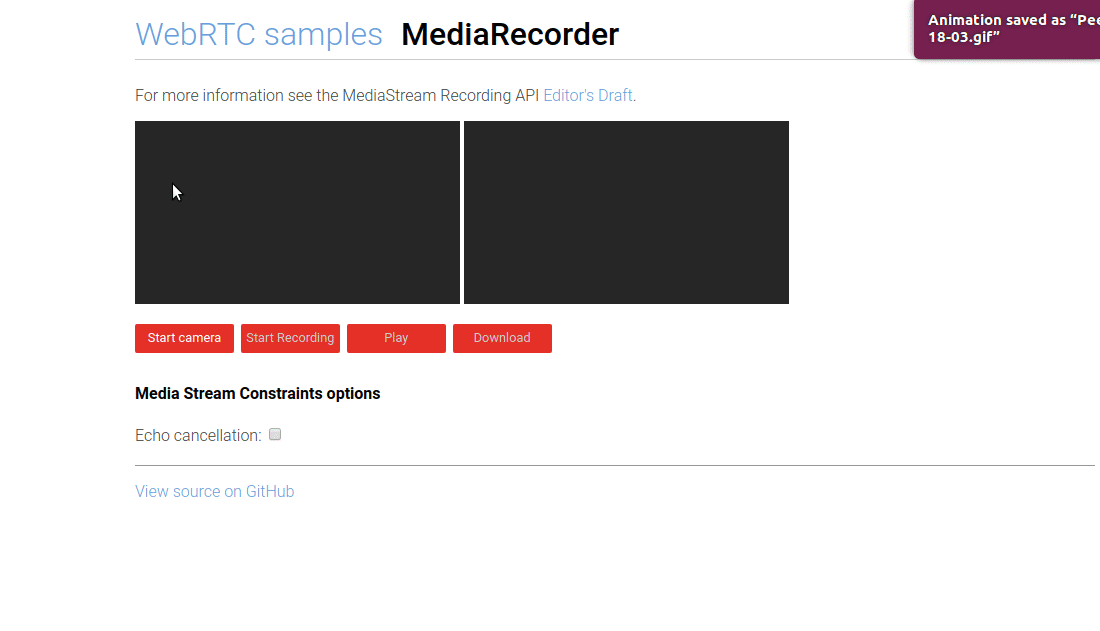
2. WebRTC samples MediaRecorder
Create recording.html
<html>
<head>
<title>MediaStream Recording</title>
<link href="//fonts.googleapis.com/css?family=Roboto:300,400,500,700" rel="stylesheet" type="text/css">
<link rel="stylesheet" href="https://webrtc.github.io/samples/src/css/main.css">
<link rel="stylesheet" href="https://webrtc.github.io/samples/src/content/getusermedia/record/css/main.css">
</head>
<body>
<div id="container">
<h1><a href="" title="WebRTC samples homepage">WebRTC samples</a>
<span>MediaRecorder</span></h1>
<p>For more information see the MediaStream Recording API <a
href="http://w3c.github.io/mediacapture-record/MediaRecorder.html"
title="W3C MediaStream Recording API Editor's Draft">Editor's Draft</a>.</p>
<video id="gum" playsinline autoplay muted></video>
<video id="recorded" playsinline loop></video>
<div>
<button id="start">Start camera</button>
<button id="record" disabled>Start Recording</button>
<button id="play" disabled>Play</button>
<button id="download" disabled>Download</button>
</div>
<div>
<h4>Media Stream Constraints options</h4>
<p>Echo cancellation: <input type="checkbox" id="echoCancellation"></p>
</div>
<div>
<span id="errorMsg"></span>
</div>
<a href="" title="View source for this page on GitHub" id="viewSource">View source on GitHub</a>
</div>
<!-- include adapter for srcObject shim -->
<script src="https://webrtc.github.io/adapter/adapter-latest.js"></script>
</body>
</html>
**add js **
// This code is adapted from
// https://rawgit.com/Miguelao/demos/master/mediarecorder.html

'use strict';

/* globals MediaRecorder */

const mediaSource = new MediaSource();
mediaSource.addEventListener('sourceopen', handleSourceOpen, false);
let mediaRecorder;
let recordedBlobs;
let sourceBuffer;

const errorMsgElement = document.querySelector('span#errorMsg');
const recordedVideo = document.querySelector('video#recorded');
const recordButton = document.querySelector('button#record');
recordButton.addEventListener('click', () => {
  if (recordButton.textContent === 'Start Recording') {
    startRecording();
  } else {
    stopRecording();
    recordButton.textContent = 'Start Recording';
    playButton.disabled = false;
    downloadButton.disabled = false;
  }
});

const playButton = document.querySelector('button#play');
playButton.addEventListener('click', () => {
  const superBuffer = new Blob(recordedBlobs, {type: 'video/webm'});
  recordedVideo.src = null;
  recordedVideo.srcObject = null;
  recordedVideo.src = window.URL.createObjectURL(superBuffer);
  recordedVideo.controls = true;
  recordedVideo.play();
});

const downloadButton = document.querySelector('button#download');
downloadButton.addEventListener('click', () => {
  const blob = new Blob(recordedBlobs, {type: 'video/webm'});
  const url = window.URL.createObjectURL(blob);
  const a = document.createElement('a');
  a.style.display = 'none';
  a.href = url;
  a.download = 'test.webm';
  document.body.appendChild(a);
  a.click();
  setTimeout(() => {
    document.body.removeChild(a);
    window.URL.revokeObjectURL(url);
  }, 100);
});

function handleSourceOpen(event) {
  console.log('MediaSource opened');
  sourceBuffer = mediaSource.addSourceBuffer('video/webm; codecs="vp8"');
  console.log('Source buffer: ', sourceBuffer);
}

function handleDataAvailable(event) {
  if (event.data && event.data.size > 0) {
    recordedBlobs.push(event.data);
  }
}

function startRecording() {
  recordedBlobs = [];
  let options = {mimeType: 'video/webm;codecs=vp9'};
  if (!MediaRecorder.isTypeSupported(options.mimeType)) {
    console.error(`${options.mimeType} is not Supported`);
    errorMsgElement.innerHTML = `${options.mimeType} is not Supported`;
    options = {mimeType: 'video/webm;codecs=vp8'};
    if (!MediaRecorder.isTypeSupported(options.mimeType)) {
      console.error(`${options.mimeType} is not Supported`);
      errorMsgElement.innerHTML = `${options.mimeType} is not Supported`;
      options = {mimeType: 'video/webm'};
      if (!MediaRecorder.isTypeSupported(options.mimeType)) {
        console.error(`${options.mimeType} is not Supported`);
        errorMsgElement.innerHTML = `${options.mimeType} is not Supported`;
        options = {mimeType: ''};
      }
    }
  }

  try {
    mediaRecorder = new MediaRecorder(window.stream, options);
  } catch (e) {
    console.error('Exception while creating MediaRecorder:', e);
    errorMsgElement.innerHTML = `Exception while creating MediaRecorder: ${JSON.stringify(e)}`;
    return;
  }

  console.log('Created MediaRecorder', mediaRecorder, 'with options', options);
  recordButton.textContent = 'Stop Recording';
  playButton.disabled = true;
  downloadButton.disabled = true;
  mediaRecorder.onstop = (event) => {
    console.log('Recorder stopped: ', event);
  };
  mediaRecorder.ondataavailable = handleDataAvailable;
  mediaRecorder.start(10); // collect 10ms of data
  console.log('MediaRecorder started', mediaRecorder);
}

function stopRecording() {
  mediaRecorder.stop();
  console.log('Recorded Blobs: ', recordedBlobs);
}

function handleSuccess(stream) {
  recordButton.disabled = false;
  console.log('getUserMedia() got stream:', stream);
  window.stream = stream;

  const gumVideo = document.querySelector('video#gum');
  gumVideo.srcObject = stream;
}

async function init(constraints) {
  try {
    const stream = await navigator.mediaDevices.getUserMedia(constraints);
    handleSuccess(stream);
  } catch (e) {
    console.error('navigator.getUserMedia error:', e);
    errorMsgElement.innerHTML = `navigator.getUserMedia error:${e.toString()}`;
  }
}

document.querySelector('button#start').addEventListener('click', async () => {
  const hasEchoCancellation = document.querySelector('#echoCancellation').checked;
  const constraints = {
    audio: {
      echoCancellation: {exact: hasEchoCancellation}
    },
    video: {
      width: 1280, height: 720
    }
  };
  console.log('Using media constraints:', constraints);
  await init(constraints);
});
Demo
Trên chỉ là vd cơ bản, còn rất nhiều chức năng hay của WebRTC
- Bạn có thể chọn camera, chọn microphone and speaker
- Chọn media source and audio output
- ..........................
III. Kết Luận
Một trong những trang web được biết đến khá nhiều trong giới lập trình viên WebRTC đó là https://appear.in/ ra mắt hồi năm 2012, hay https://meet.google.com/. Dịch vụ này hỗ trợ người dùng tạo một phòng chat video cực kì nhanh chóng chỉ bằng cách dùng Chrome hoặc Firefox, không cần phải cài thêm bất kì một plugin nào.
WebRTC thật tuyệt vời, Nó sẽ giúp việc kết nối giữa người dùng với nhau trở nên dễ dàng hơn bao giờ hết, và tất cả mọi thứ đều chỉ cần trình duyệt mà thôi.
Nguồn tham khảo: https://webrtc.github.io/samples/
All rights reserved
