Chia sẻ 1 số mẹo CSS hay
Bài đăng này đã không được cập nhật trong 5 năm
Giới thiệu
Hi chào mọi người , hôm nay mình lại tiếp tục chia sẻ 1 số mẹo CSS nhỏ nhỏ hay hay cho các bạn làm Frontend tham khảo nhé.

CSS Technique
1. Make placeholder cho contenteditable bằng CSS
Để làm được mình sẽ sử dụng :empty để style trong trạng thái chưa có gì được nhập vào với pseudo :before.
Khi có nội dung được nhập vào thì sẽ truyền vào content: attr()
Cụ thể như sau:
HTML
<div contenteditable="true" placeholder="会社名を入力してみてください"></div>
CSS
[contenteditable=true]:empty:before{
  content: attr(placeholder);
  pointer-events: none;
  display: block; /* For Firefox */
}

div[contenteditable=true] {
  border: 1px dashed #AAA;
  width: 290px;
  padding: 15px;
}
2. Làm background cắt chéo bằng clip-path
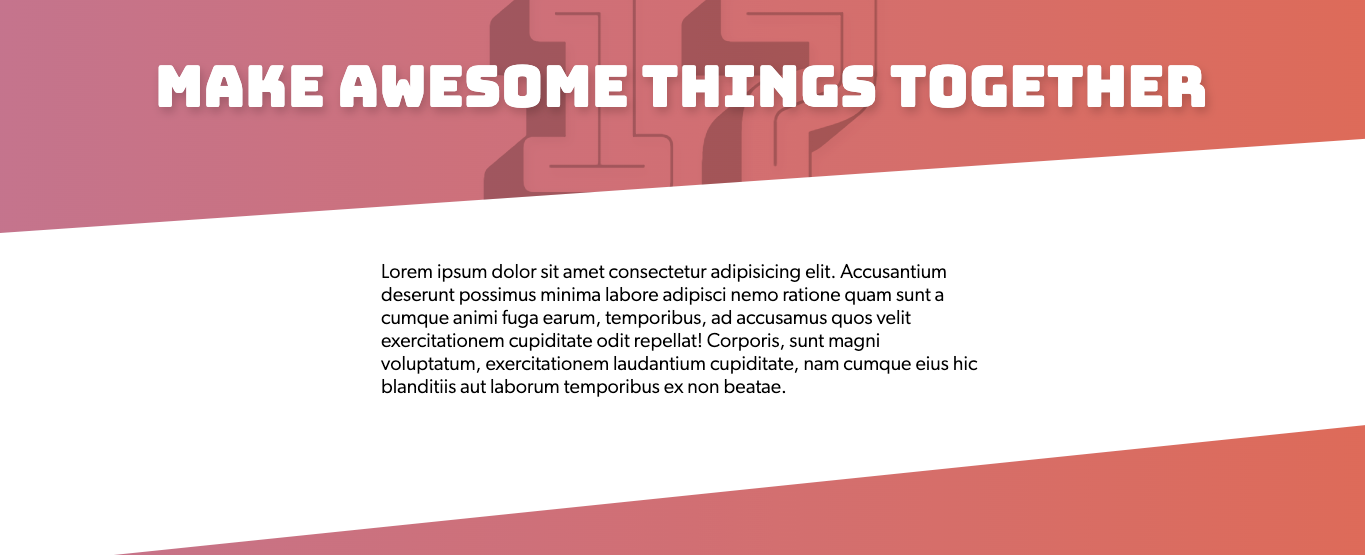
Bình thường chúng ta hay sử dụng transform để làm méo nghiêng nhưng sử dụng clip-path cũng có thể làm được nhé.
HTML
<h1 class="title">Make Awesome Things Together <span>17</span></h1>
CSS
clip-path: polygon(0 0, 100% 0%, 100% 60%, 0% 100%);
Sau khi sử dụng clip-path mình được như hình dưới

3. Readmore toggle bằng CSS
Tạo toggle đơn giản readmore và show less đơn giản chỉ với CSS
.readmore
    input#post-1.readmore__input(type="checkbox")
    .readmore__text aaaaaa
        span.readmore__text-target
            aaaaaa
            <br> aaaaaa
            <br> aaaaaa
            <br> aaaaaa
            <br> aaaaaa
            <br> aaaaaa
            <br> aaaaaa
            <br> aaaaaa
            <br> aaaaaa
    labe.readmore__trigger(for="post-1")
.readmore {
    &__input {
       display: none;
       &:checked ~ .readmore__text . readmore__text-target {
            opacity: 1;
            font-size: inherit;
            max-height: 999em;
       }
       & ~ .readmore__trigger:before {
           content: 'Readmore';
       }
       &:checked ~ .readmore__trigger:before {
           content: 'Close'
       }
    }
    &__text {
        &-target {
            opacity: 0;
            max-height: 0;
            font-size: 0;
            transition: .15s ease;
        }
    }
    &__trigger {
        cursor: pointer;
        display: inline-block;
        padding: 0 .5em;
        color: #666;
        font-size: .9em;
        line-height: 2;
        border: 1px solid #ddd;
        border-radius: .25em;
    }
}
Demo
Lời kết
Hi vọng những tip nhỏ trên sẽ có ích cho mọi người nhé.
All rights reserved