Laravel & Pusher: Tự kỉ mùa Sum Up =))
Bài đăng này đã không được cập nhật trong 5 năm
Để tiếp nối series Mình thích Laravel nhờ người ấy thì mình đã chọn chủ đề là Laravel pusher.
Chắc hẳn 500 anh em mà vẫn chưa tìm thấy gấu cho mùa hè này đang buồn lắm nhỉ. Nhưng mà anh em đừng lo, mình là dev, dù có cô đơn thì vẫn cứ phải sang chảnh nhé  Nếu buồn quá thì hãy làm thì làm vài ứng dụng chơi chơi. Và hôm nay mình sẽ hướng dẫn anh em làm một ứng dụng khá thú vị để mọi người tự kỉ nhé ahihihi
1. Cấu hình trước đã nào
Đầu tiên, chúng ta cần tạo một project laravel và cài đặt composer:
composer create-project --prefer-dist laravel/laravel blog
composer install
Thử chạy xem được chưa nào:
php artisan serv --port=1212
Do máy mình đang có một prọectj chạy cổng 8000 nên mình thêm option port. Còn bình thường, các bạn chỉ cần chạy
php artisan servelà ok nhé!
Nếu kết quả như vậy thì ok rồi nhé.
 Giờ thì cài đặt và cấu hình pusher cho project thôi:
composer require pusher/pusher-php-server
Cài đặt thêm npm, laravel-echo và pusher-js nữa nhé:
npm install
npm install --save laravel-echo pusher-js
Tiếp theo, chúng ta sẽ đăng nhập tài khoản pusher để lấy key. Nếu chưa có account thì bạn đăng kí ở đây nhé! Sau khi đăng nhập, bạn cần tạo một project trên account, rồi lấy key của project đó để cấu hình cho file .env.
1.1 Cấu hình file .env
Cụ thể, các key bạn cần config gồm:
PUSHER_APP_ID=YOUR_APP_ID
PUSHER_APP_KEY=YOUR_APP_KEY
PUSHER_APP_SECRET=YOUR_APP_SECRET
PUSHER_APP_CLUSTER=YOUR_APP_CLUSTER
Ví dụ đây là thông tin mình cấu hình cho project của mình:
PUSHER_APP_ID=675392
PUSHER_APP_KEY=ae65d1e4c661d701191d
PUSHER_APP_SECRET=2aac62d89118f21c01de
PUSHER_APP_CLUSTER=ap1
Tiếp theo, bạn cần sửa key BROADCAST_DRIVER thường mặc định là BROADCAST_DRIVER=log sang pusher
BROADCAST_DRIVER=pusher
1.2 Cấu hình file config/app.php
Đầu tiên, trong list provider, bạn bỏ comment cho BroadcastServiceProvider
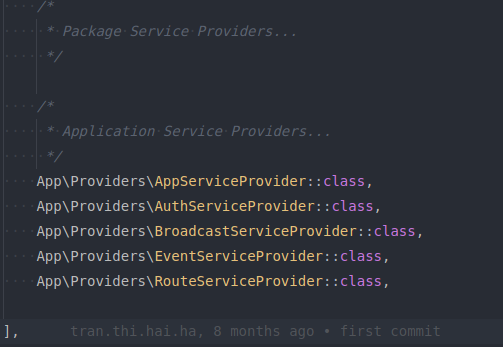
tiếp theo, trong list aliases bạn thêm 1 dòng cho Pusher:
'Pusher' => Pusher\Pusher::class,
1.3 Cấu hình file broadcasting.php
Trong config/broadcasting.php, bạn thêm 2 dòng dưới đây trong mục cấu hình pusher để xác định location và mã hóa dữ liệu trên đường truyền:
'options' => [
    'cluster' => env('PUSHER_APP_CLUSTER'),
    'encrypted' => true,
],
1.4 Cấu hình file bootstrap.js
Bạn mở file resources/js/bootstrap.js, và ở cuối file, bạn paste thêm đoạn code sau:
import Echo from 'laravel-echo'

window.Pusher = require('pusher-js');

window.Echo = new Echo({
    broadcaster: 'pusher',
    key: process.env.MIX_PUSHER_APP_KEY,
    cluster: process.env.MIX_PUSHER_APP_CLUSTER,
    encrypted: true
});
Vậy là đã cấu hình xong. Giờ thì...
2. Code thôi
2.1 Tạo Event nhé
Chúng ta sẽ tạo một event bằng lệnh:
php artisan make:event AloneEvent
Sau đó sửa file AloneEvent như sau:
<?php

namespace App\Events;

use Illuminate\Broadcasting\Channel;
use Illuminate\Queue\SerializesModels;
use Illuminate\Foundation\Events\Dispatchable;
use Illuminate\Broadcasting\InteractsWithSockets;
use Illuminate\Contracts\Broadcasting\ShouldBroadcast;

class AloneEvent implements ShouldBroadcast
{
    use Dispatchable, InteractsWithSockets, SerializesModels;

    public $message;
    /**
     * Create a new event instance.
     *
     * @return void
     */
    public function __construct($message)
    {
        $this->message = $message;
    }

    /**
     * Get the channels the event should broadcast on.
     *
     * @return \Illuminate\Broadcasting\Channel|array
     */
    public function broadcastOn()
    {
        return new Channel('myself-chanel');
    }
}
Khi chạy sự kiện AloneEvent, message được khởi tạo sẽ được truyền lên server Pusher thông qua Chanel, ở đây mình đặt tên chanel của mình là myself-chanel.
2.2 Thêm api và viết controller nữa
Mình sẽ thêm 2 routers trong routers/web.php:
<?php

/*
|--------------------------------------------------------------------------
| Web Routes
|--------------------------------------------------------------------------
|
| Here is where you can register web routes for your application. These
| routes are loaded by the RouteServiceProvider within a group which
| contains the "web" middleware group. Now create something great!
|
*/

// đây là router để  get giao diện
 Route::get('/','MyController@getFrontEnd');

 // Đây là router để truyền message
 Route::get('/sent','MyController@sent');
Tiếp theo, mình sẽ viết controller để viết hàm xử lý nào.
php artisan make:controller MyController
<?php

namespace App\Http\Controllers;

use Illuminate\Http\Request;
use App\Events\HelloPusherEvent;

class MyController extends Controller
{
    public function getFrontEnd(){
         return view("welcome");
    }

    public function sent(Request $request){
         $message = $request->query->get('message', 'Hey guys!');
         event(new AloneEvent($message));

         return "Message \" $message \" has been sent.";
    }
}
2.3 Thêm giao diện nữa là xong rồi nè
<!DOCTYPE html>
<html>
<head>
    <meta charset="UTF-8">
    <meta name="viewport" content="width=device-width, initial-scale=1.0">
    <title>Forever Alone</title>

    <link rel="stylesheet" href="https://maxcdn.bootstrapcdn.com/bootstrap/3.3.7/css/bootstrap.min.css">
    <style type="text/css" media="screen">
      #messages{
        color: #1abc9c;
      }
      #messages li{
        max-width: 50%;
        margin-bottom:10px;
        border-color: #34495e;
      }
    </style>
</head>
<body>
    <div class="container">
      <div class="content">
        <h1>Laravel & Pusher: Laravel & Pusher: Tự kỉ mùa Sum Up =))</h1>

        <div>
          <h2>Chat box</h2>
          <ul id="messages" class="list-group"></ul>
        </div>
      </div>
    </div>

    <script src="https://ajax.googleapis.com/ajax/libs/jquery/3.2.1/jquery.min.js"></script>
    <script src="https://js.pusher.com/4.1/pusher.min.js"></script>
    <script>
      $(document).ready(function(){
        var pusher = new Pusher('ae65d1e4c661d701191d', {
            cluster: 'ap1',
            encrypted: true
        });
        var channel = pusher.subscribe('myself-chanel');
        channel.bind('App\\Events\\HelloPusherEvent', addMessageDemo);
      });

      function addMessageDemo(data) {
        var liTag = $("<li class='list-group-item'></li>");
        console.log(data.message)
        liTag.html(data.message);
        $('#messages').append(liTag);
      }
    </script>
</body>
</html>
3. Giờ thử xem có tự kỉ được không nào =))
Chạy project nè:
php artisan serv --port=1212`
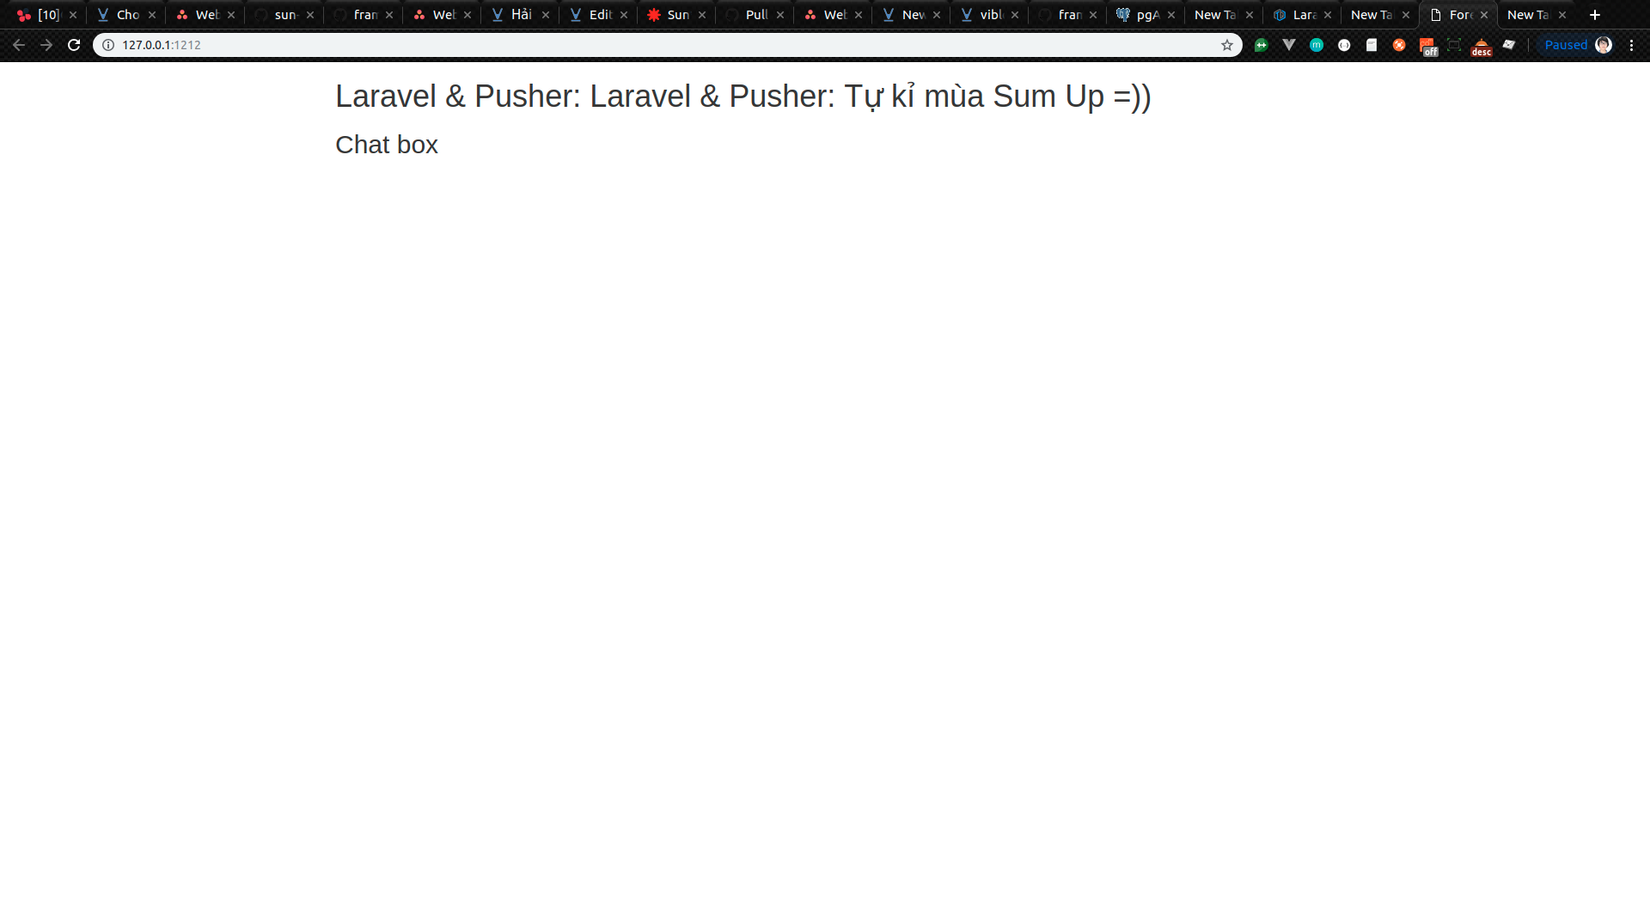
Sau đó, mở trình duyệt và truy cập http://127.0.0.1:1212/, chúng ta sẽ có 1 màn hình như vậy
Sau đó, mở thêm 1 trình duyệt khác hoặc bật một trình duyệt ẩn danh, sau đó truy cập http://127.0.0.1:1212/sent.
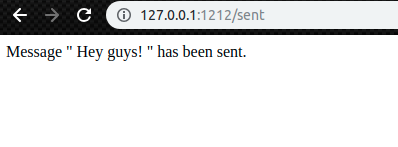
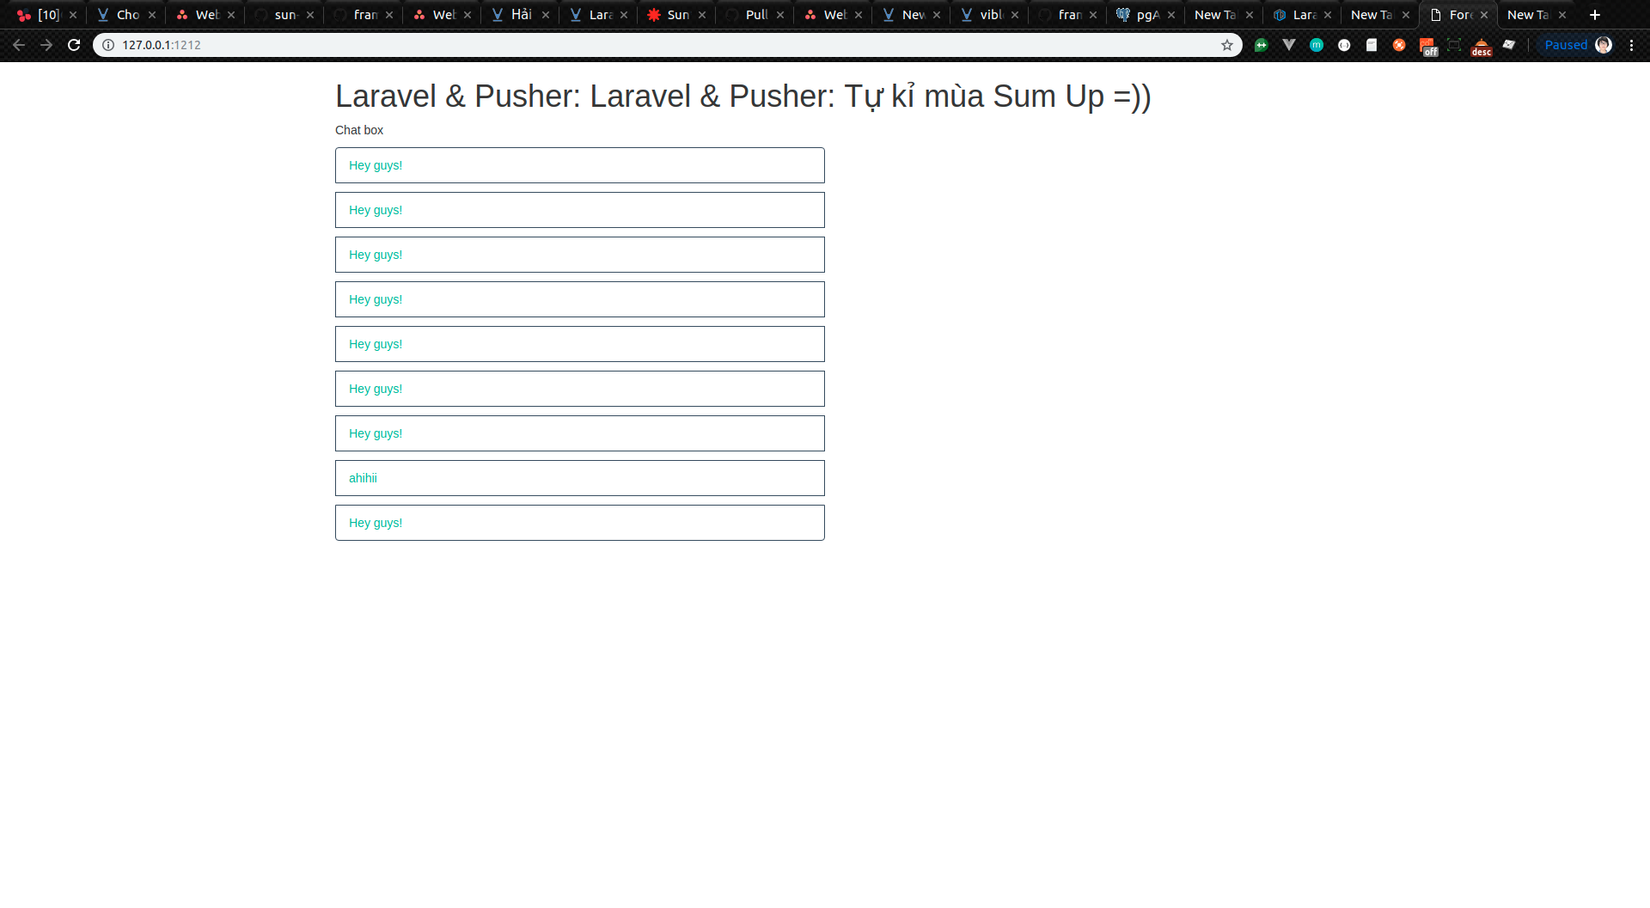
Message mặc định đã được gửi, cùng xem kết quả nào:

Giờ thì thêm query string để truyền tin tự kỉ thôi nào. Ví dụ như:
http://127.0.0.1:1212/sent?message=ahihi
http://127.0.0.1:1212/sent?message=...
Vậy là mình đã giới thiệu với 500 anh em cách tự kỉ rồi nhé. Không có gấu thì tập trung phấn đấu vì sự nghiệp thôi.
Hi vọng mọi người sẽ tự kỷ thành công =)). Đùa thôi, không có gấu thì ta cũng có nhau mà. Xách balo lên và đi thôi, chờ gấu xuất hiện nào  .
.
Hẹn gặp lại mọi người trong những bài viết tiếp theo. Giờ thì chuẩn bị tinh thần đi Sum up ahihi
Nguồn tham khảo: https://trungquandev.com/laravel-pusher-tao-mot-ung-dung-web-thoi-gian-thuc/
All rights reserved
