Đăng nhập với Github sử dụng Devise thật đơn giản !!!
Bài đăng này đã không được cập nhật trong 6 năm
1. Giới thiệu
Từ version 1.2 trở đi, Devise đã hỗ trợ thêm OmniAuth để Rails App của bạn có thể đăng nhập từ ứng dụng bên thứ 3, trong bài này cụ thể là Github. Chúng ta hãy cùng tìm hiểu các bước cài đặt như thế nào nhé!
2. Các bước cài đặt
2.1. Cài đặt
Trong bài viết này giả sử bạn đã cài đặt Devise và một số cài đặt cần thiết cho devise. Model cho authentication là User.
- Thêm gem "omniauth-github" vào Gemfile
gem "omniauth-github"
Trên terminal run:
bundle install
- Bật module omniauthable cho devise. Trong User model thêm module omniauthable vào như sau:
devise :omniauthable, omniauth_providers: [:github]
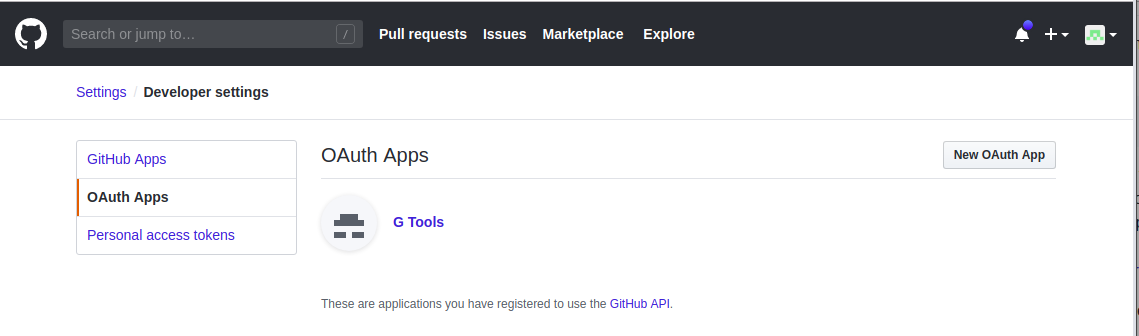
2.2. Đăng ký Github Application
Truy cập vào: https://github.com/settings/developers, tại mục OAuth App, chọn New OAuth Apps
Rồi đăng ký như sau:
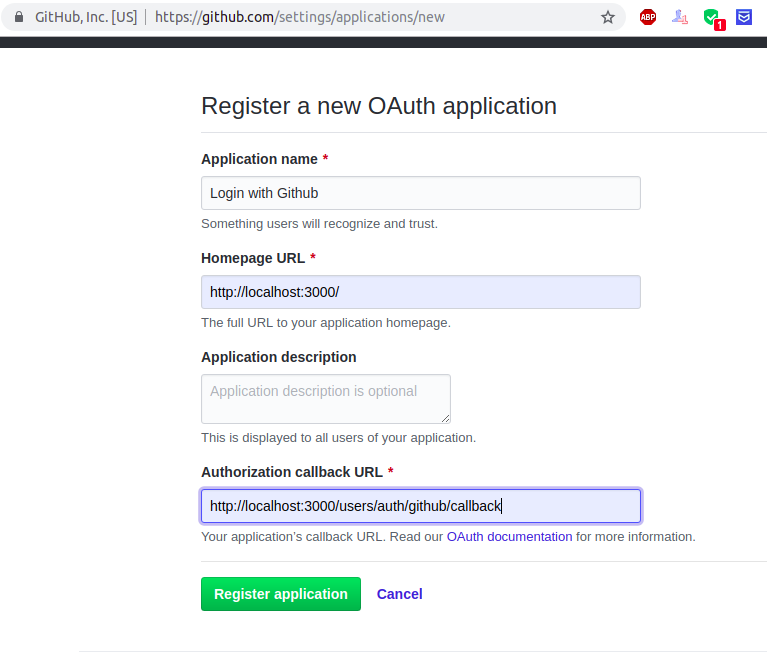
Homepage URL chính là URL trang web của bạn.
2.3. Đưa Omniauth vào ứng dụng
2.3.1. Thêm 2 columns "provider" và "uid" tới User model
rails g migration AddOmniauthToUsers provider:string uid:string
rake db:migrate
2.3.2. Khai báo provider vào config/initializers/devise.rb
config.omniauth :github, 'YOUR_APP_ID', 'YOUR_APP_SECRET'
Thay thế YOUR_APP_ID và APP_SECRET với app id và secret của bạn vừa tạo. Bạn cũng cần xác định permissions và scopes để xác định phạm vi của thông tin người dùng bạn cần lấy về.
config.omniauth :github, 'YOUR_APP_ID', 'YOUR_APP_SECRET',
  scope: "user:email, user:follow, repo, read:org"
2.3.3. Chắc chắn bạn restart server để các cài đặt trong devise có hiệu lực
2.3.4. Các url helper của github omniauth
Sau khi thực hiện các thay đổi, và nếu có khai báo devise :users vào routes.rb, devise sẽ tạo 2 url methods sau:
user_github_omniauth_authorize_path
user_github_omniauth_callback_path
Chú ý rằng devise không tạo *_url methods. Method thứ 2 trong 2 methods trên bạn sẽ không bao giờ sử dụng trực tiếp. Bạn chỉ cần thêm method thứ nhất tới layout của ứng dụng để cung cấp github authentication
<%= link_to 'Sign in with Github', user_github_omniauth_authorize_path %>
Nếu click vào link trên, bạn sẽ được đưa đến trang Authorization Github:
Sau khi login với username và password thành công bạn sẽ đc đưa trở lại method callback ủa ứng dụng.
2.3.5. Implement callback ứng dụng
- Để implement callback method, đầu tiên cần thêm route cho callback method. Trong file config/routes.rb sửa lại devise_for như sau:
devise_for :users, :controllers => { :omniauth_callbacks => "user/omniauth_callbacks" }
- Thêm app/controllers/users/omniauth_callbacks_controller.rb:
class Users::OmniauthCallbacksController < Devise::OmniauthCallbacksController
  def github
    auth = request.env["omniauth.auth"]
    @user = User.from_omniauth auth

     if @user.persisted?
      sign_in_and_redirect @user, event: :authentication

       set_flash_message(:notice, :success, kind: "Github") if is_navigational_format?
    else
      session["devise.github_data"] = auth
      redirect_to new_user_session_url
    end
  end

   def failure
    redirect_to root_path
  end
end
Ở đây, chúng ta thấy tất cả các thông tin lấy được từ github được lưu trong hash: request.env['omniauth.auth']. Nếu có một user trong database có uid giống với uid lấy được từ github thì sign in và redirect về trang chủ. Ngược lại người dùng được redirect tới trang đăng ký đồng thời các thông tin get được từ github được lưu vào trong session
Tài liệu tham khảo https://github.com/plataformatec/devise/wiki/OmniAuth:-Overview
All rights reserved
