Custom UIView Using Coregraphis, UIKit
Bài đăng này đã không được cập nhật trong 4 năm
UIButton, UILabel ... là những UIControl đươc cung cấp bởi IOS, và bằng cách sử dụng các thuộc tính đc cung cấp sẵn, những UIControll này có thể đáp ứng được hầu như các nhu cầu cần thiết của một ứng dụng có thể cần. Tuy nhiên, vì là những UIControll được thiết kế mặc định nên nó sẽ có nhũng hạn chế nhất định.Ví dụ, bạn khó có thể chèn 2 UIImage vào 1 UIButton (1 left, 1 right), hay chỉ định vùng Highlighed khi click vào button....
Bài viết này, mình sẽ trình bày cách tạo ra 1 custom view, với hình dạng bất kỳ, chỉ định vùng touch, chỉ định màu khi Highlighed, hay send UIControlEvents (valueChanged ... ) bằng Coregraphis và UIKit
1 - Tạo subclass, và thiết lập cơ bản.
Đầu tiên, tạo class kế thừa UIControl, viết các hàm init(frame: CGRect) được call khi create bằng code, init?(coder aDecoder: NSCoder) đc call khi tạo trên IB.Cả 2 hàm này đều call function initView(). Trong hàm này, mình sẽ thiết lập các thuộc tính ban đầu. Bời vì các View cho dù với bất kỳ hình dạng hiển thị nào thì nó đều nằm trong 1 rectange.Do đó, để dễ hình dung, mình sẽ set border của View này với color là black
class CTView: UIControl {
    override init(frame: CGRect) {
        super.init(frame: frame)
        print("frame")
        // init view
        self.initView()
    }

    required init?(coder aDecoder: NSCoder) {
        super.init(coder: aDecoder)
        print("aDecoder")
        // init view
        self.initView()
    }

    // MARK: - initView
    private func initView(){
        self.layer.borderWidth = 1
        self.layer.borderColor = UIColor.black.cgColor
    }
    }
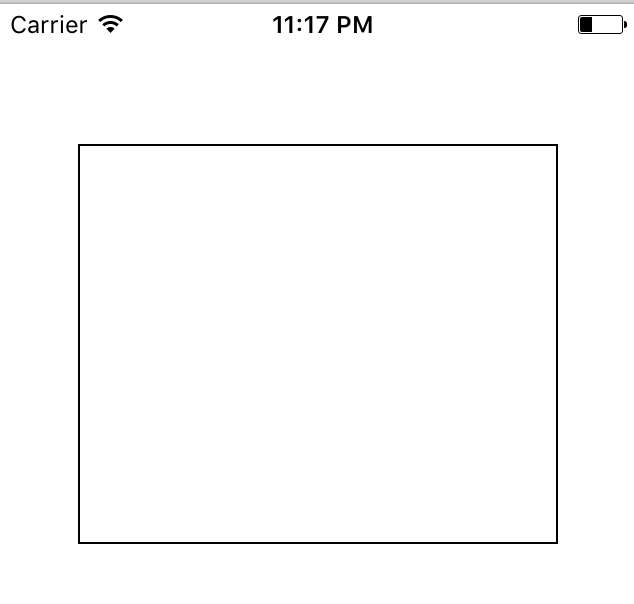
Kéo 1 UIview bất kỳ lên file xib và cho kế thừa subClass này. Và đây là custom view khi mới init
2 - Draw hình dạng hiển thị của custom view
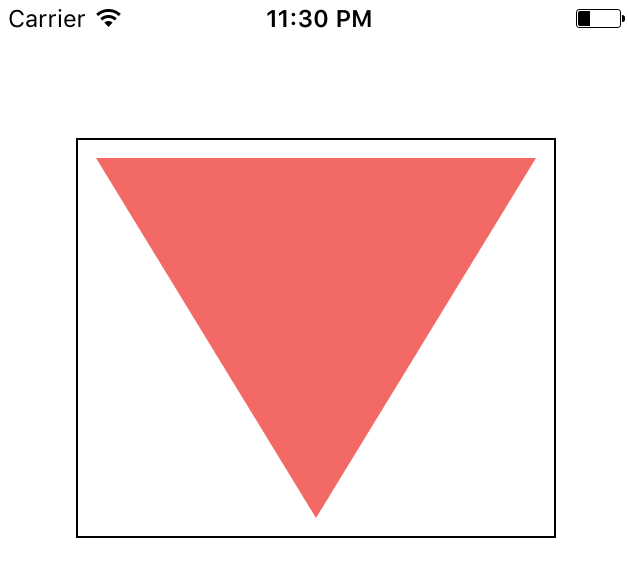
Để đơn giản mình sẽ draw custom view là 1 hình tam giác cách rectange 1 khoảng là 10. Viết hàm drawTriangleView và thực thi trong override func draw( rect: CGRect) . Trong hàm này mình sẽ vẽ hình dạng để hiện thị của customView và là 1 hình tam giác. Để vẽ mình sẽ dùng UIBezierPath (UIKit).
    private var bezierPath:UIBezierPath?
    override func draw(_ rect: CGRect) {
        print("\(rect)")
        // Drawing code
        self.drawTriangleView(rect)
    }

    private func drawTriangleView(_ rect: CGRect) {
        self.bezierPath = UIBezierPath()
        self.bezierPath?.move(to: CGPoint(x:10,y:10))
        self.bezierPath?.addLine(to: CGPoint(x:rect.size.width - 10,y:10))
        self.bezierPath?.addLine(to: CGPoint(x:rect.size.width / 2,y:rect.size.height - 10))
        self.bezierPath?.close()
        self.bgColor?.setFill()
        self.bezierPath?.fill()

    }
Đây là kết quả
3 - Draw Highlighted
Tương tự khi vẽ drawTriangleView, mình sẽ vẽ Highlighted view dựa trên TriangleView ở bên trên.Nhưng lần này mình sẽ dùng CoreGraphics, vẽ Highlighted view dựa trên bezierPath(cái dùng để vẽ TriangleView) Tạo hàm func drawHighlighted(_ rect: CGRect)
 private func drawHighlighted(_ rect: CGRect) {

       if let context = UIGraphicsGetCurrentContext(),
            let bezierPath = self.bezierPath{
            context.saveGState()
            let highlighted = highlightedColor ?? UIColor(white: 0.0, alpha: 0.1)
            context.setFillColor(highlighted.cgColor)
            context.addPath(bezierPath.cgPath)
            context.fillPath()
            context.restoreGState()
        }
    }
- highlightedColor : Color này có thể lựa chọn.Giá trị default sẽ là UIColor(white: 0.0, alpha: 0.1)
Mình dùng @IBDesignable và @IBInspectable để có thể dẽ dàng hình dung CTView trên file xib. Mỗi UIControl đều có 1 property isHighlighted, và sẽ dùng cái này để phần biết trạng thái Highlighted của view.
import UIKit
import CoreGraphics

@IBDesignable
class CTView: UIControl {
    private var bezierPath:UIBezierPath?

    @IBInspectable var bgColor: UIColor?{
        didSet{
            self.setNeedsDisplay()
        }
    }

    @IBInspectable var highlightedColor: UIColor?{
        didSet{
            self.setNeedsDisplay()
        }
    }

    override init(frame: CGRect) {
        super.init(frame: frame)
        print("frame")
        // init view
        self.initView()
    }

    required init?(coder aDecoder: NSCoder) {
        super.init(coder: aDecoder)
        print("aDecoder")
        // init view
        self.initView()
    }

    // MARK: - initView
    private func initView(){
        self.layer.borderWidth = 1
        self.layer.borderColor = UIColor.black.cgColor
    }

    override func draw(_ rect: CGRect) {
        // Drawing code
        self.drawTriangleView(rect)
        if self.isHighlighted {
            self.drawHighlighted(rect)
        }
    }
   }
- self.drawHighlighted(rect) chỉ được gọi khi self.isHighlighted == true, và để set isHighlighted = true mình phải set nó trong khi view nhận event tương ứng.Ở đây, sẽ set khi nó nhận đc khi touch vào bên trong hình tam giác.
4 - Tạo event
Overide 3 function từ UIcontrol sau:
- func beginTracking( touch: UITouch, with event: UIEvent?) -> Bool
- func continueTracking( touch: UITouch, with event: UIEvent?) -> Bool
- func endTracking( touch: UITouch?, with event: UIEvent?)
Ở trong 3 hàm này mình sẽ set isHighlighted == true khi touch vào 1 điểm trong hình tam giác,set lại = false khi end touch và đồng thời send action valueChange với isTouch = true.Ngược lại, send action với isTouch = false khi touch điểm bên ngoài hình tam giác. Để làm việc này, viết 1 hàm check point khi touch vào view có thuộc tam giác hay ko?
private func containtPoint(point:CGPoint) -> Bool {
        if let bezierPath = self.bezierPath{
            return bezierPath.contains(point)
        }

        return false
    }
- Tham số truyền vào hàm trên là điểm touch vào, và sẽ check trên bezierPath vì nó vẽ lên hình tam giác đó.
 var isTouch: Bool = false
 override func beginTracking(_ touch: UITouch, with event: UIEvent?) -> Bool {
        let touchPoint = touch.location(in: self)
        if self.containtPoint(point: touchPoint) {

            self.isHighlighted = true
            self.setNeedsDisplay()
        }

        return true
    }

    override func continueTracking(_ touch: UITouch, with event: UIEvent?) -> Bool {
        return true
    }

    override func endTracking(_ touch: UITouch?, with event: UIEvent?) {
        if let touchPoint = touch?.location(in: self) ,self.containtPoint(point: touchPoint) {

            self.isHighlighted = false
            self.setNeedsDisplay()
            self.isTouch = true
            self.sendActions(for: UIControlEvents.valueChanged)
        }else{
            self.isTouch = false
            self.sendActions(for: UIControlEvents.valueChanged)
        }
    }
Ở view controller kéo IBAction với UIControlEvents là valueChanged
 @IBAction func actionValueChangeCTView(_ sender: CTView) {
        print("actionValueChangeCTView \(sender.isTouch)")
    }
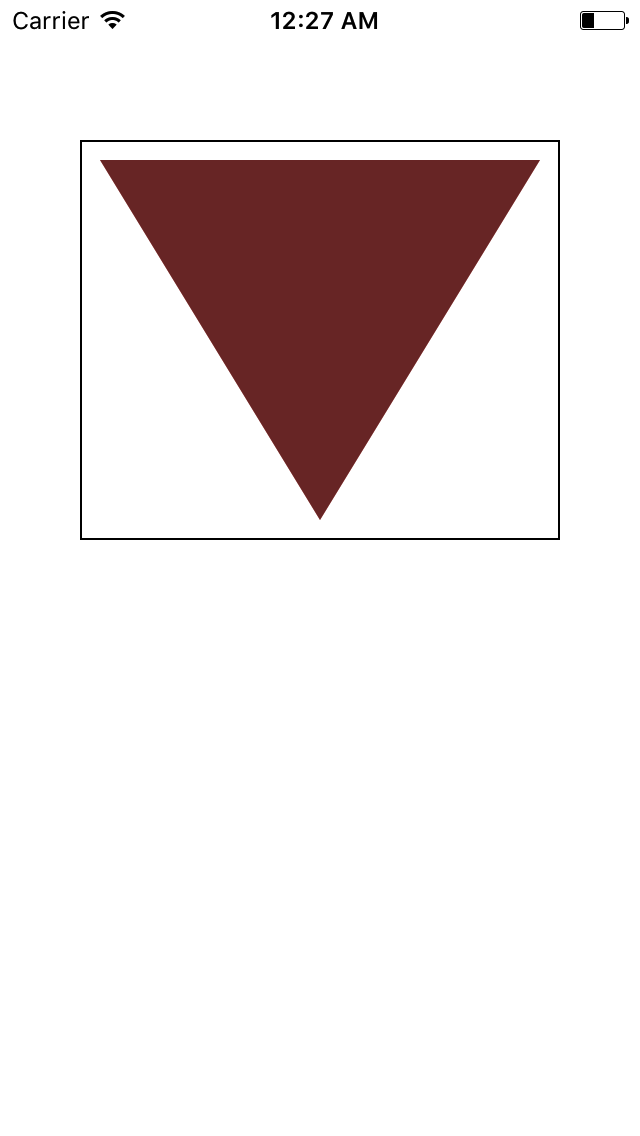
5 - Kết quả
- Khi click vào bên trong hình tam giác, sẽ có Highlight hiện lên, đồng thời send action valueChanged với value isTouch = true
- Khi click vào bên ngoài hình tam giác, thì chỉ có action valueChanged với value isTouch = flase
6 - Kết
- Bằng cách này, có thể custom được bất kỳ UIControll nào. Ở đây mình kết hợp Coregraphis, UIKit để vẽ đồng thời dùng IBDesignable và @IBInspectable để có thể hình dùng view trên file xib khi mình thay đổi thuộc tính của nó.
- Bài này, mình chỉ thay đổi 2 thuộc tính bgColor(color hình tam giác) và highlightedColor (color khi touch 1 điểm trong hình tam giác).Tuy nhiên, bạn có thể thêm nhiều thuộc tính khác như border, insetTop,left ...Và tất nhiên phải call self.setNeedsDisplay() để vẽ lại.
All rights reserved
