Today Extension
Bài đăng này đã không được cập nhật trong 4 năm
Trong khuôn khổ của bài viết này thì chúng ta sẽ dùng Today Extension để hiển thị thông tin thời tiết tại vị trí của người dùng tại thời điểm đó
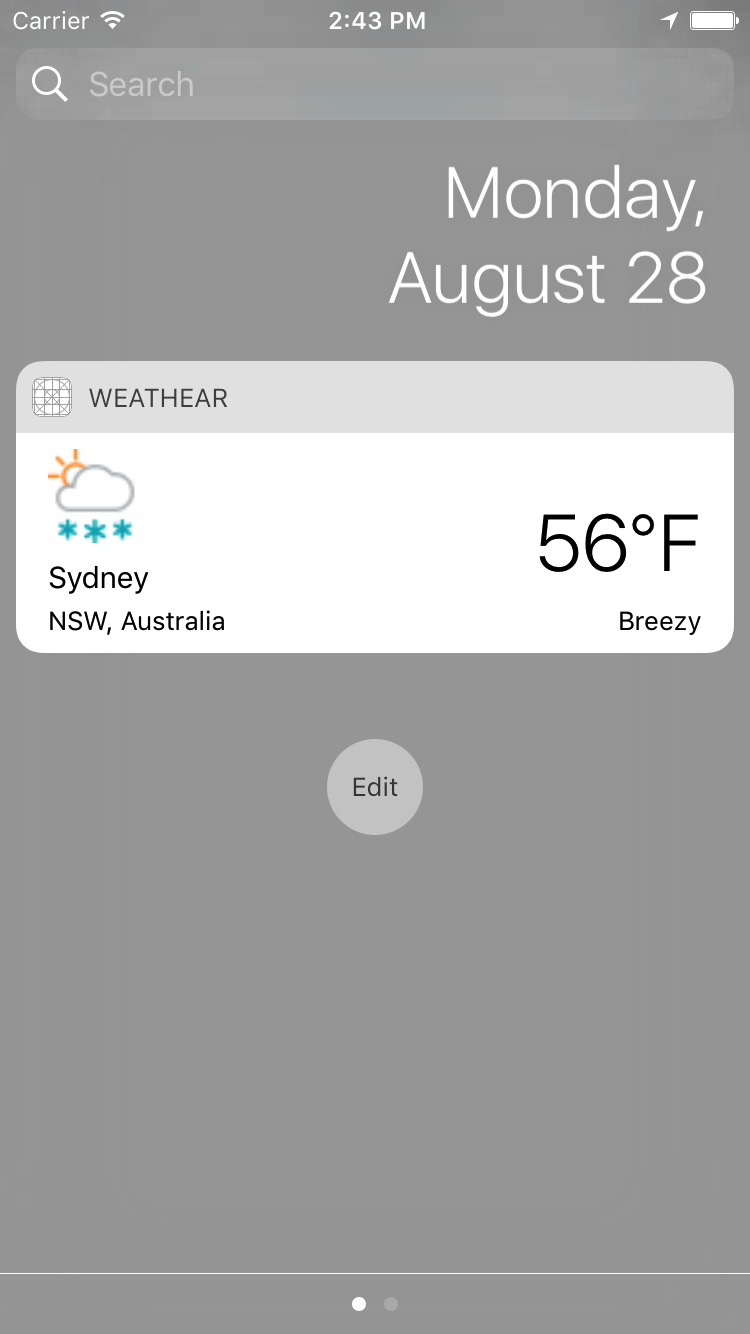
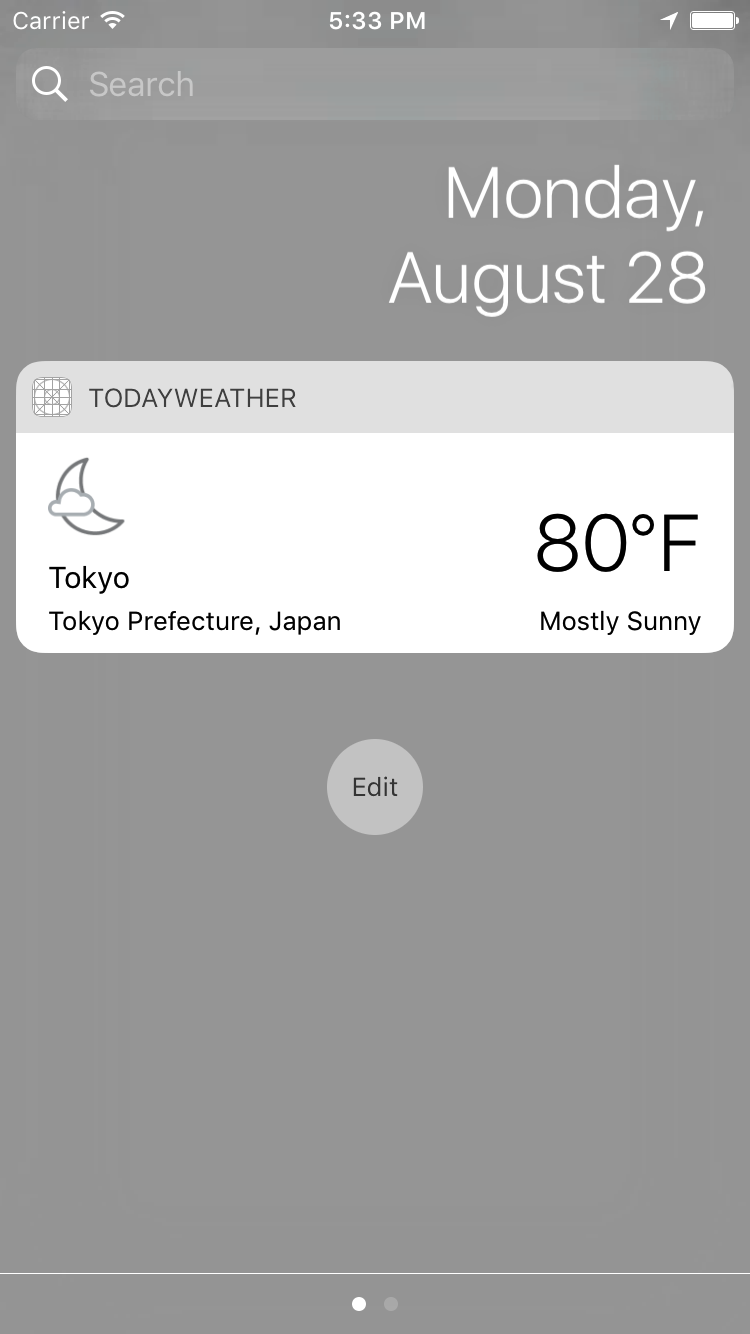
Mục tiêu cần đạt được: làm được cái app như cái hình dưới đây  , ngon hơn càng tốt
Today Extension là gì?
Theo định nghĩa của Apple
App extensions in the Today view are called widgets. Widgets give users quick access to information that’s important right now. For example, users open the Today view to check current stock prices or weather conditions, see today’s schedule, or perform a quick task such as marking an item as done. Users tend to open the Today view frequently, and they expect the information they’re interested in to be instantly available.
Có thể hiểu 1 cách ngây thơ: Today Extension cho phép app hiển thị thông tin ở Notification Center và Lock Screen, là cách hay để cung cấp thông tin nhanh chóng liên lục cho người dùng.
Chuẩn bị
- Xcode 8.x, Swift, UIKit... bla bla....
- App sẽ dùng API weather của yahoo để lấy thông tin dự báo thời tiết: https://developer.yahoo.com/weather/.
- Dùng 1 tẹo CoreLocation để lấy vị trí của người dùng: https://developer.apple.com/library/content/documentation/UserExperience/Conceptual/LocationAwarenessPG/CoreLocation/CoreLocation.html
- Bộ ảnh 18+ icon cho nhiệt độ (hình ảnh chỉ mang tính chất cho có , sai sai so với value thật) - Đã có trong git https://github.com/nguyenngocban/weather
Code
Tạo Project
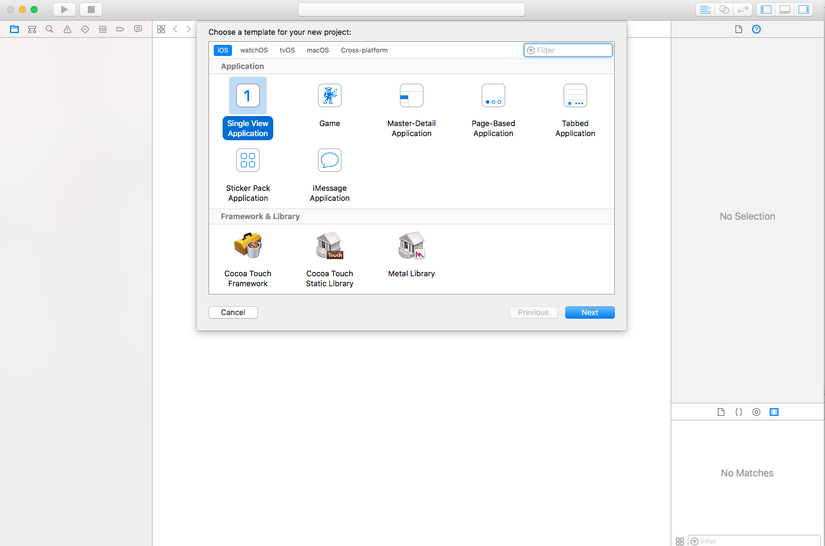
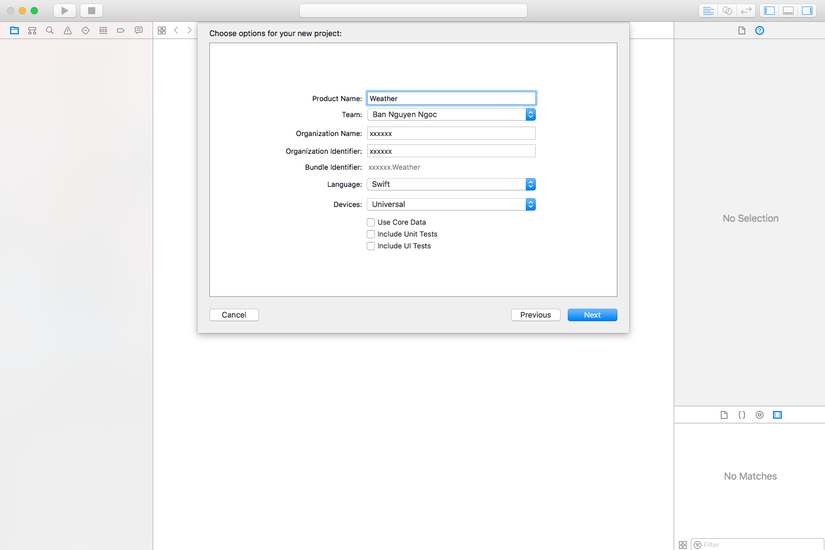
Tạo Project mới, đặt tên là Weather (tên gì cũng được nhé )
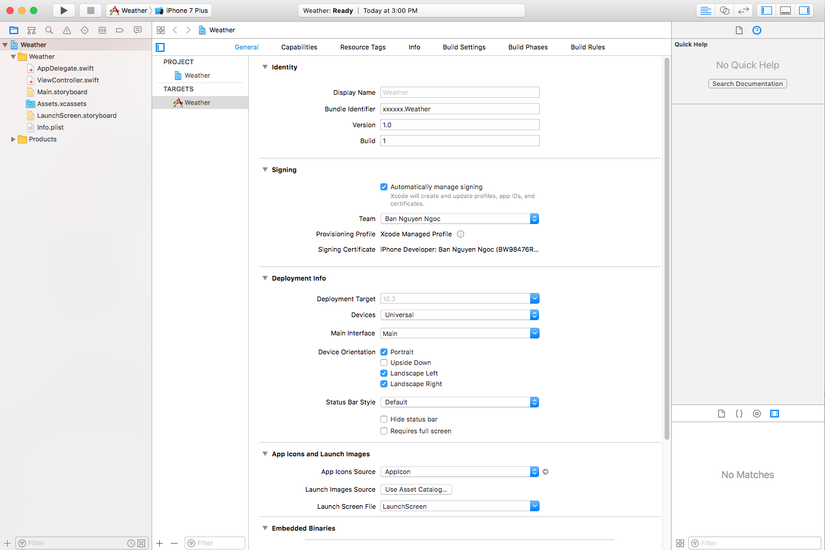
Sau đó sẽ được cái project trông tù tù như này:
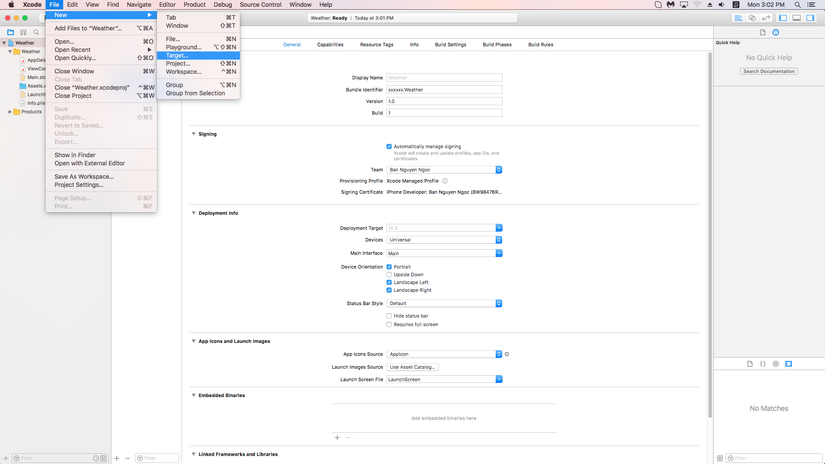
Tạo Target Today Extension
Chọn File -> New -> Target
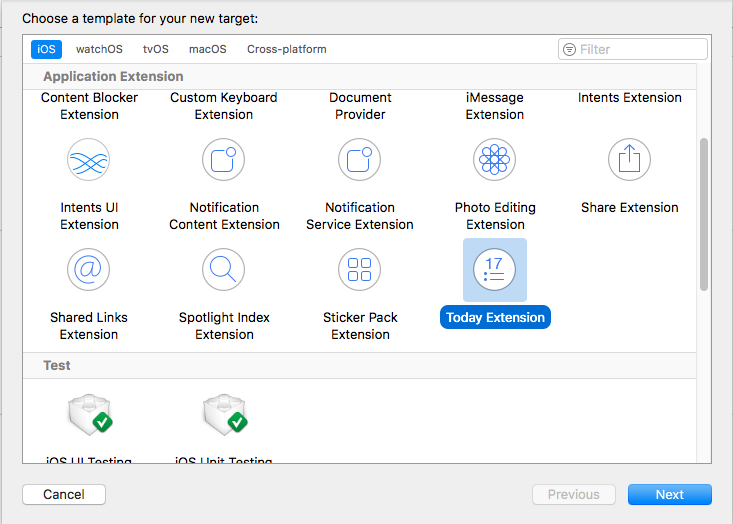
Sau đó scroll lên xuống tìm chọn Today Extesion ở trong tab iOS rồi nhấn Next
Đặt tên cho Today Extension: TodayWeather (tất nhiên để tên khác cũng được )
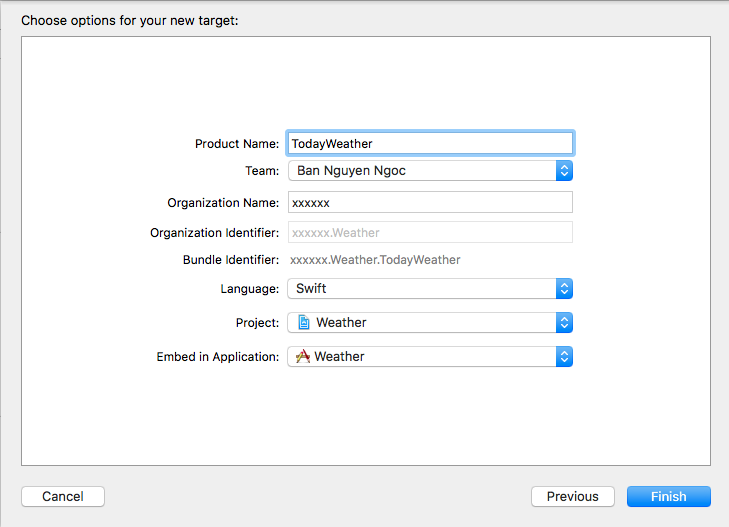
Thường thì bạn sẽ bị nó hỏi Active TodayWeather không? Thì chọn Active nhé (chọn không thì tự đi mà active sau )

Tạo xong bạn sẽ thấy nó có thêm mấy cái mới mới như trong hình:
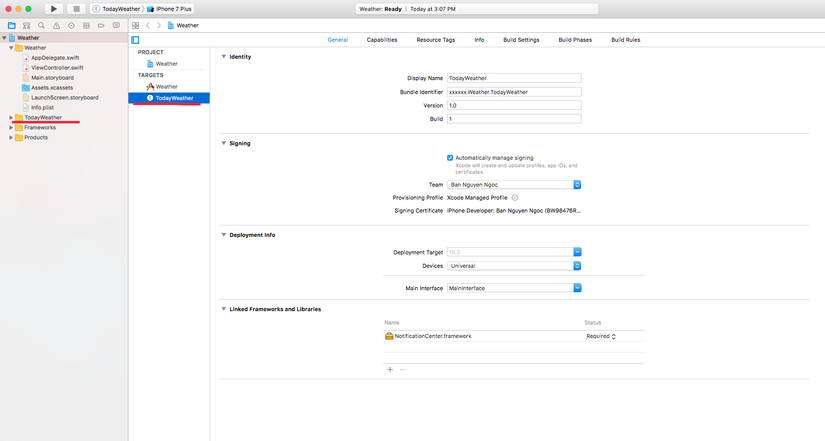
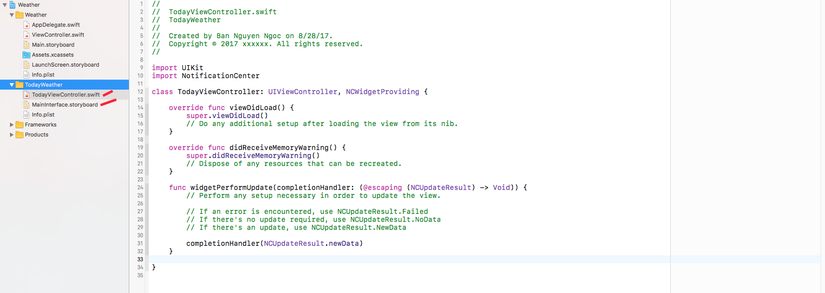 2 file TodayViewController.swift và MainInterface.storyboard là file chúng ta cần code
Xem Code
Chọn file TodayViewController.swift trong target TodayWeather bạn sẽ thấy nó cũng chỉ là UIViewController cùi bắp thôi

Còn file MainInterface.storyboard có sẵn 1 ViewController được link đến TodayViewController
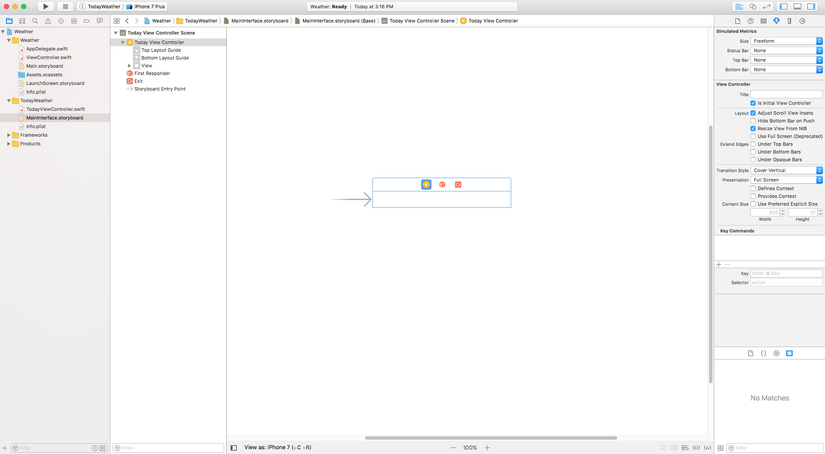
Vẽ UI
Dựa theo mục tiêu của bài viết thì chúng ta sẽ thêm cái UILabel và UIImageView vào cái ViewController đó rồi layout sao cho nó giống giống là được, và kéo IBOutlet cho các UI đó

Add images
Thêm tất cả Images download được vào Assets.xcassets và nhớ check cả 2 target membership (để image có thể dùng ở cả 2 target)

Lấy vị trí hiện tại của người dùng
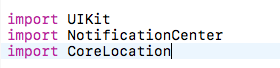
Để lấy được vị trí hiện tại của người dùng thì ta cần sử dụng CoreLocation
-
Import CoreLocation
-
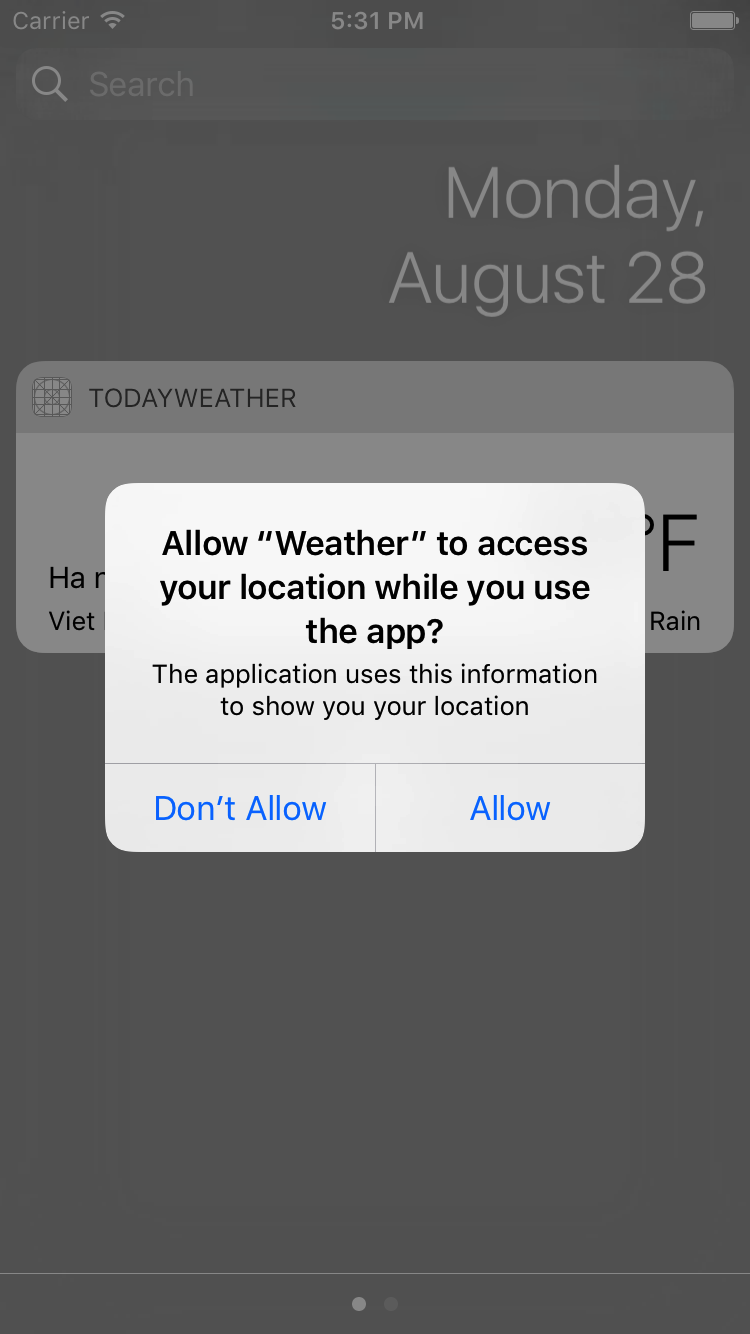
Privacy: Để sửa dụng location thì cần phải được sự cho phép của người dùng: Chúng ta cần thêm vào file: info.plist cặp Privacy tương ứng. Dưới đấy là description cho
.requestWhenInUseAuthorization()
<key>NSLocationWhenInUseUsageDescription</key>
   <string>The application uses this information to show you your location</string>
- Sử dụng Location Manager Tạo biến locationManager
let locationManager = CLLocationManager()
Ở viewDidLoad() chúng ra setup cho locationManager
// Ask for Authorisation from the User
locationManager.requestWhenInUseAuthorization()

// Set Delegate
if CLLocationManager.locationServicesEnabled() {
    locationManager.delegate = self
    locationManager.desiredAccuracy = kCLLocationAccuracyKilometer
}
- Để lấy được vị trí chúng ta cần sử dụng
CLLocationManagerDelegate
extension TodayViewController: CLLocationManagerDelegate {
    func locationManager(_ manager: CLLocationManager, didChangeAuthorization status: CLAuthorizationStatus) {
        if status == .authorizedAlways || status == .authorizedWhenInUse {
            locationManager.startUpdatingLocation()
        }
    }

    func locationManager(_ manager: CLLocationManager, didUpdateLocations locations: [CLLocation]) {
		// Vị trí Locations khi được update sẽ trả về ở đây
        print(locations.last?.coordinate)
    }
}
(Bạn download code về nhìn cho nó đẹp )
Như vậy chúng ta đã lấy được thông tin về vị trí hiện tại của người dùng. Tiếp theo chúng ta cần phải thực hiện gọi API để lấy thông tin dự báo thời tiết của địa điểm đó.
Call API để lấy dữ liệu thời tiết
- Xem API yahoo weahter Sau khi search + xem docs của nó thì mình thấy nó có 1 API cho phép lấy dữ liệu thông qua Lat, Long như sau:
- Query:
select * from weather.forecast where woeid in (SELECT woeid FROM geo.places WHERE text="(latitude,longitude)")(thay latitude, longitude bằng giá trị thật cần tìm) - Base url:
https://query.yahooapis.com/v1/public/yql - Để nhận kiểu dữ liệu trả về là json thì thêm
format=json
Tóm lại là nó khá loằng ngoằng, để đơn giản thì chúng ta chỉ cần thay latitude, longitude vào URL dưới đây là được, OK?
https://query.yahooapis.com/v1/public/yql?format=json&q=select * from weather.forecast where woeid in (SELECT woeid FROM geo.places WHERE text="(**latitude**,**longitude**)")
Ví dụ: https://query.yahooapis.com/v1/public/yql?format=json&q=select * from weather.forecast where woeid in (SELECT woeid FROM geo.places WHERE text="(19.0176147,72.8561644)") Bạn hãy vào đó để xem định dạng form kiểu trả về để dễ tiếp cận phần tạo Model ở dưới nhé
- Tạo Model theo Result của API trả về Vì đây không phải phần trọng tâm nên mình vứt luôn cái model ra đây nhé: Tạo file LocationWeather ở trong target TodayWeather với nội dung như sau:
class LocationWeather {

    let city: String
    let country: String
    let region: String
    let condition: ConditionWeather

    init?(channelDic: [String: Any]) {
        guard let locationDic = channelDic["location"] as? [String: String],
            let items = channelDic["item"] as? [String: Any],
            let conditionDic = items["condition"] as? [String: String],
            let condition = ConditionWeather(dic: conditionDic) else {
                return nil
        }
        city = locationDic["city"] ?? ""
        country = locationDic["country"] ?? ""
        region = locationDic["region"]?.trimmingCharacters(in: .whitespaces) ?? ""
        self.condition = condition
    }

}

class ConditionWeather {

    let code: String
    let temp: String
    let text: String

    init?(dic: [String: String]) {
        guard let code = dic["code"] else {
            return nil
        }
        self.code = code
        temp = dic["temp"] ?? ""
        text = dic["text"] ?? ""
    }

}
- Tạo NetworkManager cho nó nguy hiểm: (nếu bạn không quen dùng trực tiếp
URLSession.shared.dataTaskthì có thể thay nó thành bất kỳ thì viện nào khác cũng được, chỉ cần nó thực hiện ngon lành GET là ok)
class NetworkManager {

    static let shared = NetworkManager()

    fileprivate typealias ResponseHandle = (_ isSuccess: Bool, _ result: Any?, _ error: Error?) -> Void

    private init() {}

    func searchWeather(coordinate: CLLocationCoordinate2D, completion: ((Bool, LocationWeather?) -> Void)?) {
        let query = "select * from weather.forecast where woeid in (SELECT woeid FROM geo.places WHERE text=\"(\(coordinate.latitude),\(coordinate.longitude))\")"
        callAPI(query: query) { (isSuccess, result, error) in
            if isSuccess {
                guard let result = result as? [String: Any],
                        let query = result["query"] as? [String: Any],
                        let results = query["results"] as? [String: Any],
                        let channel = results["channel"] as? [String: Any],
                        let location = LocationWeather(channelDic: channel) else {
                    completion?(false, nil)
                        return
                }
                completion?(true, location)
            } else {
                completion?(false,nil)
            }
        }
    }

    fileprivate func callAPI(query: String, completion: ResponseHandle?) {
        let baseURL = "https://query.yahooapis.com/v1/public/yql?format=json"
        var fullURL = baseURL + "&q=\(query)"
        fullURL = fullURL.addingPercentEncoding(withAllowedCharacters: .urlQueryAllowed) ?? ""
        if let url = URL(string: fullURL) {
            let task = URLSession.shared.dataTask(with: url, completionHandler: { (data, response, error) in
                var result: Any? = nil
                do {
                    if let data = data {
                        result = try JSONSerialization.jsonObject(with: data, options: .allowFragments)
                    }
                } catch let err {
                    print("JSONSerialization error: \(err)")
                }
                DispatchQueue.main.async {
                    completion?(error == nil, result, error)
                }
            })
            task.resume()
        } else {
            completion?(false, nil, nil)
        }
    }

}
Theo như đoạn code trên thì NetworkManager có 1 hàm searchWeather với đầu vào là coordinate: CLLocationCoordinate2D, và đầu ra là: completion: ((Bool, LocationWeather?) -> Void)? nhé  . Tức là cứ tống cho nó cái
 CLLocationCoordinate2D thì nó sẽ nhả ra cái LocationWeather
Update UI
Quay lại TodayViewController.swift chúng ta thêm hàm searchLocation như sau
    func searchLocation(coordinate: CLLocationCoordinate2D) {
        NetworkManager.shared.searchWeather(coordinate: coordinate) { [weak self] (isSuccess, location) in
            guard let location = location else {
                return
            }
            self?.cityLabel?.text = location.city
            self?.countryLabel?.text = location.region + ", " + location.country
            self?.temperatureLabel?.text = location.condition.temp + "°F"
            self?.temperatureDescriptionLabel?.text = location.condition.text
            let image = UIImage(named: "vector_weather_icon_\(location.condition.code)") ?? UIImage(named: "vector_weather_icon_41") ?? UIImage()
            self?.weatherImageView.image = image
        }
    }
Hàm này có param là CLLocationCoordinate2D sẽ gọi API theo param đó và update UI theo kết quả trả về. Để sử dụng hàm đó ta sửa lại 1 chút ở CLLocationManagerDelegate như sau
func locationManager(_ manager: CLLocationManager, didUpdateLocations locations: [CLLocation]) {
    guard let latestCoordinate = locations.last?.coordinate else {
        return
    }
    searchLocation(coordinate: latestCoordinate)
}
Chạy thử
- Nếu chạy thử trên Simulator thì bạn chọn Target Weather rồi run. Sau khi chạy xong sẽ được màn hình trằng xoá.
- Bạn vuốt từ cạnh trên màn hình xuống để xem Today Extension (Segment bên trái)
- Sẽ nó Alert hỏi bắt đồng ý cho phép sử dụng Location thì bạn chọn Allow nhé:
- Quay lại Xcode để Fake location:
 Chọn 1 địa điểm nào đó rồi sau đó quay ra xem lại Simulator nào
 GOOOOOOD!!!!!
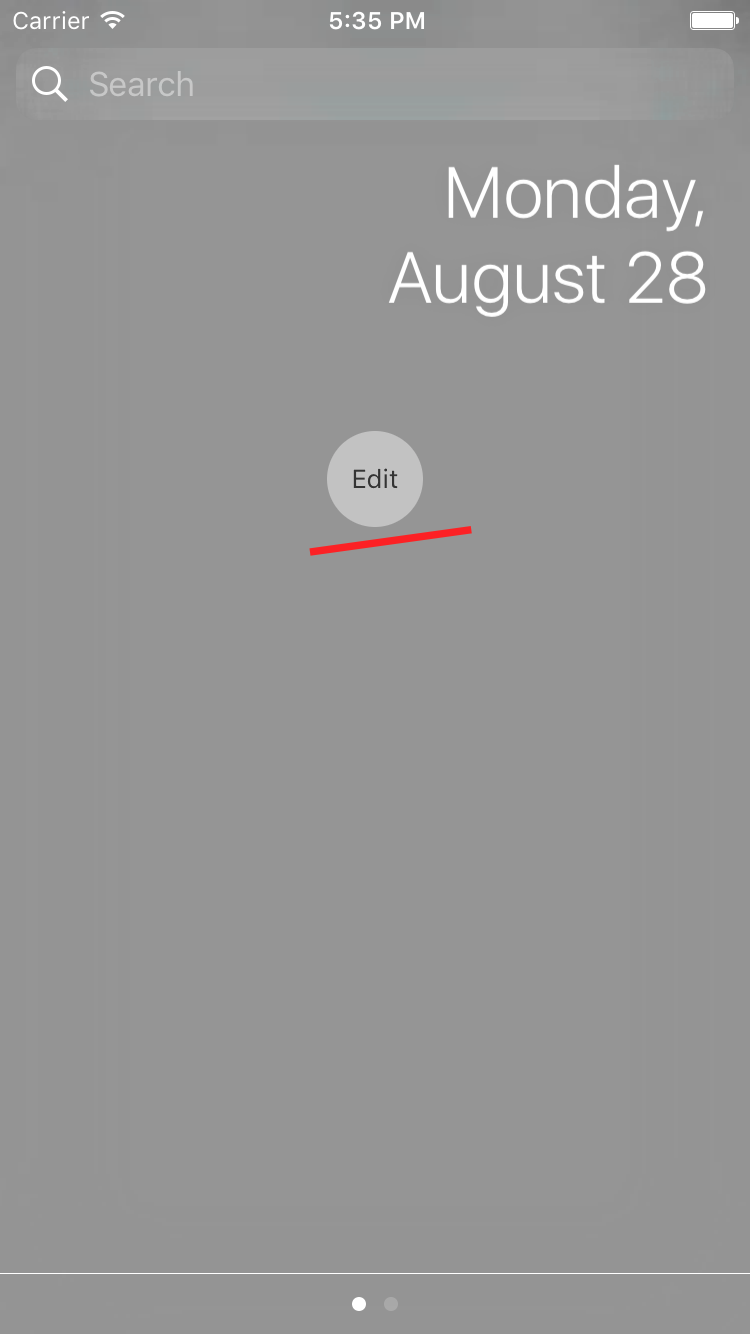
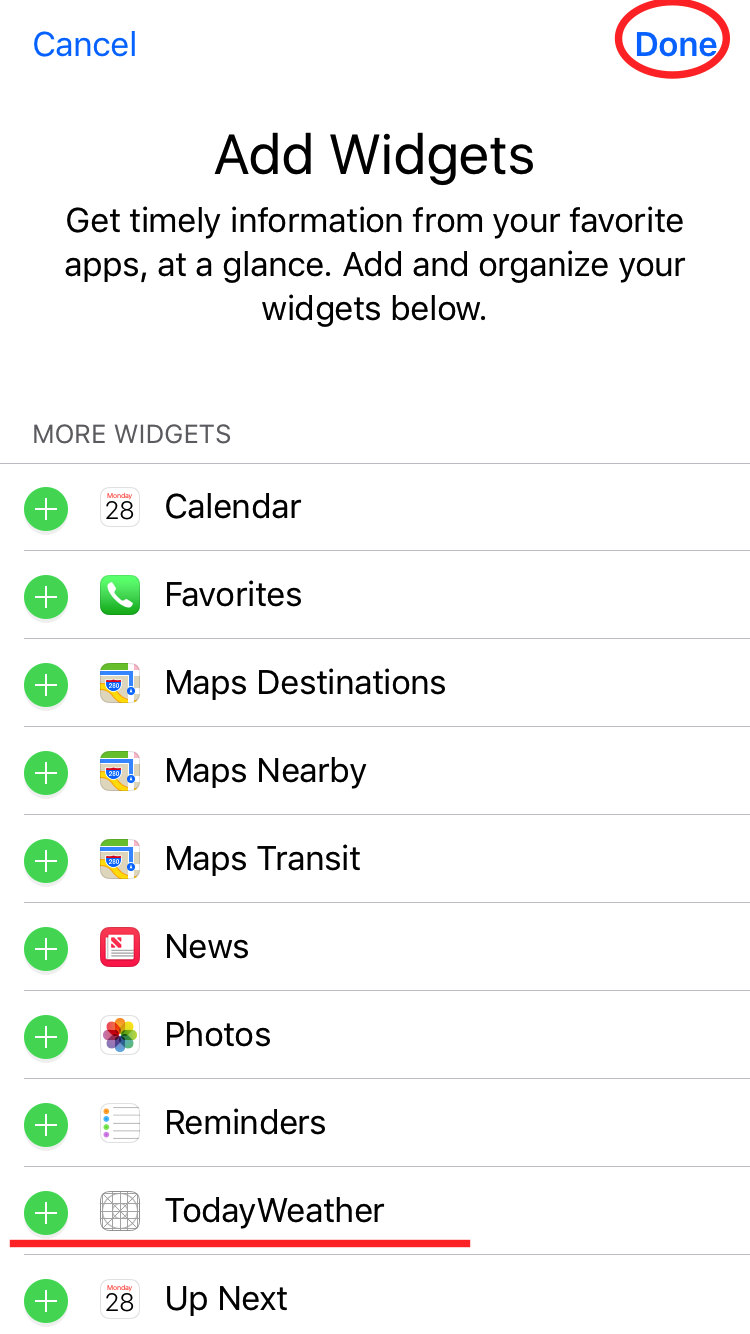
Notes: nếu test trên máy thật thì bạn cần phải cho phép show today extension nên trước:
GOOOOOOD!!!!!
Notes: nếu test trên máy thật thì bạn cần phải cho phép show today extension nên trước:
Mọi người muốn download source thì tải ở đây nhé: https://github.com/oNguyenNgocBan/weather
P/S: Bài viết khá vội, còn rất nhiều chỗ còn chưa tối ưu nhé.
(ai dùng máy thật thì test xong xoá app đi không hết cmn pin nhé  )
)
All rights reserved
