Tìm hiểu gem grape-swagger.
Bài đăng này đã không được cập nhật trong 4 năm
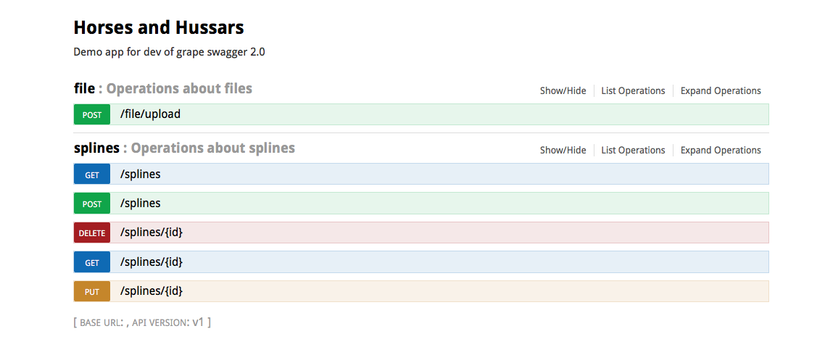
Gem grape-swagger cung cung cấp cho ta việc tự động generate document cho Grape API , khi dùng gem này kết hợp với gem Swagger UI ta có 1 giao diện quản lý API document rất đẹp, bạn có thể xem demo ở đây: the petstore demo .
Cài đặt.
để cài đặt gem, ta chỉ cần them vào Gemfile:
gem 'grape-swagger'
và chạy bundle
Sử dụng
Trong Grape::API root class ta thêm vào dòng sau:
add_swagger_documentation
Ví dụ như sau:
require 'grape-swagger'

module API
  class Root < Grape::API
    format :json
    mount API::Cats
    mount API::Dogs
    mount API::Pirates
    add_swagger_documentation
  end
end
dòng config trên khai báo và cài đặt swagger document vào trong /swagger_doc.
Model Parsers
Bạn cần add thêm 2 gem là : grape-swagger-entity và grape-swagger-representable vào trong gem file để có thể sử dụng chức năng này:
# For Grape::Entity ( https://github.com/ruby-grape/grape-entity )
gem 'grape-swagger-entity'
# For representable ( https://github.com/apotonick/representable )
gem 'grape-swagger-representable'
Custom Model Parsers
Ta có thể tự tạo model parser, tham khảo tại roar như sau:
module GrapeSwagger
  module Roar
    class Parser
      attr_reader :model
      attr_reader :endpoint

      def initialize(model, endpoint)
        @model = model
        @endpoint = endpoint
      end

      def call
        # Parse your model and return hash with model schema for swagger
      end
    end
  end
end
để có thể sử dụng model parsers vừa tạo ta cần khai báo nó như sau:
GrapeSwagger.model_parsers.register(GrapeSwagger::Roar::Parser, Roar::Decorator)
trong trường hợp bạn tạo nhiều model parser thì có thể sử dụng 2 công cụ sau để kiểm soát trình tự của chúng:
insert_before
GrapeSwagger.model_parsers.insert_before(GrapeSwagger::Representable::Parser, GrapeSwagger::Roar::Parser, Roar::Decorator)
insert_after
GrapeSwagger.model_parsers.insert_after(GrapeSwagger::Roar::Parser, GrapeSwagger::Representable::Parser, Representable::Decorator)
Configure (Cấu hình)
Bạn có thể setting add_swagger_documentation để config 1 số những thông tin cơ bản sau:
Host.
Set địa chỉ host, giá trị mặc định được lấy từ request :
add_swagger_documentation \
   host: 'www.example.com'
base_path.
base path của API, mặc địn được lấy từ request:
add_swagger_documentation \
   base_path: nil
mount_path.
nơi mà API document được load, mặc định là /swagger_doc
add_swagger_documentation \
   mount_path: '/swagger_doc'
doc_version.
Xác định version của document, mặc định là 0.0.1
add_swagger_documentation \
   doc_version: '0.0.1'
và 1 số config khác có thể cài đặt tương tự như trên như: add_base_path , add_version , markdown , swagger_endpoint_guard , token_owner , security_definitions , security , models , tags, hide_documentation_path , info , bạn có thể đọc thêm tại đây
Bên cạnh ấy là Routes Configuration khá nhiều, trên github đã giới thiệu khá cụ thể, bạn có thể đọc tại đây
Ví dụ
Vào thư mục của project và chạy: $ bundle exec rackup và truy cập localhost:9292/swagger_doc để nhận kết quả.
Nhóm API bằng cách sử dụng Namespace
Ta có thể sử dụng namespace để nhóm các API vào như sau:
example code:
class NamespaceApi < Grape::API
  namespace :hudson do
    desc 'Document root'
    get '/' do
    end

    desc 'This gets something.',
      notes: '_test_'

    get '/simple' do
      { bla: 'something' }
    end
  end

  namespace :download do
    desc 'download files',
         success: File,
         produces: ['text/csv']
    get ':id' do
      # file response
    end
  end
end
  …
Tham khảo
All rights reserved
