[Swift 4] Cùng build TableView bằng code
Bài đăng này đã không được cập nhật trong 8 năm
Chào các bạn. Khi mới lập trình ios hẳn các bạn đều được giới thiệu về storyboard để xây dựng layout kéo thả một cách trực quan. Nhưng sau một thời gian thì mình quyết định không kéo thả nữa dùng cơm và bò húc để thiết kế layout cho app. Lý do tại sao thì các bạn có thể tham khảo trong 2 posts này nhé (tác giả viết rất cụ thể) : https://viblo.asia/p/interface-builder-storyboard-nen-dung-hay-khong-gGJ59aw95X2
https://viblo.asia/p/tai-sao-toi-khong-su-dung-storyboard-Do754wOQlM6
Và trong bài viết này mình sẽ layout một tableView hoàn toàn bằng code để các bạn tham khảo. Chỗ nào chưa ổn mong các bạn comment bên dưới nhé.
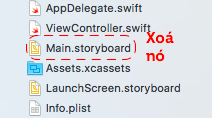
Đầu tiên xoá thẳng tay file Main.storyboard
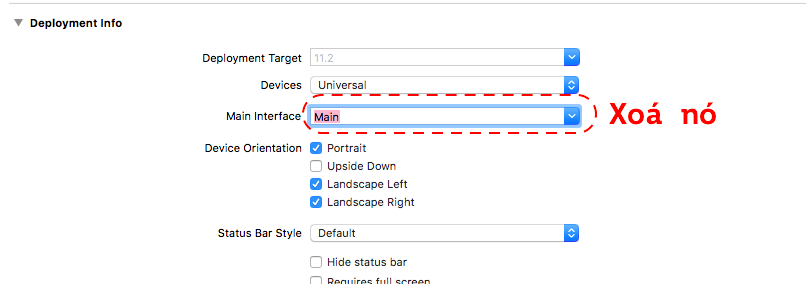
Xoá tiếp main interface
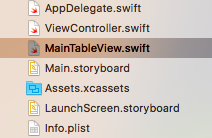
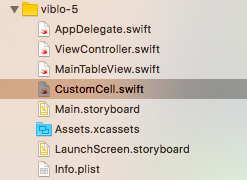
Trong cây thư mục tạo mới file MainTableView(). Mình sẽ init tableView trong file này.
Vì mình đã xoá main interface như trên rồi nên phải định nghĩa lại rootViewController khi khởi động app. Thêm đoạn code sau vào AppDelegate.swift
func application(_ application: UIApplication, didFinishLaunchingWithOptions launchOptions: [UIApplicationLaunchOptionsKey: Any]?) -> Bool {

        let mainVC = ViewController() //instance của ViewController được gọi đầu tiên khi mở app
        window = UIWindow(frame: UIScreen.main.bounds) //frame của app được set cho toàn màn hình
        window?.rootViewController = UINavigationController(rootViewController: mainVC) //rootViewController là mainVC và set luôn root navigation tại đây.
        window?.makeKeyAndVisible()

        return true
    }
Sau đó tạo tableView như đoạn code bên dưới.
import UIKit

class MainTableView: UITableView {
    override init(frame: CGRect, style: UITableViewStyle) {
        super.init(frame: CGRect.zero, style: .grouped) //frame là zero cũng không sao vì mình sẽ autolayout cho nó sau, và set style là grouped
    }

    required init?(coder aDecoder: NSCoder) {
        fatalError("init(coder:) has not been implemented")
    }
}
Tiếp theo sử dụng UITableViewDelegate và UITableViewDataSource
import UIKit

class MainTableView: UITableView, UITableViewDelegate, UITableViewDataSource {

    override init(frame: CGRect, style: UITableViewStyle) {
        super.init(frame: CGRect.zero, style: .grouped)

        //adopt các function trong delegate cho tableView này.
        self.delegate = self
        self.dataSource = self

        //Để sử dụng được autolayout cho tableView này mình thêm đoạn code sau
        self.translatesAutoresizingMaskIntoConstraints = false

        //Register cell với id là "cellID" cho tableView
        self.register(UITableViewCell.self, forCellReuseIdentifier: "cellID")
    }

    //số dòng trong 1 section. Mặc định 1 section sẽ được khởi tạo.
    func tableView(_ tableView: UITableView, numberOfRowsInSection section: Int) -> Int {
        return 10
    }

    //tạo reusable cell cho tableview với id là "cellID". Chú ý ID giống với khi register bên trên.
    func tableView(_ tableView: UITableView, cellForRowAt indexPath: IndexPath) -> UITableViewCell {
        let cell = tableView.dequeueReusableCell(withIdentifier: "cellID", for: indexPath)

        return cell
    }

    required init?(coder aDecoder: NSCoder) {
        fatalError("init(coder:) has not been implemented")
    }
}
OK, bây giờ tại ViewController() mình đưa tableView vừa tạo vào.
import UIKit

class ViewController: UIViewController {

    let mainTableView = MainTableView() //tạo instance của tableView.

    override func viewDidLoad() {
        super.viewDidLoad()
        setup()
    }

    func setup() {
        self.view.addSubview(mainTableView)

        //tất cả các cạnh của tableVIew trùng với các cạnh màn hình.
        mainTableView.leadingAnchor.constraint(equalTo: self.view.leadingAnchor).isActive = true
        mainTableView.trailingAnchor.constraint(equalTo: self.view.trailingAnchor).isActive = true
        mainTableView.topAnchor.constraint(equalTo: self.view.topAnchor).isActive = true
        mainTableView.bottomAnchor.constraint(equalTo: self.view.bottomAnchor).isActive = true
    }

}
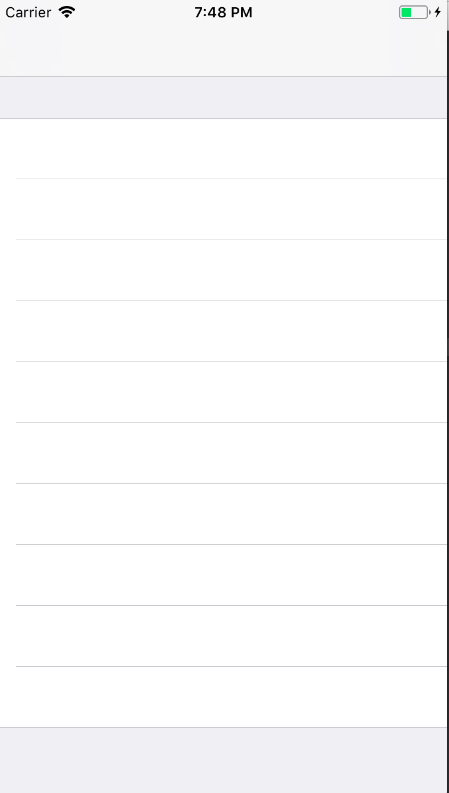
Kết quả
Trường hợp mình muốn căn lại tableView nhỏ hơn so với màn hình thì thêm các thông số cho constraint như sau.
import UIKit

class ViewController: UIViewController {

    let mainTableView = MainTableView()

    override func viewDidLoad() {
        super.viewDidLoad()
        setup()
    }

    func setup() {
        self.view.addSubview(mainTableView)

        //Tương ứng với cách top 100px, cách cạnh trái: 20px, cạnh phải: 20px, và cách cạnh dưới 10px
        mainTableView.leadingAnchor.constraint(equalTo: self.view.leadingAnchor, constant: 20).isActive = true
        mainTableView.trailingAnchor.constraint(equalTo: self.view.trailingAnchor, constant: -20).isActive = true
        mainTableView.topAnchor.constraint(equalTo: self.view.topAnchor, constant: 100).isActive = true
        mainTableView.bottomAnchor.constraint(equalTo: self.view.bottomAnchor, constant: -10).isActive = true
    }

}
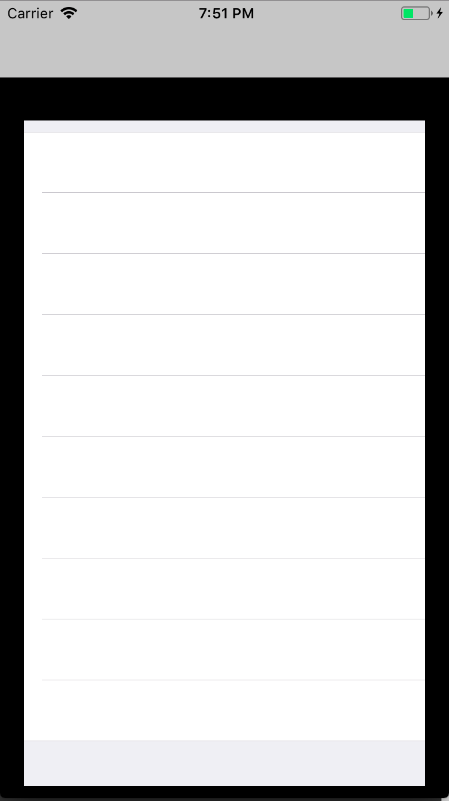
Kết quả tableView đã co lại. BackgroundColor mặc định là màu đen phía sau.
Có tableView rồi tiếp theo custom UITableViewCell nhé. Tạo 1 file CustomCell.swift là subclass của UITableViewCell
Và override init()
import UIKit

class CustomCell: UITableViewCell {

    override init(style: UITableViewCellStyle, reuseIdentifier: String?) {
        super.init(style: style, reuseIdentifier: "cellID") //reuse Identifer phải giống với identifer các bạn khai báo bên MainTableView nhé.

    }

    required init?(coder aDecoder: NSCoder) {
        fatalError("init(coder:) has not been implemented")
    }

}
Mình custom cell đơn giản thôi nhé. 1 Cell sẽ có Image và label.
import UIKit

class CustomCell: UITableViewCell {

    let cellLabel: UILabel = {
        let label = UILabel()
        label.translatesAutoresizingMaskIntoConstraints = false
        label.text = "example"
        return label
    }()

    let imageSize: CGFloat = 40
    lazy var cellImage: UIImageView = {
        let image = UIImageView()
        image.translatesAutoresizingMaskIntoConstraints = false
        image.backgroundColor = UIColor.orange
        return image
    }()

    override init(style: UITableViewCellStyle, reuseIdentifier: String?) {
        super.init(style: style, reuseIdentifier: "cellID")

        setup()

    }

    //components của cell sẽ được setup trong này.
    //Trong cell có contentView để chứa các subviews
    func setup() {

    }

    required init?(coder aDecoder: NSCoder) {
        fatalError("init(coder:) has not been implemented")
    }

}
Và autolayout cho Image và Label trong cell. Mình sẽ căn image bên trái và label ở chính giữa cell nha.
func setup() {
        contentView.addSubview(cellImage)
        cellImage.leadingAnchor.constraint(equalTo: contentView.leadingAnchor, constant: 10).isActive = true
        cellImage.topAnchor.constraint(equalTo: contentView.topAnchor, constant: 10).isActive = true
        cellImage.heightAnchor.constraint(equalToConstant: imageSize).isActive = true
        cellImage.widthAnchor.constraint(equalToConstant: imageSize).isActive = true

        contentView.addSubview(cellLabel)
        cellLabel.centerXAnchor.constraint(equalTo: contentView.centerXAnchor).isActive = true
        cellLabel.centerYAnchor.constraint(equalTo: contentView.centerYAnchor).isActive = true
        cellLabel.heightAnchor.constraint(equalToConstant: labelHeight).isActive = true
    }
Và muốn sử dụng CustomCell, ở MainTableView mình phải sửa lại class register và reusable cell như sau.
self.register(CustomCell.self, forCellReuseIdentifier: "cellID")
Và
let cell = tableView.dequeueReusableCell(withIdentifier: "cellID", for: indexPath) as! CustomCell
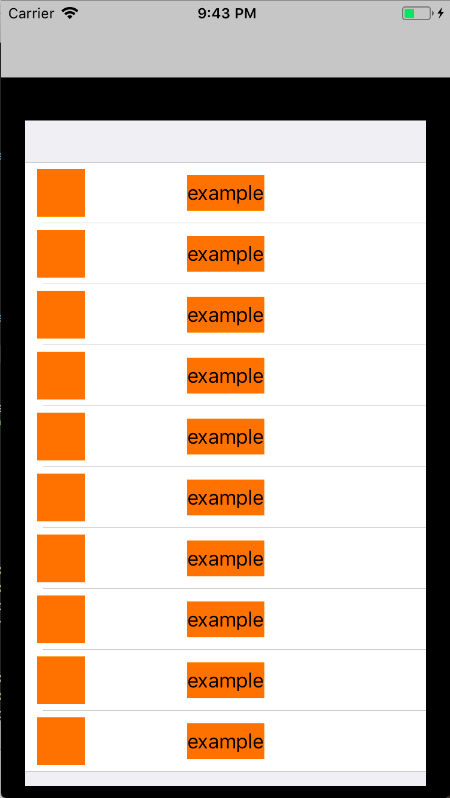
Chạy thử và đây được kết quả như dưới.
Vậy là xong phần autolayout cho tableView.
Tiếp theo mình sẽ viết thêm về fetch data từ API và sử dụng delegate để pass data nhé.
Cảm ơn các bạn đã xem.
All rights reserved
