React context API (Part 2) — Updating state through a Consumer
Bài đăng này đã không được cập nhật trong 5 năm
Ở phần 1 chúng ta đã tìm hiểu và tận dụng context trong React để pass state values đến các component con(child component) (Part 1). Và ở phần 2 này chúng ta sẽ cùng tìm hiểu cách update state từ Consumer.

Create the context
Cùng tạo lại 1 file Context.js như part 1 nào :V
const { Provider, Consumer } = createContext()
The Parent
Okay, vậy giờ là tạo Parent.js và init state sample
state = {
  toggleGrandChild: false,
  toggleName: false,
  people: [
     { id: 0, name: “Bob”, age: 24 },
     { id: 1, name: “Jack”, age: 22 },
     { id: 2, name: “Jill”, age: 26 },
  ],
}
item toggleGrandChild có nhiệm vụ toggled GrandChild hoặc không :v. hihi và default của nó sẽ là false.
Để làm được điều đó ta tạo 1 func:
toggleComponent = () => {
  this.setState({
    toggleGrandChild: !this.state.toggleGrandChild,
  })
}
func này đơn giản chỉ là thay đổi state của item toggleGrandChild về giá trị ngược lại với giá trị hiện tại thooi 
switchNameHandler = newName => {
     this.setState({
          toggleName: !this.state.toggleName,
          people: [
            { id: 0, name: newName, age: 24 },
            { id: 1, name: “Jack”, age: 22 },
            { id: 2, name: “Jill”, age: 26 },
          ],
     })
}
còn func này để thay đổi giá trị name của people đầu tiên trong list, và update state của item toggleName. Đơn giản thôi, tẹo nữa bạn sẽ biết nó được dùng như thế nào.
The Provider
ôn tập: Provider phải wrap components chứa Consumer
<Provider
    value={{
          state: this.state,
          toggleComponent: this.toggleComponent,
          switchNameHandler: e => this.switchNameHandler(e)
    }}>
            <Child />
</Provider>
Ở đây, vì muốn truyền 1 function vào trong context Cusomer thì ta sẽ phải viết kiểu cấu trúc như trên
switchNameHandler: e => this.switchNameHandler(e) (biến chứa func)
The Child component
Context sẽ có cấu trúc context => (...). Các items trong Cusomer sẽ tương ứng với từng value được truyền từ Provider
Note: context là 1 tên tùy biến bạn có thể đặt 1 tên khác nhé không cứ phải là context đâu
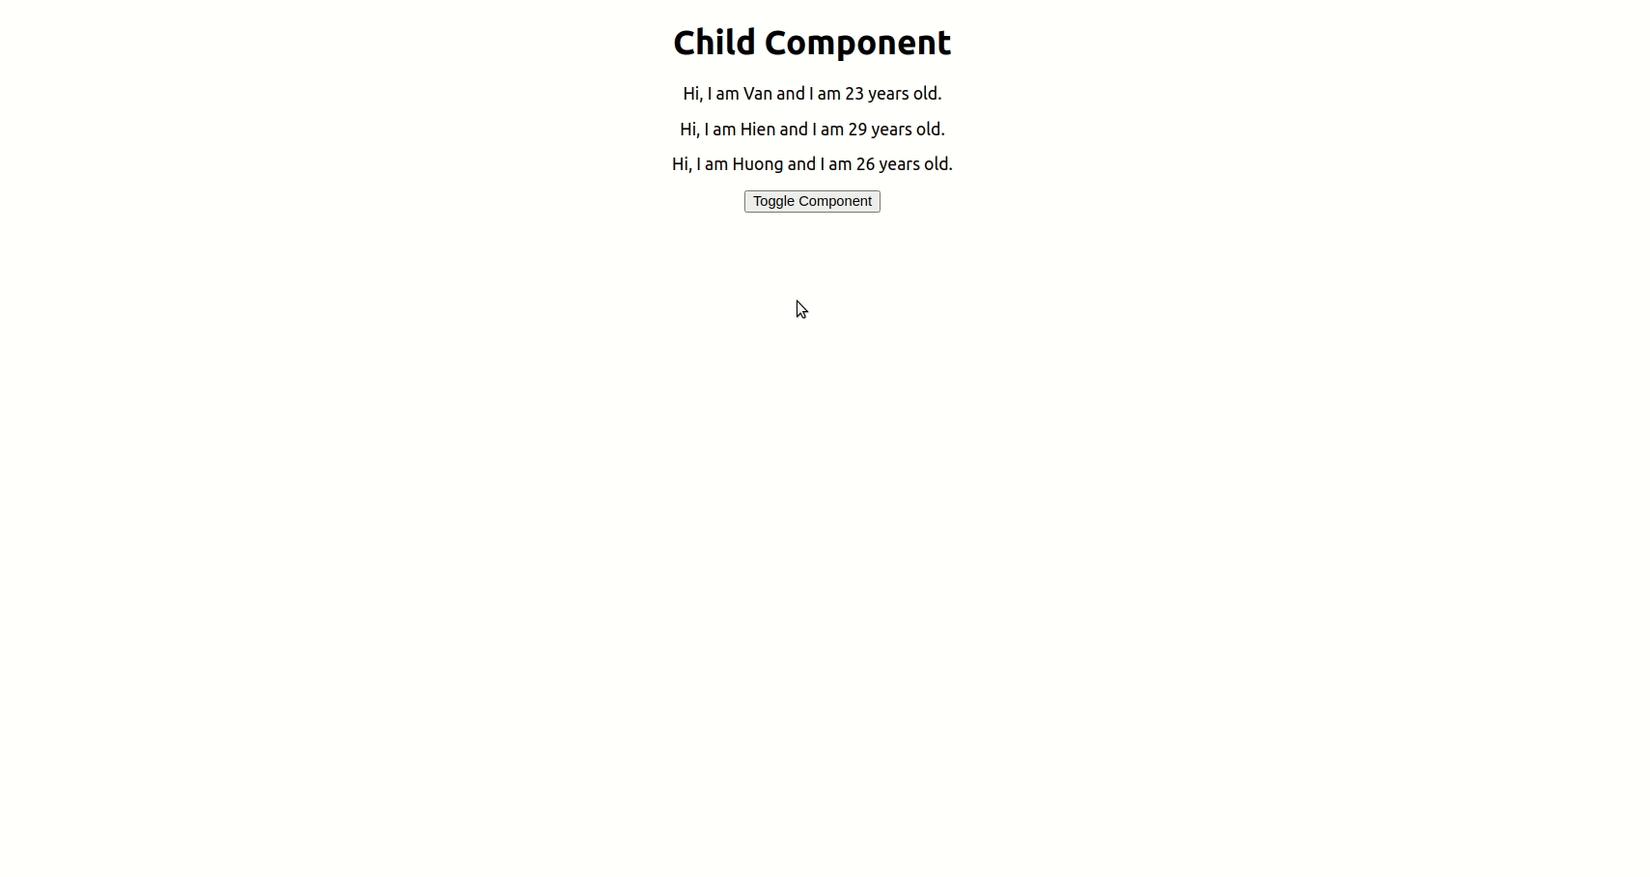
<Consumer>
   {context => (
     <div>
       <h1>Child Component</h1>
       {context.state.people.map(person => {
          return (
          <p key={person.id}> Hi, I am {person.name} and I am
          {person.age} years old. </p>
          )
        })}
       <button onClick={() => context.toggleComponent()}>
          Toggle Component </button>
       {context.state.toggleGrandChild ? <GrandChild /> : null}
     </div>
   )}
</Consumer>
Việc đầu tiên là map qua từn phần tử people từ Provider. Parent component ta có set state: this.state cho nên ở Child compnent ta có thể dụng context.state.people
context.state.toggleGrandChild ? <GrandChild /> : null
Một cách viết ngắn gọn hơn so với
if context.state.toggleGrandChild === true {
    <GrandChild />
} else {
    null
}
The GrandChild coponent
Đơn giản là show ra 1 cái gì đó.
<Consumer>
      {context => (
        <div>
          <h1>GrandChild Component</h1>
          {context.state.people.map(person => {
            return (
              <p key={person.id}>
                Hi, I am {person.name} and I am {person.age} years old.
              </p>
            );
          })}
        </div>
      )}
    </Consumer>
Như vậy ta sẽ có một demo đơn giản là click và button toggle sẽ update state của toggleGrandChild -> state được câp nhật và GrandChild sẽ được show/hide dựa vào state hiện tại của toggleGrandChild.
 Vậy bạn có thắc mắc func
 switchNameHandler để làm gì không, chỉ là để thêm 1 vài chức năng demo nữa thôi :v
Sử dụng cũng đơn giản thôi, vì ta đã truyền func theo variable switchNameHandler nên ta chi cần xử lý như sau
Thêm button để excute vào GrandChild coponent
<button
   onClick={
     context.state.toggleName ? e =>
     context.switchNameHandler("John") : e =>

     context.switchNameHandler("Roger") }>
   Toggle Name
</button>
Kết quả
Vậy là demo của chúng ta đã làm màu thêm được xíu , qua bài viết các bạn sẽ hiểu thêm được một chút về context
Nguồn
All rights reserved
