Hướng dẫn tạo layout swipe card layout bằng UICollectionLayout
Bài đăng này đã không được cập nhật trong 7 năm
1. Swipe card layout
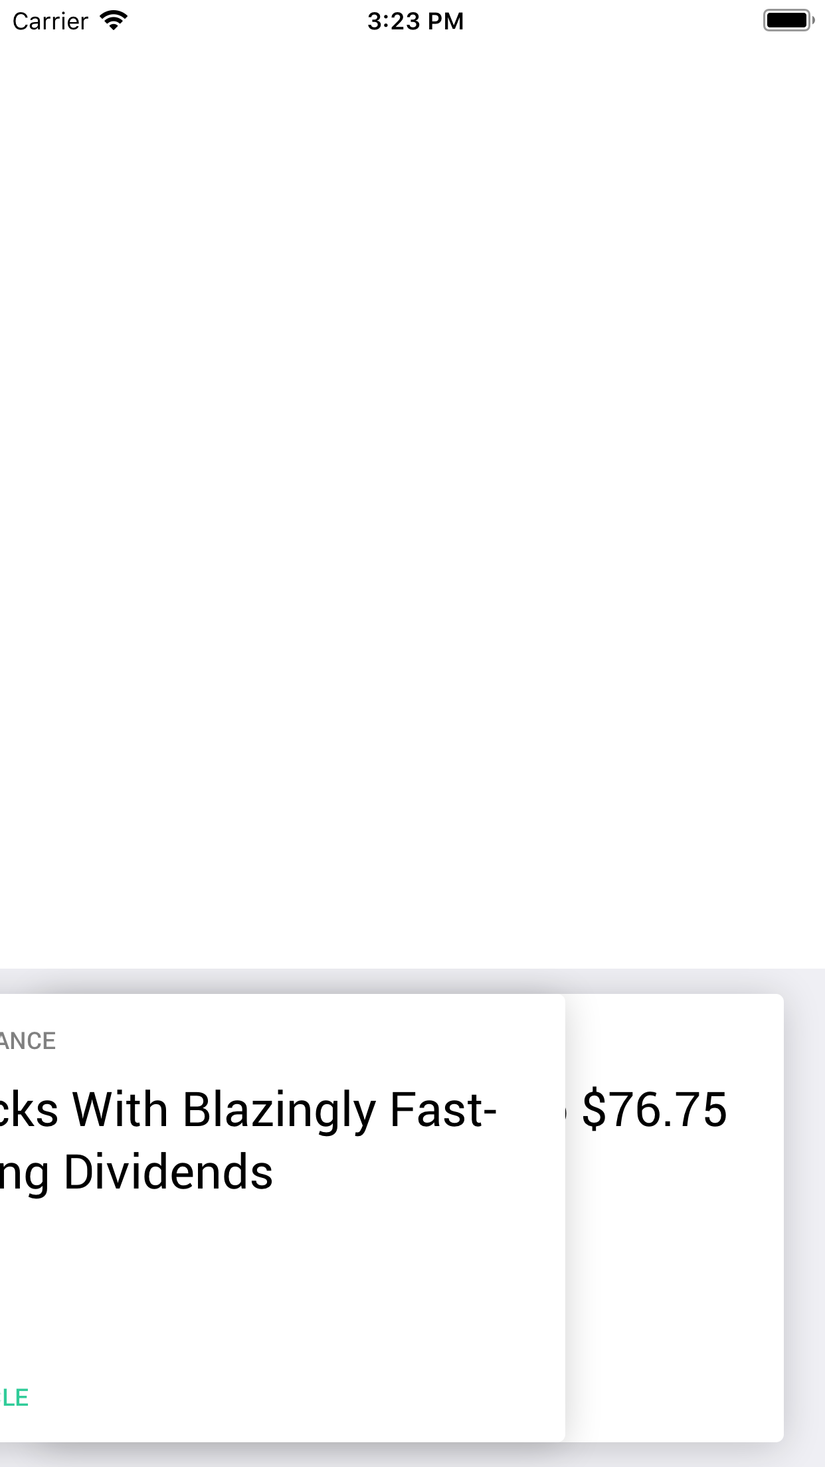
Nếu phải làm 1 layout như trên thì chúng ta sẽ làm như thế nào ? Có rất nhiều cách để thực hiện: dùng UIView, UIScrollView ... Nhưng hôm nay mình sẽ hướng dẫn các bạn làm bằng UICollectionViewLayout.
Tại sao lại là UICollectionViewLayout, mọi người có thể tưởng tượng chúng ta sẽ dùng UICollectionView để hiển thị 1 list card tại cùng 1 vị trí sau đó dùng UIGesture để bắt sự kiện drag drop, sau đó xử lý xem cái card chúng ta kéo ra có đủ khoảng cách để tạo animation hay ko.
2. CardStackLayout UICollectionViewLayout
Đầu tiên chúng ta tạo 1 class UICollectionViewLayout có tên là CardStackLayout
class CardStackLayout: UICollectionViewLayout {

  private var panGestureRecognizer: UIPanGestureRecognizer = UIPanGestureRecognizer()

  private let maxOffsetThresholdPercentage: CGFloat = 0.3

  typealias CellWithIndexPath = (cell: UICollectionViewCell, indexPath: IndexPath)

  private let animationDuration: TimeInterval = 0.15

  weak var delegate: CardStackLayoutDelegate?

}
Trong đó:
- panGestureRecognizer sẽ là phần xử lý drag drop vào item trong list card của chúng ta.
- maxOffsetThresholdPercentage: là giá trị lớn nhất của vị trí mà chúng ta có thể kéo card sang trái hoặc phải(nghĩa là khi kéo quá giá trị này card của chúng ta sẽ bị remove)
- CellWithIndexPath: kiểu biến chúng ta tạo ra để dễ dàng sử dụng trong class CardStackLayout
- animationDuration: thời gian thực hiện animation khi tiến hành remove card.
- CardStackLayoutDelegate: kiểu class chúng ta tạo ra
trong đó CardStackLayoutDelegate được tạo ra như sau:
protocol CardStackLayoutDelegate: class {
  func cardShouldRemove(_ flowLayout: CardStackLayout, indexPath: IndexPath)
}
2.1 layout attributes for item
Trong UICollectionView mỗi item đc biểu thị bới 1 giá trị layout attribute, do đó để xây dựng layout cho Swipe card đồng nghĩa với chúng ta phải xây dựng bộ layout cho các item trong collecitonview
Bằng cách override lại hàm layoutAttributesForItem và layoutAttributesForElements trong UICollectionViewLayout chúng ta sẽ tạo ra đc bộ layout cần cho item
  override func layoutAttributesForItem(at indexPath: IndexPath) -> UICollectionViewLayoutAttributes? {

    // Lay Attributes cho item tai vi tri indexPath
    let attributes = UICollectionViewLayoutAttributes(forCellWith: indexPath)

    attributes.frame = collectionView?.bounds ?? .zero

    var isNotTop = false
    if let numItems = collectionView?.numberOfItems(inSection: 0), numItems > 0 {
      isNotTop = indexPath.row != numItems - 1
    }

    attributes.alpha = isNotTop ? 0 : 1

    return attributes
  }

  override func layoutAttributesForElements(in rect: CGRect) -> [UICollectionViewLayoutAttributes]? {
    let indexPaths = indexPathsForElementsInRect(rect)
    let layoutAttributes = indexPaths.map { self.layoutAttributesForItem(at: $0) }.filter { $0 != nil }.map {
      $0!
    }
    return layoutAttributes
  }
2.2 Xử lý sự kiện drag drop trong UICollectionViewLayout
Như trình bày ở trên, trong class CardStackLayout chúng ta có khai báo 1 đối tượng UIPanGestureRecognizer, object này sẽ làm nhiệm vụ xử lý drag item trong UICollectionView của chúng ta.
Để xử lý chúng ta tạo 1 func handlePan(gestureRecognizer: UIPanGestureRecognizer)
  @objc func handlePan(gestureRecognizer: UIPanGestureRecognizer) {
    let translation = gestureRecognizer.translation(in: collectionView)

    let xOffset = translation.x
    let xMaxOffset = (collectionView?.frame.width ?? 0) * maxOffsetThresholdPercentage

    switch gestureRecognizer.state {
    case .changed:
      if let topCard = topCellWithIndexPath {
        topCard.cell.transform = CGAffineTransform(translationX: xOffset, y: 0)
      }

      if let bottomCard = bottomCellWithIndexPath {
        bottomCard.cell.alpha = 1
      }
    case .ended:
      if abs(xOffset) > xMaxOffset {
        if let topCard = topCellWithIndexPath {
          animateAndRemove(left: xOffset < 0, cell: topCard.cell, completion: {
            [weak self] in

            guard let `self` = self else { return }
            self.delegate?.cardShouldRemove(self, indexPath: topCard.indexPath)
          })
        }

        if let bottomCard = bottomCellWithIndexPath {
          animateIntoPosition(cell: bottomCard.cell)
        }
      } else {
        if let topCard = topCellWithIndexPath {
          animateIntoPosition(cell: topCard.cell)
        }
      }
    default:
      break
    }
  }
Cũng giống như xử lý các gesture khác, UIPanGestureRecognizer của chúng ta cũng có 3 trạng thái: .began, .changed và .ended, nhưng ở đây chúng ta chỉ cần quan tâm đến 2 trạng thái chính đó là .changed và .ended
- .changed: xử lý khi chúng ta bắt đầu thay đổi giá trị vị trí x của các item. Khi thay đổi vị trí của các item đồng thời chúng ta tạo các animation cho các item đó mà ở đây chúng ta dùng hàm CGAffineTransform
- .ended: xử lý khi chúng ta bỏ tay ra, kết thúc quá trình của UIPanGestureRecognizer. Khi kết thúc chúng ta sẽ có 2 trường hợp:
- vị trí sau khi kéo item ra > maxOffset mà chúng ta cho phép thì sẽ tiến hành remove card đấy đi
- vị trí sau khi kéo item ra < maxOffset thì chúng ta chỉ tạo animation cho item đó quay về vị trí ban đầu mà ko remove nó đi
2.3 animation
Ở phần này chúng ta có 2 phần tạo animation: animation remove item và animation để item trở về vị trí cũ
private func animateIntoPosition(cell: UICollectionViewCell) {

  UIView.animate(withDuration: animationDuration) {
    cell.transform = CGAffineTransform.identity
    cell.alpha = 1
  }
}

private func animateAndRemove(left: Bool, cell: UICollectionViewCell, completion: (() -> ())?) {

  let screenWidth = UIScreen.main.bounds.width

  UIView.animate(withDuration: animationDuration, animations: {

    let xTranslateOffscreen = CGAffineTransform(translationX: left ? -screenWidth : screenWidth, y: 0)
    cell.transform = xTranslateOffscreen
  }) { (completed) in
    completion?()
  }
}
Ở animation cho item quay về chúng ta đơn giản chỉ set lại giá trị alpha cho item về 1
Còn ở animation remove item chúng ta sẽ kiểm tra xem card của chúng ta sẽ được kéo sang trái (left) hay phải (right) để tính tiếp giá trị translation truyền vào hàm CGAffineTransform
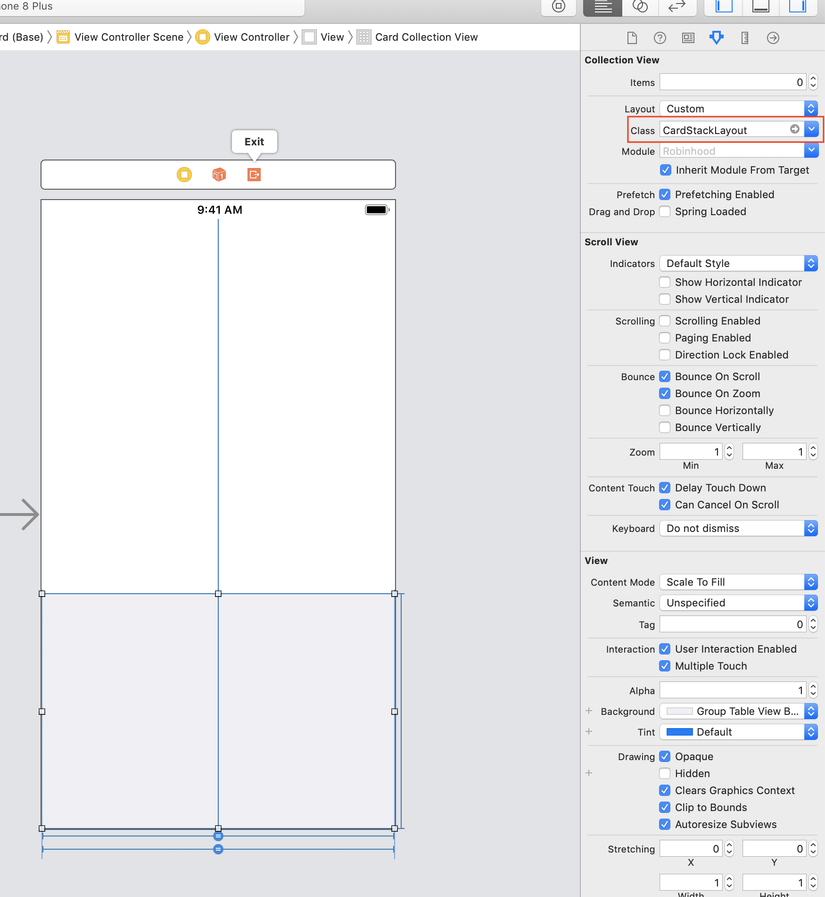
3. Áp dụng vào viewController
Trong viewcontroller sau khi tạo UICollectionView chúng ta chỉ việc thêm class CardStackLayout vào trong layout của collectionView như hình bên dưới là được
All rights reserved
