Cài đặt kubernetes cluster trên Ubuntu. [phần 2]
Bài đăng này đã không được cập nhật trong 6 năm
OK ! Chúng ta làm tiếp phần 2 cũng là phần cuối cuả chủ đề : Cài đặt kubernetes cluster trên Ubuntu. [phần 1]
Trên server master chúng ta khởi động kubentetes bằng cách chạy :
# kubeadm init --apiserver-advertise-address=<ip-address-of-kmaster-vm> --pod-network-cidr=192.168.0.0/16
Output ra sẽ là :
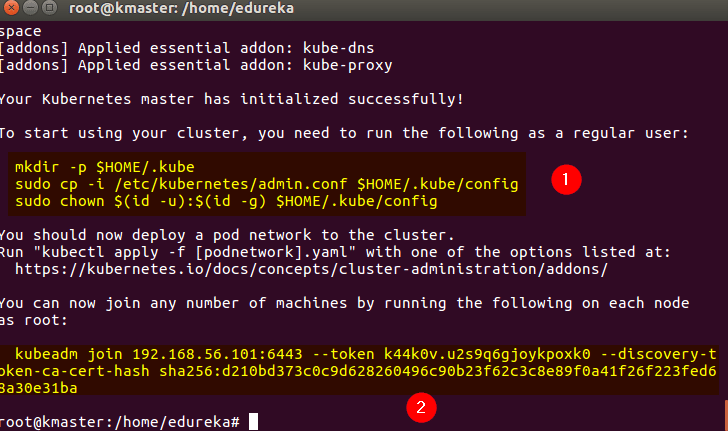
Trên terminal bạn thấy hướng dẫn, nên nếu bạn đang chạy user non-root thì thực hiện :
$ mkdir -p $HOME/.kube
$ sudo cp -i /etc/kubernetes/admin.conf $HOME/.kube/config
$ sudo chown $(id -u):$(id -g) $HOME/.kube/config
Sau đó kiểm tra xem kubectl có chạy không ? chúng ta thực hiện lệnh sau:
$ kubectl get pods -o wide --all-namespaces
Và Output sẽ như hình :

Sau đó cài CALIO bạn chạy :
$ kubectl apply -f https://docs.projectcalico.org/v3.0/getting-started/kubernetes/installation/hosted/kubeadm/1.7/calico.yaml
Với điều kiện server bạn phải kết nối internet.
Verify lại CALIO có chạy không ?

OK, bây giờ ta cài Dashboard cho kubernetes cluster để cho dễ vận hành:
$ kubectl create -f https://raw.githubusercontent.com/kubernetes/dashboard/master/src/deploy/recommended/kubernetes-dashboard.yaml
Verify lại Dashbroad chạy chưa ?

Ok ! vậy khỏe rồi, Dashboard đã lên. nhưng hiện tại bạn chưa thể truy cập vào Dashboard bằng trình duyệt.
Bật tính năng proxy lên mới có thể truy cập được Dashboard :
kubectl proxy
Ok, truy cập vào Dashboar với URL sau:
http://localhost:8001/api/v1/namespaces/kube-system/services/https:kubernetes-dashboard:/proxy/
Dashboard hiện thị ra:
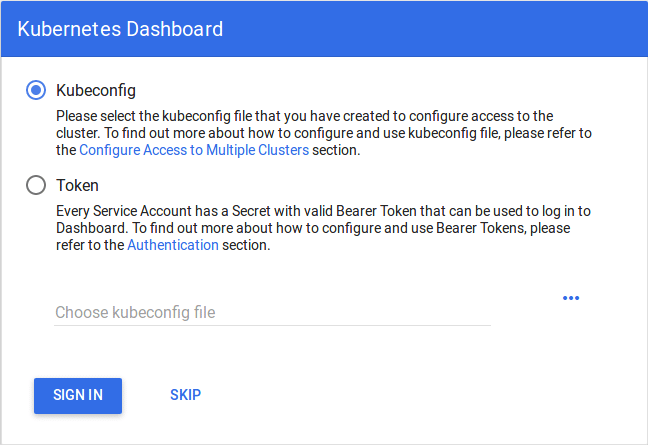
Mục đích để truy cập vào Dashboard chúng ta tạo service account cho nó:
$ kubectl create serviceaccount dashboard -n default
Thêm cluster binding rule vào Dashboard account :
kubectl create clusterrolebinding dashboard-admin -n default
  --clusterrole=cluster-admin
  --serviceaccount=default:dashboard
Tạo token login :
$ kubectl get secret $(kubectl get serviceaccount dashboard -o jsonpath="{.secrets[0].name}") -o jsonpath="{.data.token}" | base64 --decode
Output sẽ ra như hình:

Copy token đó để truy cập vào Dashboard:
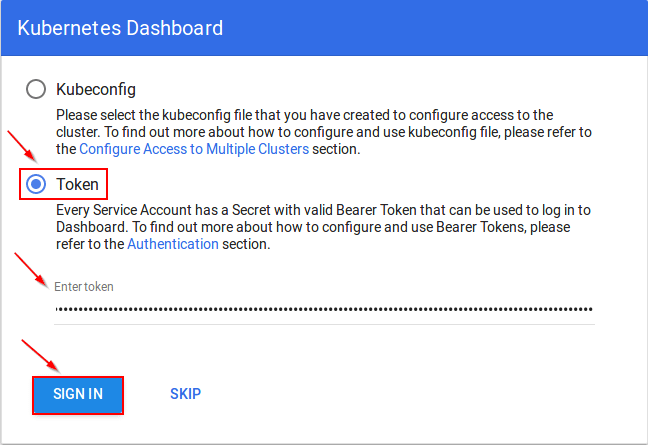
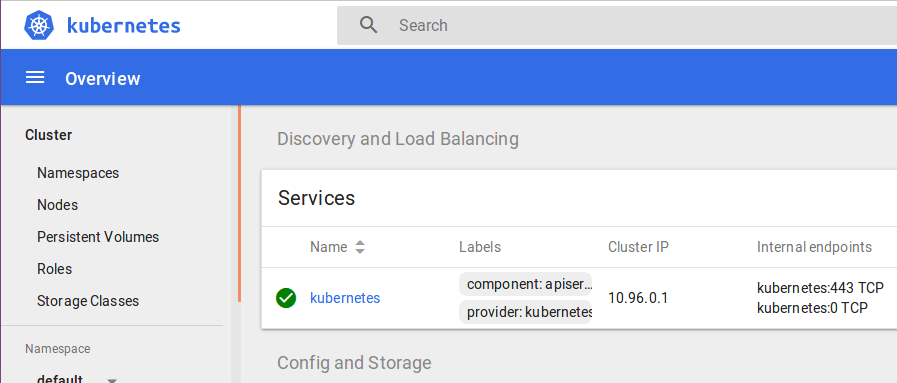
Đăng nhâp vào ra trang home như hình:
Trên Kubernetes node server chạy câu lệnh kubeadm join. như console:
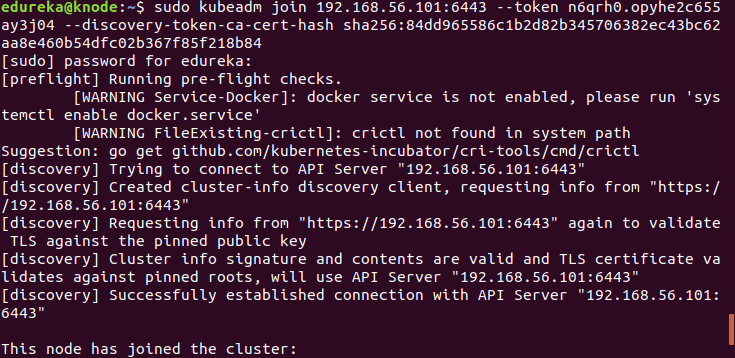
Ok ! VẬy bạn đã thiết lập kubernetes cluster với 2 servers thành công. ~
All rights reserved