Xây dựng ứng dụng Chat sử dụng SignalR 2 và MVC 5
Bài đăng này đã không được cập nhật trong 4 năm
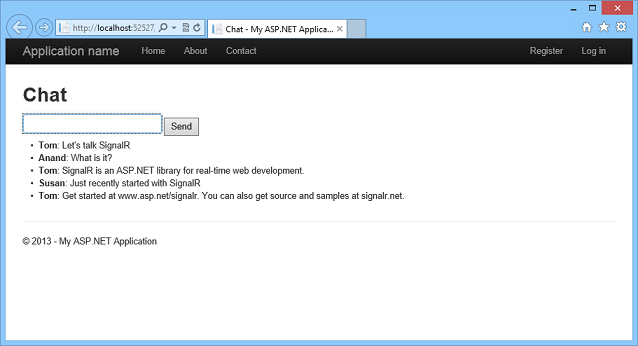
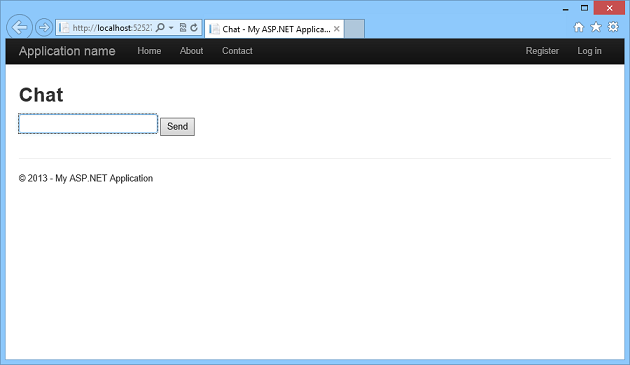
Chúng ta cùng tìm hiểu và xây dựng 1 ứng dụng chat sử dụng SignalR 2 và MVC 5 nhé. Ứng dụng sau khi xây dựng xong sẽ như thế này
Cài đặt Project
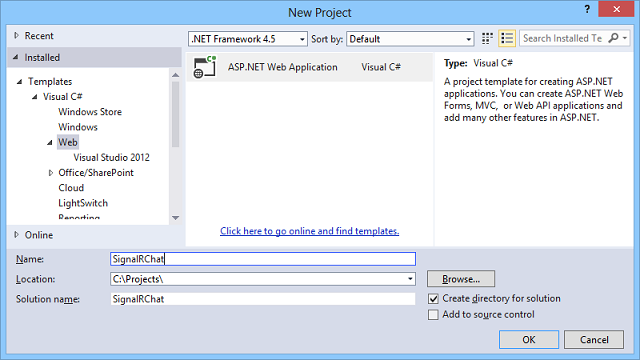
Tạo 1 ứng dụng Web sử dụng .Net Framework 4.5 và đặt tên là SignalRChat hoặc tùy theo ý muốn của bạn. Sau đó nhấn OK
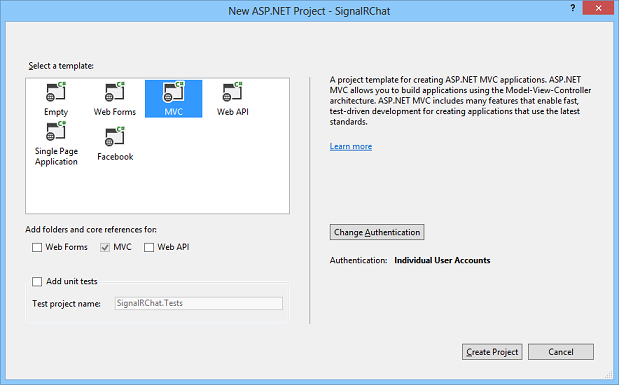
Bước tiếp theo chúng ta chọn MVC và nhấn Create Project
Sau đó trên menu của Visual Studio bạn chọn: Tools => Library Package Manager => Package Manager Console. Cửa sổ dòng lệnh sẽ được hiển thị lên và bạn gõ lệnh sau để cài đặt SignalR
install-package Microsoft.AspNet.SignalR
Sau khi cài đặt xong, các thư viện của SignalR được thêm vào ứng dụng. Bạn có thể xem trong thư mục Scripts

Tại Solution Explorer, chuột phải vào project, chọn Add | New Folder và đặt tên thư mục mới là Hubs
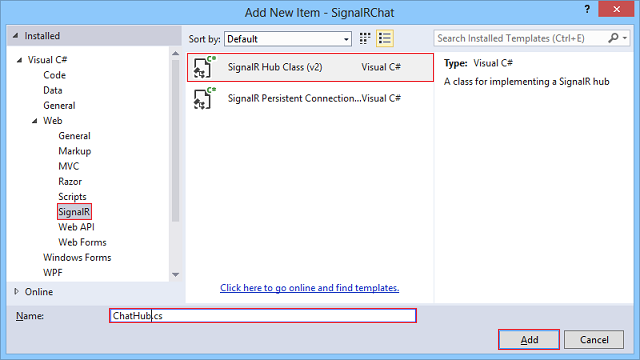
Chuột phải vào thư mục Hubs, chọn Add | New Item, chọn tiếp Visual C# | Web | SignalR, chọn SignalR Hub Class (v2), đặt tên class ChatHub.cs. Class này sẽ được sử dụng như 1 SignalR server hub để gửi tin nhắn đến tất cả các client
Thay thế nội dung file ChatHub.cs bằng đoạn code sau:
using System;
using System.Web;
using Microsoft.AspNet.SignalR;
namespace SignalRChat
{
    public class ChatHub : Hub
    {
        public void Send(string name, string message)
        {
            Clients.All.addNewMessageToPage(name, message);
        }
    }
}
Thay thế nội dung file Startup.cs bằng đoạn code sau:
using Owin;
using Microsoft.Owin;
[assembly: OwinStartup(typeof(SignalRChat.Startup))]
namespace SignalRChat
{
    public class Startup
    {
        public void Configuration(IAppBuilder app)
        {
            app.MapSignalR();
        }
    }
}
Trong Controllers/HomeController.cs thêm 1 action mới:
public ActionResult Chat()
{
    return View();
}
Chuột phải vào thư mục Views/Home, và chọn Add... | View. Cửa sổ Add view sẽ được bật lên, nhập tên view mới là Chat. Sau đó click Add

Thay thế nôi dung file Chat.cshtml bằng đoạn code sau:
{
    ViewBag.Title = "Chat";
}
<h2>Chat</h2>
<div class="container">
    <input type="text" id="message" />
    <input type="button" id="sendmessage" value="Send" />
    <input type="hidden" id="displayname" />
    <ul id="discussion">
    </ul>
</div>
@section scripts {
    <!--Script references. -->
    <!--The jQuery library is required and is referenced by default in _Layout.cshtml. -->
    <!--Reference the SignalR library. -->
    <script src="~/Scripts/jquery.signalR-2.1.0.min.js"></script>
    <!--Reference the autogenerated SignalR hub script. -->
    <script src="~/signalr/hubs"></script>
    <!--SignalR script to update the chat page and send messages.-->
    <script>
        $(function () {
            // Reference the auto-generated proxy for the hub.
            var chat = $.connection.chatHub;
            // Create a function that the hub can call back to display messages.
            chat.client.addNewMessageToPage = function (name, message) {
                // Add the message to the page.
                $('#discussion').append('<li><strong>' + htmlEncode(name)
                    + '</strong>: ' + htmlEncode(message) + '</li>');
            };
            // Get the user name and store it to prepend to messages.
            $('#displayname').val(prompt('Enter your name:', ''));
            // Set initial focus to message input box.
            $('#message').focus();
            // Start the connection.
            $.connection.hub.start().done(function () {
                $('#sendmessage').click(function () {
                    // Call the Send method on the hub.
                    chat.server.send($('#displayname').val(), $('#message').val());
                    // Clear text box and reset focus for next comment.
                    $('#message').val('').focus();
                });
            });
        });
        // This optional function html-encodes messages for display in the page.
        function htmlEncode(value) {
            var encodedValue = $('<div />').text(value).html();
            return encodedValue;
        }
    </script>
}
Save all toàn project để chạy thử thôi =))
Chạy thử ứng dụng
Nhấn F5 để chạy ứng dụng với chế độ debug Trên trình duyệt bạn gõ thêm đường dẫn /home/chat để đi tới trang chat
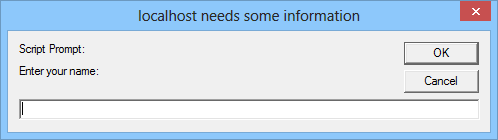
Gõ tên bạn muốn hiển thị lúc chat. Ví dụ "Phúc đẹp zai" chẳng hạn =)) Và tận hưởng chat thử thôi
Bài viết được dịch từ trang này: https://www.asp.net/signalr/overview/getting-started/tutorial-getting-started-with-signalr-and-mvc
Cảm ơn các bạn đã đọc bài. Bye bye!!!
All rights reserved
