Xây dựng full stack web apps với MEVN Stack [Phần 1/2]
Bài đăng này đã không được cập nhật trong 4 năm
 Ở bài trước mình đã có giới thiệu về MERN stack. Nhưng với sự phát triển vượt trội của VueJS trong năm vừa rồi nên mình sẽ thử thay React bằng Vue.
Bài trước thì dùng mern-cli, còn giờ chưa có mevn-cli nên tạm thời mình dùng tay nhé
Ở bài trước mình đã có giới thiệu về MERN stack. Nhưng với sự phát triển vượt trội của VueJS trong năm vừa rồi nên mình sẽ thử thay React bằng Vue.
Bài trước thì dùng mern-cli, còn giờ chưa có mevn-cli nên tạm thời mình dùng tay nhé  Thì như bài trước, "MEVN" là viết tắt cho "MongoDB Express.js VueJS Node.js"
Điều kiện cần để tiếp tục
- Có kiến thức cơ bản về JavaScript
- Hiểu khái niệm REST và CRUD
- Đã cài Node.js/NVM
- Đã cài MongoDB Bài hướng dẫn này thực hiện trên MongoDB v3.0.5, ExpressJS v4.15.4, VueJS v2.4.2, Node.js v8.5.0 và nó sẽ tập trung vào việc tạo ra một bộ khung cho ứng dụng MEVN. Phần MongoDB sẽ làm ở phần sau.
Bắt đầu
Đầu tiên, tạo một folder có tên là posts
mkdir posts
cd posts
Chúng ta muốn dùng Vue để làm frontend, vì vậy cài vue-cli để build template
npm install -g vue-cli
Bây giờ, hãy tạo folder client để chứa VueJS
vue init webpack client
Và ta đã có folder client trong ứng dụng của mình. Tiếp theo, cần chạy npm install trong folder client để cài các dependencies cần thiết trong client/package.json
cd client
npm install
npm run dev
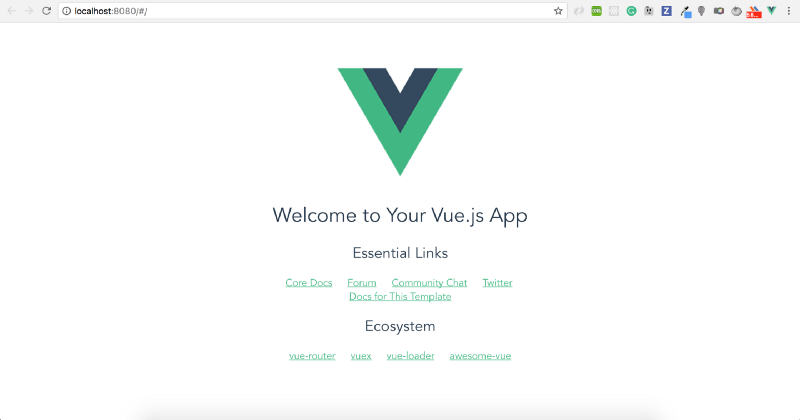
Chạy npm run dev thì nó sẽ tự động mở http://localhost:8080/#/ ở browser. Nó sẽ render ra template mặc định của VueJS
Giờ sang phần tạo backend với express. Hãy tạo folder server ở root dùng cho server
mkdir server
cd server
Chúng ta muốn khởi tạo server project với npm, ta có thể làm với npm init -f để tạo một tệp tin package.json bên trong thư mục server.
File package.json được tạo mặc định thì thiếu lệnh start để chúng ta có thể chạy npm start. Vì thế, ta nên sửa lại như sau
{
  "name": "server",
  "version": "1.0.0",
  "description": "",
  "main": "index.js",
  "scripts": {
    "start": "node src/app.js",
    "test": "echo \\"Error: no test specified\\" && exit 1"
  },
  "keywords": \[],
  "author": "",
  "license": "ISC"
}
Và giờ vào thư mục src và tạo một file tên là app.js, sau đó viết:
console.log('Hello World');
và vẫn để terminal ở thư mục server và run
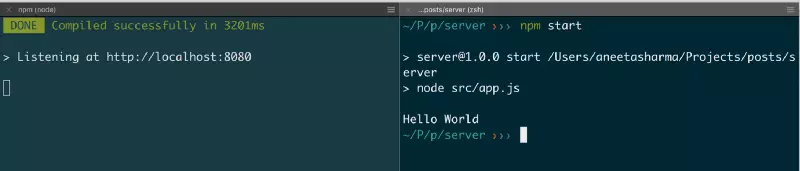
npm start
Nếu không có lỗi gì xảy ra, thì bạn sẽ thấy Hello World ở terminal
 Tiếp theo, ta cài
 express nào
npm install express --save
Ta cần thêm vài dependencies để tạo HTTP requests: bodyParser, morgan and cors
npm install --save body-parser cors morgan
Hãy thay thế nội dung file src/app.js bằng
const express = require('express')
const bodyParser = require('body-parser')
const cors = require('cors')
const morgan = require('morgan')

const app = express()
app.use(morgan('combined'))
app.use(bodyParser.json())
app.use(cors())

app.listen(process.env.PORT || 8081)
Chúng ta đã tạo được bộ xương cho frontend và backend. Bây giờ ta sẽ tạo một endpoint trên server.
Và lưu ý ở đây là ta sẽ chạy frontend ở port 8080 và backend ở 8081 nhé
Sửa src/app.js:
const express = require('express')
const bodyParser = require('body-parser')
const cors = require('cors')
const morgan = require('morgan')
const app = express()
app.use(morgan('combined'))
app.use(bodyParser.json())
app.use(cors())
app.get('/posts', (req, res) => {
res.send(
[{
title: "Hello World!",
description: "Hi there! How are you?"
}]
)
})
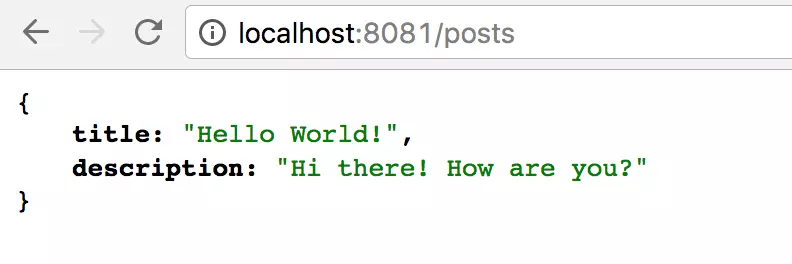
app.listen(process.env.PORT || 8081)
Khởi động lại server và truy cập http://localhost:8081/posts ta sẽ thấy được đoạn JSON
À, cài nodemon vô cho đỡ phải restart sau mỗi lần chỉnh sửa code
npm install --save nodemon
Update mục scripts của package.json
"scripts": {
    "start": "./node_modules/nodemon/bin/nodemon.js src/app.js",
    "test": "echo \\"Error: no test specified\\" && exit 1"
}
Bây giờ chạy lại npm start và ta sẽ không cần khởi động lại server mỗi khi sửa nữa.
Tiếp theo, tạo connection cho client và server
Ở folder client, thêm package axios để gọi http requests đến backend
npm install axios --save
Tạo folder services ở client/src và tạo file Api.js với nội dung
import axios from 'axios'

export default() => {
  return axios.create({
    baseURL: `http://localhost:8081`
  })
}
Tạo thêm một file ở trong này luôn với tên PostsServices.js
import Api from '@/services/Api'

export default {
  fetchPosts () {
    return Api().get('posts')
  }
}
Thêm một trang mới để hiển thị các bài posts
Tạo src/router/index.js
import Vue from 'vue'
import Router from 'vue-router'
import Hello from '@/components/Hello'
import Posts from '@/components/Posts'

Vue.use(Router)

export default new Router({
  routes: [
    {
      path: '/',
      name: 'Hello',
      component: Hello
    },
    {
      path: '/posts',
      name: 'Posts',
      component: Posts
    }
  ]
})
Ta đã tạo route cho posts, giờ thêm một view component cho route đó nào.
Tạo src/components/Posts.vue
<template>
  <div class="posts">
    <h1>Posts</h1>
    This file will list all the posts.

    <div v-for="post in posts">
      <p>
        <span><b>{{ post.title }}</b></span><br />
        <span>{{ post.description }}</span>
      </p>
    </div>

  </div>
</template>

<script>
import PostsService from '@/services/PostsService'
export default {
  name: 'posts',
  data () {
    return {
      posts: []
    }
  },
  mounted () {
    this.getPosts()
  },
  methods: {
    async getPosts () {
      const response = await PostsService.fetchPosts()
      this.posts = response.data
    }
  }
}
</script>
Hãy vào lại http://localhost:8080/posts xem thành quả nào

Kết
Phần 1 mình xin kết thúc tại đây, phần 2 sẽ về vấn đề kết nối với MongoDB và CRUD operations của nó
All rights reserved
