[Series] Setup Source Template for Vue 3 - Phần 1
Bài đăng này đã không được cập nhật trong 3 năm
Giới thiệu
Chào tất cả các bạn, gần đây mình giành khá nhiều thời gian tìm hiểu setup một Project về VueJS. Sau cùng, mình cũng đã khởi tạo được một Vue Boilerplate.
Nếu ai đã tìm hiểu qua về VueJs hoặc đang làm việc với nó thì chắc chắn rằng các bạn sẽ có nhiều cách để khởi tạo một structure dự án cho riêng mình.
Sau đây mình sẽ hướng dẫn các bạn setup một source VueJs cùng mình nha...
Nội Dung
-
🎨 UnoCSS - 1 thư viện lấy ý tưởng từ Windi CSS, Tailwind CSS và Twind. ( Khá hay)
-
📥 APIs auto importing - import tự động sử dụng Composition API,..
-
🦾 TypeScript, of course
-
⚙️ Unit Testing với Vitest
Đây là cấu trúc thư mục của dự án sau khi setup.
vue-template/
 ├── public/
 |    ├── favicon.ico
 ├── src/
 |    ├── assets/
 |    |    └── logo.png
 |    ├── components/
 |    |    └── HelloWorld.vue
 |    ├── core/
 |    ├── hooks/
 |    |    └── useAuth.ts
 |    ├── layouts/
 |    |    └── BlankLayout.vue
 |    |    └── MainLayout.vue
 |    ├── pages/
 |    |    └── Dashboard.vue
 |    |    └── Error.vue
 |    |    └── NotFound.vue
 |    ├── routes/
 |    |    └── index.ts
 |    ├── stores/
 |    |    └── auth.ts
 |    ├── test/
 |    |    └── components/
 |    |    |    └── Sample.spec.ts
 |    ├── App.vue
 |    └── main.ts
 |    └── vite-env.d.ts
 |    └── vue-shim.d.ts
 ├── package.json
 ├── README.md
 ├── .cz-config.ts
 ├── .env.sample
 ├── .eslintrc
 ├── .prettierrc
 ├── .commitlint.config.cjs
 ├── tsconfig.json
 ├── tsconfig.node.json
 └── vite.config.js
 └── unocss.config.ts
Cài đặt
Trong phần này mình sẽ hướng dẫn các bạn setup về:
⚡️ Vue 3, Vite, pnpm
📦 Components auto importing
🎨 UnoCSS - 1 thư viện lấy ý tưởng từ Windi CSS, Tailwind CSS và Twind. ( Khá hay)
😃 Use icons from any icon sets with classes
📥 APIs auto importing
Bước 1 – Cài đặt Vue 3, Vite, pnpm
Đầu tiên bạn Install PNPM (nếu chưa có):
$ npm install pnpm
hoặc
$ yarn add pnpm
Tiếp theo là cài đặt Vue bằng Vite:
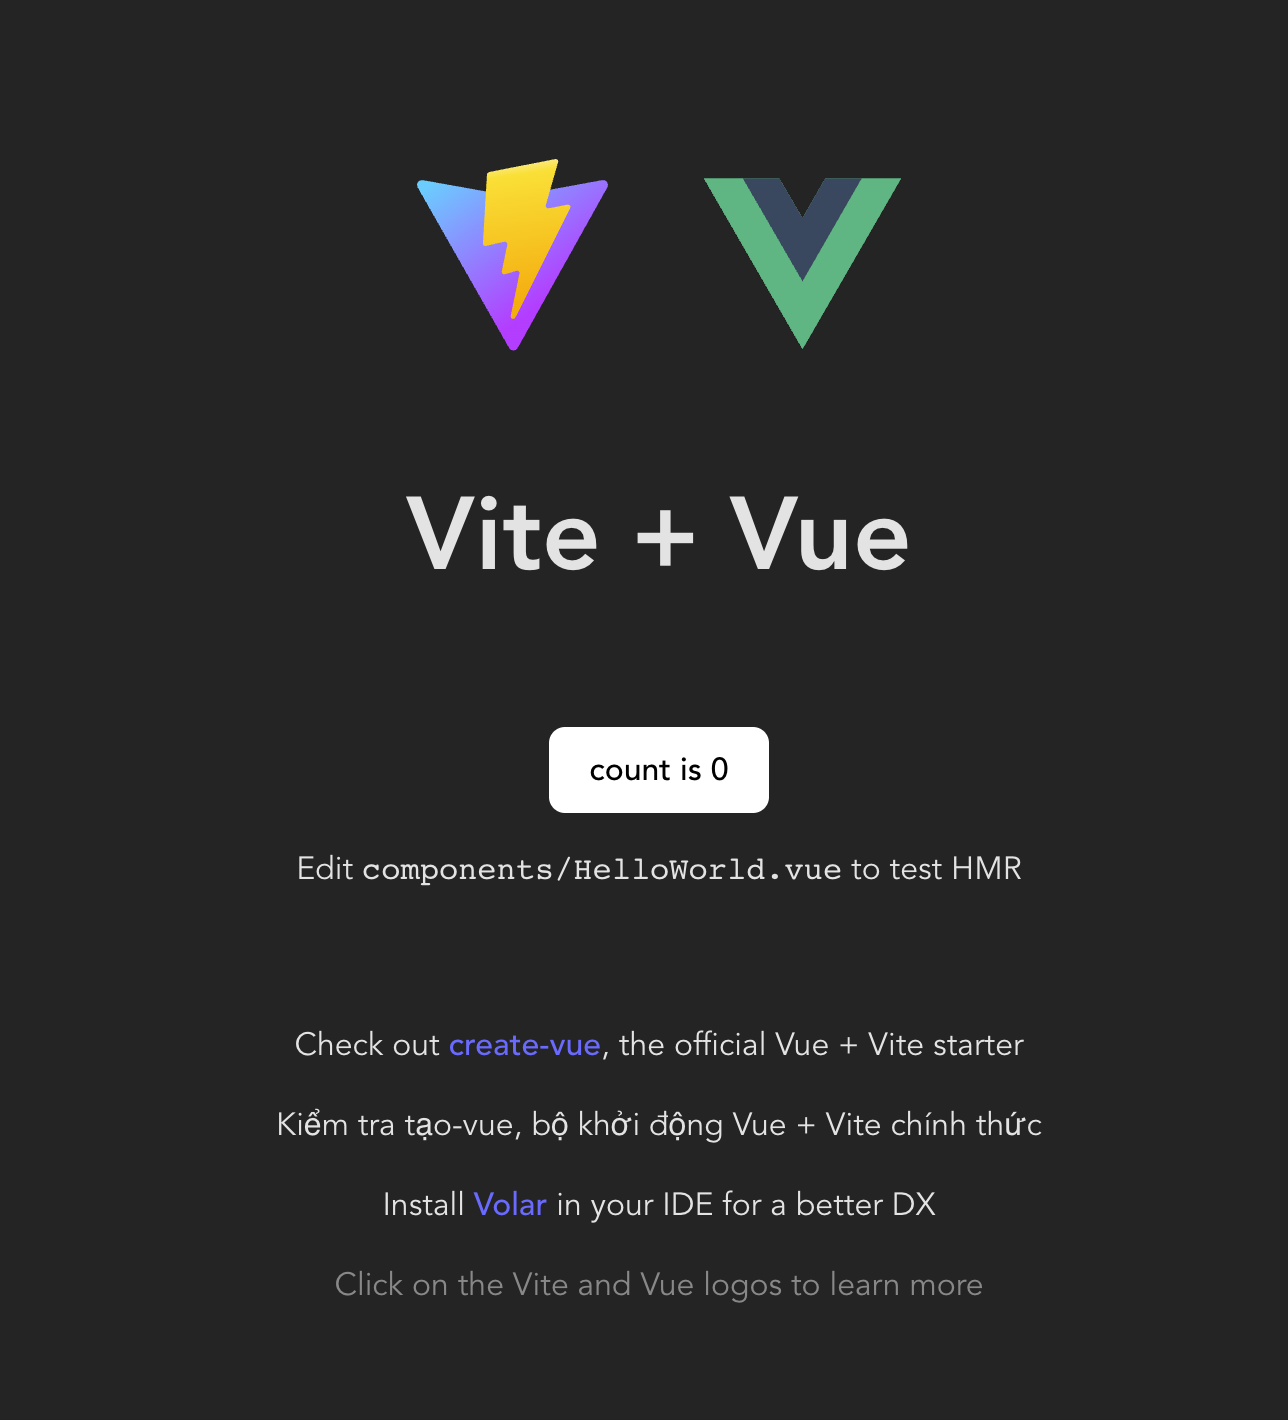
$ pnpm create vite vue-template --template vue-ts

Bước 2 – Thêm các thư viện hỗ trợ VueJS
-
Alias Path
alias path (đường dẫn bí danh) là một tùy chọn cho phép tạo một tên gợi nhớ cho một đường dẫn đến một thư viện hoặc module. Điều này giúp cho việc sử dụng và truy cập các module trở nên dễ dàng hơn và ngắn gọn hơn, giúp giảm số lượng mã trùng lặp.
$ pnpm install -D vite-tsconfig-pathstsconfig.json
 {
   "baseUrl": ".",
   "paths": {
     "@/*": ["src/*"],
     "@components/*": ["src/components/*"],
     "@assets/*": ["src/assets/*"],
   }
 }
vite.config.js
import tsconfigPathsPlugin from 'vite-tsconfig-paths'

export default defineConfig({
   plugins: [
     tsconfigPathsPlugin(),
     vue(),
     ...
 })
-
UnoCSS
Là một thư viện CSS lấy nguồn cảm hứng từ Windi CSS, Tailwind CSS, and Twind. Nó được thiết kế để giảm thiểu sự phức tạp và tăng tính dễ quản lý của mã CSS cho một trang web hoặc một website.
$ pnpm install -D unocssvite.config.js
import tsconfigPathsPlugin from 'vite-tsconfig-paths'
import UnoCSS from 'unocss/vite'

export default defineConfig({
   plugins: [
     tsconfigPathsPlugin(),
     vue(),
     UnoCSS(),
     ...
 })
Tạo 1 file unocss.config.ts
 import {
   defineConfig,
   presetAttributify,
   presetIcons,
   presetUno,
   presetWebFonts,
   transformerDirectives,
   transformerVariantGroup,
 } from 'unocss'

 export default defineConfig({
   presets: [
     presetUno(), // Mặc định (@unocss/preset-wind).
     presetAttributify(), // CSS trên DOM như 1 Attribute(@unocss/preset-attributify)
     presetIcons({
       scale: 1.2,
       warn: true,
     }), // Sử dụng bất kỳ icon nào làm class or attribute.(@unocss/preset-icons)
     presetWebFonts({
       fonts: {
         sans: 'Roboto',
         mono: ['Fira Code', 'Fira Mono:400,700'],
       },
     }), // sử dụng bất kì Font mà thư viện có sẵn hoặc có thể tự custome font (@unocss/preset-web-fonts)
   ],
   transformers: [
     transformerDirectives(), // @apply, @screen and theme() directive (@unocss/transformer-directives)
     transformerVariantGroup(), // nhóm CSS lại với nhau => hover:(bg-gray-400 font-medium) (@unocss/transformer-variant-group)
   ],
 })
Nếu bạn muốn sử dụng Icon của thư viện có sẵn thì bạn hãy vào đây chọn 1 font Icon mà bạn muốn dùng (vẫn có thể chọn tất cả các font Icon nhưng mình khuyến Khích nên chọn 1 font vì nó sẽ nặng source của bạn).
Nếu bạn không dùng thì bạn hãy xoá presetIcons trong file unocss.config.ts
-
Antdv
ant-design-vue cung cấp nhiều component giao diện cho người dùng để làm phong phú các ứng dụng web, cải thiện trải nghiệm một cách nhất quán của bạn.
 $ pnpm i ant-design-vue
 $ pnpm i -D unplugin-vue-components
import CSS vào file main.ts
import 'ant-design-vue/dist/antd.css'import AntDesignVueResolver vào file vite.config.js
import Components from 'unplugin-vue-components/vite' import { AntDesignVueResolver } from 'unplugin-vue-components/resolvers' import tsconfigPathsPlugin from 'vite-tsconfig-paths' export default defineConfig({ plugins: [ tsconfigPathsPlugin(), vue(), Components({ resolvers: [AntDesignVueResolver()], include: [/\.vue$/, /\.vue\?vue/], dts: 'src/components.d.ts', // plugins này sẽ tự động generated ra file components.d.ts trong source src. }), ..., ] }) -
Auto Import
Trong phần này thì mình có dùng thêm thư viện @vueuse/core, nó hỗ trợ mình những hook cần thiết trong quá trìnhb làm việc.
 $ pnpm i -D unplugin-auto-import
 $ pnpm i @vueuse/core
import AutoImport vào file vite.config.js
import Components from 'unplugin-vue-components/vite'
import { AntDesignVueResolver } from 'unplugin-vue-components/resolvers'
import AutoImport from 'unplugin-auto-import/vite'
import tsconfigPathsPlugin from 'vite-tsconfig-paths'

export default defineConfig({
  plugins: [
    tsconfigPathsPlugin(),
    vue(),
    AutoImport({
      imports: ['vue', '@vueuse/core', 'vue-router'],
      dts: 'src/auto-imports.d.ts', // plugins này sẽ tự động generated ra file auto-imports.d.ts trong source src.
      dirs: [], // chỗ này mình có thể thêm name folder nó sẽ tự động lấy tất cả các tên file trong folder đó và mình có thể gọi bất kì ở trong file Vue nào mà không cần import. (src/stores)
      vueTemplate: true,
    }),
    Components({
      resolvers: [AntDesignVueResolver()],
      include: [/\.vue$/, /\.vue\?vue/],
      dts: 'src/components.d.ts',
    }),
    ...,
  ]
})
Kết bài
Ở phần này chúng ta đã cùng nhau tìm hiểu về Vite và cách setup của nó. Ở phần tiếp theo chúng ta sẽ cùng nhau tìm hiểu về vue-router, pinia và vitest.
Source code
All rights reserved