Intro to Gatsby.js
Bài đăng này đã không được cập nhật trong 7 năm
🔵 Gatsby.js
is a tool to create static sites using react.js. It was built with performance and simplicity in mind, as gatsby sites are 2-3 times faster than similar counterparts. The framework is designed to take care of performance on its own, leaving us free to focus on things that are more important, the code. Gatsby.js will use the most performant Webpack configuration to build our project. Also, it will prefetch (download ahead) resources so browsing will be lightening fast. It also follows Google's PRPL pattern which makes the sites perform fast on the lowest of connections. We can also use Gatsby.js to create PWA apps, as it comes preloaded with all the requirements needed for a PWA.
🔨 Setting up
We need to setup the gatsby-cli in our system globally.
run this to install npm i -g gatsby-cli
(prerequisite: node, npm)
💣 gatsby command not found
gatsby command not found
Some of the linux users report this problem, but not everyone seem to have it.
On one of my machines i faced this.
You can read the official bug report here But there is a better way than the solutions mentioned there.
Previously, I used this guide from npm to grant npm permission to install stuff without sudo. (you don't have to run this. Unless you just set up nodejs in your linux system)
mkdir ~/.npm-global
npm config set prefix '~/.npm-global'
nano ~/.profile
# add in the bottom
export PATH=~/.npm-global/bin:$PATH
# save, and reload the .profile
source ~/.profile
So, as i my global packages are installed in ~/.npm-global directory, gatsby somehow f's the path.
to fix this, first make sure gatsby is installed by running
npm -g ls --depth=0

# result
/home/sirajus.salekin/.npm-global/lib
└── gatsby-cli@2.6.2
and add the gatsby alias in your .bashrc file by running
nano ~/.bashrc

#add this at the bottom
alias gatsby="~/.npm-global/bin/gatsby"

# save, close nano, reload by running
source ~/.bashrc
now, you should have the gatsby command available in your terminal.
🔵 Project Architecture
Run to create a new project
gatsby new blog
gatsby will ask you to pick your choice of package-manager it'll use (npm, yarn) if you have multiple of those in your system. Select the package-manager, press enter, and you'll have your new gatsby static site ready.
move into the project folder
cd blog
to see the project architecture, we'll use the tree command (sudo apt install tree)
tree -I node_modules  #exclude node_modules folder ofcourse.

.
├── gatsby-browser.js
├── gatsby-config.js
├── gatsby-node.js
├── gatsby-ssr.js
├── LICENSE
├── package.json
├── README.md
│
├── src
│   ├── components
│   │   ├── header.js
│   │   ├── image.js
│   │   ├── layout.css
│   │   ├── layout.js
│   │   └── seo.js
│   ├── images
│   │   ├── gatsby-astronaut.png
│   │   └── gatsby-icon.png
│   └── pages
│       ├── 404.js
│       ├── index.js
│       └── page-2.js
└── yarn.lock
the src is the most importatnt folder her, as our code will reside inside it.
For other stuffs, here's the excerpt from gatsby's site.
-
/node_modules: This directory contains all of the modules of code that your project depends on (npm packages) are automatically installed. -
/src: This directory will contain all of the code related to what you will see on the front-end of your site (what you see in the browser) such as your site header or a page template.srcis a convention for “source code”. -
.gitignore: This file tells git which files it should not track / not maintain a version history for. -
.prettierrc: This is a configuration file for Prettier. Prettier is a tool to help keep the formatting of your code consistent. -
gatsby-browser.js: This file is where Gatsby expects to find any usage of the Gatsby browser APIs (if any). These allow customization/extension of default Gatsby settings affecting the browser. -
gatsby-config.js: This is the main configuration file for a Gatsby site. This is where you can specify information about your site (metadata) like the site title and description, which Gatsby plugins you’d like to include, etc. (Check out the config docs for more detail). -
gatsby-node.js: This file is where Gatsby expects to find any usage of the Gatsby Node APIs (if any). These allow customization/extension of default Gatsby settings affecting pieces of the site build process. -
gatsby-ssr.js: This file is where Gatsby expects to find any usage of the Gatsby server-side rendering APIs (if any). These allow customization of default Gatsby settings affecting server-side rendering. -
LICENSE: Gatsby is licensed under the MIT license. -
package-lock.json(Seepackage.jsonbelow, first). This is an automatically generated file based on the exact versions of your npm dependencies that were installed for your project. (You won’t change this file directly). -
package.json: A manifest file for Node.js projects, which includes things like metadata (the project’s name, author, etc). This manifest is how npm knows which packages to install for your project. -
README.md: Duh 🙄 .
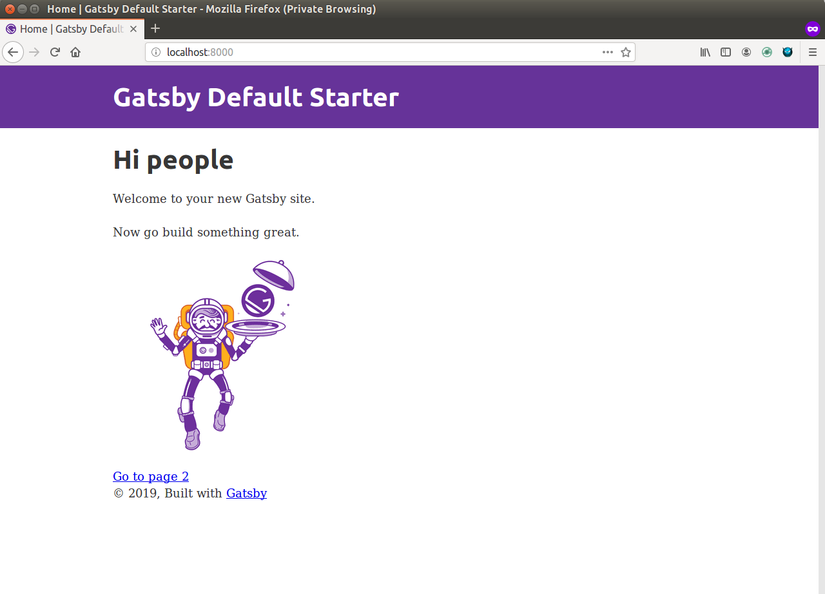
Now, to start the site locally, run
gatsby develop
we'll have the site running at http://localhost:8000
we'll also have a graphql secondary link on http://localhost:8000/___graphql

Changing the source code
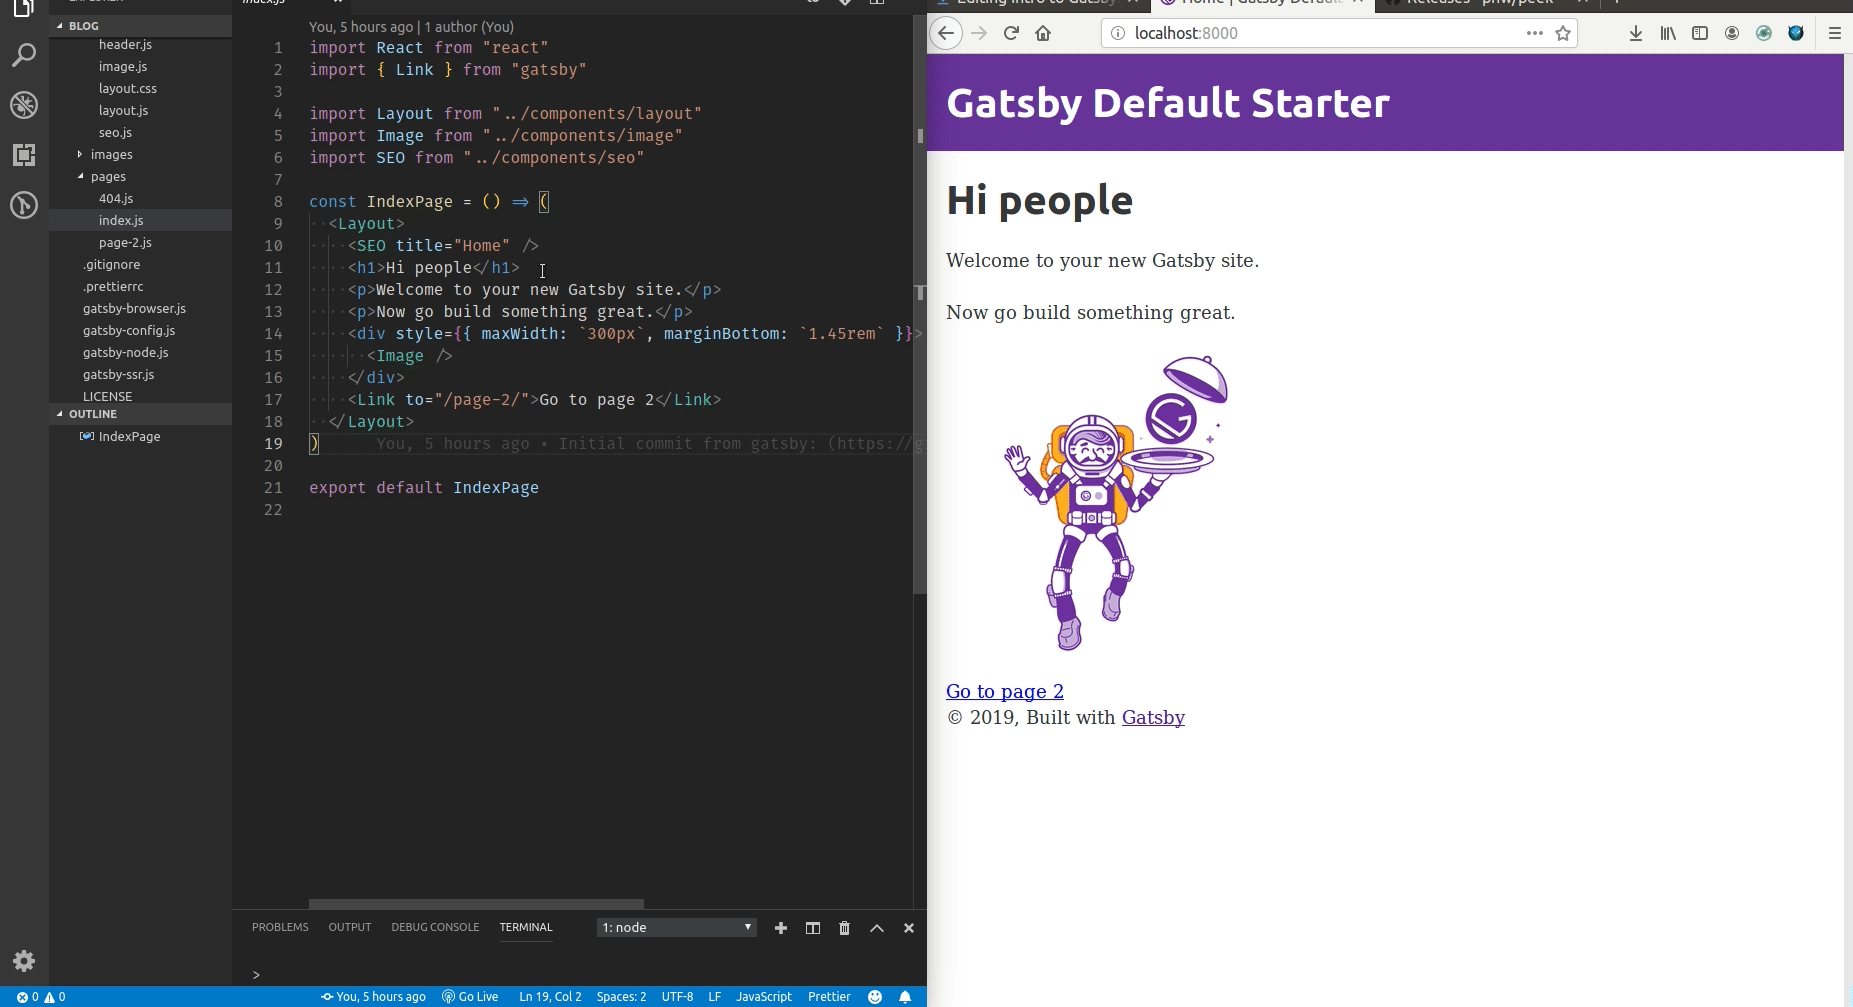
Gatsby is written purely with react. So if you're okay with reactjs, you'll be able to work with gatsby without any issue.
For example lets see one of the file, src/components/header.js
import { Link } from "gatsby"
import PropTypes from "prop-types"
import React from "react"

const Header = ({ siteTitle }) => (
  <header
    style={{
      background: `rebeccapurple`,
      marginBottom: `1.45rem`,
    }}
  >
    <div
      style={{
        margin: `0 auto`,
        maxWidth: 960,
        padding: `1.45rem 1.0875rem`,
      }}
    >
      <h1 style={{ margin: 0 }}>
        <Link
          to="/"
          style={{
            color: `white`,
            textDecoration: `none`,
          }}
        >
          {siteTitle}
        </Link>
      </h1>
    </div>
  </header>
)

Header.propTypes = {
  siteTitle: PropTypes.string,
}

Header.defaultProps = {
  siteTitle: ``,
}

export default Header
This uses ES6 syntax as we're running on react version 16. So, all the new goodness of react 16 (hooks ) will work out of the box 🎉 🎉 🎉
Also, any change you do to your source will be hot reloaded in your browser.
📚 Learning material
in-depth tutorial for creating a site with Gatsby
I highly suggest to see this demo from Travesty.media
🚀 Hosting the sample site in netlifly
Simply, push your code on github.
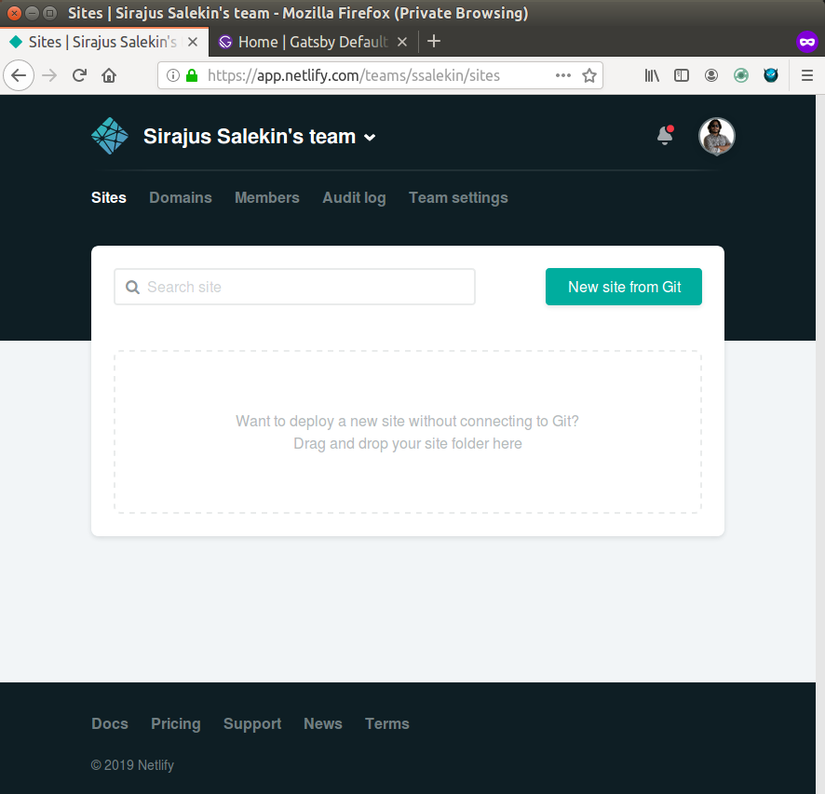
Go to https://app.netlify.com , login with your github account.
From there Select your repo to be deployed,
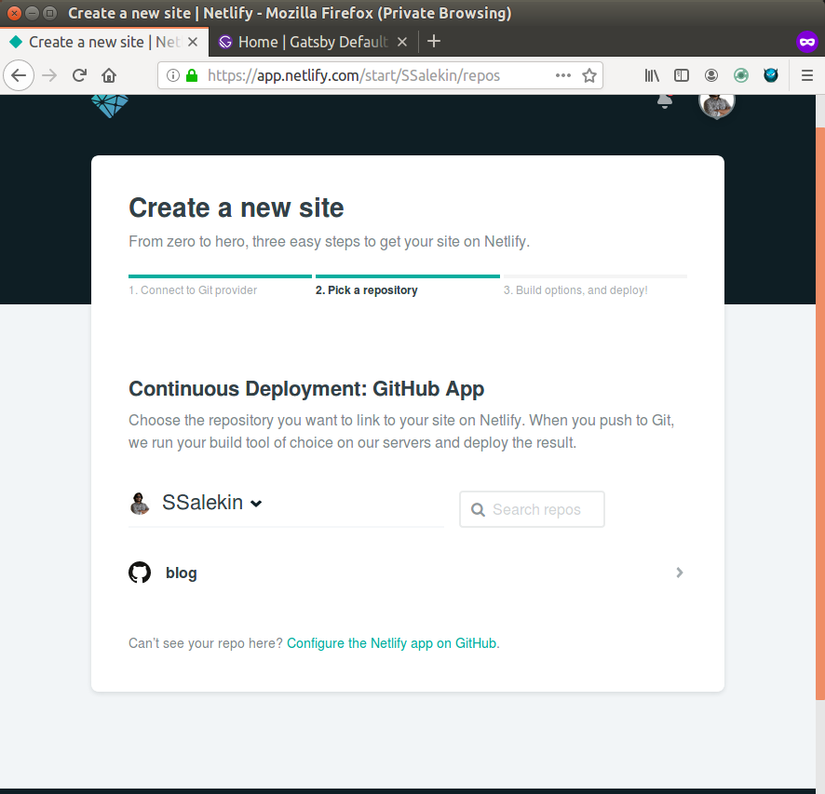
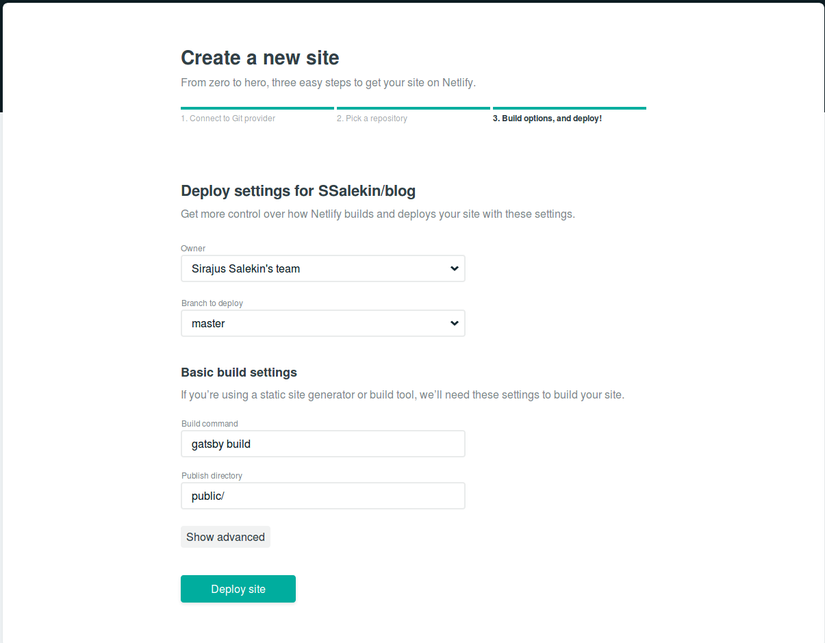
And click deploy. 🍻

All rights reserved
