GatsbyJs + Redux Toolkit Saga + React Bootstrap + Storybook
Bài đăng này đã không được cập nhật trong 4 năm
GatsbyJs + Redux Toolkit Saga + React Bootstrap + Storybook
I. Tạo và cài đặt các thư viện cần thiết
1. Init Gatsbyjs
npm init gatsby
 Bây giờ mình chạy thử
cd name-project/
npm run develop
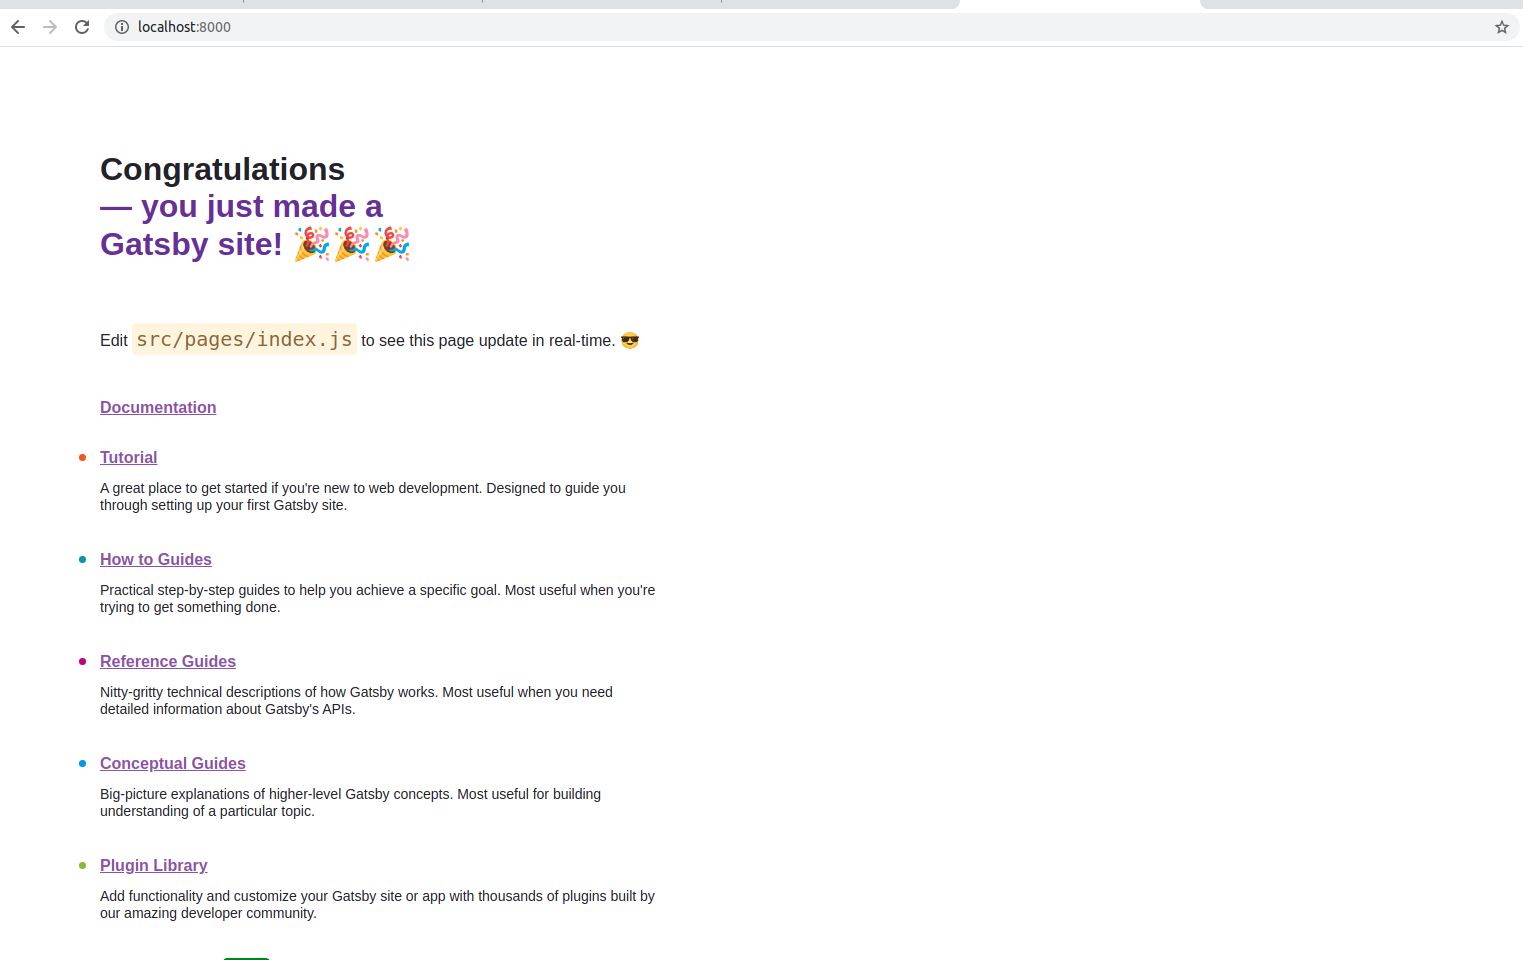
Ứng dụng gatsby của bạn sẽ chạy trên cổng 8000
http://localhost:8000/
 2. Thêm storybook
npx sb init
npm install -D dotenv-webpack
npm install -D html-webpack-plugin
npm run storybook
Ứng dụng của bạn sẽ chạy trên
http://localhost:6006/?path=/story/example-introduction--page
3. Thêm React Bootstrap
npm install react-bootstrap@next bootstrap@5.1.0
4. Thêm Redux toolkit Saga
npm install @reduxjs/toolkit react-redux redux-saga
II. Config store
- Bạn phải tạo file
gatsby-browser.jsvào trong dự án
import React from 'react';
import { Provider } from 'react-redux';
import store from './src/store/index';
import 'bootstrap/dist/css/bootstrap.min.css'
import 'bootstrap/dist/js/bootstrap.min.js'

export const wrapRootElement = ({ element }) => {
  return <Provider store={store}>{element}</Provider>;
};
Tạo file gatsby-ssr.js
import React from 'react';
import { Provider } from 'react-redux';
import store from './src/store/index';

export const wrapRootElement = ({ element }) => {
  return <Provider store={store}>{element}</Provider>;
};
Tạo thêm file gatsby-node.js để có thể link đến thư mục của bạn khi SSR
const path = require('path');

exports.onCreateWebpackConfig = ({ actions }) => {
  actions.setWebpackConfig({
    resolve: {
      modules: [path.resolve(__dirname, 'src'), 'node_modules']
    }
  });
};
- Bạn cần tạo thư mục store
![]()
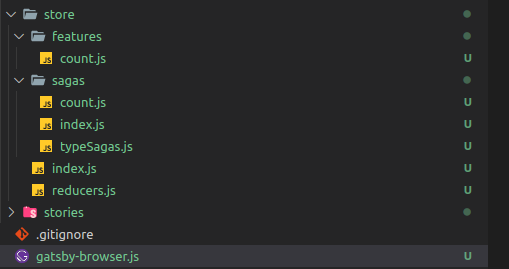
Cấu trúc sẽ tùy vào dự án của bạn. Trong ví dụ này mình sẽ cấu trúc store theo từng feature. Nội dung các file trong store sẽ như sau store/index.js
import { configureStore, Action, getDefaultMiddleware } from '@reduxjs/toolkit';
import createSagaMiddleware from 'redux-saga';

import rootReducers from './reducers';
import rootSaga from './sagas';

const sagaMiddleware = createSagaMiddleware();
const middleware = [...getDefaultMiddleware({ thunk: false }), sagaMiddleware];
const store = configureStore({
  reducer: rootReducers,
  middleware,
});

sagaMiddleware.run(rootSaga);
export default store
store/reducers.js
import { combineReducers } from "redux";
import count from "./features/count";

export default combineReducers({
  count,
});
store/features/count.js
import { createSlice } from "@reduxjs/toolkit";

const initialState = {
  count: 0,
};

// Slice
const countSlice = createSlice({
  name: "count",
  initialState,
  reducers: {
    setCount: (state, action) => {
      const { payload } = action;
      state.count = payload;
    },
  },
});

// Selectors
export const countSelector = (state) => state.count;

// Actions
export const { setCount } = countSlice.actions;

// Reducers
export default countSlice.reducer;
store/sagas/index.js
import { takeEvery } from 'redux-saga/effects';
import { sagaActions } from './typeSagas';
import { increaseCount } from './count';

export default function* rootSaga() {
  yield takeEvery(sagaActions.INCREASE, increaseCount);
}
store/sagas/count.js
import { put } from "redux-saga/effects";
import { setCount } from "../features/count";

export function* increaseCount(payload) {
  try {
    let result = payload.count + 1;
    yield put(setCount(result));
  } catch (e) {
    console.log(e);
  }
}
store/sagas/typeSagas.js
export const sagaActions = {
  INCREASE: 'INCREASE'
};
Done config cho store.
Các bạn kiểm tra với chrome devtool thì sẽ thấy store đã được khởi tạo.

Ok giờ thì sẽ sửa lại file pages/index.js nhé
import * as React from "react";
import { Badge, Button } from "react-bootstrap";
import { useSelector, useDispatch } from "react-redux";
import { countSelector } from "store/features/count";
import { sagaActions } from "../store/sagas/typeSagas";

const pageStyles = {
  color: "#232129",
  padding: 96,
  fontFamily: "-apple-system, Roboto, sans-serif, serif",
};
const headingStyles = {
  marginTop: 0,
  marginBottom: 64,
  maxWidth: "100%",
};
const headingAccentStyles = {
  color: "#663399",
};

const IndexPage = () => {
  const { count } = useSelector(countSelector);
  const dispatch = useDispatch();
  return (
    <main style={pageStyles}>
      <title>Home Page</title>
      <h1 style={headingStyles}>
        Congratulations
        <br />
        <span style={headingAccentStyles}>— you just made a Gatsby site! </span>
        <Badge bg="success">{count}</Badge>
        <span role="img" aria-label="Party popper emojis">
          🎉🎉🎉
        </span>
      </h1>
      <Button onClick={() => dispatch({ type: sagaActions.INCREASE, count })}>
        INCREASE
      </Button>
    </main>
  );
};

export default IndexPage;
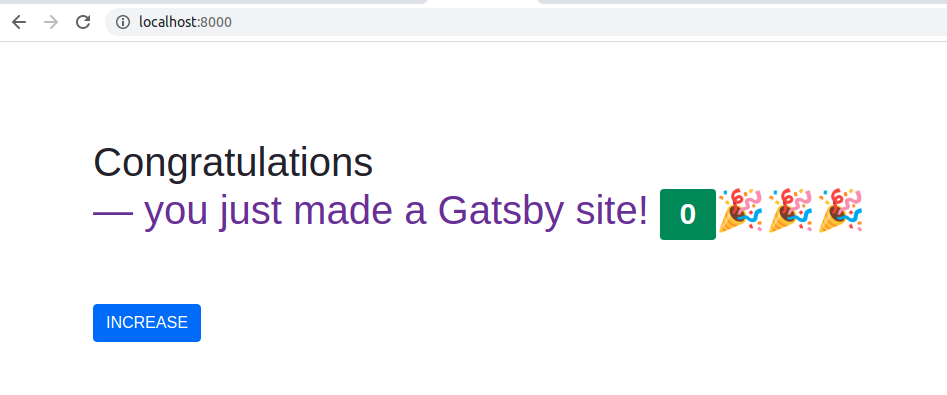
Kết quả sẽ là thế này nhé
Bước cuối cùng chúng ta sẽ đi tích hợp store cho storybook nhé Trong file storybook/preview.js các bạn cần tạo store cho storebook
import React from 'react'
import { createStore } from 'redux'
import { Provider } from 'react-redux'
import reducer from '../src/store/reducers'


export const parameters = {
  actions: { argTypesRegex: "^on[A-Z].*" },
  controls: {
    matchers: {
      color: /(background|color)$/i,
      date: /Date$/,
    },
  },
}

// config store for storybook
const storeInit = createStore(reducer)
export const decorators = [
  (Story) => (
    <Provider store={storeInit}>
      <Story />
    </Provider>
  ),
]
Có vẻ hơi dài nên sử dụng Storybook và cấu hình các bạn vào xem trong source nhé Link source demo https://github.com/vinctuyen/Gatsby-Redux-toolkit-Redux-saga-Storybook Thanks for reading.
All rights reserved
