Cài đặt yolov3 trên board NVIDIA Jetson TX2
Bài đăng này đã không được cập nhật trong 2 năm
Build-Yolo-model-on-Jetson-TX2
Step by step in building Yolo model on Jetson TX2 You have to prepare your host computer, it includes Ubuntu OS (18.4 or 16.04). I am not sure about v18.04, I used v16.04. One more thing, You can run on a real machine, you also install Ubuntu dual your Window or something like that. I ran Ubuntu OS on VM (Remember to set up your network on your VM, choose "Bridge: Connected directly to the physical network"), It's quite important in installing process.
Download your Jetpack
Note: Jetpack have to be compatible to your target device. I use the latest version Jetpack 3.3 on JTX2. You can use this link to download the latest version of [Jetpack] (https://developer.nvidia.com/embedded/downloads).
Prepare components
- After download, open terminal in Downloads folder run command
chmod +x JetPack-${VERSION}.runto add execute permission for the JetPack-${VERSION}.run. - Choose the installation directory on your system and select the development environment to setup.
- The JetPack installer will pop up a window to ask for permission to use during the installation process; you will need to enter your sudo password here.
- The Component Manager opens, which allows you to customize which components to install. Select the Jetson Developer Kit you would like to develop for to customize the installation components for each device (recommend for all).
- Accept the license agreement for the selected component.
- If you selected Flash OS in the Component Manager, you will need to select the network layout for your specific environment (You can choose the other but you have to connect follow the graph and choose a suitable interface).
- A pop-up window will instruct you to put your device into Force USB Recovery Mode, so you can flash the OS.
Connect your hardware
- Connect Internet to your host computer and your Jetson also.
- Connect the Micro-B to USB cable from the Jetson to your computer.
- Press the POWER butto. The Jetson powers up like normal. Press and hold the FORCE RECOVERY button, and while holding the FORCE RECOVERY button, press the RESET button. After two more seconds, release the FORCE RECOVERY button.
- Make sure that your virtual machine detects the
NVIDIA CorpUSB device by a commandlsusb.
(Or go to the VM tab at the top of the virtual machine, go to Removable Devices, choose USB and select NVIDIA Corp. APX)
- Press Enter in the waiting pop-up window, wait ...
Install Kernel and Modules
- Download buildJetsonTX2Kernel on github.
$ git clone https://github.com/jetsonhacks/buildJetsonTX2Kernel.git
$ cd buildJetsonTX2Kernel
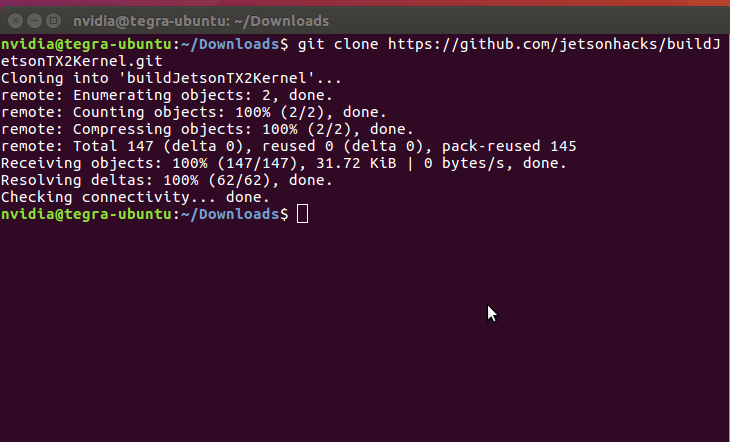
- There are three main scripts. The first script, getKernelSources.sh gets the kernel sources from the NVIDIA developer website, then unpacks the sources into /usr/src/kernel.
$ ./getKernelSources.sh
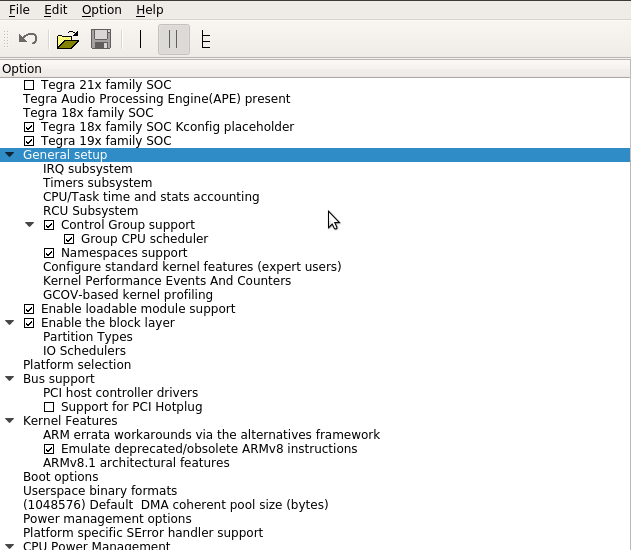
- After the sources are installed, the script opens an editor on the kernel configuration file.
Note: The local version needs to be set to match the release that you are building. For example, if you are building modules for a stock kernel, then the local versions should be -tegra which makes the kernel release name 4.4.38-tegra. If you are building a custom kernel, then you should add your own local version. In the video above, we used -jetsonbotv0.1 which results in 4.4.38-jetsobotv0.1.
- You can add or edit elements on kernel configuration window.
Install OpenCV
- Back to terminal, download packet and install it:
$ git clone https://github.com/jetsonhacks/buildOpenCVTX2.git
$ ./buildOpenCV.sh
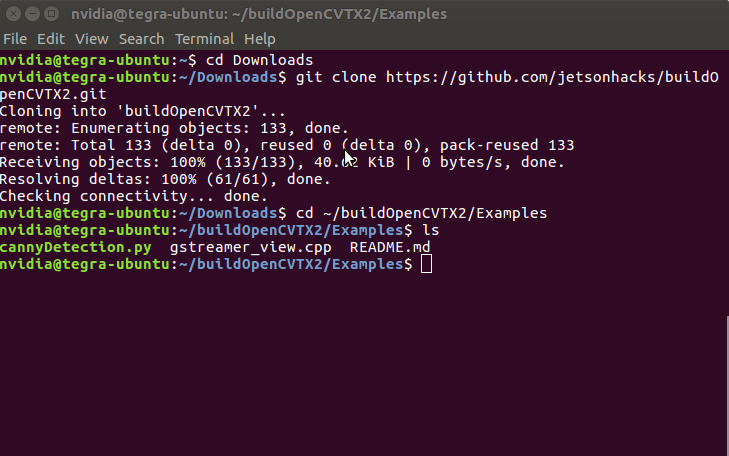
Note: It took me about an hour to finish this process.
- Checking modules after installation (These commands will install a gui to show modules):
$ cd /opencv/build
$ apt search ccmake
$ sudo apt-get install cmake-curses-gui
$ ccmake ..
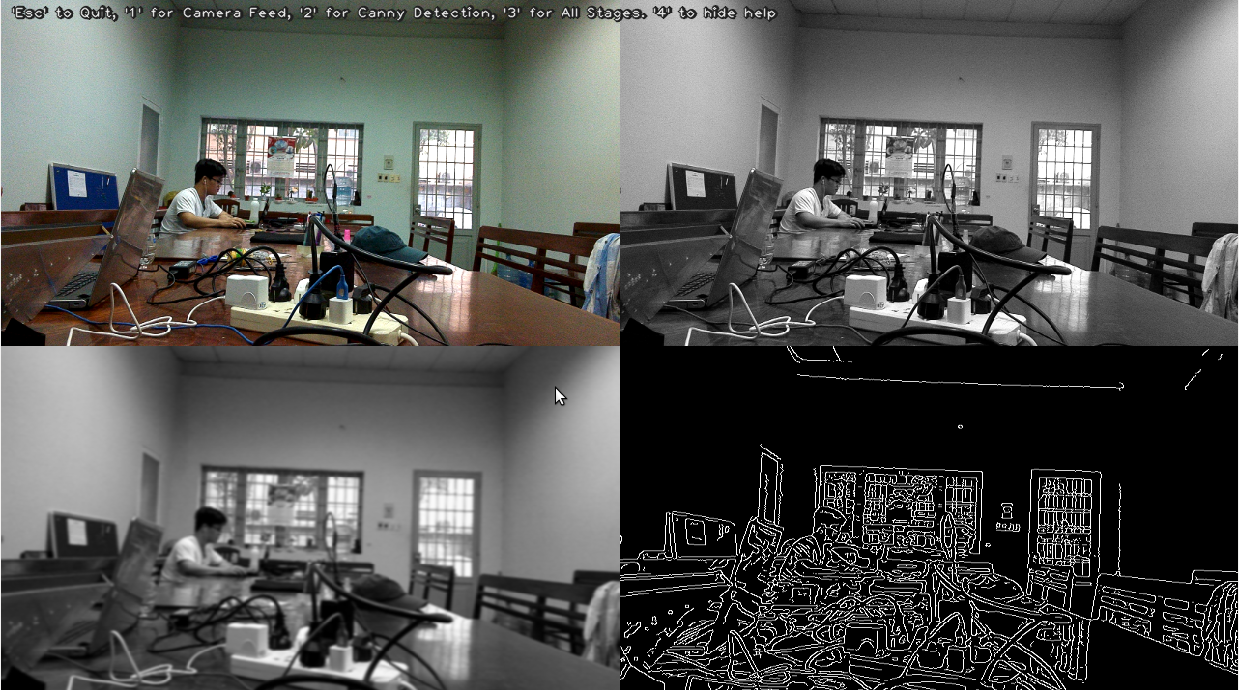
- Testing
cannyDetection.pyinbuildOpenCVTX2/Examples, get result:
Build YOLO Application
- Downlaod and install
darknetframework.
$ git clone https://github.com/pjreddie/darknet yolov3
- Access the folder and config 'Makefile'. We need to change some parameters to be suitable in this system.
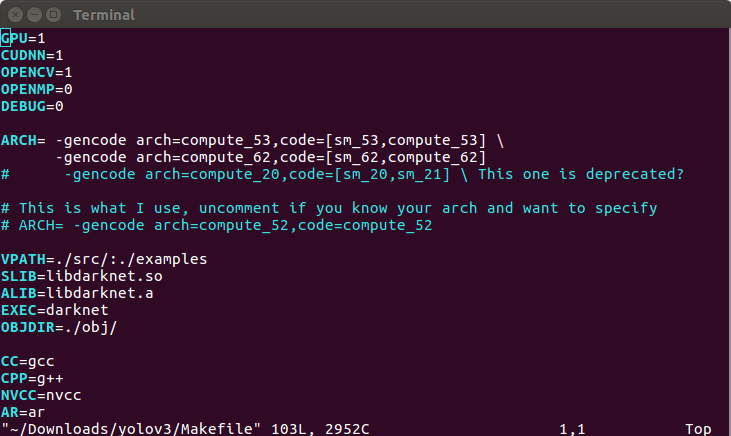
- Run in max-lock mode with:
$ sudo nvpmodel -m 0
$ make
- You can also config in
yolov3.cfginyolov3/cfgdirectory. Remember to runmakeafter changing anything in config file.
Run Application
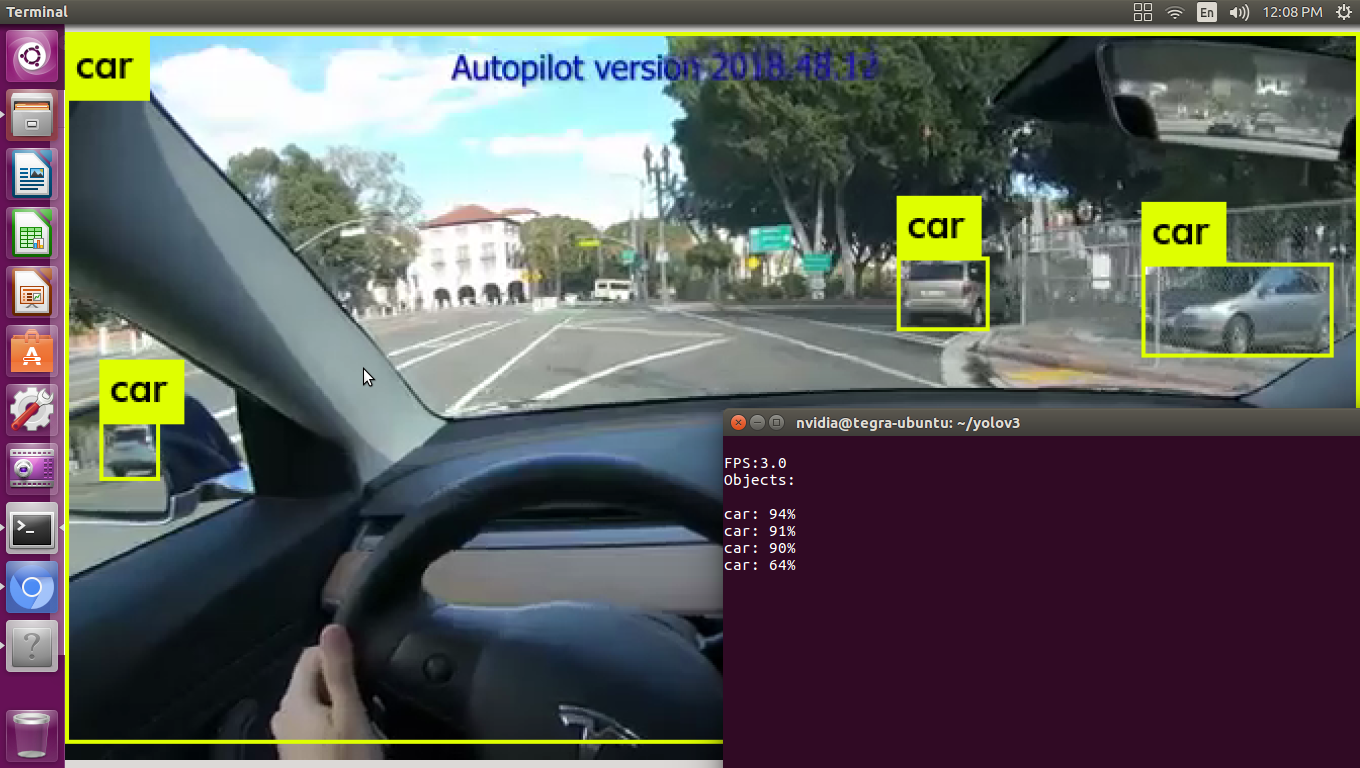
- Run application: Detect objects in video.
$ ./darknet detector demo cfg/coco.data cfg/yolov3.cfg yolov3.weights traffic.mp4
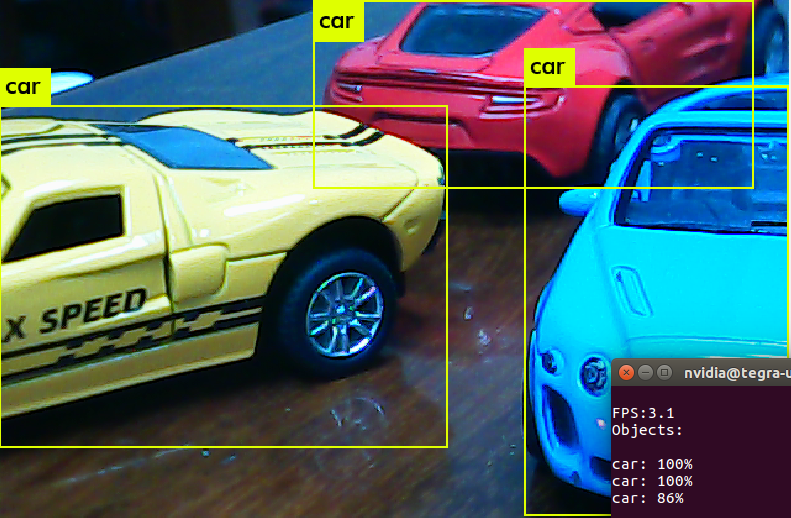
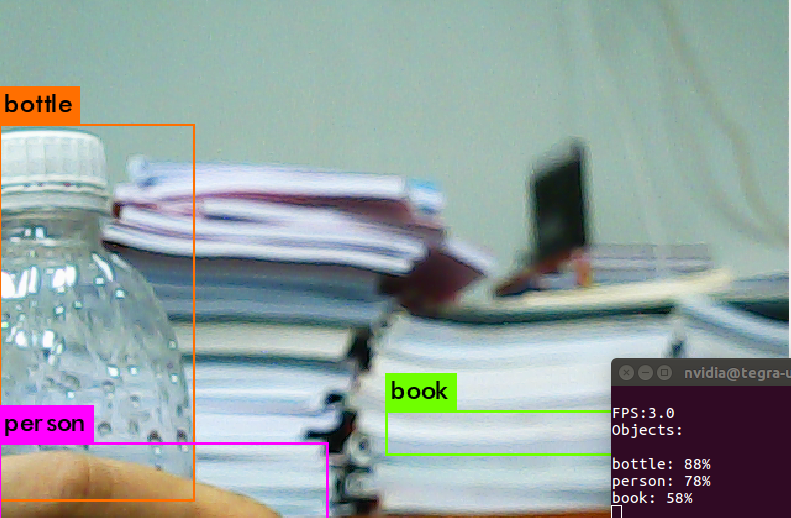
- Run application: In streaming video.
$ ./darknet detector demo cfg/coco.data cfg/yolov3.cfg yolov3.weights -c 1
Finish
HAPPY HACKING
References
http://www.slothparadise.com/setup-cuda-7-0-nvidia-jetson-tx1-jetpack-detailed/
All rights reserved
