[Kotlin] Hướng dẫn mọi người sử dụng StaggeredGridLayoutManager với recycler view trên Kotlin
Bài đăng này đã không được cập nhật trong 8 năm
Giới thiệu
Bạn đã quá chán với việc thiết kế các row của recycler view có giống nhau Hôm nay mình sẽ hướng dẫn mọi người phá cách 1 chút , làm cho recycler trở nên khác biệt hơn
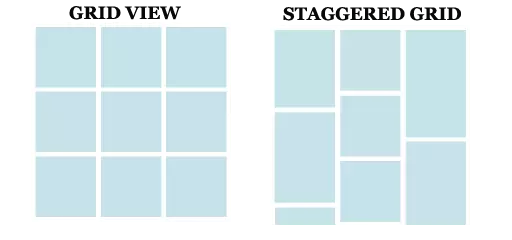
Bên trái là khi recycler view sử dụng GridLayoutManager Bên phải là recycler view sử dụng StaggeredGridLayoutManager, đây chính là thứ mình muốn giới thiệu với mọi người hôm nay
Ảnh demo

Dưới đây mình sẽ hướng dẫn mọi người cách thực hiện (chú ý là mình xài Kotlin nhé )
Bước 1 : Tạo project
Tạo project mới với tên StaggeredGrid
Bước 2 : Cấu hình gradle
Mở Gradle Scripts -> build.gradle và cấu hình như sau
implementation "com.android.support:recyclerview-v7:26.1.0" là thư viện RecyclerView
apply plugin: 'com.android.application'

apply plugin: 'kotlin-android'

apply plugin: 'kotlin-android-extensions'

android {
    compileSdkVersion 26
    defaultConfig {
        applicationId "com.tuananh.staggeredgrid"
        minSdkVersion 16
        targetSdkVersion 26
        versionCode 1
        versionName "1.0"
        testInstrumentationRunner "android.support.test.runner.AndroidJUnitRunner"
    }
    buildTypes {
        release {
            minifyEnabled false
            proguardFiles getDefaultProguardFile('proguard-android.txt'), 'proguard-rules.pro'
        }
    }
}

dependencies {
    implementation fileTree(dir: 'libs', include: ['*.jar'])
    implementation"org.jetbrains.kotlin:kotlin-stdlib-jre7:$kotlin_version"
    implementation 'com.android.support:appcompat-v7:26.1.0'
    implementation 'com.android.support.constraint:constraint-layout:1.0.2'
    implementation "com.android.support:recyclerview-v7:26.1.0"
    testImplementation 'junit:junit:4.12'
    androidTestImplementation 'com.android.support.test:runner:1.0.1'
    androidTestImplementation 'com.android.support.test.espresso:espresso-core:3.0.1'
}
Bước 3 : Tạo activity_main.xml
Mở res -> layout -> activity_main và viết code như dưới đây. Layout gồm có 1 button refresh và 1 recyclerview
<?xml version="1.0" encoding="utf-8"?>
<LinearLayout xmlns:android="http://schemas.android.com/apk/res/android"
    xmlns:tools="http://schemas.android.com/tools"
    android:layout_width="match_parent"
    android:layout_height="match_parent"
    android:gravity="center_horizontal"
    android:orientation="vertical"
    tools:context="com.tuananh.staggeredgrid.MainActivity">

    <android.support.v7.widget.AppCompatButton
        android:id="@+id/btnRefresh"
        android:layout_width="wrap_content"
        android:layout_height="wrap_content"
        android:text="Refresh"/>

    <android.support.v7.widget.RecyclerView
        android:id="@+id/recyclerView"
        android:layout_width="match_parent"
        android:layout_height="match_parent"/>
</LinearLayout>
Bước 4 : Tạo viền bao quanh cho các item_recycler_view
Mở thư mục drawable và tạo 1 file xml custom_item_layout.xml
<?xml version="1.0" encoding="utf-8"?>
<shape xmlns:android="http://schemas.android.com/apk/res/android">
    <!--
       stroke with color and width for creating outer line
    -->
    <stroke
        android:width="1dp"
        android:color="#000"/>
</shape>
Bước 5 : Tạo file xml item_recycler_view.xml để làm item cho recycler view
Chúng ta sẽ thiết kế 1 layout gồm 2 thành phần là TextView và ImageView
<?xml version="1.0" encoding="utf-8"?>
<RelativeLayout xmlns:android="http://schemas.android.com/apk/res/android"
    android:layout_width="wrap_content"
    android:id="@+id/rlRoot"
    android:layout_height="wrap_content"
    android:background="@drawable/custom_item_layout"
    android:padding="5dp">

    <!--grid items for RecyclerView-->

    <ImageView
        android:id="@+id/image"
        android:layout_width="match_parent"
        android:layout_height="match_parent"
        android:scaleType="centerCrop"
        android:src="@mipmap/ic_launcher"/>

    <TextView
        android:id="@+id/name"
        android:layout_width="wrap_content"
        android:layout_height="wrap_content"
        android:layout_alignParentBottom="true"
        android:layout_centerHorizontal="true"
        android:text="ABCD"
        android:textColor="#fff"
        android:textSize="20sp"/>
</RelativeLayout>
Bước 6 : MainActivity.kt
Tạo 2 list name và image là personNameList và personImageList
Khởi tạo recycler view chú ý chúng ta sẽ dùng StaggeredGridLayoutManager làm layout manager chính cho nó .
 val staggeredGridLayoutManager = StaggeredGridLayoutManager(3, LinearLayoutManager.VERTICAL)
        recyclerView.layoutManager = staggeredGridLayoutManager
        Collections.shuffle(personImageList)
        val customAdapter = CustomAdapter(this, personNameList, personImageList)
        recyclerView.adapter = customAdapter
Bắt sự kiện cho button refresh để trộn list ảnh của recycler view
btnRefresh.setOnClickListener {
            Collections.shuffle(personImageList)
            customAdapter.notifyDataSetChanged()
        }
package com.tuananh.staggeredgrid

import android.os.Bundle
import android.support.v7.app.AppCompatActivity
import android.support.v7.widget.LinearLayoutManager
import android.support.v7.widget.StaggeredGridLayoutManager
import kotlinx.android.synthetic.main.activity_main.*
import java.util.*


class MainActivity : AppCompatActivity() {
    private var personNameList: MutableList<String> = mutableListOf(
            "Person 1", "Person 2",
            "Person 3", "Person 4",
            "Person 5", "Person 6",
            "Person 7", "Person 8",
            "Person 9", "Person 10",
            "Person 11", "Person 12",
            "Person 13", "Person 14")
    private var personImageList: MutableList<Int> = mutableListOf(
            R.drawable.person1, R.drawable.person2,
            R.drawable.person3, R.drawable.person4,
            R.drawable.person5, R.drawable.person6,
            R.drawable.person7, R.drawable.person8,
            R.drawable.person9, R.drawable.person10,
            R.drawable.person11, R.drawable.person12,
            R.drawable.person13, R.drawable.person14)

    override fun onCreate(savedInstanceState: Bundle?) {
        super.onCreate(savedInstanceState)
        setContentView(R.layout.activity_main)
        val staggeredGridLayoutManager = StaggeredGridLayoutManager(3, LinearLayoutManager.VERTICAL)
        recyclerView.layoutManager = staggeredGridLayoutManager
        Collections.shuffle(personImageList)
        val customAdapter = CustomAdapter(this, personNameList, personImageList)
        recyclerView.adapter = customAdapter
        btnRefresh.setOnClickListener {
            Collections.shuffle(personImageList)
            customAdapter.notifyDataSetChanged()
        }
    }
}
Bước 7 : Tạo class CustomAdapter.kt
Trong bước này chúng ta sẽ set layout item cho recycler view là item_recycler_view.xml và gắn dữ liệu cho các item của recycler view trong onBindViewHolder
package com.tuananh.staggeredgrid

import android.content.Context
import android.support.v7.widget.RecyclerView
import android.view.LayoutInflater
import android.view.View
import android.view.ViewGroup
import kotlinx.android.synthetic.main.item_recycler_view.view.*

/**
 * Created by FRAMGIA\vu.tuan.anh on 26/03/2018.
 */
class CustomAdapter(context: Context, private var personNameList: MutableList<String>?, private var personImageList: MutableList<Int>?) : RecyclerView.Adapter<CustomAdapter.MyViewHolder>() {
    private var layoutInflater: LayoutInflater = LayoutInflater.from(context)

    override fun onBindViewHolder(holder: MyViewHolder, position: Int) {
        holder.name.text = personNameList!![position]
        holder.image.setImageResource(personImageList!![position])
        holder.rlRoot.setOnClickListener {
            // todo
        }
    }

    override fun onCreateViewHolder(parent: ViewGroup?, viewType: Int): MyViewHolder {
        return MyViewHolder(layoutInflater.inflate(R.layout.item_recycler_view, parent, false))
    }

    override fun getItemCount(): Int {
        return personNameList!!.size
    }

    class MyViewHolder(view: View) : RecyclerView.ViewHolder(view) {
        val name = view.name!!
        val image = view.image!!
        val rlRoot = view.rlRoot!!
    }
}
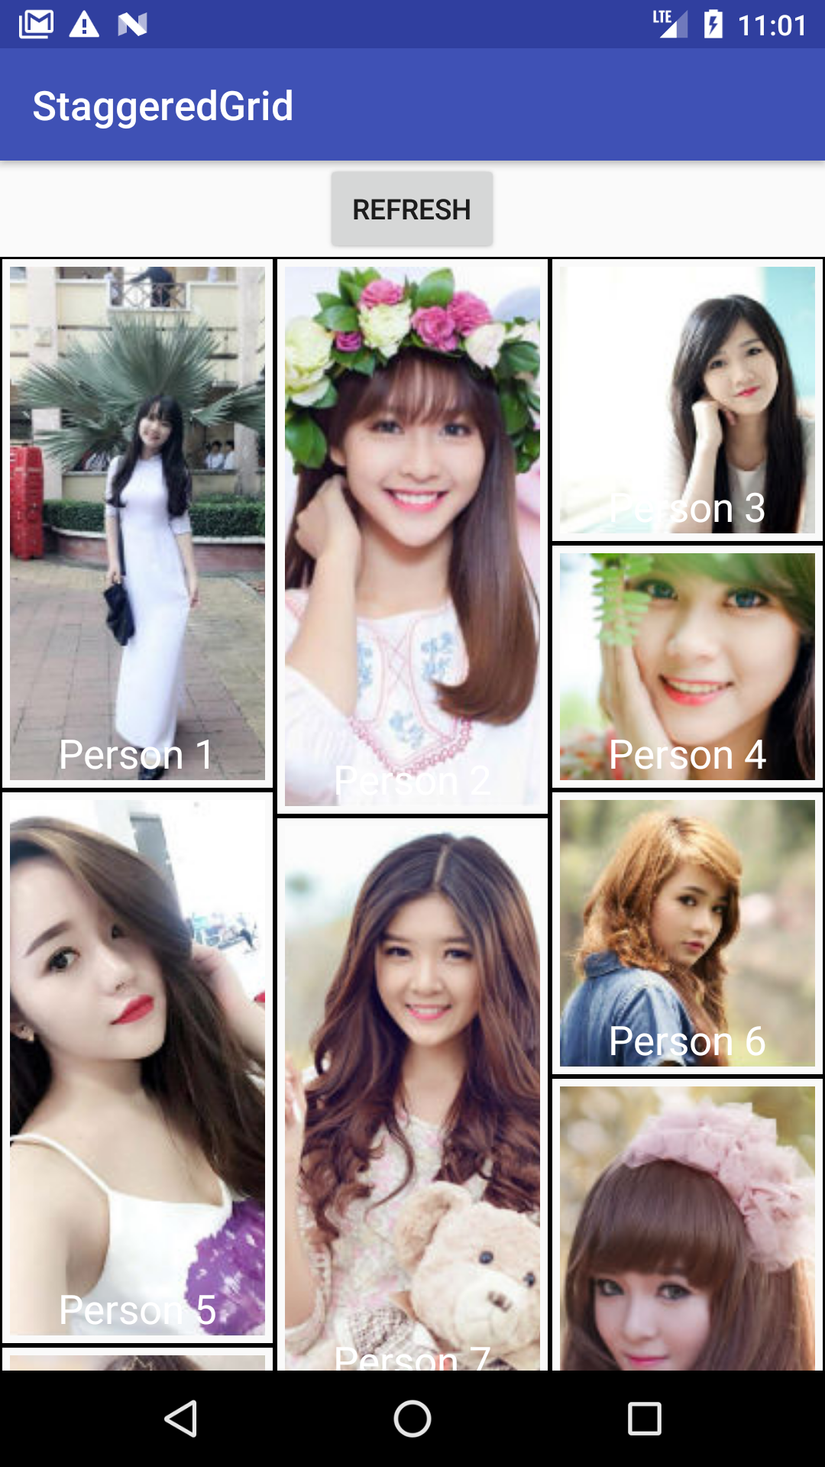
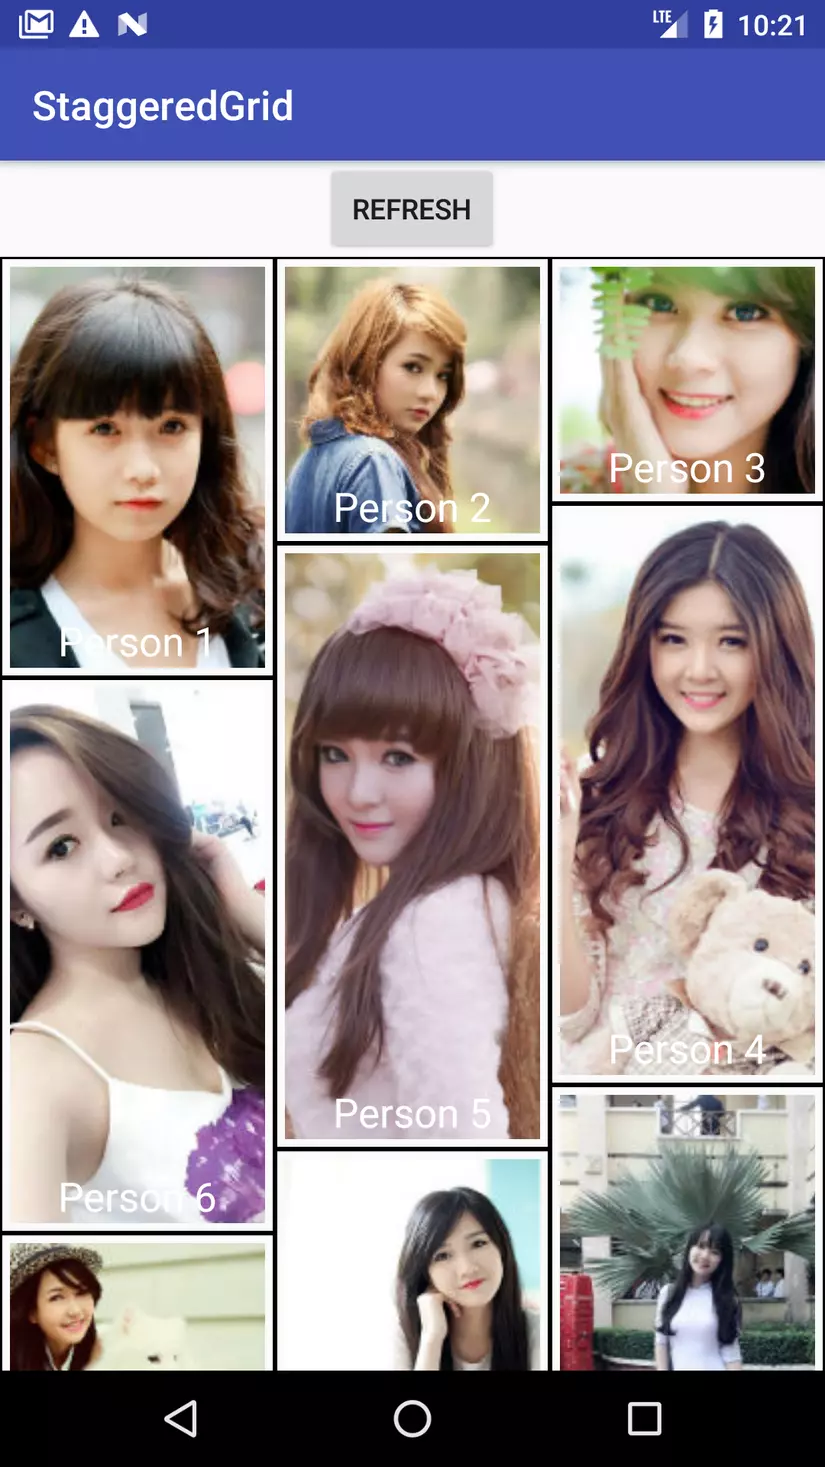
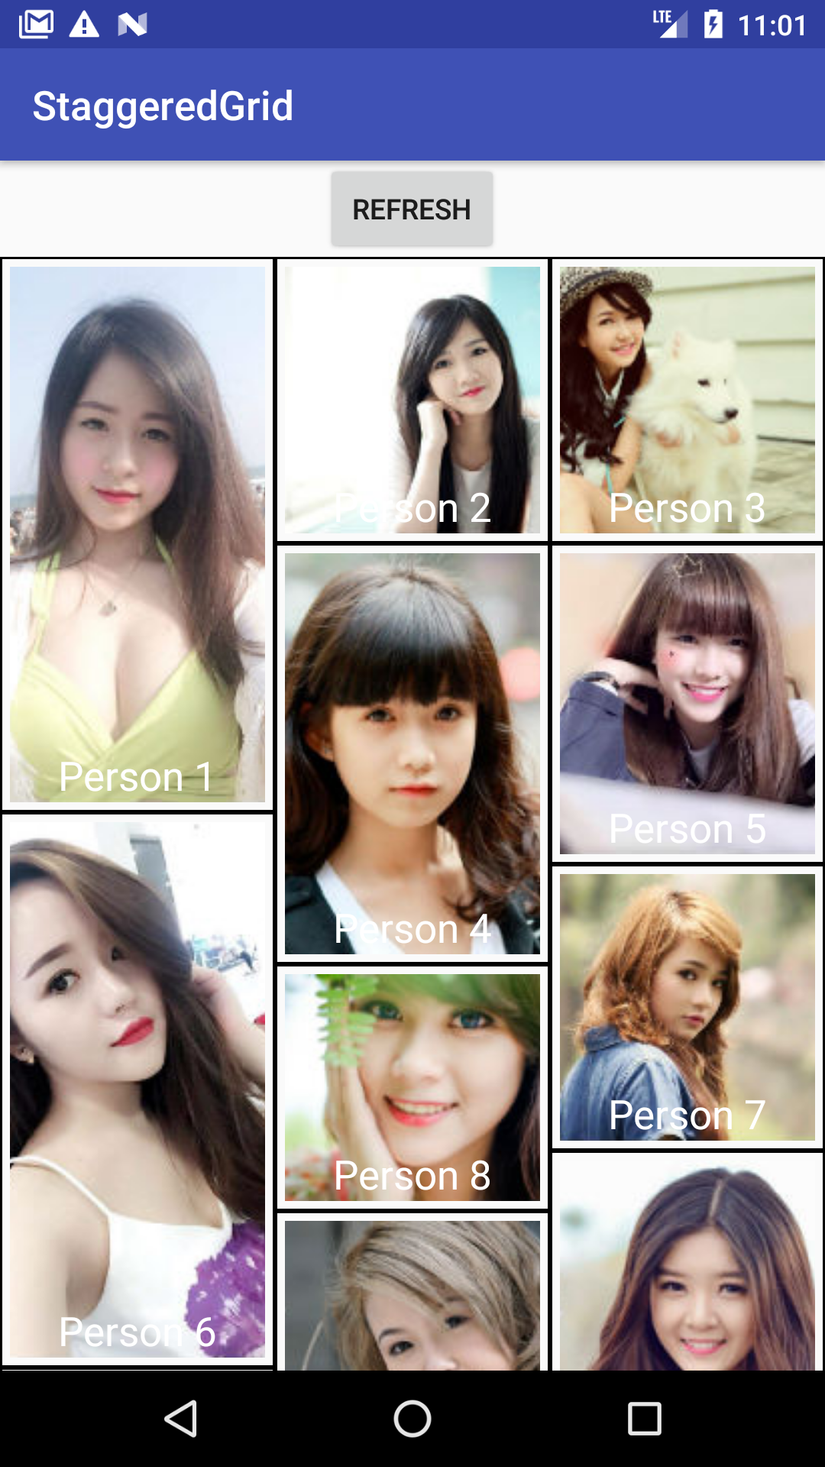
Hình ảnh
Dưới đây là 1 số hình ảnh trong demo

Code :
Tham khảo
http://abhiandroid.com/materialdesign/recyclerview-as-staggered-grid-example.html
All rights reserved
