Học Kotlin trong 30 phút (Phần 2)
Bài đăng này đã không được cập nhật trong 7 năm
Phần 2 sẽ giới thiệu các ví dụ tiếp của phần 1 cơ bản về cách sử dụng class,interface,enum....
1.Class vs interface
Ví dụ về constructor
// 中身がないクラス。コンストラクタを定義しないと、自動で引数なしコンストラクタが生成される。
class Empty

// 1つのプライマリコンストラクタと複数のセカンダリコンストラクタを持てる。
// プライマリコンストラクタの宣言はクラスヘッダに書く
class Customer(name: String) {
  // 初期化処理はinitブロックの中に書く
  init {
    // プライマリコンストラクタの引数がこの中で使える
    logger.info("Customer initialized with value ${name}")
  }

  // プライマリコンストラクタの引数がプロパティの初期化でも使える
  val customerKey = name.toUpperCase()

  // セカンダリコンストラクタ
  constructor(firstName: String, lastName: String)
      // プライマリがある場合、セカンダリは必ずプライマリを呼び出す
      : this("$firstName $lastName") {
    logger.info("firstName = $firstName, lastName = $lastName")
  }
}
// コンストラクタの引数にval, varを指定できる。指定したものは自動でプロパティ化される。
class Person(val firstName: String, val lastName: String, var age: Int) {
  // ...
}

// インスタンス生成にnewキーワードはいらない。コンストラクタを関数のように呼び出す。
val person = Person("Joe", "Smith", 30)
println(person.firstName)  // firstNameはプロパティ化されてる
person.age++  // ageはvar指定したので変更可
Ví dụ về Inheritance
// open付けないと継承できない。デフォルトではJavaでのfinal classになる。
open class Base(val p: Int) {
  // デフォルトでfinal扱い。open付けないとオーバーライドできない。
  open fun v() {}
  // こっちはopen付けてないのでオーバーライドできない。
  fun nv() {}
}

// コロンで継承。プライマリコンストラクタがあるならその場で基底クラスを初期化する。
class Derived(p: Int) : Base(p) {
  // オーバーライドする側ではoverrideを付ける。
  override fun v() {}
}

open class AnotherDerived(p: Int) : Base(p) {
  // それ以上オーバーライドさせないならfinalを付ける。
  final override fun v() {}
}

// abstractを付けると抽象クラスや抽象メソッドになり、明示しなくてもopen扱い。
abstract class Derived(p: Int) : Base(p) {
  // abstractでないメソッドをabstractとしてオーバーライドすることもできる
  override abstract fun f()
}

// プライマリコンストラクタがない場合
class MyView : View {
  // 各セカンダリコンストラクタは親クラスのコンストラクタをsuperで呼び出す
  constructor(ctx: Context) : super(ctx) {
  }
  constructor(ctx: Context, attrs: AttributeSet) : super(ctx, attrs) {
  }
}
Ví dụ cách sử dung Method property
class MyClass {
  var initialized = 1 // 型推論によりInt型、デフォルトのgetter/setter利用。

  // カスタムgetter/setterを定義(この場合、バッキングフィールドは生成されない)
  var stringRepresentation: String
    get() = this.toString()
    set(value) { // setterの引数は慣習でvalueだけど、好みで他の名前でもいい
      setDataFromString(value) // 文字列をパースして他のプロパティに代入
    }

  var setterVisibility: String = "abc"
    private set // private指定してsetterはこのクラス内のみ利用可。実装はデフォルトを利用

  var setterWithAnnotation: Any?  // 初期値指定なし
    @Inject set // setterにInjectアノテーションを付ける。実装はデフォルトを利用。

  // valだと当たり前だがsetterは定義できない
  val simple: Int?      // Int?型, デフォルトのgetter利用。初期値がないのでコンストラクタで初期化必須。
  val inferredType = 1  // Int型、デフォルトのgetter利用
  val isEmpty: Boolean  // バッキングフィールドはない
    get() = this.size == 0  // カスタムgetterを定義

  // カスタムgetter/setterからはfieldを使ってバッキングフィールドにアクセスできる。
  // fieldが使われていたらカスタムgetter/setterを使っていてもバッキングフィールドが生成される。
  var counter = 0 // 初期値は直接バッキングフィールドに書き込まれる
    set(value) {
      if (value >= 0)
        field = value // fieldを通してバッキングフィールドに値を格納する
    }
}
Tiếp ví dụ về interface
// abstract同様にオーバーライドするのが当たり前だから、openは付けなくていい
interface MyInterface {
  fun bar()
  fun foo() {
    // インターフェースも(Java 8と同様に)デフォルト実装を持てる
  }
}

// interfaceの実装
class Child : MyInterface {
  override fun bar() {
    // 実装
  }
}
// interfaceもプロパティを持てる。
// ただし状態は持てないのでバッキングフィールドが生成されないものに限る。
interface MyInterface {
  // バッキングフィールドはないので値は与えられない
  val property: Int // abstract

  // getterの実装を与えることはできる
  val propertyWithImplementation: String
    get() = "foo"

  fun foo() {
    print(property) // オーバーライドされる前提でプロパティにアクセスできる
  }
}

class Child : MyInterface {
  override val property: Int = 29 // abstractになってるpropetryをオーバーライド
}
Cách sử dụng enum class
enum class Direction {
  NORTH, SOUTH, WEST, EAST
}

// 各定数はenum classのインスタンスであり初期化できる
enum class Color(val rgb: Int) {
  RED(0xFF0000),
  GREEN(0x00FF00),
  BLUE(0x0000FF)
}

// 各定数はそれ用の無名クラスを宣言することができる
enum class ProtocolState {
  // WAITINGはProtoclStateを継承してsignal()をオーバーライドした無名クラスのインスタンス
  WAITING {
    override fun signal() = TALKING
  },

  TALKING {
    override fun signal() = WAITING
  };
  // ProtoclStateクラスのメンバがこの後に続くのでその前をセミコロンで区切る。
  // これはJavaのenumと一緒。

  abstract fun signal(): ProtocolState
}
Về cách sử dụng Object
fun countClicks(window: JComponent) {
  var clickCount = 0
  var enterCount = 0

  // MouseAdapterを継承した無名クラスのオブジェクトを作ってaddMouseListenerに渡す
  window.addMouseListener(object : MouseAdapter() {
    override fun mouseClicked(e: MouseEvent) {
      clickCount++  // この無名クラスの外側にあるclickCountにアクセスできる。
                    // しかもvalじゃなくてvarであっても。
    }

    override fun mouseEntered(e: MouseEvent) {
      enterCount++
    }
  })
  // ...
}

// 何も継承を指定しない(Anyのみ継承する)オブジェクトも作れる
val adHoc = object {
  var x: Int = 0
  var y: Int = 0
}
print(adHoc.x + adHoc.y)
Object declaration (singleton)
// 簡単にシングルトンが作れる
object DataProviderManager  {
  fun registerDataProvider(provider: DataProvider) {
    // ...
  }

  val allDataProviders: Collection<DataProvider>
    get() = // ...
}

// 使い方
DataProviderManager.registerDataProvider(dataProvider)
**Các hằng số khi compile **
const val SUBSYSTEM_DEPRECATED: String = "This subsystem is deprecated"

// アノテーション内でも使える
@Deprecated(SUBSYSTEM_DEPRECATED) fun foo() { ... }
Phần mở rộng
// MutableList<Int>にswapを付け足す
fun MutableList<Int>.swap(index1: Int, index2: Int) {
  val tmp = this[index1]
  this[index1] = this[index2]
  this[index2] = tmp
}

val list = mutableListOf(1, 2, 3)
// こんな感じで使える
list.swap(0, 2) // swapメソッドの中のthisはlistを指す

// ジェネリクス関数としても追加できる
fun <T> MutableList<T>.swap(index1: Int, index2: Int) {
  val tmp = this[index1]
  this[index1] = this[index2]
  this[index2] = tmp
}

// Nullableも拡張できる
fun Any?.toString(): String {
  // thisはnullの可能性がある!!
  if (this == null) return "null"
  return toString() // これはthis.toString()と同じだけど、thisは既にAny?でなくAny
}

// List<T>にlastIndexプロパティを付け足す
// バッキングフィールドにはアクセスできない。関数を拡張するのと同様にgetterを拡張している。
val <T> List<T>.lastIndex: Int
  get() = size - 1
2. Example học kotlin
Từ các kiến thức trên thực hành 1 ví dụ về cách sử dụng Firebase Authentication
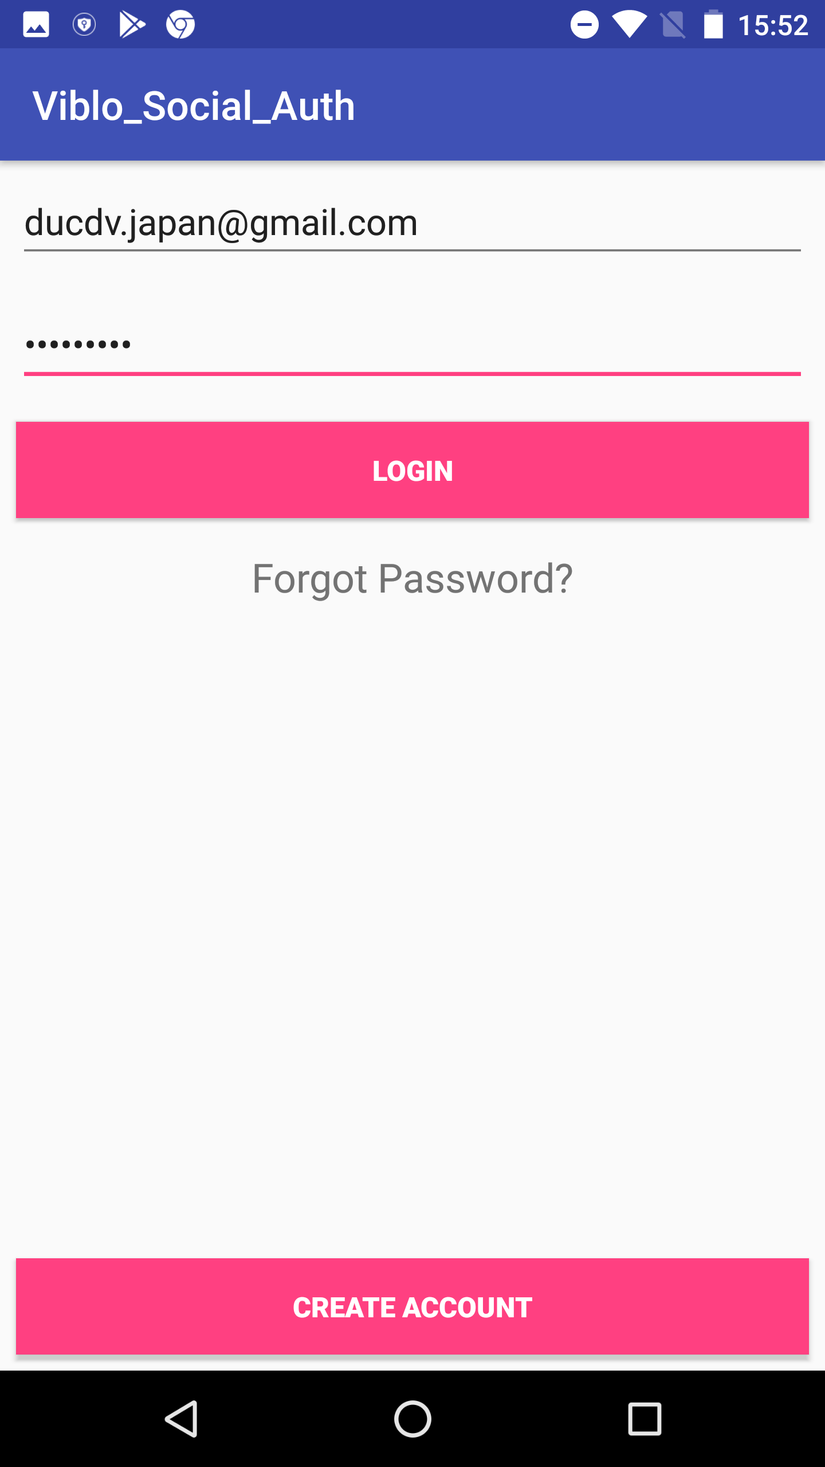
1.Giao diện
Màn hình login
 https://images.viblo.asia/49ca8810-b606-4ab7-b8e6-1ade8e1f8d89.png
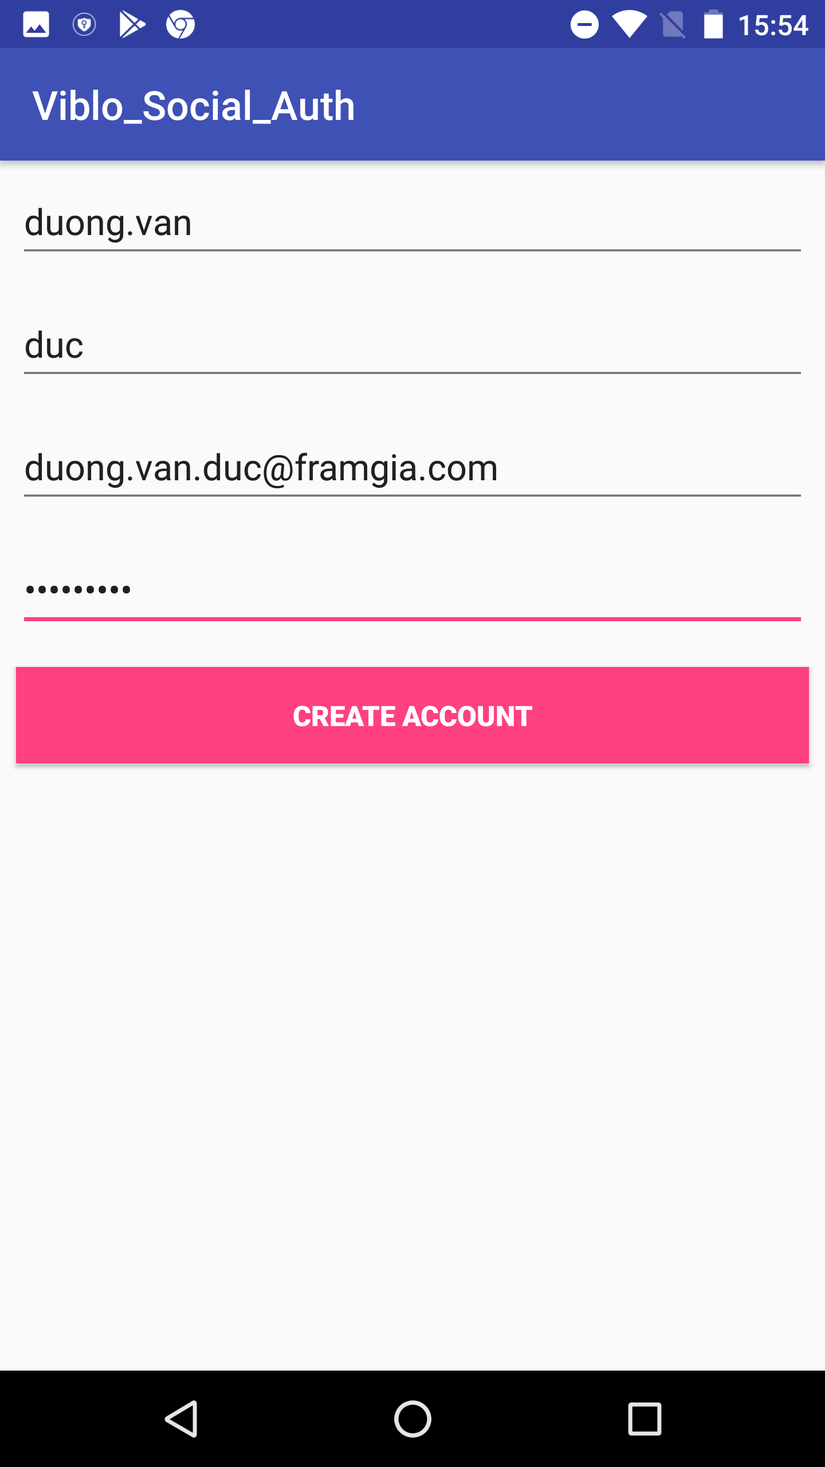
Màn hình register acount
 https://images.viblo.asia/25ebec9c-5fe1-4d6d-a3cf-fe1d3cfda2f0.png
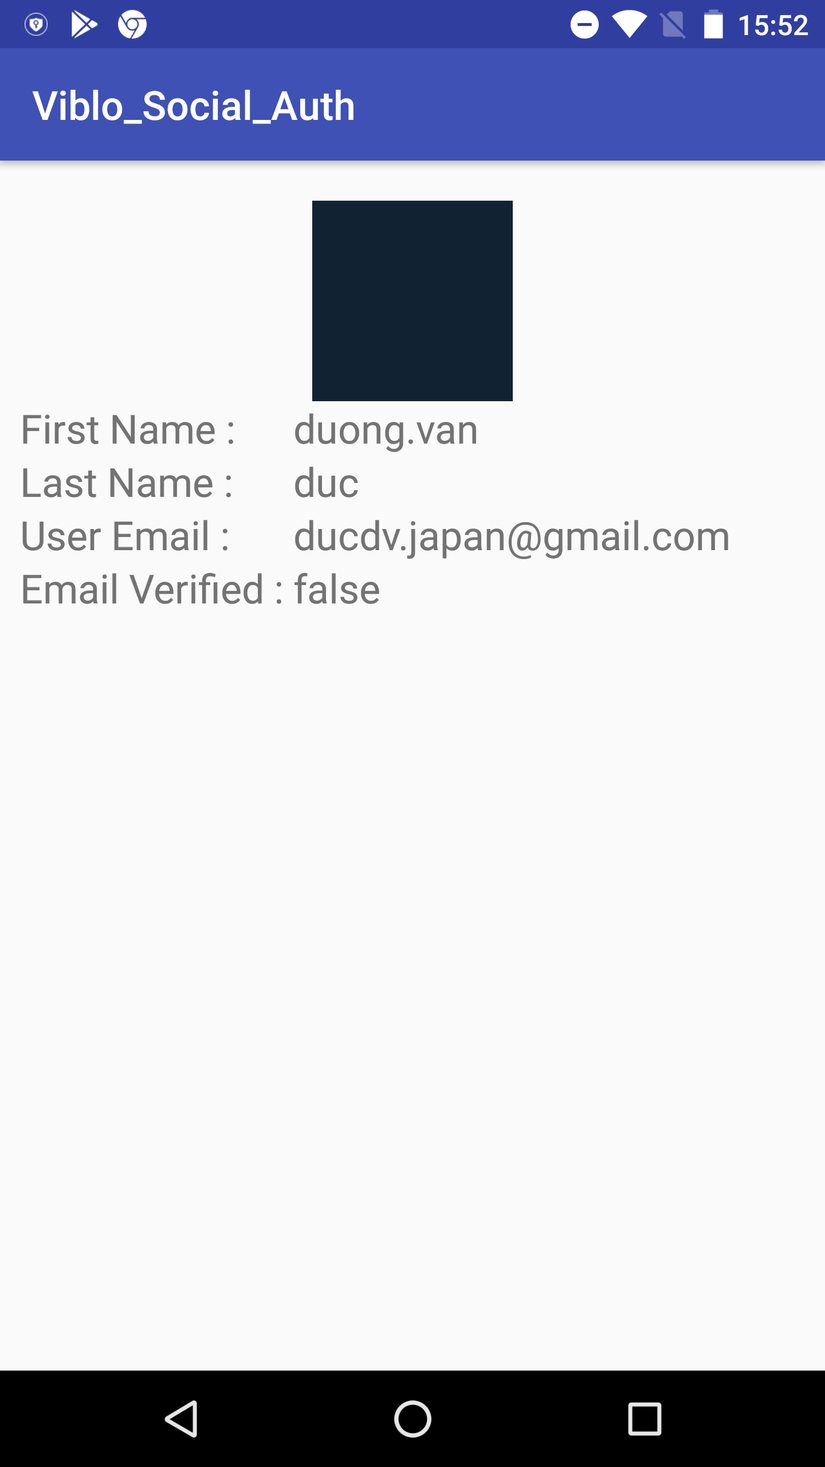
sau khi login
 https://images.viblo.asia/852f055f-092c-4595-aa57-50f2a69205dd.png
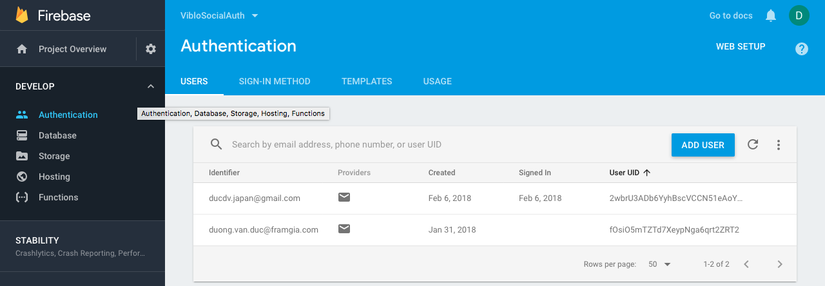
Kết quả khi register thêm acount trên firebase
 https://images.viblo.asia/96de0870-3668-40dc-8424-6b6711242e7f.png
2.Các bước thự hiện
Create a new project in Firebase
Tham khảo : https://viblo.asia/p/firebase-login-and-registration-authentication-aWj53VWol6m
kết quả : file config google-services.json
{
  "project_info": {
    "project_number": "69516841532",
    "firebase_url": "https://viblosocialauth.firebaseio.com",
    "project_id": "viblosocialauth",
    "storage_bucket": "viblosocialauth.appspot.com"
  },
  "client": [
    {
      "client_info": {
        "mobilesdk_app_id": "1:69516841532:android:865ef32092f0e2ce",
        "android_client_info": {
          "package_name": "com.framgia.viblo_social_auth"
        }
      },
      "oauth_client": [
        {
          "client_id": "69516841532-f9bqj8e8r7vpk7m7k9jk0beel2vipa3f.apps.googleusercontent.com",
          "client_type": 1,
          "android_info": {
            "package_name": "com.framgia.viblo_social_auth",
            "certificate_hash": "b6f6b7e8febf49791e598612b8889f81c8f5e44b"
          }
        },
        {
          "client_id": "69516841532-n68luqtvjmemidptho0g4ih8fpnitddl.apps.googleusercontent.com",
          "client_type": 3
        }
      ],
      "api_key": [
        {
          "current_key": "AIzaSyCj_aw5RLzL9YHtqFQGAS5IOoPGD99aUTs"
        }
      ],
      "services": {
        "analytics_service": {
          "status": 1
        },
        "appinvite_service": {
          "status": 2,
          "other_platform_oauth_client": [
            {
              "client_id": "69516841532-n68luqtvjmemidptho0g4ih8fpnitddl.apps.googleusercontent.com",
              "client_type": 3
            }
          ]
        },
        "ads_service": {
          "status": 2
        }
      }
    }
  ],
  "configuration_version": "1"
}
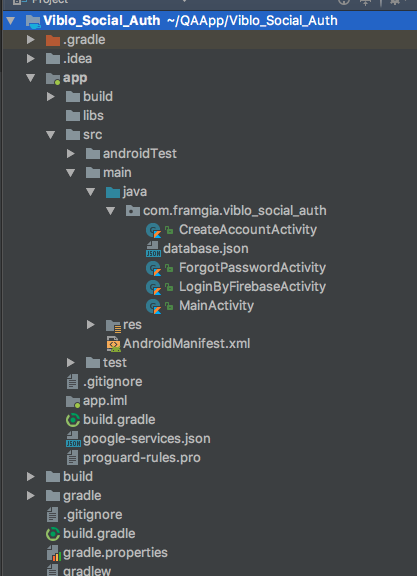
Tạo 1 project và để file config này vào đường dẫn trong package app/src/
Thêm các deppendencies cần thiết để sử dụng firebase service
apply plugin: 'com.android.application'

apply plugin: 'kotlin-android'

apply plugin: 'kotlin-android-extensions'

android {
    compileSdkVersion 26
    defaultConfig {
        applicationId "com.framgia.viblo_social_auth"
        minSdkVersion 25
        targetSdkVersion 26
        versionCode 1
        versionName "1.0"
        testInstrumentationRunner "android.support.test.runner.AndroidJUnitRunner"
    }
    buildTypes {
        release {
            minifyEnabled false
            proguardFiles getDefaultProguardFile('proguard-android.txt'), 'proguard-rules.pro'
        }
    }
}

dependencies {
    implementation fileTree(dir: 'libs', include: ['*.jar'])
    implementation "org.jetbrains.kotlin:kotlin-stdlib-jre7:$kotlin_version"
    implementation 'com.android.support:appcompat-v7:26.1.0'
    implementation 'com.android.support.constraint:constraint-layout:1.0.2'
    implementation 'com.google.firebase:firebase-database:11.0.4'
    implementation 'com.google.firebase:firebase-auth:11.0.4'
    implementation 'com.android.support:design:26.1.0'
    testImplementation 'junit:junit:4.12'
    androidTestImplementation 'com.android.support.test:runner:1.0.1'
    androidTestImplementation 'com.android.support.test.espresso:espresso-core:3.0.1'
}
apply plugin: 'com.google.gms.google-services'
apply plugin: 'kotlin-android-extensions'
Source code LoginByFirebaseActivity :
    private fun loginUser() {
        email = etEmail?.text.toString()
        password = etPassword?.text.toString()
        if (!TextUtils.isEmpty(email) && !TextUtils.isEmpty(password)) {
            mProgressBar!!.setMessage("Registering User...")
            mProgressBar!!.show()
            Log.d(TAG, "Logging in user.")
            mAuth!!.signInWithEmailAndPassword(email!!, password!!)
                    .addOnCompleteListener(this) { task ->
                        mProgressBar!!.hide()
                        if (task.isSuccessful) {
                            // Sign in success, update UI with signed-in user's information
                            Log.d(TAG, "signInWithEmail:success")
                            updateUI()
                        } else {
                            // If sign in fails, display a message to the user.
                            Log.e(TAG, "signInWithEmail:failure", task.exception)
                            Toast.makeText(this@LoginByFirebaseActivity, "Authentication failed.",
                                    Toast.LENGTH_SHORT).show()
                        }
                    }
        } else {
            Toast.makeText(this, "Enter all details", Toast.LENGTH_SHORT).show()
        }
    }
CreateAccountActivity
private fun createNewAccount() {
    firstName = etFirstName?.text.toString()
    lastName = etLastName?.text.toString()
    email = etEmail?.text.toString()
    password = etPassword?.text.toString()

    if (!TextUtils.isEmpty(firstName) && !TextUtils.isEmpty(lastName)
            && !TextUtils.isEmpty(email) && !TextUtils.isEmpty(password)) {

    } else {
        Toast.makeText(this, "Enter all details", Toast.LENGTH_SHORT).show()
    }
    mProgressBar!!.setMessage("Registering User...")
    mProgressBar!!.show()
    mAuth!!
            .createUserWithEmailAndPassword(email!!, password!!)
            .addOnCompleteListener(this) { task ->
                mProgressBar!!.hide()
                if (task.isSuccessful) {
                    // Sign in success, update UI with the signed-in user's information
                    Log.d(TAG, "createUserWithEmail:success")
                    val userId = mAuth!!.currentUser!!.uid
                    //Verify Email
                    verifyEmail()
                    //update user profile information
                    val currentUserDb = mDatabaseReference!!.child(userId)
                    currentUserDb.child("firstName").setValue(firstName)
                    currentUserDb.child("lastName").setValue(lastName)
                    updateUserInfoAndUI()
                } else {
                    // If sign in fails, display a message to the user.
                    Log.w(TAG, "createUserWithEmail:failure", task.exception)
                    Toast.makeText(this@CreateAccountActivity, "Authentication failed.",
                            Toast.LENGTH_SHORT).show()
                }

            }
    }
ForgotPasswordActivity
  private fun sendPasswordResetEmail() {
        val email = etEmail?.text.toString()
        if (!TextUtils.isEmpty(email)) {
            mAuth!!
                    .sendPasswordResetEmail(email)
                    .addOnCompleteListener { task ->
                        if (task.isSuccessful) {
                            val message = "Email sent."
                            Log.d(TAG, message)
                            Toast.makeText(this, message, Toast.LENGTH_SHORT).show()
                            updateUI()
                        } else {
                            Log.w(TAG, task.exception!!.message)
                            Toast.makeText(this, "No user found with this email.", Toast.LENGTH_SHORT).show()
                        }
                    }
        } else {
            Toast.makeText(this, "Enter Email", Toast.LENGTH_SHORT).show()
        }
    }
Source code tham khảo. (git hub) https://github.com/oDuongVanDuc/Viblo_Project/tree/master/Viblo_Social_Auth
Link : Firebase Authentication tham khảo hướng dẫn http://www.appsdeveloperblog.com/firebase-authentication-example-kotlin/ Kotlin: http://gihyo.jp/dev/serial/01/jvm-kotlin/0006?page=3 https://qiita.com/k5n/items/cc0377b75d8537ef8a85
All rights reserved
