Hiệu ứng Shimmer Placeholder trong Android
Bài đăng này đã không được cập nhật trong 6 năm
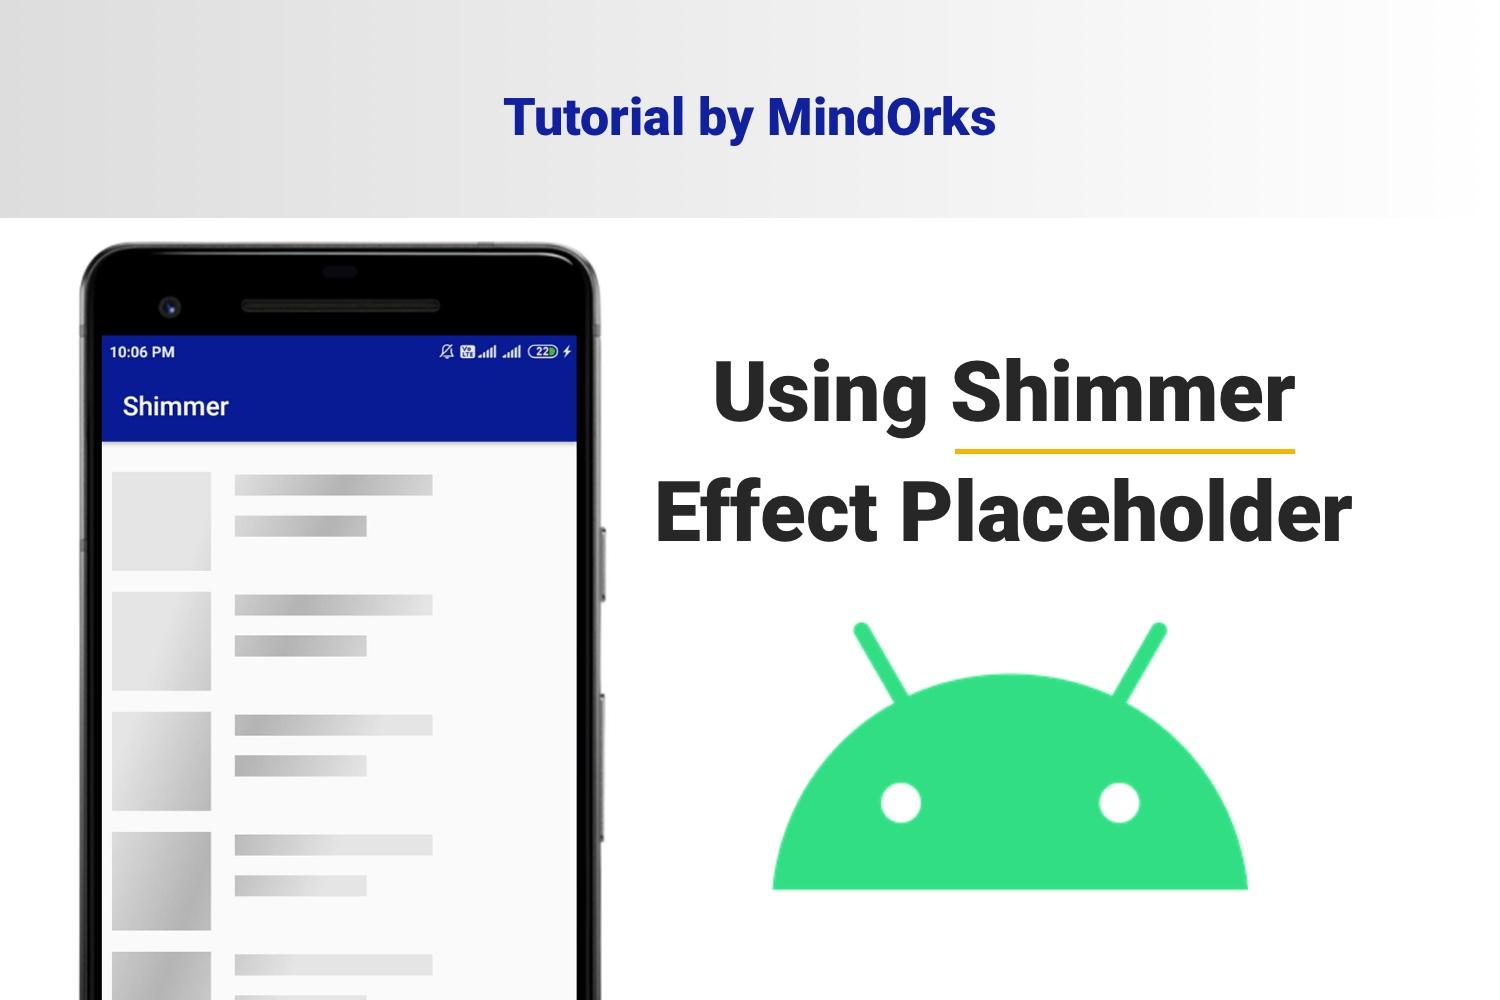
Bạn có thể đã từng nhìn thấy hiệu ứng shimmer trong ứng dụng di động Facebook trong khi dữ liệu đang được tải về từ mạng. Thư viện Shimmer được Facebook tạo ra để hiển thị animation khi dữ liệu được tải để làm cho giao diện người dùng thú vị và đẹp hơn thay vì sử dụng ProgressBar truyền thống. Facebook sau này đã công bố một thư viện mã nguồn mở có tên Shimmer mà chúng ta có thể sử dụng nó để triển khai Shimmer Effect Placeholer.
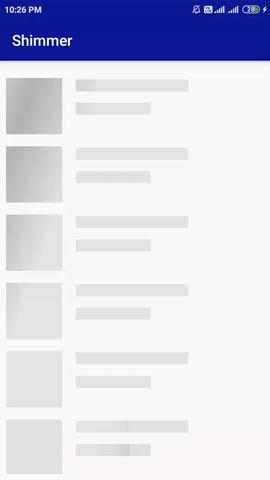
Shimmer cho Android được triển khai dưới dạng layout. Sau đây là một ví dụ về hiệu ứng Shimmer trong ứng dụng Android:
Trong bài viết này, chúng ta sẽ tìm hiểu cách sử dụng Shimmer trong ứng dụng Android. Chúng ta sẽ fetch dữ liệu từ API bằng cách sử dụng Fast-Android-Networking và sau đó hiển thị dữ liệu trong RecyclerView.
Các bước để triển khai Shimmer trong Ứng dụng Android
Tạo một dự án
- Bắt đầu một dự án Android Studio mới
- Chọn Empty Activity và nhấn Next
- Đặt tên project
- Đặt tên package
- Ngôn ngữ: Kotlin
- Nhấn Finish
Thêm dependencies
Thêm các dependency sau vào build.gradle cấp độ ứng dụng và sync lại project.
implementation 'com.facebook.shimmer:shimmer:0.1.0@aar'
implementation "androidx.recyclerview:recyclerview:1.1.0"
implementation 'com.amitshekhar.android:android-networking:1.0.2'
implementation 'com.github.bumptech.glide:glide:4.11.0'
Dòng đầu tiên là dependency Shimmer của Facebook. Ngoài ra còn các dependency khác như Fast-Android-Networking để fetch dữ liệu từ API, RecyclerView để hiển thị danh sách và Glide để hiển thị hình ảnh.
Bây giờ, thêm file item_layout.xml trong thư mục layout với đoạn mã sau:
<?xml version="1.0" encoding="utf-8"?>
<androidx.constraintlayout.widget.ConstraintLayout xmlns:android="http://schemas.android.com/apk/res/android"
    xmlns:app="http://schemas.android.com/apk/res-auto"
    xmlns:tools="http://schemas.android.com/tools"
    android:id="@+id/container"
    android:layout_width="match_parent"
    android:layout_height="60dp">

    <ImageView
        android:id="@+id/imageViewAvatar"
        android:layout_width="60dp"
        android:layout_height="0dp"
        android:padding="4dp"
        app:layout_constraintBottom_toBottomOf="parent"
        app:layout_constraintStart_toStartOf="parent"
        app:layout_constraintTop_toTopOf="parent" />

    <androidx.appcompat.widget.AppCompatTextView
        android:id="@+id/textViewUserName"
        style="@style/TextAppearance.AppCompat.Large"
        android:layout_width="0dp"
        android:layout_height="wrap_content"
        android:layout_marginStart="8dp"
        android:layout_marginTop="4dp"
        app:layout_constraintEnd_toEndOf="parent"
        app:layout_constraintStart_toEndOf="@+id/imageViewAvatar"
        app:layout_constraintTop_toTopOf="parent"
        tools:text="MindOrks" />

    <androidx.appcompat.widget.AppCompatTextView
        android:id="@+id/textViewUserEmail"
        android:layout_width="0dp"
        android:layout_height="wrap_content"
        app:layout_constraintEnd_toEndOf="parent"
        app:layout_constraintStart_toStartOf="@+id/textViewUserName"
        app:layout_constraintTop_toBottomOf="@+id/textViewUserName"
        tools:text="MindOrks" />

</androidx.constraintlayout.widget.ConstraintLayout>
Tiếp theo, thêm file shimmer_placeholder_layout.xml cũng trong thư mục layout:
<?xml version="1.0" encoding="utf-8"?>
<androidx.constraintlayout.widget.ConstraintLayout xmlns:android="http://schemas.android.com/apk/res/android"
    xmlns:app="http://schemas.android.com/apk/res-auto"
    xmlns:tools="http://schemas.android.com/tools"
    android:id="@+id/container"
    android:layout_width="match_parent"
    android:layout_height="60dp">

    <ImageView
        android:id="@+id/imageViewAvatar"
        android:layout_width="60dp"
        android:layout_height="0dp"
        android:background="@color/colorGrey"
        android:padding="4dp"
        app:layout_constraintBottom_toBottomOf="parent"
        app:layout_constraintStart_toStartOf="parent"
        app:layout_constraintTop_toTopOf="parent" />

    <androidx.appcompat.widget.AppCompatTextView
        android:id="@+id/textViewUserName"
        style="@style/TextAppearance.AppCompat.Large"
        android:layout_width="0dp"
        android:layout_height="wrap_content"
        android:layout_marginStart="8dp"
        android:layout_marginTop="4dp"
        android:background="@color/colorGrey"
        app:layout_constraintEnd_toEndOf="parent"
        app:layout_constraintStart_toEndOf="@+id/imageViewAvatar"
        app:layout_constraintTop_toTopOf="parent"
        tools:text="MindOrks" />

    <androidx.appcompat.widget.AppCompatTextView
        android:id="@+id/textViewUserEmail"
        android:layout_width="0dp"
        android:layout_height="wrap_content"
        android:background="@color/colorGrey"
        app:layout_constraintEnd_toEndOf="parent"
        app:layout_constraintStart_toStartOf="@+id/textViewUserName"
        app:layout_constraintTop_toBottomOf="@+id/textViewUserName"
        tools:text="MindOrks" />

</androidx.constraintlayout.widget.ConstraintLayout>
Ở file xml trên, một điều quan trọng cần lưu ý là màu nền phải là màu xám hoặc bất kỳ màu nào không phải màu trắng vì hiệu ứng shimmer sẽ không nhìn thấy được nếu bạn để nền màu trắng.
Đừng quên thêm màu sắc vào file colors.xml như bên dưới:
<color name="colorGrey">#dddddd</color>
Tiếp đến, hãy mở file activity_main.xml và thêm vào đoạn code:
<?xml version="1.0" encoding="utf-8"?>
<androidx.constraintlayout.widget.ConstraintLayout xmlns:android="http://schemas.android.com/apk/res/android"
    xmlns:tools="http://schemas.android.com/tools"
    android:layout_width="match_parent"
    android:layout_height="match_parent"
    tools:context=".MainActivity">

    <com.facebook.shimmer.ShimmerFrameLayout
        android:id="@+id/shimmerFrameLayout"
        android:layout_width="match_parent"
        android:layout_height="match_parent"
        android:layout_gravity="center"
        android:orientation="vertical">

        <!-- Adding 15 rows of placeholders -->
        <LinearLayout
            android:layout_width="match_parent"
            android:layout_height="wrap_content"
            android:orientation="vertical">

            <include layout="@layout/shimmer_placeholder_layout" />

            <include layout="@layout/shimmer_placeholder_layout" />

            <include layout="@layout/shimmer_placeholder_layout" />

            <include layout="@layout/shimmer_placeholder_layout" />

            <include layout="@layout/shimmer_placeholder_layout" />

            <include layout="@layout/shimmer_placeholder_layout" />

            <include layout="@layout/shimmer_placeholder_layout" />

            <include layout="@layout/shimmer_placeholder_layout" />

            <include layout="@layout/shimmer_placeholder_layout" />

            <include layout="@layout/shimmer_placeholder_layout" />

            <include layout="@layout/shimmer_placeholder_layout" />

            <include layout="@layout/shimmer_placeholder_layout" />

            <include layout="@layout/shimmer_placeholder_layout" />

            <include layout="@layout/shimmer_placeholder_layout" />

            <include layout="@layout/shimmer_placeholder_layout" />
        </LinearLayout>
    </com.facebook.shimmer.ShimmerFrameLayout>

    <androidx.recyclerview.widget.RecyclerView
        android:id="@+id/recyclerView"
        android:layout_width="match_parent"
        android:layout_height="match_parent"
        android:visibility="gone" />

</androidx.constraintlayout.widget.ConstraintLayout>
- Chúng ta đã thêm ShimmerFrameLayout.
- Tiếp theo, bên trong ShimmerFrameLayout, chúng ta cần include một số placeholder layout (shimmer_placeholder_layout) bên trong LinearLayout. Đây là những bố cục trống tương tự như các item trong RecyclerView với mục đích hiển thị hiệu ứng Shimmer trong khi dữ liệu đang được tải về. Lưu ý rằng chúng ta cần thêm vào nhiều layout placeholder để tạo nên một giao diện mang dạng danh sách.
- RecyclerView sẽ hiển thị danh sách dữ liệu được fetch về sau khi thực hiện request tới API và nhận được dữ liệu trả về.
Bây giờ, tạo một lớp data class User như dưới đây:
data class User(
    @SerializedName("id")
    val id: Int = 0,
    @SerializedName("name")
    val name: String = "",
    @SerializedName("email")
    val email: String = "",
    @SerializedName("avatar")
    val avatar: String = ""
)
Tiếp đến, tạo một class Kotlin MainAdapter với đoạn code sau:
class MainAdapter(
    private val users: ArrayList<User>
) : RecyclerView.Adapter<MainAdapter.DataViewHolder>() {

    class DataViewHolder(itemView: View) : RecyclerView.ViewHolder(itemView) {
        fun bind(user: User) {
            itemView.textViewUserName.text = user.name
            itemView.textViewUserEmail.text = user.email
            Glide.with(itemView.imageViewAvatar.context)
                .load(user.avatar)
                .into(itemView.imageViewAvatar)
        }
    }

    override fun onCreateViewHolder(parent: ViewGroup, viewType: Int) =
        DataViewHolder(
            LayoutInflater.from(parent.context).inflate(
                R.layout.item_layout, parent,
                false
            )
        )

    override fun getItemCount(): Int = users.size

    override fun onBindViewHolder(holder: DataViewHolder, position: Int) =
        holder.bind(users[position])

    fun addData(list: List<User>) {
        users.addAll(list)
    }

}
Mở file MainActivity và thêm vào đoạn code:
class MainActivity : AppCompatActivity() {

    private lateinit var adapter: MainAdapter

    override fun onCreate(savedInstanceState: Bundle?) {
        super.onCreate(savedInstanceState)
        setContentView(R.layout.activity_main)
        setupUI()
        setupAPICall()
    }

    private fun setupUI() {
        recyclerView.layoutManager = LinearLayoutManager(this)
        adapter = MainAdapter(arrayListOf())
        recyclerView.addItemDecoration(
                DividerItemDecoration(
                        recyclerView.context,
                        (recyclerView.layoutManager as LinearLayoutManager).orientation
                )
        )
        recyclerView.adapter = adapter
    }

    private fun setupAPICall() {
        AndroidNetworking.initialize(applicationContext)
        AndroidNetworking.get("https://5e510330f2c0d300147c034c.mockapi.io/users")
                .build()
                .getAsObjectList(User::class.java, object : ParsedRequestListener<List<User>> {
                    override fun onResponse(users: List<User>) {
                        shimmerFrameLayout.stopShimmerAnimation()
                        shimmerFrameLayout.visibility = View.GONE
                        recyclerView.visibility = View.VISIBLE
                        adapter.addData(users)
                        adapter.notifyDataSetChanged()
                    }

                    override fun onError(anError: ANError) {
                        shimmerFrameLayout.visibility = View.GONE
                        Toast.makeText(this@MainActivity, "Something Went Wrong", Toast.LENGTH_LONG).show()
                    }
                })
    }

    override fun onResume() {
        super.onResume()
        shimmerFrameLayout.startShimmerAnimation()
    }

    override fun onPause() {
        shimmerFrameLayout.stopShimmerAnimation()
        super.onPause()
    }
}
Để bắt đầu hiệu ứng shimmer ngay khi ứng dụng của bạn mở, chúng ta có thể sử dụng câu lệnh shimmerFrameLayout.startShimmerAnimation() trong phương thức onResume() và để dừng nó, chúng ta sử dụng shimmerFrameLayout.stopShimmerAnimation().
Để dừng hiệu ứng shimmer và hiển thị recyclerview sau khi yêu cầu mạng được thực thi và dữ liệu đã được đặt trong recyclerview, chúng ta thêm vào:
shimmerFrameLayout.stopShimmerAnimation()
shimmerFrameLayout.visibility = View.GONE
recyclerView.visibility = View.VISIBLE
Lưu ý, đừng quên thêm vào quyền sử dụng Internet để thực hiện request và fetch dữ liệu từ API về. Thêm phần sau vào AndroidManifest.xml:
<uses-permission android:name="android.permission.INTERNET" />
Bây giờ hãy thử chạy ứng dụng và xem những gì mà shimmer effect có thể mang lại cho bạn so với một ProgressBar truyền thống nhàm chán.

Nguồn: https://blog.mindorks.com/using-shimmer-effect-placeholder-in-android
All rights reserved
