Bắt đầu với ConstraintLayout trong Kotlin. Phần 2: Hiểu về Constraints, Bias và Chains
Bài đăng này đã không được cập nhật trong 7 năm
1) Constraints (Ràng buộc) là gì?
ConstraintLayout làm việc dựa vào những ràng buộc. Ràng buộc đơn giản là một mối liên kết giữa thành phần trong Layout, tức là View này ràng buộc vào View kia mà sắp xếp Khi tạo các Constraints, có vài quy tắc phải tuân theo:
- Mỗi view phải có ít nhất hai ràng buộc: Horizontal và Vertical. Nếu ràng buộc này không được thêm vào, thì view của bạn sẽ được đặt mặc định tại điểm zero.
- Bạn chỉ có thể tạo các ràng buộc, chỉ khi có một xử lý ràng buộc đó với điểm cố định để liên kết chung mặt phẳng. Vì vậy, một mặt phẳng thẳng đứng (bên trái và bên phải) của view chỉ có thể bị hạn chế, đối với mặt phẳng đứng khác.
- Bạn có thể tạo ra nhiều ràng buộc từ View khác đến từ một điểm.
2) Thêm các Constraints (Ràng buộc)
Theo mặc định, khi bạn thêm vào một phần tử vào layout, ví dụ:
     android:id="@+id/button"
     android:layout_width="wrap_content"
     android:layout_height="wrap_content"
     android:text="Button" />
Nó nhận vị trí (0,0), về cơ bản điểm 0 là trục ngang và trục dich, Trên giao diện thiết kế bố trí, bạn có thể dễ dàng kéo điểm này vào bất kỳ điểm nào khác mà bạn muốn. Như ở giữa màn hình, Nếu bạn thực hiện, các dòng code trong XML sẽ thêm các thuộc tính bổ sưng tương tự.
    tools:layout_editor_absoluteX="148dp"
    tools:layout_editor_absoluteY="231dp"
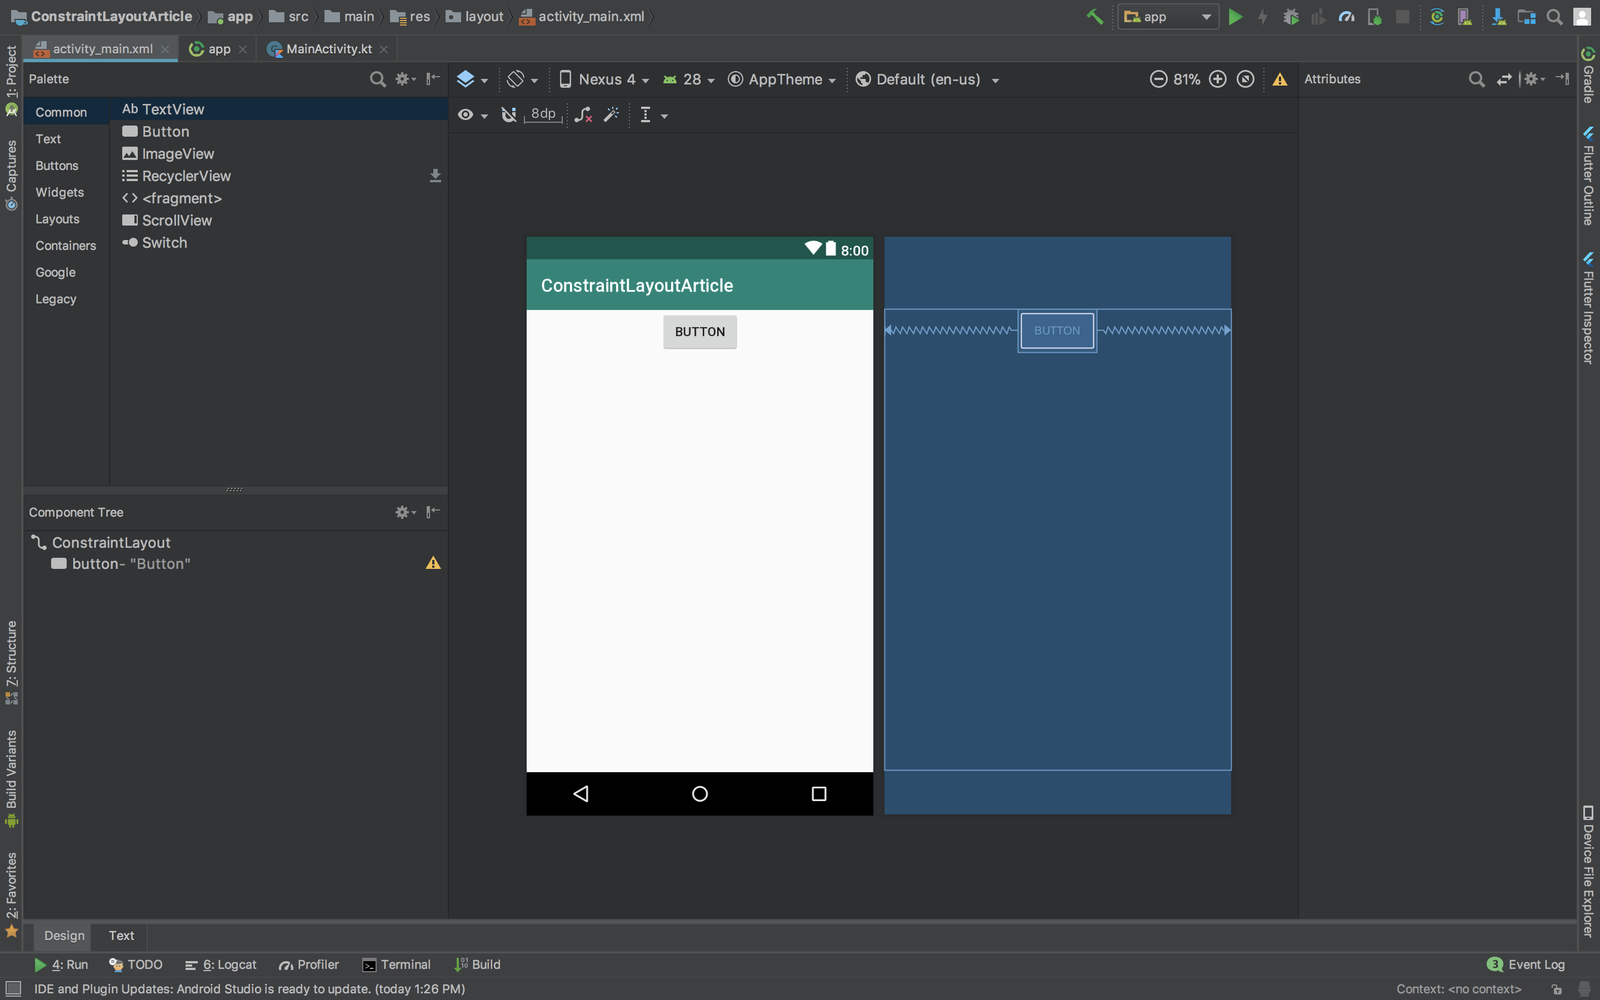
3) Thêm các Constraints Automatically (Ràng buộc tự động)
Android studio có khả năng auto khi thêm ràng buộc, khi bạn thêm View trong màn hình Design.
 Mặc định, Autoconnect icon (U like icon) bị tắt. Hãy bật autoconstraint, Sau đó chúng ta kéo phần văn bản sang phần bên trái Layout. Như vậy ta đã tạo ràng buộc tự động.
app:layout_constraintStart_toStartOf="parent"
app:layout_constraintTop_toTopOf="parent"
Tuy nhiên khi bạn xây dựng Layout phức tạp hơn, bạn nên tạo và thao tác các ràng buộc bằng tay.
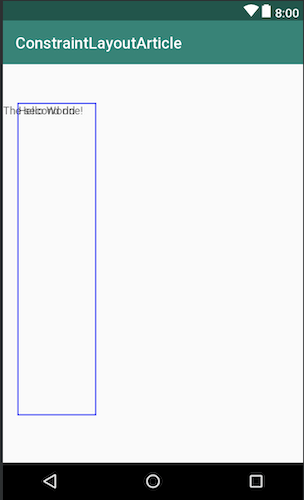
Để thêm các ràng buộc theo cách thử công, kéo các điểm ở một trong bốn phía ở bên dưới.
 Bạn tạo 2 thuộc tính trong TextView trong file XML.
app:layout_constraintStart_toStartOf="parent"
app:layout_constraintTop_toTopOf="parent"
Nếu bạn nhận thấy, đó là những ràng buộc tương tự mà chúng ta nhận được khi chúng ta tự động tạo ra chúng. Ngoài ra nó đã tạo ra 2 thuộc tính khác.
android:layout_marginStart="8dp"
android:layout_marginTop="8dp"
4) Relative constraints (Quan hệ ràng buộc)
Quan hệ ràng buộc có nghĩa là cho phép bạn định vị một yếu tố liên quan đến yếu tố khác, giống như có trong RelativeLayout.
a) Ràng buộc bottom to bottom
app:layout_constraintBottom_toBottomOf="@+id/referenced_view"

b) Ràng buộc top to top
app:layout_constraintTop_toTopOf="@+id/referenced_view"
c) Ràng buộc start to start
app:layout_constraintStart_toStartOf="@+id/referenced_view"

d) Ràng buộc left to left
app:layout_constraintLeft_toLeftOf="@id/view"
e) Ràng buộc end to end
app:layout_constraintEnd_toEndOf="@+id/referenced_view"
f) Ràng buộc start to end
app:layout_constraintStart_toEndOf="@+id/referenced_view"

g) Ràng buộc end to start
app:layout_constraintEnd_toStartOf="@+id/referenced_view"
h) Ràng buộc bottom to top
app:layout_constraintBottom_toTopOf="@+id/referenced_view"
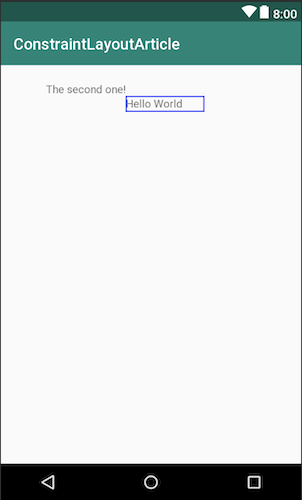
5) Circular positioning (Vị trí vòng cung)
layout_constraintCircle Tham chiếu ID bạn muốn ràng buộc nó
layout_constraintCircleRadius Khoản cách giữa liên kết của bạn
layout_constraintCircleAngle Góc của liên kết (tính từ 0 đến 360)
 <android.support.constraint.ConstraintLayout
xmlns:android="http://schemas.android.com/apk/res/android"
xmlns:app="http://schemas.android.com/apk/res-auto"
xmlns:tools="http://schemas.android.com/tools"
android:layout_width="match_parent"
android:layout_height="match_parent"
tools:context=".MainActivity">
<android.support.constraint.ConstraintLayout
xmlns:android="http://schemas.android.com/apk/res/android"
xmlns:app="http://schemas.android.com/apk/res-auto"
xmlns:tools="http://schemas.android.com/tools"
android:layout_width="match_parent"
android:layout_height="match_parent"
tools:context=".MainActivity">
<Button
  android:id="@+id/buttonA"
  android:layout_width="wrap_content"
  android:layout_height="wrap_content"
  android:layout_marginStart="8dp"
  android:layout_marginTop="8dp"
  android:layout_marginEnd="8dp"
  android:layout_marginBottom="8dp"
  android:text="Button A"
  app:layout_constraintBottom_toBottomOf="parent"
  app:layout_constraintEnd_toEndOf="parent"
  app:layout_constraintStart_toStartOf="parent"
  app:layout_constraintTop_toTopOf="parent" />

<Button
  android:id="@+id/buttonB"
  android:layout_width="wrap_content"
  android:layout_height="wrap_content"
  android:text="Button B"
  app:layout_constraintCircle="@+id/buttonA"
  app:layout_constraintCircleAngle="45"
  app:layout_constraintCircleRadius="110dp" />

</android.support.constraint.ConstraintLayout>
6) Gỡ bỏ ràng buộc
Để loại bỏ thuộc tính ràng buộc từ file xml, bạn có thể loại bỏ nó từ Design Layout.
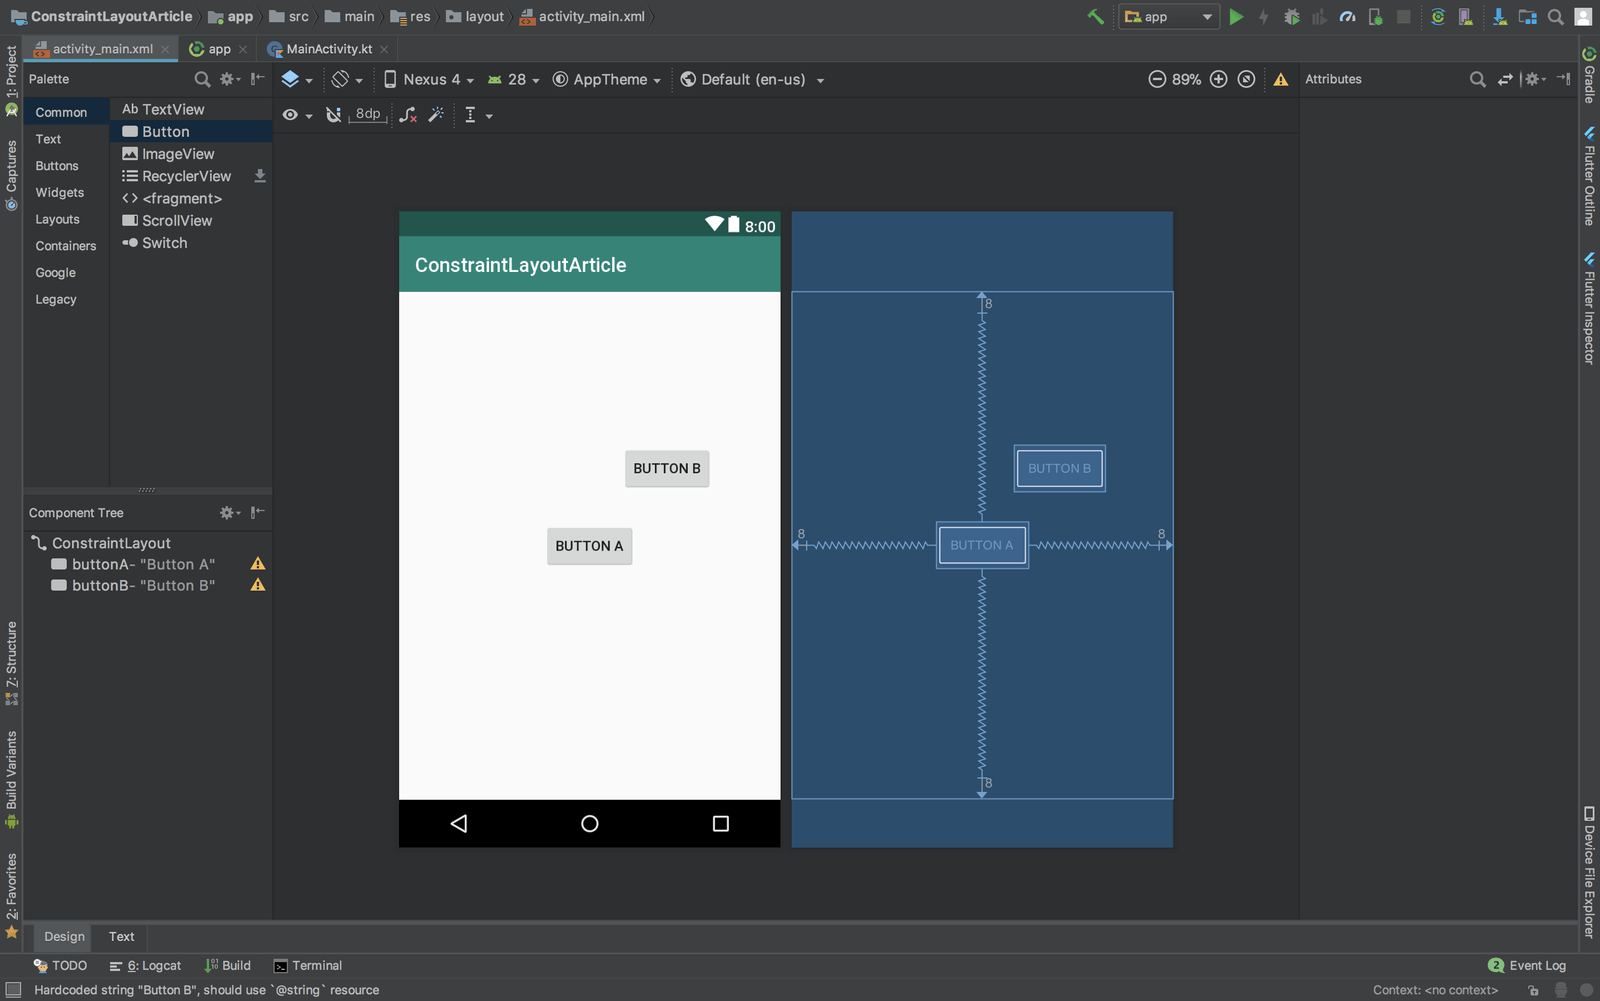
7) Bias là gì?
Bias dùng khoảng cách giữa View và ràng buộc. Nó có thể theo chiều dọc hoặc chiều ngang.
<Button
   android:id="@+id/button"
   android:text="Button"
   android:layout_width="wrap_content"
   android:layout_height="wrap_content"
   app:layout_constraintLeft_toLeftOf="parent"
   app:layout_constraintRight_toRightOf="parent"/>
Mặc định, Button theo chiều ngang có Bias là 0.5
 Bây giờ bạn muốn điều chỉnh Button này sang một chút bên phải hoặc bên trái, các giá trị trong khoảng 0 -> 0.4 sẽ đẩy nút về bên trái màn hình. Giá trị từ 0.6 đến 1 sẽ đẩy Button qua bên phải màn hình.
app:layout_constraintHorizontal_bias="0.7"

8) Chains (chuổi)
Để tạo Chains, bạn chọn nhiều View cùng 1 lúc, kick chuột phải, chọn Chains và add vào.
- chain mode (kiểu chuổi) Chúng ta có thể phân khối View theo chiều ngang hoặc chiều dọc, với các kiểu
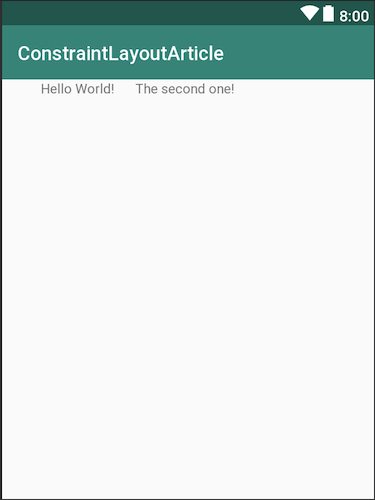
- Chain mode: spread
Theo kiểu này, View được phân đối đều. Khoảng cách giữa các View là như nhau

  <android.support.constraint.ConstraintLayout
      xmlns:android="http://schemas.android.com/apk/res/android"
      xmlns:app="http://schemas.android.com/apk/res-auto"
      xmlns:tools="http://schemas.android.com/tools"
      android:layout_width="match_parent"
      android:layout_height="match_parent"
      tools:context=".MainActivity">

      <Button
        android:id="@+id/firstButton"
        android:layout_width="wrap_content"
        android:layout_height="wrap_content"
        android:layout_marginTop="8dp"
        android:layout_marginBottom="8dp"
        android:text="Button"
        app:layout_constraintTop_toTopOf="parent"
        app:layout_constraintBottom_toBottomOf="parent"
        app:layout_constraintEnd_toStartOf="@+id/secondButton"
        app:layout_constraintHorizontal_bias="0.5"
        app:layout_constraintStart_toStartOf="parent"/>

      <Button
        android:id="@+id/secondButton"
        android:layout_width="wrap_content"
        android:layout_height="wrap_content"
        android:layout_marginTop="8dp"
        android:layout_marginBottom="8dp"
        android:text="Button"
        app:layout_constraintTop_toTopOf="parent"
        app:layout_constraintBottom_toBottomOf="parent"
        app:layout_constraintEnd_toEndOf="parent"
        app:layout_constraintHorizontal_bias="0.5"
        app:layout_constraintStart_toEndOf="@+id/firstButton"/>

    </android.support.constraint.ConstraintLayout>
Lưu ý: Chế độ chuổi không được chỉ định trực tiếp thông qua thuộc tính chuổi.
- Chain mode: spread inside
Trong chế độ này, view đầu tiền và cuối cùng được gắn vào ràng buộc ở mỗi đầu và phần còn lại được phân bố đều giữa chúng.

<?xml version="1.0" encoding="utf-8"?>
    <android.support.constraint.ConstraintLayout
      xmlns:android="http://schemas.android.com/apk/res/android"
      xmlns:app="http://schemas.android.com/apk/res-auto"
      xmlns:tools="http://schemas.android.com/tools"
      android:layout_width="match_parent"
      android:layout_height="match_parent"
      tools:context=".MainActivity">

      <Button
        android:id="@+id/firstButton"
        android:layout_width="wrap_content"
        android:layout_height="wrap_content"
        android:layout_marginTop="8dp"
        android:layout_marginBottom="8dp"
        android:text="Button"
        app:layout_constraintBottom_toBottomOf="parent"
        app:layout_constraintEnd_toStartOf="@+id/secondButton"
        app:layout_constraintHorizontal_bias="0.5"
        app:layout_constraintHorizontal_chainStyle="spread_inside"
        app:layout_constraintStart_toStartOf="parent"
        app:layout_constraintTop_toTopOf="parent" />

      <Button
        android:id="@+id/secondButton"
        android:layout_width="wrap_content"
        android:layout_height="47dp"
        android:layout_marginTop="8dp"
        android:layout_marginBottom="8dp"
        android:text="Button"
        app:layout_constraintBottom_toBottomOf="parent"
        app:layout_constraintEnd_toStartOf="@+id/thirdButton"
        app:layout_constraintHorizontal_bias="0.5"
        app:layout_constraintStart_toEndOf="@+id/firstButton"
        app:layout_constraintTop_toTopOf="parent" />

      <Button
        android:id="@+id/thirdButton"
        android:layout_width="wrap_content"
        android:layout_height="wrap_content"
        android:layout_marginTop="8dp"
        android:layout_marginBottom="8dp"
        android:text="Button"
        app:layout_constraintBottom_toBottomOf="parent"
        app:layout_constraintEnd_toEndOf="parent"
        app:layout_constraintHorizontal_bias="0.5"
        app:layout_constraintStart_toEndOf="@+id/secondButton"
        app:layout_constraintTop_toTopOf="parent" />

    </android.support.constraint.ConstraintLayout>
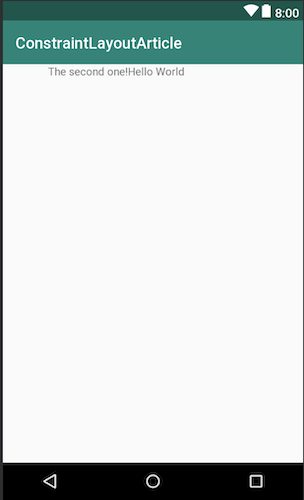
- Chain mode: packed
Chế độ kiểu này, view được đóng gói cùng nhau sau khi bao gồm cả lề.

<?xml version="1.0" encoding="utf-8"?>
   <android.support.constraint.ConstraintLayout
     xmlns:android="http://schemas.android.com/apk/res/android"
     xmlns:app="http://schemas.android.com/apk/res-auto"
     xmlns:tools="http://schemas.android.com/tools"
     android:layout_width="match_parent"
     android:layout_height="match_parent"
     tools:context=".MainActivity">

     <Button
       android:id="@+id/firstButton"
       android:layout_width="wrap_content"
       android:layout_height="wrap_content"
       android:layout_marginTop="8dp"
       android:layout_marginBottom="8dp"
       android:text="Button"
       app:layout_constraintBottom_toBottomOf="parent"
       app:layout_constraintEnd_toStartOf="@+id/secondButton"
       app:layout_constraintHorizontal_bias="0.5"
       app:layout_constraintHorizontal_chainStyle="packed"
       app:layout_constraintStart_toStartOf="parent"
       app:layout_constraintTop_toTopOf="parent" />

     <Button
       android:id="@+id/secondButton"
       android:layout_width="wrap_content"
       android:layout_height="47dp"
       android:layout_marginTop="8dp"
       android:layout_marginBottom="8dp"
       android:text="Button"
       app:layout_constraintBottom_toBottomOf="parent"
       app:layout_constraintEnd_toStartOf="@+id/thirdButton"
       app:layout_constraintHorizontal_bias="0.5"
       app:layout_constraintStart_toEndOf="@+id/firstButton"
       app:layout_constraintTop_toTopOf="parent" />

     <Button
       android:id="@+id/thirdButton"
       android:layout_width="wrap_content"
       android:layout_height="wrap_content"
       android:layout_marginTop="8dp"
       android:layout_marginBottom="8dp"
       android:text="Button"
       app:layout_constraintBottom_toBottomOf="parent"
       app:layout_constraintEnd_toEndOf="parent"
       app:layout_constraintHorizontal_bias="0.5"
       app:layout_constraintStart_toEndOf="@+id/secondButton"
       app:layout_constraintTop_toTopOf="parent" />

   </android.support.constraint.ConstraintLayout>
9) Chain weighting (đo chuổi)
Các thuộc tính giúp thêm đo lường View khi sử dụng chuổi.
layout_constraintHorizontal_weight
layout_constraintVertical_weight
Để sử dụng thuộc tính này, View phải được sử dụng match_constraint cho chiều rộng hoặc chiều cao tùy thuộc vào trục của chain.
 Chế độ
 spread_inside dùng để đo lường khi bạn sử dụng layout_constraintHorizontal_weight. Băt đầu Button sử dụng weight = 2 trong khi phần còn lại weight = 1.
10) Phần kết luận
Trong phần này , chúng ta đã tìm hiểu về các ràng buộc. Chúng ta đã tìm hiểu liên kết bố cục. Trong phần tiếp theo, chúng ta sẽ tìm hiểu về những người trợ giúp trong ConstraintLayout
11) Tài liệu tham khảo
https://github.com/neoighodaro/constraint-layout-demo
Cảm ơn bạn đã theo dõi bài viết, mời bạn xem phần 3 của constraintLayout: https://viblo.asia/p/bat-dau-voi-constraintlayout-trong-kotlin-phan-3-su-dung-helpers-groups-va-barriers-eW65GemJZDO
Tham thảo tại: https://pusher.com/tutorials/constraintlayout-kotlin-part-2
All rights reserved
