[Android Things] Phần 4: Servo với IOT. Cài đặt điều khiển hoạt động chu kỳ của servo.
Bài đăng này đã không được cập nhật trong 9 năm
Chào các bạn, phần trước chúng ta đã làm việc với sự tương tác giữa button và main board Pi3. Phần này chúng ta tìm hiểu thêm về một thiết bị nữa chính là servo.
Vậy Servo là gì? Servo là một dạng động cơ điện đặc biệt. Không giống như động cơ thông thường cứ cắm điện vào là quay liên tục, servo chỉ quay khi được điều khiển (bằng xung PPM) với góc quay nằm trong khoảng bất kì từ 0o - 180o. Mỗi loại servo có kích thước, khối lượng và cấu tạo khác nhau. Có loại thì nặng chỉ 9g (chủ yếu dùng trên máy bay mô mình), có loại thì sở hữu một momen lực bá đạo (vài chục Newton/m), hoặc có loại thì khỏe và nhông sắc chắc chắn...
Động cơ servo được thiết kế những hệ thống hồi tiếp vòng kín. Tín hiệu ra của động cơ được nối với một mạch điều khiển. Khi động cơ quay, vận tốc và vị trí sẽ được hồi tiếp về mạch điều khiển này. Nếu có bầt kỳ lý do nào ngăn cản chuyển động quay của động cơ, cơ cấu hồi tiếp sẽ nhận thấy tín hiệu ra chưa đạt được vị trí mong muốn. Mạch điều khiển tiếp tục chỉnh sai lệch cho động cơ đạt được điểm chính xác. Các động cơ servo điều khiển bằng liên lạc vô tuyến được gọi là động cơ servo RC (radio-controlled). Trong thực tế, bản thân động cơ servo không phải được điều khiển bằng vô tuyến, nó chỉ nối với máy thu vô tuyến trên máy bay hay xe hơi. Động cơ servo nhận tín hiệu từ máy thu này.
Tựu chung lại nếu chúng ta muốn điều khiển 1 hoạt động nào đó dạng như cách cử động, cách hoạt động của một bộ phận dưới 1 chu kỳ khép kín thì servo là 1 thiết bị cực kỳ hữu hiệu và dễ dàng trong việc sử dụng cũng như điều khiển chúng để đưa ra những thao tác mong muốn.
Chúng ta sẽ tìm hiểu sơ lược về cách điều khiển, tương tác giữa servo và main Pi3.
Phần cứng.
Chuẩn bị linh kiện.
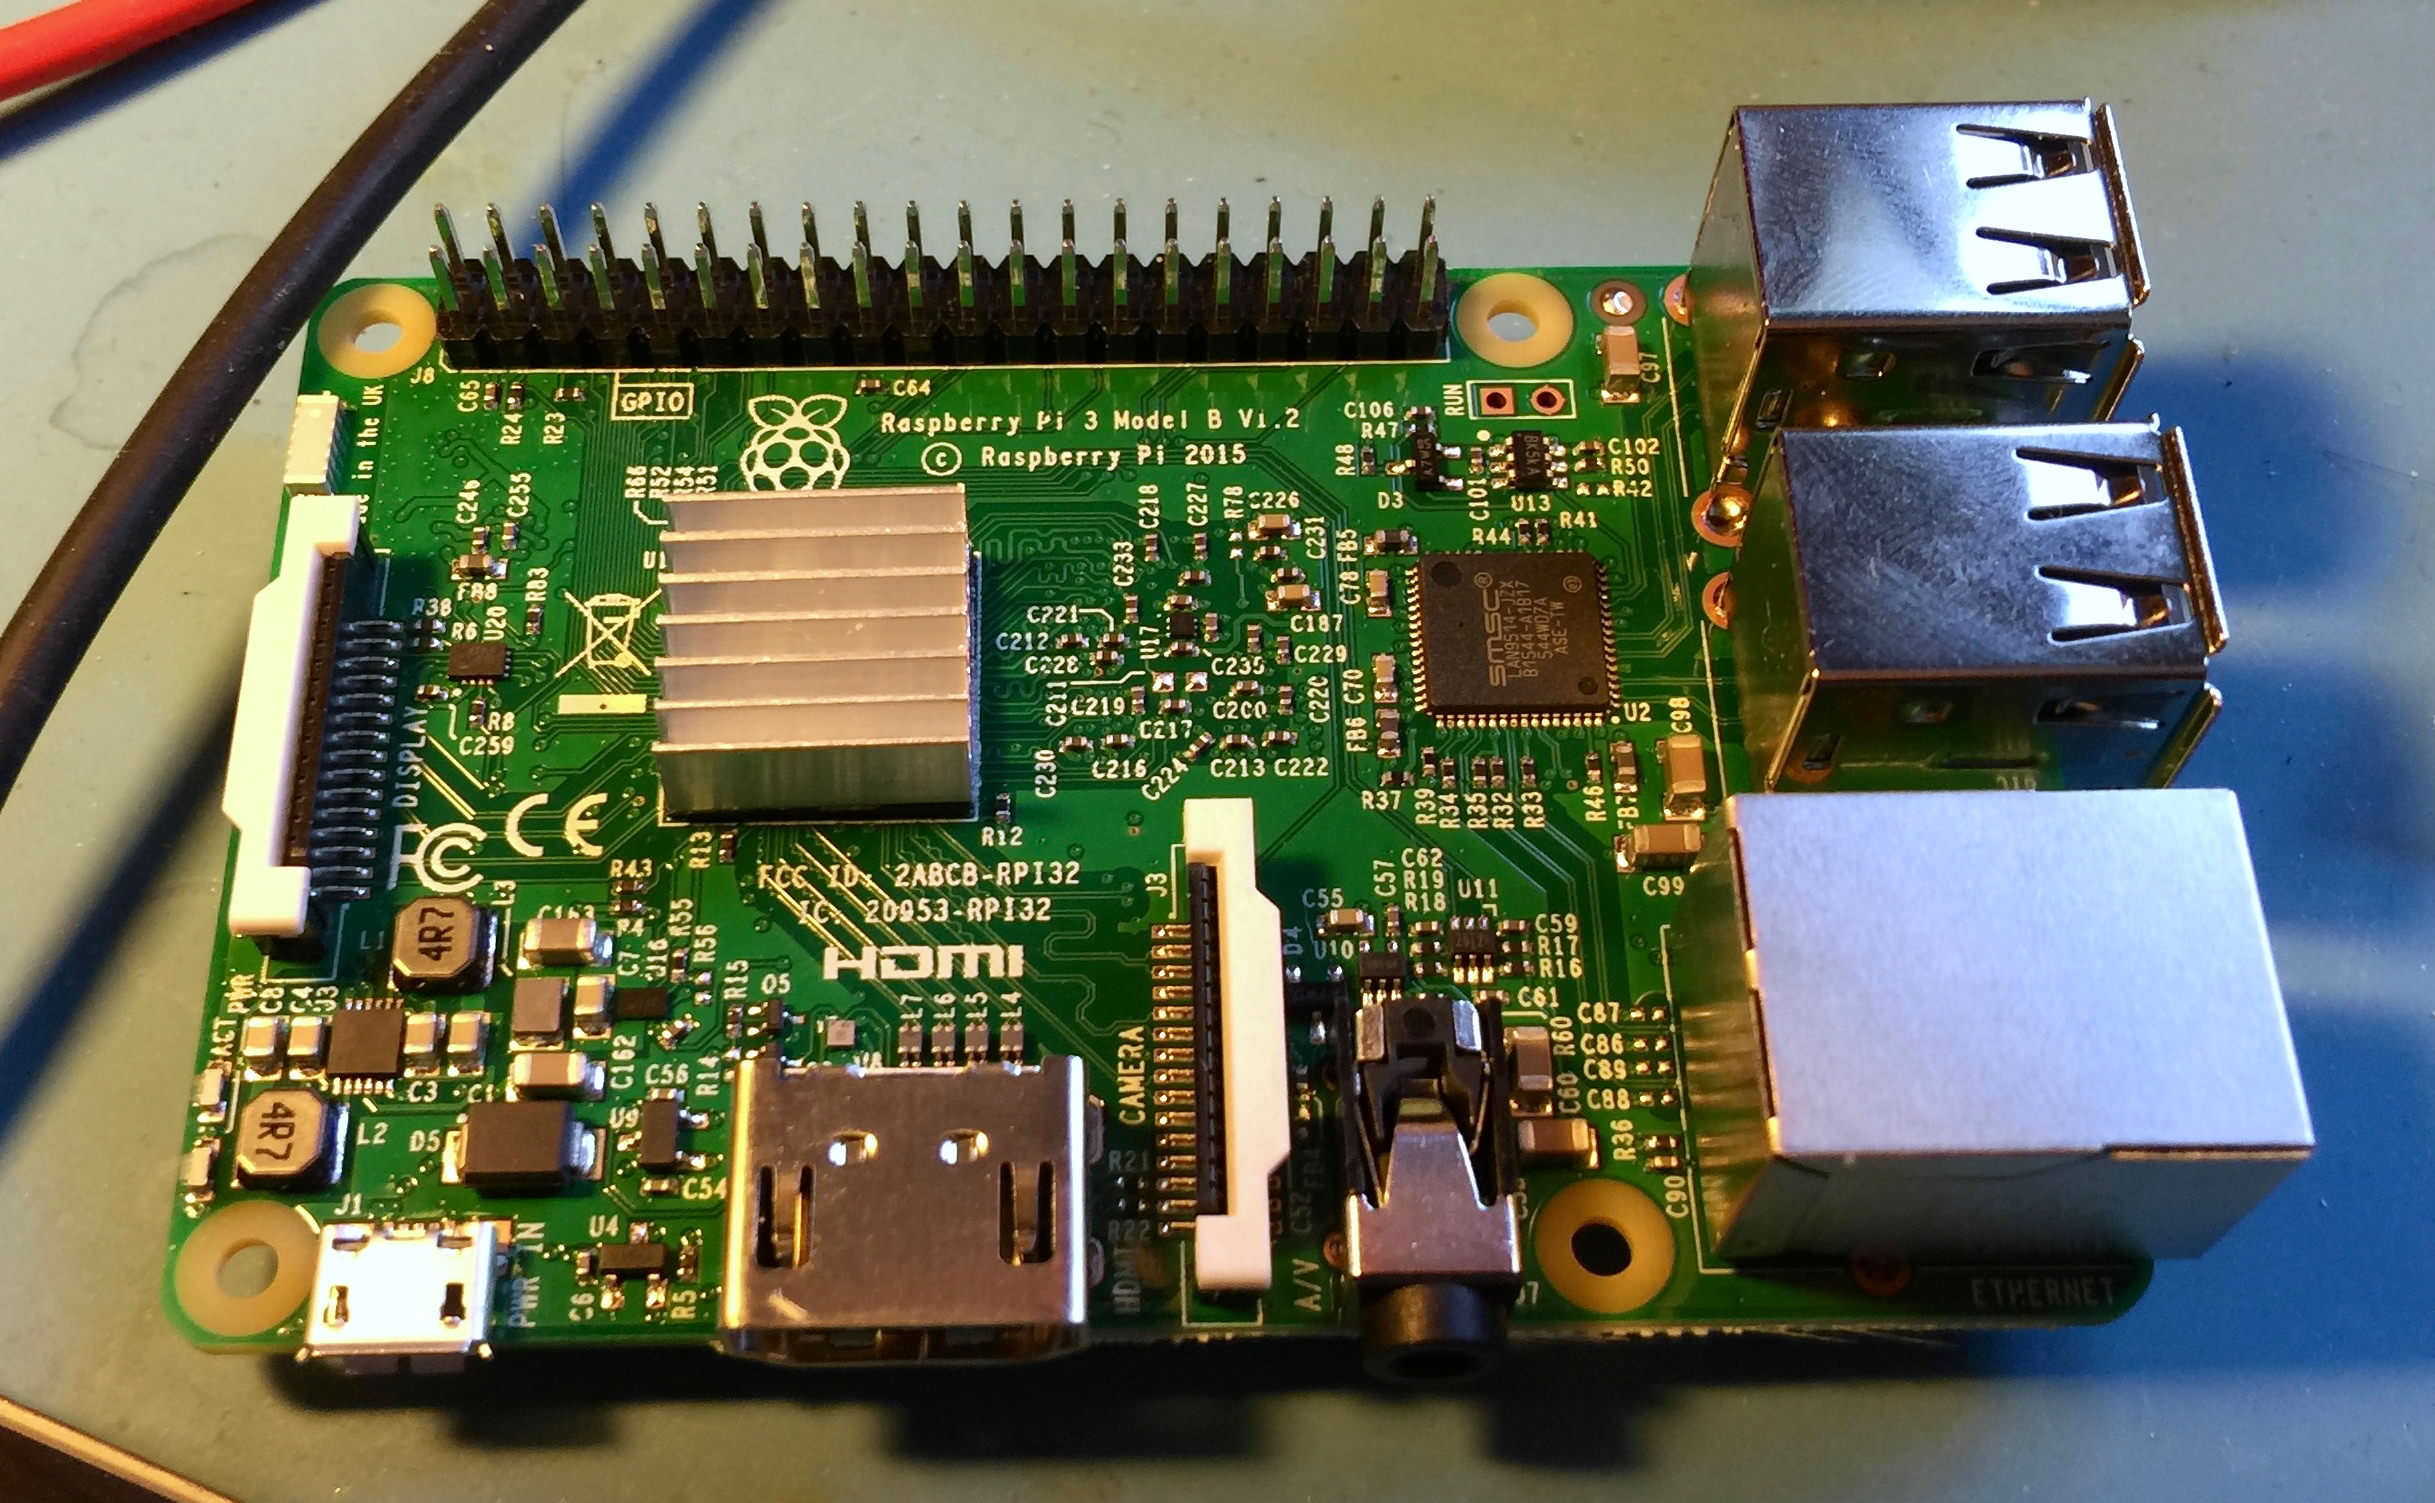
- Bộ kit Raspberry 3
- Dây nối cái - cái, đực - đực
- Dây cái - cái:

- Dây đực - đực:

-
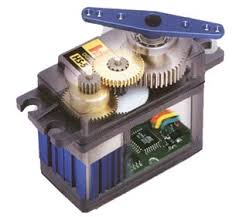
Servo: a. Micro Servo

b. Hình chi tiết nội thất của servo
Kết nối phần cứng các linh kiện
Chúng ta có thể sử dụng các dây đực cái để nối trực tiếp servo vào main mà không cần phải sử dụng board test như button và led blink. Sơ đồ sau sẽ thể hiện kết nối và cách kết nối main Pi3 với servo.

Phần mềm:
Như Phần 2 chúng ta đã nói đến việc cài đặt 1 class phục vụ cho việc giao tiếp giữa thiết bị IOT và thiêt bi ngoại vi thông qua class BoardDefault.java
Ví dụ về class BoardDefault.java:
package com.example.luuhtruc.raspberryappdemo;

import android.os.Build;

import com.google.android.things.pio.PeripheralManagerService;

import java.util.List;

/**
 * Created by luu.htruc on 1/11/17.
 */

public class BoardDefaults {
    private static final String DEVICE_EDISON_ARDUINO = "edison_arduino";
    private static final String DEVICE_EDISON = "edison";
    private static final String DEVICE_RPI3 = "rpi3";
    private static final String DEVICE_NXP =  "imx6ul";
    private static String sBoardVariant = "";

    private static String getBoardVariant () {
        if (!sBoardVariant.isEmpty()) {
            return sBoardVariant;
        }
    sBoardVariant = Build.DEVICE;
        if (sBoardVariant.equals(DEVICE_EDISON)) {
            PeripheralManagerService pioService = new PeripheralManagerService();
            List<String> gpioList = pioService.getGpioList();
            if (gpioList.size() != 0) {
                String pin = gpioList.get(0);
                if (pin.startsWith("IO")) {
                    sBoardVariant = DEVICE_EDISON_ARDUINO;
                }
            }
        }
        return sBoardVariant;
    }

    public static String getGPIOForLED() {
        switch (getBoardVariant()) {
            case DEVICE_EDISON_ARDUINO:
                return "IO6";
            case DEVICE_EDISON:
                return "GP12";
            case DEVICE_RPI3:
                return "PWM0";
            case DEVICE_NXP:
                return "PWM7";
            default:
                throw new IllegalStateException("Unknown Build.DEVICE " + Build.DEVICE);
        }
    }
}
Phần class BoardDefault.java ở module này sẽ có 1 chút thay đổi so với 2 phần trước ở tín hiệu phát ra ở các port. Chúng ta có 1 chút thay đổi nho nhỏ ở phần:
public static String getGPIOForLED() {
    switch (getBoardVariant()) {
        case DEVICE_EDISON_ARDUINO:
            return "IO6";
        case DEVICE_EDISON:
            return "GP12";
        case DEVICE_RPI3:
            return "PWM0";
        case DEVICE_NXP:
            return "PWM7";
        default:
            throw new IllegalStateException("Unknown Build.DEVICE " + Build.DEVICE);
    }
}
b. Tại class MainActivity.java
Chúng ta sẽ khai báo 1 các thông số để sử dụng điều khiển tín hiệu servo
   // Parameters of the servo PWM
   private static final double MIN_ACTIVE_PULSE_DURATION_MS = 1;
   private static final double MAX_ACTIVE_PULSE_DURATION_MS = 2;
   private static final double PULSE_PERIOD_MS = 20;  // Frequency of 50Hz (1000/20)

   // Parameters for the servo movement over time
   private static final double PULSE_CHANGE_PER_STEP_MS = 0.2;
   private static final int INTERVAL_BETWEEN_STEPS_MS = 1000;

   // Declare some libraries for servo control.
   private Handler mHandler = new Handler();
   private Pwm mPwm;
   private boolean mIsPulseIncreasing = true;
   private double mActivePulseDuration;
Tại hàm onCreate() chúng ta sử dụng PeripheralManagerService theo đoạn mẫu dưới đây:
        PeripheralManagerService service = new PeripheralManagerService();
        try {
            String pinName = BoardDefaults.getPWMPort();
            mActivePulseDuration = MIN_ACTIVE_PULSE_DURATION_MS;

            mPwm = service.openPwm(pinName);

            // Always set frequency and initial duty cycle before enabling PWM
            mPwm.setPwmFrequencyHz(1000 / PULSE_PERIOD_MS);
            mPwm.setPwmDutyCycle(mActivePulseDuration);
            mPwm.setEnabled(true);

            // Post a Runnable that continuously change PWM pulse width, effectively changing the
            // servo position
            Log.d(TAG, "Start changing PWM pulse");
            mHandler.post(mChangePWMRunnable);
        } catch (IOException e) {
            Log.e(TAG, "Error on PeripheralIO API", e);
        }
Chúng ta khai báo hàm onDestroy() như sau:
@Override
    protected void onDestroy() {
        super.onDestroy();
        // Remove pending Runnable from the handler.
        mHandler.removeCallbacks(mChangePWMRunnable);
        // Close the PWM port.
        Log.i(TAG, "Closing port");
        try {
            mPwm.close();
        } catch (IOException e) {
            Log.e(TAG, "Error on PeripheralIO API", e);
        } finally {
            mPwm = null;
        }
    }
Không giống như phần trước chúng ta sử dụng ham Callback() để lấy tín hiệu trả về từ button, chúng ta sử dụng 1 hàm Runnable để điều khiển sự hoạt động theo chu kỳ của servo cũng giống như phần Led blink.
Chúng ta khởi tạo servo:
    mPwm = service.openPwm(pinName);

    // Always set frequency and initial duty cycle before enabling PWM
    mPwm.setPwmFrequencyHz(1000 / PULSE_PERIOD_MS);
    mPwm.setPwmDutyCycle(mActivePulseDuration);
    mPwm.setEnabled(true);
Cài đặt chu kỳ hoạt động cho servo:
  if (mIsPulseIncreasing) {
      mActivePulseDuration += PULSE_CHANGE_PER_STEP_MS;
      } else {
          mActivePulseDuration -= PULSE_CHANGE_PER_STEP_MS;
      }

      // Bounce mActivePulseDuration back from the limits
      if (mActivePulseDuration > MAX_ACTIVE_PULSE_DURATION_MS) {
          mActivePulseDuration = MAX_ACTIVE_PULSE_DURATION_MS;
          mIsPulseIncreasing = !mIsPulseIncreasing;
      } else if (mActivePulseDuration < MIN_ACTIVE_PULSE_DURATION_MS) {
          mActivePulseDuration = MIN_ACTIVE_PULSE_DURATION_MS;
          mIsPulseIncreasing = !mIsPulseIncreasing;
      }

      Log.d(TAG, "Changing PWM active pulse duration to " + mActivePulseDuration + " ms");

      try {

          // Duty cycle is the percentage of active (on) pulse over the total duration of the
          // PWM pulse
          mPwm.setPwmDutyCycle(100 * mActivePulseDuration / PULSE_PERIOD_MS);

          // Reschedule the same runnable in {@link #INTERVAL_BETWEEN_STEPS_MS} milliseconds
          mHandler.postDelayed(this, INTERVAL_BETWEEN_STEPS_MS);
      } catch (IOException e) {
          Log.e(TAG, "Error on PeripheralIO API", e);
      }
Tổng thể class MainActivity.java các bạn có thể tham khảo dưới đây
package com.example.luuhtruc.raspberryappdemo;

import android.app.Activity;
import com.google.android.things.pio.PeripheralManagerService;
import com.google.android.things.pio.Pwm;
import android.os.Bundle;
import android.os.Handler;
import android.util.Log;

import java.io.IOException;

public class PWMActivity extends Activity {
    private static final String TAG = PWMActivity.class.getSimpleName();

    // Parameters of the servo PWM
    private static final double MIN_ACTIVE_PULSE_DURATION_MS = 1;
    private static final double MAX_ACTIVE_PULSE_DURATION_MS = 2;
    private static final double PULSE_PERIOD_MS = 20;  // Frequency of 50Hz (1000/20)

    // Parameters for the servo movement over time
    private static final double PULSE_CHANGE_PER_STEP_MS = 0.2;
    private static final int INTERVAL_BETWEEN_STEPS_MS = 1000;

    // Declare some libraries
    private Handler mHandler = new Handler();
    private Pwm mPwm;
    private boolean mIsPulseIncreasing = true;
    private double mActivePulseDuration;

    @Override
    protected void onCreate(Bundle savedInstanceState) {
        super.onCreate(savedInstanceState);
        Log.i(TAG, "Starting PWMActivity");

        PeripheralManagerService service = new PeripheralManagerService();
        try {
            String pinName = BoardDefaults.getPWMPort();
            mActivePulseDuration = MIN_ACTIVE_PULSE_DURATION_MS;

            mPwm = service.openPwm(pinName);

            // Always set frequency and initial duty cycle before enabling PWM
            mPwm.setPwmFrequencyHz(1000 / PULSE_PERIOD_MS);
            mPwm.setPwmDutyCycle(mActivePulseDuration);
            mPwm.setEnabled(true);

            // Post a Runnable that continuously change PWM pulse width, effectively changing the
            // servo position
            Log.d(TAG, "Start changing PWM pulse");
            mHandler.post(mChangePWMRunnable);
        } catch (IOException e) {
            Log.e(TAG, "Error on PeripheralIO API", e);
        }
    }

    @Override
    protected void onDestroy() {
        super.onDestroy();
        // Remove pending Runnable from the handler.
        mHandler.removeCallbacks(mChangePWMRunnable);
        // Close the PWM port.
        Log.i(TAG, "Closing port");
        try {
            mPwm.close();
        } catch (IOException e) {
            Log.e(TAG, "Error on PeripheralIO API", e);
        } finally {
            mPwm = null;
        }
    }

    private Runnable mChangePWMRunnable = new Runnable() {
        @Override
        public void run() {
            // Exit Runnable if the port is already closed
            if (mPwm == null) {
                Log.w(TAG, "Stopping runnable since mPwm is null");
                return;
            }

            // Change the duration of the active PWM pulse, but keep it between the minimum and
            // maximum limits.
            // The direction of the change depends on the mIsPulseIncreasing variable, so the pulse
            // will bounce from MIN to MAX.
            if (mIsPulseIncreasing) {
                mActivePulseDuration += PULSE_CHANGE_PER_STEP_MS;
            } else {
                mActivePulseDuration -= PULSE_CHANGE_PER_STEP_MS;
            }

            // Bounce mActivePulseDuration back from the limits
            if (mActivePulseDuration > MAX_ACTIVE_PULSE_DURATION_MS) {
                mActivePulseDuration = MAX_ACTIVE_PULSE_DURATION_MS;
                mIsPulseIncreasing = !mIsPulseIncreasing;
            } else if (mActivePulseDuration < MIN_ACTIVE_PULSE_DURATION_MS) {
                mActivePulseDuration = MIN_ACTIVE_PULSE_DURATION_MS;
                mIsPulseIncreasing = !mIsPulseIncreasing;
            }

            Log.d(TAG, "Changing PWM active pulse duration to " + mActivePulseDuration + " ms");

            try {

                // Duty cycle is the percentage of active (on) pulse over the total duration of the
                // PWM pulse
                mPwm.setPwmDutyCycle(100 * mActivePulseDuration / PULSE_PERIOD_MS);

                // Reschedule the same runnable in {@link #INTERVAL_BETWEEN_STEPS_MS} milliseconds
                mHandler.postDelayed(this, INTERVAL_BETWEEN_STEPS_MS);
            } catch (IOException e) {
                Log.e(TAG, "Error on PeripheralIO API", e);
            }
        }
    };
}
Sau khi đã hoàn thành, chúng ta hãy khởi động phần cứng là bộ kit Rapsberry Pi3 và khởi chạy ứng dụng. Chúng ta cùng quan sát sự chuyển động của servo. Mình nghĩ cái cần gạt nước ô tô nó cũng được điều khiển bởi một con servo đấy. Các bạn có cùng suy nghĩ với mình không? Hẹn gặp các bạn ở phần tiếp theo..
Thank for reading.
All rights reserved
