Xuất report cùng JasperReport + Spring Boot
Bài đăng này đã không được cập nhật trong 5 năm
Với những ứng dụng ERP, hoặc các ứng dụng liên quan đến báo cáo thống kê, chắc hẳn việc xuất ra các báo cáo dưới dạng pdf, csv, ... là vô cùng quan trọng và cần thiết. Trong khuôn khổ bài viết này, mình sẽ giới thiệu về cách mình thường sử dụng để xuất các báo cáo này. Mình sẽ sử dụng lại project trong bài viết Tích hợp build VueJS trong Spring Boot.
1. Chuẩn bị
- Jaspersoft Studio : các bạn có thể cài trực tiếp trong marketplace của Eclipse bằng cách search với từ khóa
jasper. Tuy nhiên, nếu gặp lỗi khi cài đặt version mới nhất (ở thời điểm hiện tại là 6.1 ), các bạn có thể thử sử dụng các phiên bản từ 6.14 trở xuống.![]()
- Thêm dependency về xử lý report trong build.gradle
repositories {
    ...
	maven{url "http://jasperreports.sourceforge.net/maven2/"}
    maven{url "http://jaspersoft.artifactoryonline.com/jaspersoft/third-party-ce-artifacts/"}
    ...
}
dependencies {
    ...
	implementation 'net.sf.jasperreports:jasperreports:6.16.0'
    ...
}
- Cài đặt thêm các thư viện trong Vue project như axios, downloadjs :
yarn add axios downloadjs
2. Tạo mẫu report
Mình sẽ tạo report tại src/main/resource/reports
 Mình sẽ chọn template A4 thông thường
 Đặt tên cho mẫu report
 Sau khi khởi tạo các bạn có thể thấy một file report.jrxml được tạo ra cho chúng ta.
 Mẫu report ban đầu được chia thành nhiều phần khác nhau. Tuy nhiên trong ví dụ này mình chỉ sử dụng 2 phần chính :
- Column Header: Nơi để đặt tiêu đề các cột dữ liệu. Mặc định nó được lặp lại 1 lần tại tất cả các trang.
- Detail: Nơi đặt các bản ghi, nó sẽ lặp list data của chúng ta truyền vào.
 Với mỗi report chúng ta sẽ phải làm quen với hai khái niệm là parameter và field. Mình sẽ khai báo các parameter tại phần source của report
- Parameter là các tham số đầu vào khi khởi tạo report
- Field là các biến có chức năng map các data trong data source của chúng ta vào report.
Trang trí lại report của chúng ta một chút
	<columnHeader>
		<band height="66" splitType="Stretch">
			<staticText>
				<reportElement x="210" y="20" width="100" height="30" uuid="756407ec-7256-4630-b1ba-aa32fca025d0"/>
				<textElement>
					<font size="18"/>
				</textElement>
				<text><![CDATA[My Report]]></text>
			</staticText>
			<staticText>
				<reportElement x="-11" y="7" width="128" height="13" uuid="82bb498c-876a-4ba9-b899-5e6c3f75d772"/>
				<text><![CDATA[Create By: $P{createdBy}]]></text>
			</staticText>
			<textField pattern="HH:mm">
				<reportElement x="477" y="35" width="111" height="15" uuid="23808380-7b31-4364-8dad-e1303c7f267a"/>
				<textFieldExpression><![CDATA[new java.util.Date()]]></textFieldExpression>
			</textField>
			<textField>
				<reportElement x="410" y="0" width="100" height="17" uuid="cabd1fbf-f105-40a8-8681-d2cf1ecae0be"/>
				<textElement textAlignment="Right"/>
				<textFieldExpression><![CDATA["Page " + $V{PAGE_NUMBER}]]></textFieldExpression>
			</textField>
			<textField evaluationTime="Report">
				<reportElement x="510" y="0" width="100" height="17" uuid="d439ca51-9d00-4462-a753-aba2662b2302"/>
				<textElement textAlignment="Left"/>
				<textFieldExpression><![CDATA[" of " + $V{PAGE_NUMBER}]]></textFieldExpression>
			</textField>
			<textField pattern="MMMMM dd, yyyy">
				<reportElement x="477" y="17" width="100" height="15" uuid="5cea2486-97e8-4a7d-91d1-6f356b77ae8e"/>
				<textFieldExpression><![CDATA[new java.util.Date()]]></textFieldExpression>
			</textField>
			<line>
				<reportElement x="-10" y="64" width="571" height="1" uuid="d7c1381f-998a-438c-8aaf-8cad716aca64"/>
			</line>
			<staticText>
				<reportElement x="0" y="50" width="71" height="15" uuid="13d045d8-3d8b-43bf-a674-d539881a1c8b"/>
				<text><![CDATA[Id]]></text>
			</staticText>
			<staticText>
				<reportElement x="160" y="50" width="91" height="16" uuid="1ec16b82-0cec-4647-9d54-54781d651a4c"/>
				<text><![CDATA[Name]]></text>
			</staticText>
			<staticText>
				<reportElement x="340" y="50" width="81" height="15" uuid="c10c71da-fc88-45a6-8870-ae50214f0ce1"/>
				<text><![CDATA[Gender]]></text>
			</staticText>
		</band>
	</columnHeader>
	<detail>
		<band height="20" splitType="Stretch">
			<textField>
				<reportElement x="0" y="0" width="71" height="20" uuid="4bfc4382-52de-4dba-aff9-598e1f739982"/>
				<textFieldExpression><![CDATA[$F{id}]]></textFieldExpression>
			</textField>
			<textField>
				<reportElement x="160" y="0" width="91" height="20" uuid="8c2d153a-7f90-42ce-bea1-f0b6ad7abc22"/>
				<textFieldExpression><![CDATA[$F{name}]]></textFieldExpression>
			</textField>
			<textField>
				<reportElement x="340" y="0" width="100" height="20" uuid="f8527cdf-508f-4167-8099-68fcc1290f19"/>
				<textFieldExpression><![CDATA[$F{gender} == 0 ? "Male" : "Female"]]></textFieldExpression>
			</textField>
		</band>
	</detail>
Các bạn có thể sử dụng code để thiết kế template hoặc sử dụng các component có sẵn trong Jaspersoft Studio tại thẻ pallette. Report của chúng ta sẽ có dạng thế này
 Chúng ta có thể xem trước report tại mục preview
 Ok vậy là xong. Giờ sẽ đi sâu vào phần code
3. Compile report
Report Controller
package tuanlm.fpt.web.controller;

import org.springframework.beans.factory.annotation.Autowired;
import org.springframework.http.HttpStatus;
import org.springframework.http.MediaType;
import org.springframework.http.ResponseEntity;
import org.springframework.web.bind.annotation.GetMapping;
import org.springframework.web.bind.annotation.RequestMapping;
import org.springframework.web.bind.annotation.RestController;

import tuanlm.fpt.web.service.ReportService;

@RestController
@RequestMapping("api/report")
public class ReportController {
	@Autowired
	ReportService service;


	@GetMapping(value = "demo-report", produces = MediaType.APPLICATION_PDF_VALUE)
	public ResponseEntity<byte[]> getReport() {
		try {
			return new ResponseEntity<byte[]>(service.getReport(), HttpStatus.OK);
		}
		catch(Exception e) {
			e.printStackTrace();
			return new ResponseEntity<byte[]>(HttpStatus.INTERNAL_SERVER_ERROR);
		}
	}
}
Mình sẽ tạo một Restful API để có thể gọi server trả về report dưới dạng các mảng byte. Từ đó, frontend có thể đọc mảng byte này về download report về máy Report Service
package tuanlm.fpt.web.service;

import java.io.IOException;
import java.util.ArrayList;
import java.util.HashMap;
import java.util.List;
import java.util.Map;

import org.springframework.core.io.ClassPathResource;
import org.springframework.stereotype.Service;

import net.sf.jasperreports.engine.JRException;
import net.sf.jasperreports.engine.JasperCompileManager;
import net.sf.jasperreports.engine.JasperExportManager;
import net.sf.jasperreports.engine.JasperFillManager;
import net.sf.jasperreports.engine.JasperReport;
import net.sf.jasperreports.engine.data.JRBeanCollectionDataSource;
import tuanlm.fpt.web.models.Student;

@Service
public class ReportService {
	public byte[] getReport() throws FileNotFoundException, JRException {
        // tìm kiếm file report
		JasperReport jasperReport = JasperCompileManager.compileReport(new ClassPathResource("reports/report.jrxml").getInputStream());
		// đây là list data của mình, thông thường list này sẽ đc query dưới db
		List<Student> list = new ArrayList<>();
		list.add(new Student(0, "Nguyễn Văn A", 0));
		list.add(new Student(1, "Trần Thị B", 1));
		list.add(new Student(2, "Nguyễn Thị C", 1));
		// khởi tạo data source
		JRBeanCollectionDataSource dataSource = new JRBeanCollectionDataSource(list);
		// khai báo các parameter
		Map<String, Object> parameters = new HashMap<>();
		parameters.put("createdBy", "TuanLM");
        // compile file report cùng các tham số đã khai báo
		return JasperExportManager.exportReportToPdf(JasperFillManager.fillReport(jasperReport, parameters, dataSource));
	}
}
4. Gọi report
Giờ chúng ta sẽ thao tác dưới Vue để gọi report này. Trong file Home.vue, chúng ta sẽ xóa hết code sample thay thế như sau
<template>
  <div class="home">
    <button @click="getReport">Download Report</button>
  </div>
</template>

<script>
import axios from 'axios'
import download from 'downloadjs'
export default {
  name: 'Home',
  methods: {
    getReport () {
      axios.get('/api/report/demo-report', { responseType: 'arraybuffer' }).then(res => {
        download(res.data, `${(Math.random() * 100000).toFixed(0)}.pdf`, res.headers['content-type'])
      })
    }
  }
}
</script>
5. Tips
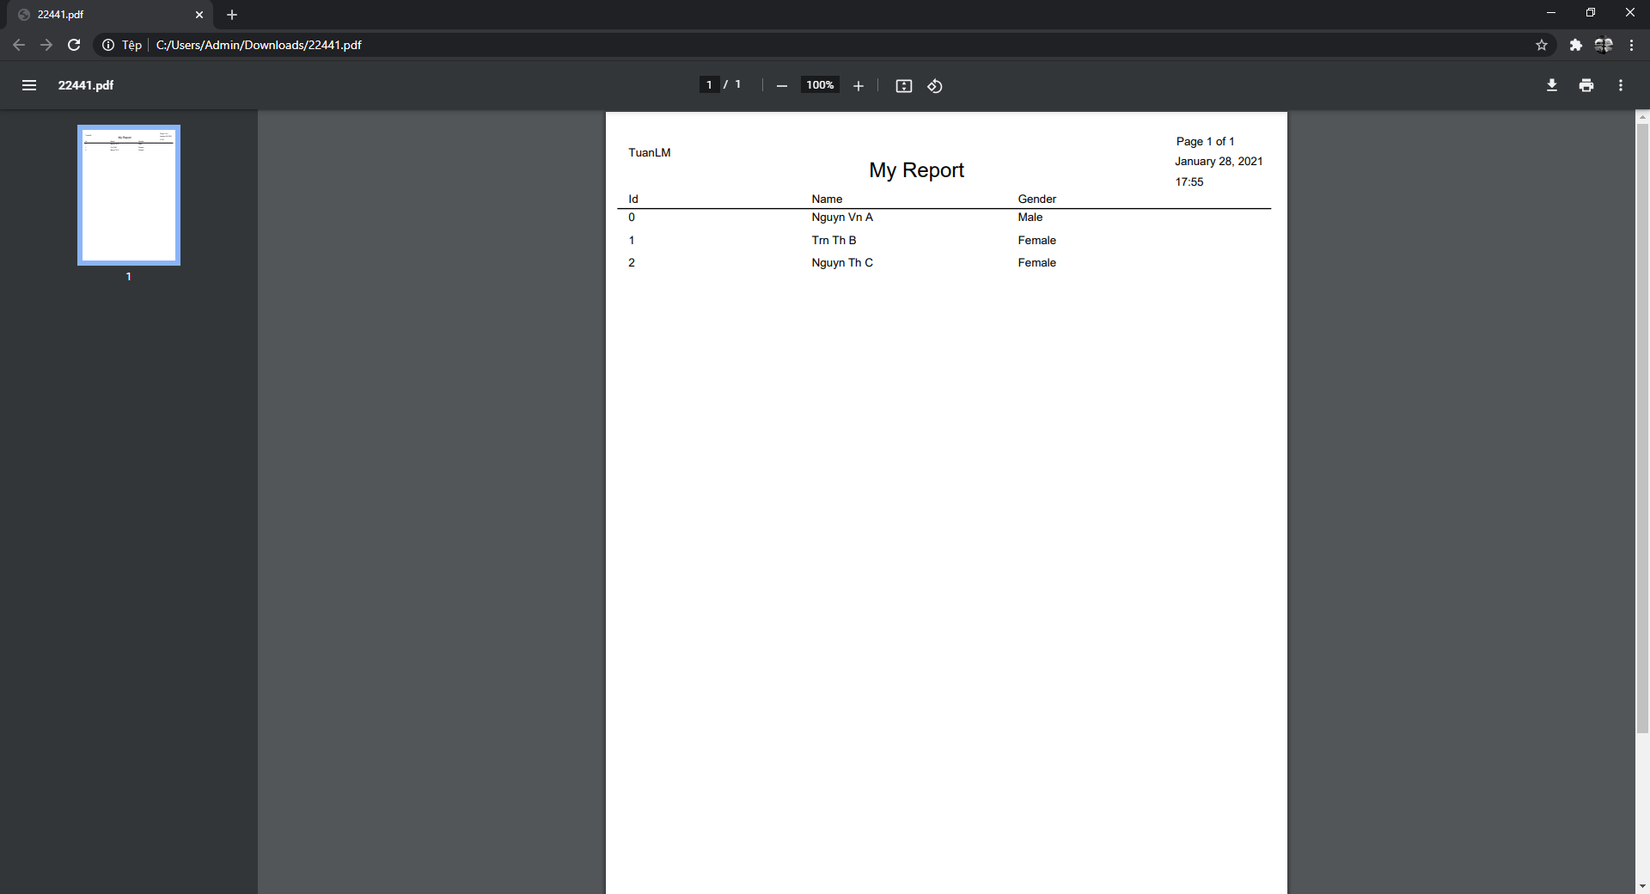
Ok vậy là chúng ta đã thành công gọi report từ phía server. Tuy vậy khi mở report, chúng ta sẽ thấy một lỗi khá khó chịu.
 Để khắc phục lỗi này, chúng ta cần sử dụng một custom font để có thể xử lý các ký tự tiếng việt. Chúng ta add thêm dependency trong file build.gradle
dependencies {
    ...
	implementation 'net.sf.jasperreports:jasperreports-fonts:jar:6.16.0'
    ...
}
Đầu tiên trong src/main/resources, chúng ta tạo file jasperreports_extension.properties với nội dung như sau
net.sf.jasperreports.extension.registry.factory.fonts=net.sf.jasperreports.engine.fonts.SimpleFontExtensionsRegistryFactory
net.sf.jasperreports.extension.simple.font.families.ireportfamily1611753076972=fonts/fonts.xml
Sau đó chúng ta add thêm file fonts.xml tại src/main/resources/fonts để khai báo các font sẽ sử dụng.
<?xml version="1.0" encoding="UTF-8"?>
<fontFamilies>
	<fontFamily name="VN-Arial">
		<normal><![CDATA[fonts/VN_Arial/arial.ttf]]></normal>
		<bold><![CDATA[fonts/VN_Arial/arialbd.ttf]]></bold>
		<italic><![CDATA[fonts/VN_Arial/ariali.ttf]]></italic>
		<boldItalic><![CDATA[fonts/VN_Arial/arialbi.ttf]]></boldItalic>
		<pdfEncoding><![CDATA[Identity-H]]></pdfEncoding>
		<pdfEmbedded><![CDATA[true]]></pdfEmbedded>
		<exportFonts/>
	</fontFamily>
</fontFamilies>
Trong đó, chúng ta sẽ khai báo một font mới với tên là VN-Arial, khai báo các kiểu định dạng của font như bold, italic, ... Đặc biệt với thuộc tính <pdfEncoding><![CDATA[Identity-H]]></pdfEncoding> chúng ta sẽ khai báo rằng font này có hãy được encode với kiểu utf-8 và các ký tự sẽ viết theo chiều từ trên xuống (ký tự tiếng việt). Cấu trúc thư mục sẽ như sau:
 Giờ chúng ta build lại gọi report kiểm tra

All rights reserved
