UI Native Module trong React Native(P1)
Bài đăng này đã không được cập nhật trong 6 năm
React Native đã cung cấp các thành phần cơ bản, sử dụng để xây dựng ứng dụng của mình: view, label, button v.v. Tuy nhiên, có những lúc những thành phần này không đủ. Hướng dẫn này sẽ giới thiệu cách build custom UI có thể tương tác qua lại giữa react-native(Javascript) và native(iOS/Android).
Phần demo có sử dụng thư viện native, Objective-C, Swift 5, Xcode 11, react-native 0.61 Install require:
- React Native CLI
npm install -g react-native-cli- Xcode 11
Tạo ứng dụng React-native
react-native init DemoProject

Nếu sử dụng yarn/expo thì sau khi create hãy sử dụng eject để có 2 thư mục ios, và android tương ứng
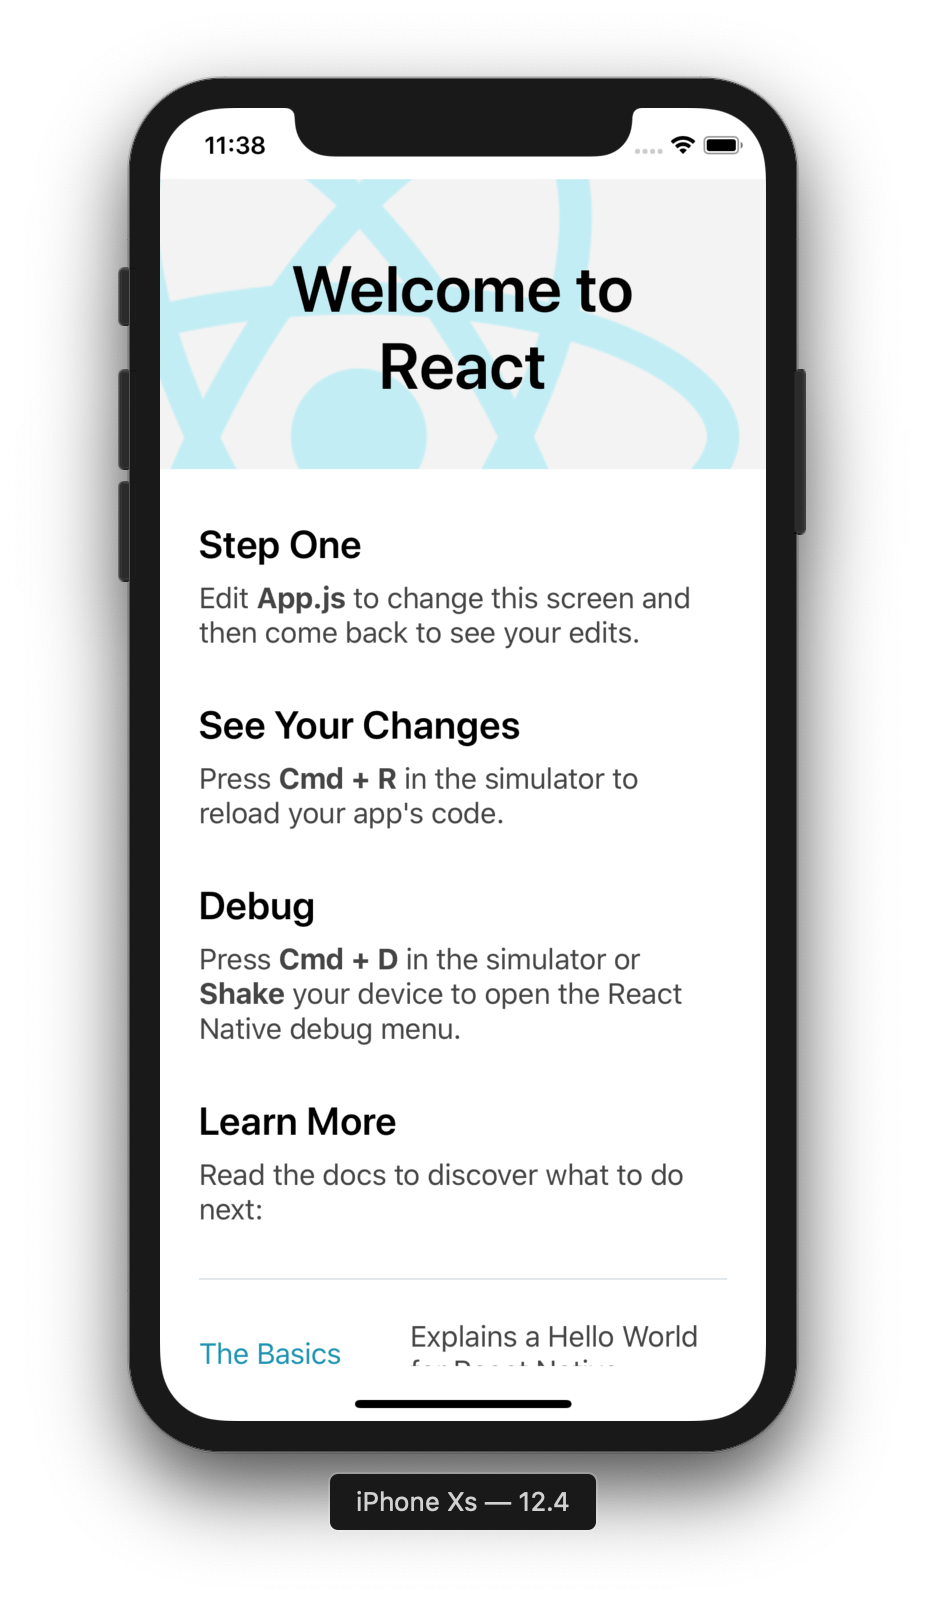
react-native run-ios --simulator="iPhone Xs"
Chạy thử để đảm bảo project đã được khởi tạo thành công!
Tạo Native UI Component(iOS)
Mở thư mục ios
- run
pod installSau đó mở project DemoProject.xcworkspace
Bước 1: Tạo file Main storyboard.
File → New → Storyboard
 Bước 2: Tạo file MyCustomViewController.swift
File -> New -> File... -> Swift file
Bước 2: Tạo file MyCustomViewController.swift
File -> New -> File... -> Swift file

Lưu ý: Khi có thông báo tạo Bridging Header: chọn Create Bridging Header.

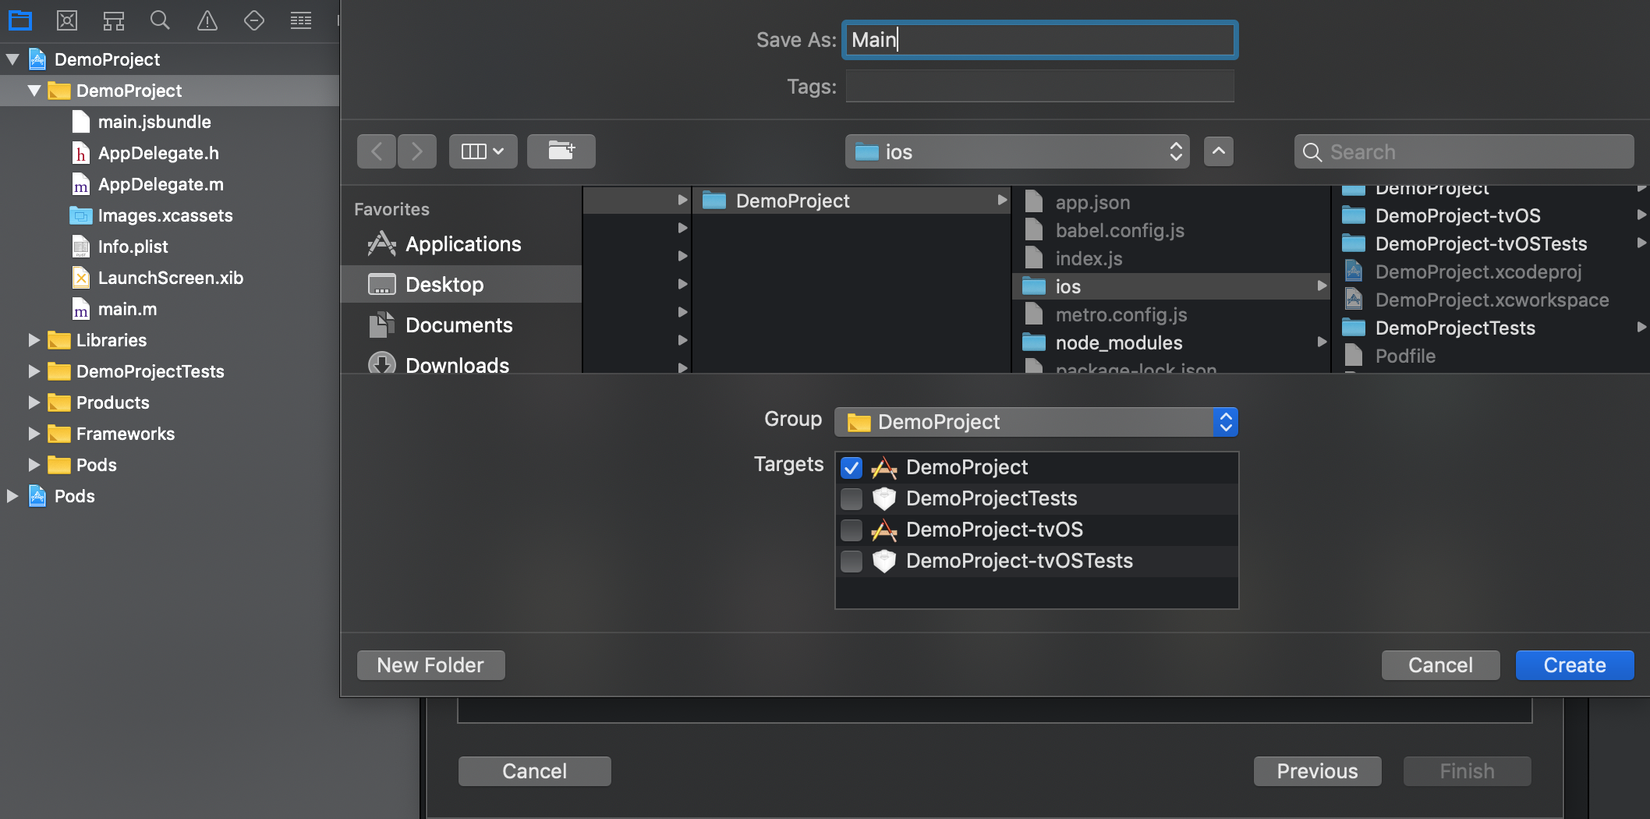
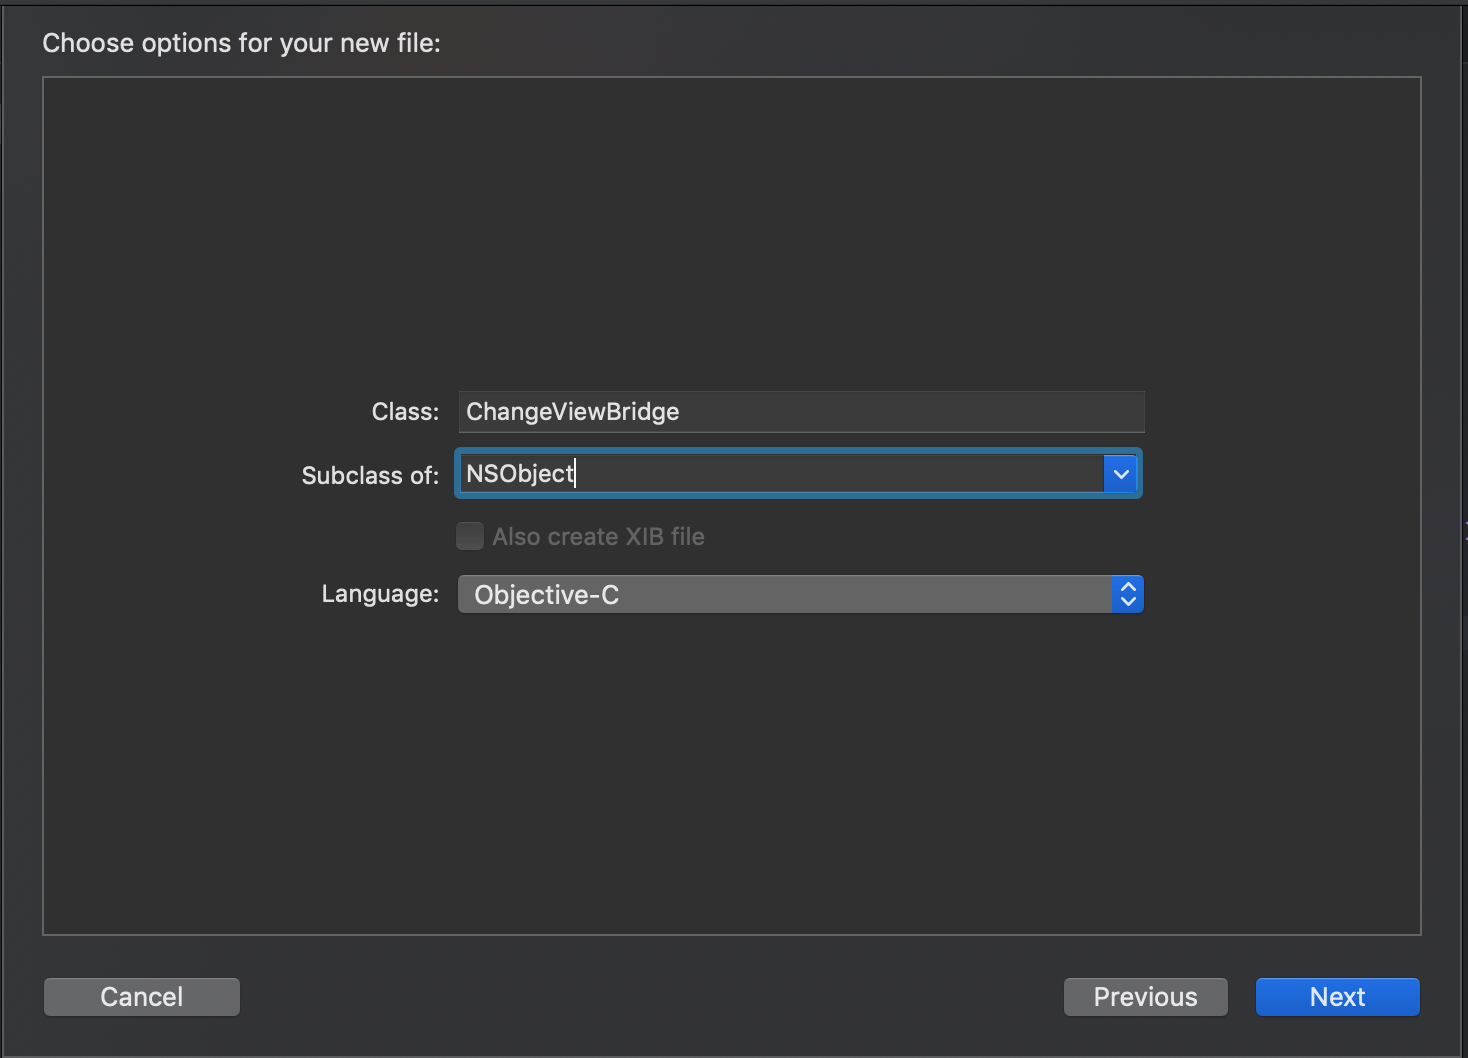
Bước 3: Tạo file ChangeViewBridge.m/h
File -> New -> File... -> Cocoa Touch Class
 Vì React-Native được xây dựng để build với ObjectiveC nên chúng ta cần thực hiện vài thao tác để nó có thể chạy được với Swift.
File này sẽ sử dụng đến sau
Bước 4: Mở file DemoProject-Bridging-Header Import các thư viện từ React(liên quan đến UIView)
#import "React/RCTBridge.h"
#import "React/RCTBridgeModule.h"
#import "React/RCTBundleURLProvider.h"
#import "React/RCTRootView.h"
#import <React/RCTUIManager.h>
#import <React/RCTComponent.h>
#import <React/RCTViewManager.h>
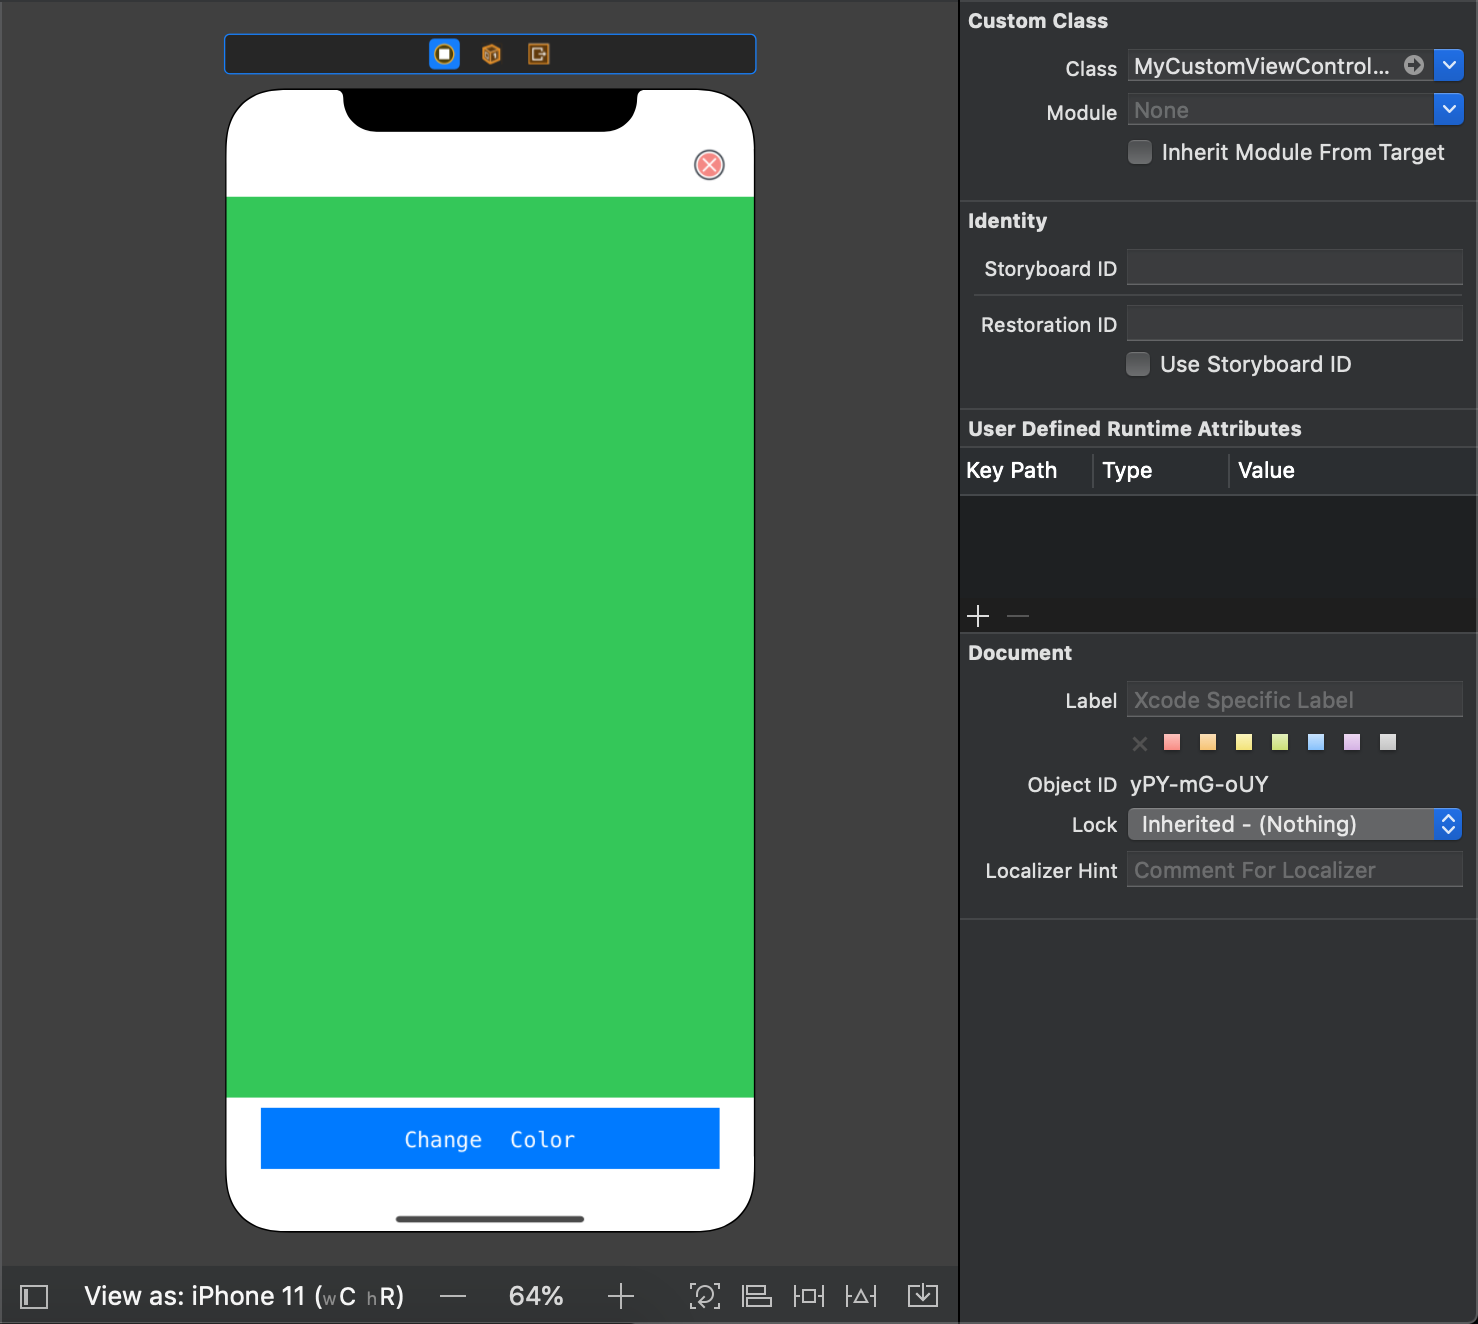
Bước 5: Dựng UI và code bên native
Tạo một ViewController trong Main.storyboard đã tạo bên trên
Phần code trong file MyCustomViewController
class MyCustomViewController: UIViewController {

  @IBOutlet weak var randomView: UIView!

    override func viewDidLoad() {
        super.viewDidLoad()

        // Do any additional setup after loading the view.
    }

  @IBAction func randomBgButtonDidTouch(_ sender: UIButton) {
    self.randomView.backgroundColor = .random
  }

  @IBAction func dismisButtonDidTouch(_ sender: UIButton) {

  }

}

extension UIColor {
    static var random: UIColor {
        return UIColor(red: .random(in: 0...1),
                       green: .random(in: 0...1),
                       blue: .random(in: 0...1),
                       alpha: 1.0)
    }
}
Với mục đích demo: Chức năng của phần native sẽ là thay đổi ngẫu nhiên background color của view. Nếu cần sử dụng các framework thì cũng làm tương tự sau khi import được framework vào project
Chuyển view từ react-native sang native(iOS)
Khai func để có thể navigation view đến native
AppDelegate.h
#import <React/RCTBridgeDelegate.h>
#import <UIKit/UIKit.h>
#import <UMReactNativeAdapter/UMModuleRegistryAdapter.h>
#import <UMCore/UMAppDelegateWrapper.h>

@interface AppDelegate : UMAppDelegateWrapper <RCTBridgeDelegate, UIApplicationDelegate> {
    NSDictionary *options;
    UIViewController *viewController;
}

@property (nonatomic, strong) UMModuleRegistryAdapter *moduleRegistryAdapter;
@property (nonatomic, strong) UIWindow *window;

- (void) setInitialViewController;
- (void) goToNativeView;
@end
Định nghĩa func ở file AppDelegate.m
- (void) setInitialViewController {
  RCTBridge *bridge = [[RCTBridge alloc] initWithDelegate:self launchOptions:options];
  RCTRootView *rootView = [[RCTRootView alloc] initWithBridge:bridge moduleName:@"DemoProject" initialProperties:nil];
  self.window = [[UIWindow alloc] initWithFrame:[UIScreen mainScreen].bounds];
  UIViewController *rootViewController = [UIViewController new];
  rootViewController.view = rootView;
  self.window.rootViewController = rootViewController;

  viewController = rootViewController;

  [self.window makeKeyAndVisible];
}

// this method will be called from the RCTBridge
- (void) goToNativeView {
  UIViewController *vc = [UIStoryboard storyboardWithName:@"Main" bundle:nil].instantiateInitialViewController;
  [self.window.rootViewController presentViewController:vc animated:true completion:nil];
}
Xử lý giao tiếp giữa react-native và native
Lúc này bắt đầu xử lý file Objective-C tạo từ trước
ChangeViewBridge.h
#import "React/RCTBridgeModule.h"

@interface ChangeViewBridge : NSObject <RCTBridgeModule>

- (void) changeToNativeView;
@end
func changeToNativeView này sẽ được gọi ở từ Javascript ở react-native
ChangeViewBridge.m
#import <Foundation/Foundation.h>
#import "AppDelegate.h"
#import "React/RCTBridgeModule.h"
#import "ChangeViewBridge.h"

@implementation ChangeViewBridge

RCT_EXPORT_MODULE(ChangeViewBridge);

RCT_EXPORT_METHOD(changeToNativeView) {
  NSLog(@"RN binding - Native View - Loading ViewController.swift");
  dispatch_async(dispatch_get_main_queue(), ^{
      AppDelegate *appDelegate = (AppDelegate *)[UIApplication sharedApplication].delegate;
      [appDelegate goToNativeView];
  });
}
@end
Xử lý func gọi từ file js
Sử dụng NativeModules từ react-native, gọi class ChangeViewBridge và func changeToNativeView() để push view từ react-native sang native
Tham khảo đoạn code App.js
import React, { Component } from 'react';
import {
  AppRegistry,
  StyleSheet,
  Alert,
  Text,
  View,
  NativeModules,
  TouchableHighlight
} from 'react-native';

export default class App extends React.Component {

  constructor(props) {
     super(props)
     this.done = false;
   }

    _changeView() {
      this.done = true;
      this.render();
      NativeModules.ChangeViewBridge.changeToNativeView();
    }

  render() {
    if (!this.done) {
      return (
        <View style={styles.container}>
          <TouchableHighlight onPress={() => this._changeView()}>
            <Text color="#336699">
              Go to camera view
            </Text>
          </TouchableHighlight>
        </View>
      );
    } else {
      return (<View></View>);
    }
  }
};

const styles = StyleSheet.create({
  container: {
    flex: 1,
    justifyContent: 'center',
    alignItems: 'center',
    backgroundColor: '#F5FCFF',
  }
});
Buid app và cùng xem kết quả
Phần 1 cũng xin tạm khép lại tại đây. Phần 2 mình sẽ hướng dẫn thêm các thuộc tính, callback bên native có thể giao tiếp được với react-natvie Mọi thắc mắc bạn có thể để lại bình luận, hoặc contact trực tiếp với mình!
See you...
All rights reserved
