Tối ưu Docker Image cho NextJS
Bài đăng này đã không được cập nhật trong 3 năm

Docker image của NextJS thông thường size sẽ rất nặng. Bài viết này mình sẽ
trình bày 2 cách mình hay sử dụng để tối ưu image trước khi triển khai lên môi
trường production.
Source code mình để ở đây
Để có thể theo dõi 1 cách trực quan, mình sẽ demo theo 3 kịch bản như sau:
- Sử dụng cách cơ bản để viết
dockerfile. - Áp dụng
Multi Stage. - Sử dụng mode
standalonecủaNextJSkết hợp vớiMulti Stage.
Lưu ý: Mình sẽ không tập trung nhiều về các cách cơ bản (như hạn chế tạo nhiều Layer, .dockerignore, ...) để tối ưu image, mà sẽ trình bày sâu vào 2 cách chính đã đề cập ở trên. Các bạn có thể theo dõi bài viết Tối ưu Docker image của anh Mai Trung Đức để tham khảo thêm các cách để tối ưu docker image rất hay và chi tiết 😄
Oke !!! Vào thôi
Setup
Đầu tiên, chúng ta cần 1 project sử dụng NextJS, ở đây để cho nhanh mình sẽ sài
luôn cái blog-starter trong phần examples của NextJS. Các bạn có thể clone
ở đây về nha 😄
Cấu trúc của nó trông như này:
.
├── @types
│   └── remark-html.d.ts
├── README.md
├── _posts
│   ├── dynamic-routing.md
│   ├── hello-world.md
│   └── preview.md
├── components
│   ├── alert.tsx
│   ├── avatar.tsx
│   ├── container.tsx
│   ├── cover-image.tsx
│   ├── date-formatter.tsx
│   ├── footer.tsx
│   ├── header.tsx
│   ├── hero-post.tsx
│   ├── intro.tsx
│   ├── layout.tsx
│   ├── markdown-styles.module.css
│   ├── meta.tsx
│   ├── more-stories.tsx
│   ├── post-body.tsx
│   ├── post-header.tsx
│   ├── post-preview.tsx
│   ├── post-title.tsx
│   └── section-separator.tsx
├── interfaces
│   ├── author.ts
│   └── post.ts
├── lib
│   ├── api.ts
│   ├── constants.ts
│   └── markdownToHtml.ts
├── next-env.d.ts
├── package.json
├── pages
│   ├── _app.tsx
│   ├── _document.tsx
│   ├── index.tsx
│   └── posts
│       └── [slug].tsx
├── postcss.config.js
├── public
│   ├── assets
│   │   └── blog
│   │       ├── authors
│   │       │   ├── jj.jpeg
│   │       │   ├── joe.jpeg
│   │       │   └── tim.jpeg
│   │       ├── dynamic-routing
│   │       │   └── cover.jpg
│   │       ├── hello-world
│   │       │   └── cover.jpg
│   │       └── preview
│   │           └── cover.jpg
│   └── favicon
│       ├── android-chrome-192x192.png
│       ├── android-chrome-512x512.png
│       ├── apple-touch-icon.png
│       ├── browserconfig.xml
│       ├── favicon-16x16.png
│       ├── favicon-32x32.png
│       ├── favicon.ico
│       ├── mstile-150x150.png
│       ├── safari-pinned-tab.svg
│       └── site.webmanifest
├── styles
│   └── index.css
├── tailwind.config.js
└── tsconfig.json
Okie, sau đấy cài và chạy thử lên xem phát :v
➜  blog-starter git:(master) ✗ yarn
➜  blog-starter git:(master) ✗ yarn build
➜  blog-starter git:(master) ✗ yarn start
Các bạn truy cập vào localhost:3000 để xem qua nhé :3
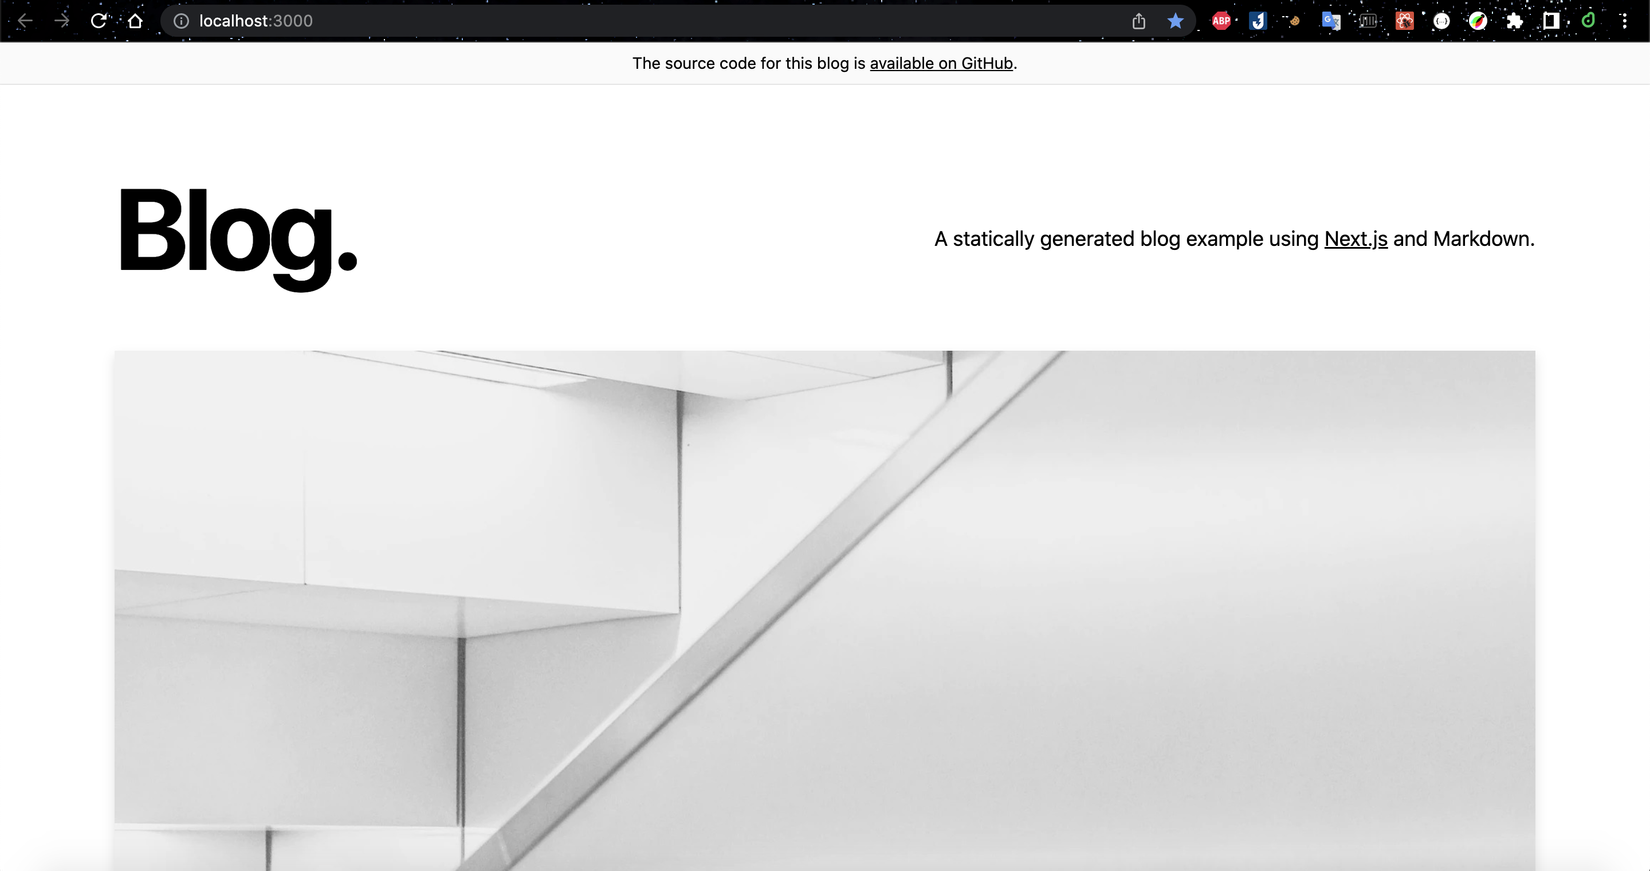
Trông cũng ổn đấy :v, ô kê vào phần chính nào ...
Build on Docker
Đầu tiên thì mình sẽ nhét những files hay folders không cần thiết vào .dockerignore:
node_modules
.next
.vscode
*.DS_Store
.gitignore
README.md
.dockerignore
LICENSE
.docker
.gitlab
.git
Như đã đề cập ở trên mình sẽ trình bày 3 kịch bản. Bây giờ, mình sẽ sử dụng cách tạo cơ bản trước theo basic.dockerfile:
FROM node:16-alpine
LABEL author="ductnn <ductn53@gmail.com>"

WORKDIR /app

COPY package.json yarn.lock ./
RUN apk add --no-cache git \
    && yarn install --frozen-lockfile \
    && yarn cache clean

COPY . .
RUN yarn build

EXPOSE 3000

CMD ["yarn", "start"]
Tiến hành build:
➜ blog-starter git:(master) ✗ docker build -t blog-with-basic-dockerfile -f .docker/basic.dockerfile .

# Check docker images
➜  blog-starter git:(master) ✗ docker images
REPOSITORY                                       TAG                               IMAGE ID       CREATED          SIZE
blog-with-basic-dockerfile                       latest                            b70f75178890   8 seconds ago    370MB
Ở cách build này, image tạo ra có kích thước là 370MB. Trên thực tế, dự án
của chúng ta sẽ cần nhiều packages hơn nên với cách build này chúng ta không thể
tối ưu được nhiều.
Tiếp theo, mình sẽ dùng Multi stage để build dockerfile.
Ở đây, mình chia thành 3 stage là base, build, production:
# Build BASE
FROM node:16-alpine as BASE
LABEL author="ductnn <ductn53@gmail.com>"

WORKDIR /app
COPY package.json yarn.lock ./
RUN apk add --no-cache git \
    && yarn install --frozen-lockfile \
    && yarn cache clean

# Build Image
FROM ductn4/node:16-alpine AS BUILD
LABEL author="ductnn <ductn53@gmail.com>"

WORKDIR /app
COPY --from=BASE /app/node_modules ./node_modules
COPY . .
RUN apk add --no-cache git curl \
    && yarn build \
    && rm -rf node_modules \
    && yarn install --production --frozen-lockfile --ignore-scripts --prefer-offline \
    # Follow https://github.com/ductnn/Dockerfile/blob/master/nodejs/node/16/alpine/Dockerfile
    && node-prune

# Build production
FROM node:16-alpine AS PRODUCTION
LABEL author="ductnn <ductn53@gmail.com>"

WORKDIR /app

COPY --from=BUILD /app/package.json /app/yarn.lock ./
COPY --from=BUILD /app/node_modules ./node_modules
COPY --from=BUILD /app/.next ./.next
COPY --from=BUILD /app/public ./public

EXPOSE 3000

CMD ["yarn", "start"]
Ở stage: base mình tiền hành install package.json, mục đích là để lấy node_modules
phục vụ cho stage: build. Trong có trình thực hiện cài đặt mình có dùng thêm
--frozen-lockfile để "đóng băng" packages.
Tiếp theo, stage: build là stage quan trọng nhất. Bước này, mình sẽ copy
node_modules ở stage: base và source code xong tiến hành yarn build. Sau
khi build xong mình sẽ xoá node_modules đi và ... cài lại 😅 ủa để làm chi ???
Có 1 chút khác mình sử dụng thêm --production với mục đích chỉ cài các packages
cần thiết trong package.json và bỏ qua các packages trong phần devDependencies.
Điều này sẽ giúp giảm nhẹ hơn node_modules rất nhiều,

mình không cần lo chạy lỗi vì mình đã build đầy đủ từ bước trên rồi. Nhưng mình
vẫn muốn thằng node_modules nhẹ hơn ...

Okies !!! Tiếp đó, mình sử dụng 1 chiếc tool để làm nhẹ đi node_modules tên
là node-prune, trong base node image ở stage build
mình đã cài sẵn node-prune, anh em có thể tham khảo cách cài đặt tại đây.
Cuối cùng, stage: production mình chỉ cần copy các files, folders cần thiết
xuống là được. Build thử nào:
➜ blog-starter git:(master) ✗ docker build -t blog-with-multistage-dockerfile -f .docker/multistage.dockerfile .
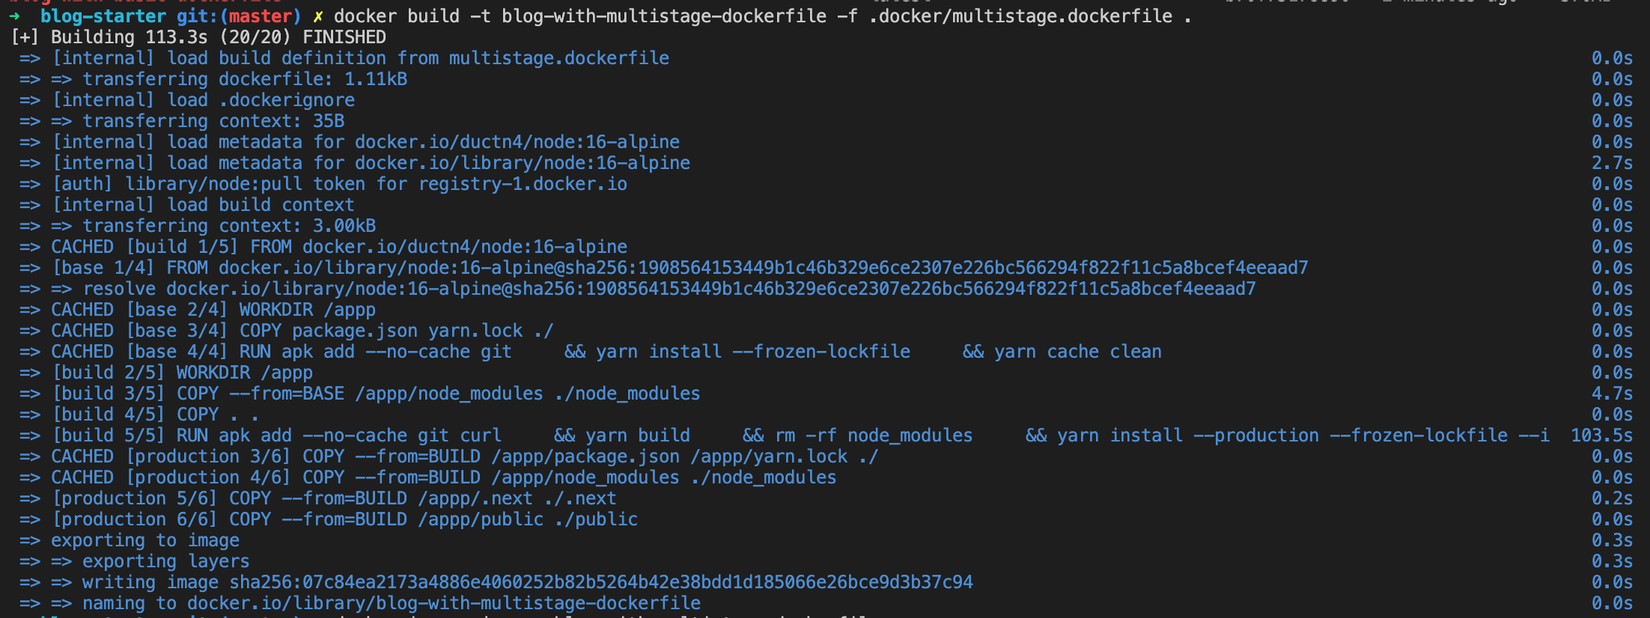
# Check docker images
➜  blog-starter git:(master) ✗ docker images
REPOSITORY                                           TAG                               IMAGE ID       CREATED           SIZE
blog-with-multistage-dockerfile                      latest                            07c84ea2173a   38 seconds ago    339MB
Tác dụng của node-prune:
         files total 43,924
       files removed 12,814
        size removed 28 MB
            duration 866ms
Vậy là cũng giảm được khá khá so với cách build basic.
Cách cuối cùng, mình vẫn sẽ làm giống cách 2 là sử dụng Multi stage nhưng sẽ
kết hợp thêm mode: standalone, cách này thì mình cũng mới sử dụng do các anh
dev maintain thằng NextJS cũng đang fix bugs cho phần này.
Để sử dụng mode standalone mình sẽ tạo thêm file next.config.js (nếu trong dự
án của anh em có rồi thì thôi :v) và thêm 1 đoạn code nhỏ:
module.exports = {
    output: "standalone"
}
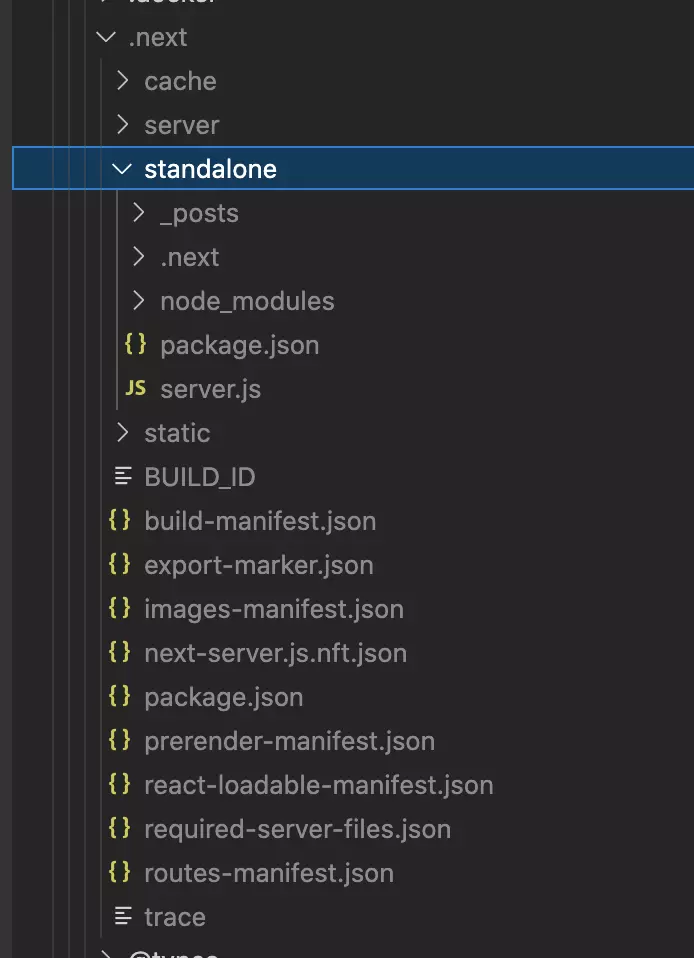
Sau đó, chúng ta tiến hành build thử, ở mode này trong folder .next sẽ tạo
ra thêm 1 folder con tên là standalone. Trong đây, NextJS sẽ tự động copy
các files và packages cần thiết để chạy, tham khảo thêm
Oke, bắt đầu viết dockerfile:
# Build BASE
FROM node:16-alpine as BASE
LABEL author="ductnn"
WORKDIR /app
COPY package.json yarn.lock ./
RUN apk add --no-cache git \
&& yarn --frozen-lockfile \
&& yarn cache clean
# Build Image
FROM ductn4/node:16-alpine AS BUILD
LABEL author="ductnn"
WORKDIR /app
COPY /app/node_modules ./node_modules
COPY . .
RUN apk add --no-cache git curl \
&& yarn build \
&& cd .next/standalone \
# Follow https://github.com/ductnn/Dockerfile/blob/master/nodejs/node/16/alpine/Dockerfile
&& node-prune
# Build production
FROM node:16-alpine AS PRODUCTION
LABEL author="ductnn"
WORKDIR /app
COPY /app/public ./public
COPY /app/next.config.js ./
# Set mode "standalone" in file "next.config.js"
COPY /app/.next/standalone ./
COPY /app/.next/static ./.next/static
EXPOSE 3000
CMD ["node", "server.js"]
Vẫn giống cách làm của cách 2, chỉ khác ở stage: production ta chỉ cần copy
folders .next/standalone và .next/static thay vì copy hết cả folders .next
và node_modules. Oke build thôi ....
➜ blog-starter git:(master) ✗ docker build -t blog-with-multistage-standalone-dockerfile -f .docker/multistage_standalone.dockerfile .
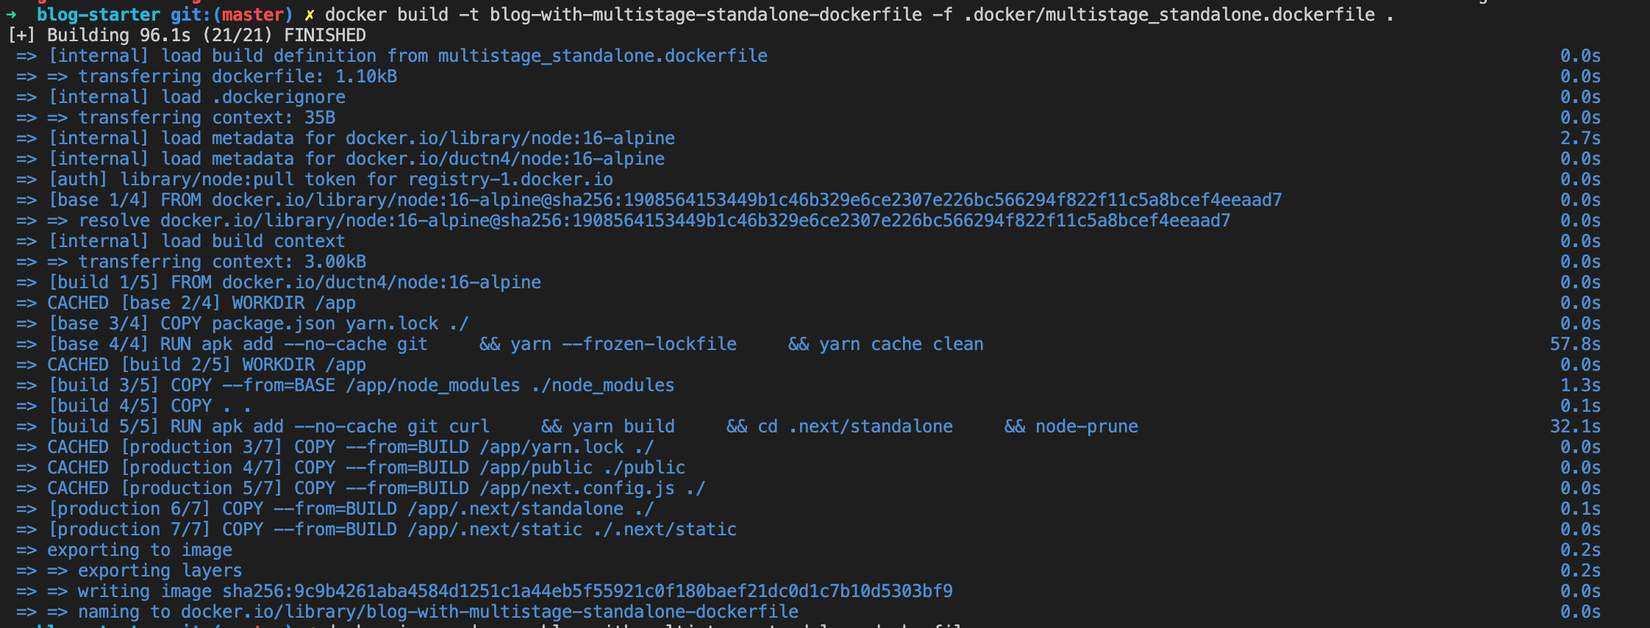
# Check docker images
➜  blog-starter git:(master) ✗ docker images
REPOSITORY                                                      TAG                     IMAGE ID       CREATED           SIZE
blog-with-multistage-standalone-dockerfile                      latest                  07c84ea2173a   38 seconds ago    119MB
WoW image build ra chỉ con 119MB nhẹ đáng kể :v

Kết
Vậy là mình vừa trình bày 2 cách để tối ưu image cho dự án sử dụng NextJS. Anh
em cho mình xin ý kiến và nếu có thêm phương pháp tối ưu nào khác thì share
cho mình với nhé 🥳 🥳 🥳.
Cảm ơn anh em !!!
All rights reserved
