Tối Ưu Ảnh Với Laravel Cực Đơn Giản ( Có Demo ) Phần 2
Bài đăng này đã không được cập nhật trong 4 năm
Ở phần 1, chúng ta đã biết cách sử dụng một thư viện khá phổ biến trong PHP để xử lý việc tối ưu ảnh trước khi lưu trên server rồi.
Hôm nay mình sẽ giới thiệu thêm phương pháp khác khá thú vị để việc lưu trữ ảnh trở nên dễ dàng hơn, storage của server và site của bạn vẫn load được những tấm hình chất lượng mà dung lượng lại thấp đi đáng kể. Cùng bắt đầu thôi các bạn 
1. Khởi tạo Project và UI Upload Ảnh
Bạn có thể tạo 1 project Laravel default với tên tùy thích, khá đơn giản rồi
Project mình tạm để là optimize-photo
Câu lệnh chạy:
composer create-project --prefer-dist laravel/laravel optimize-photo
Ngồi chờ 1 lúc cho composer nó khởi tạo xong các package là được các bạn nha 
Sau đó mở project vừa tạo lên, các bạn kiểm tra xem có file .env chưa. Nếu chưa có thì hãy edit file env.example -> .env. Như của mình thì khi vừa tạo xong thì nó đã có luôn rồi.
Chúng ta sẽ cần file này khi config môi trường, API Key , v.v
Tạo UI Upload ảnh
Chỉ cần 1 giao diện đơn giản có phần upload file để xử lý việc optimize thôi
Các bạn vào đường dẫn resources/views rồi tạo 1 file mới home.blade.php
<!DOCTYPE html>
<html>
<head>
   <meta charset="utf-8">
   <meta name="viewport" content="width=device-width, initial-scale=1">

   <title>Welcome Optimizer Photo</title>

   <!-- Fonts -->
   <link href="https://fonts.googleapis.com/css?family=Nunito:200,600" rel="stylesheet">

   <!-- Styles -->
   <style>
       html, body {
           background-color: #fff;
           color: #636b6f;
           font-family: 'Nunito', sans-serif;
           font-weight: 200;
           height: 100vh;
           margin: 0;
       }

       .full-height {
           height: 100vh;
       }

       .flex-center {
           align-items: center;
           display: flex;
           justify-content: center;
       }

       .position-ref {
           position: relative;
       }

       .top-right {
           position: absolute;
           right: 10px;
           top: 18px;
       }

       .content {
           text-align: center;
       }

       .title {
           font-size: 84px;
       }

       .links > a {
           color: #636b6f;
           padding: 0 25px;
           font-size: 13px;
           font-weight: 600;
           letter-spacing: .1rem;
           text-decoration: none;
           text-transform: uppercase;
       }

       .m-b-md {
           margin-bottom: 30px;
       }
   </style>
</head>
<body>
<div class="flex-center position-ref full-height">
   <div class="content">
       <div class="title m-b-md">
           Welcome Optimizer Photo
       </div>

       @if ($message = Session::get('success'))
           <div class="alert alert-success alert-block">
               <button type="button" class="close" data-dismiss="alert">×</button>
               <strong>{{ $message }}</strong>
           </div>
       @endif

       <div class="links">
           <form action="/upload" method="POST" enctype="multipart/form-data">
               @csrf
               <div class="row">

                   <div class="col-md-6">
                       <input type="file" name="file" class="form-control">
                   </div>

                   <div class="col-md-6">
                       <button type="submit" class="btn btn-success">Upload a File</button>
                   </div>

               </div>
           </form>
       </div>
   </div>
</div>
</body>
</html>
Tiếp đến cần tạo 1 Route và Controller để sử dụng view này
Tạo controller OptimizePhotoController
Sử dụng lệnh sau:
php artisan make:controller OptimizePhotoController
Cần edit file controller ở trên 1 chút
public function home() { return view(‘home’); }
Mở file web.php trong folder routes khai báo 1 Routes mới như sau:
Route::get('/', 'FileUploadController@home');
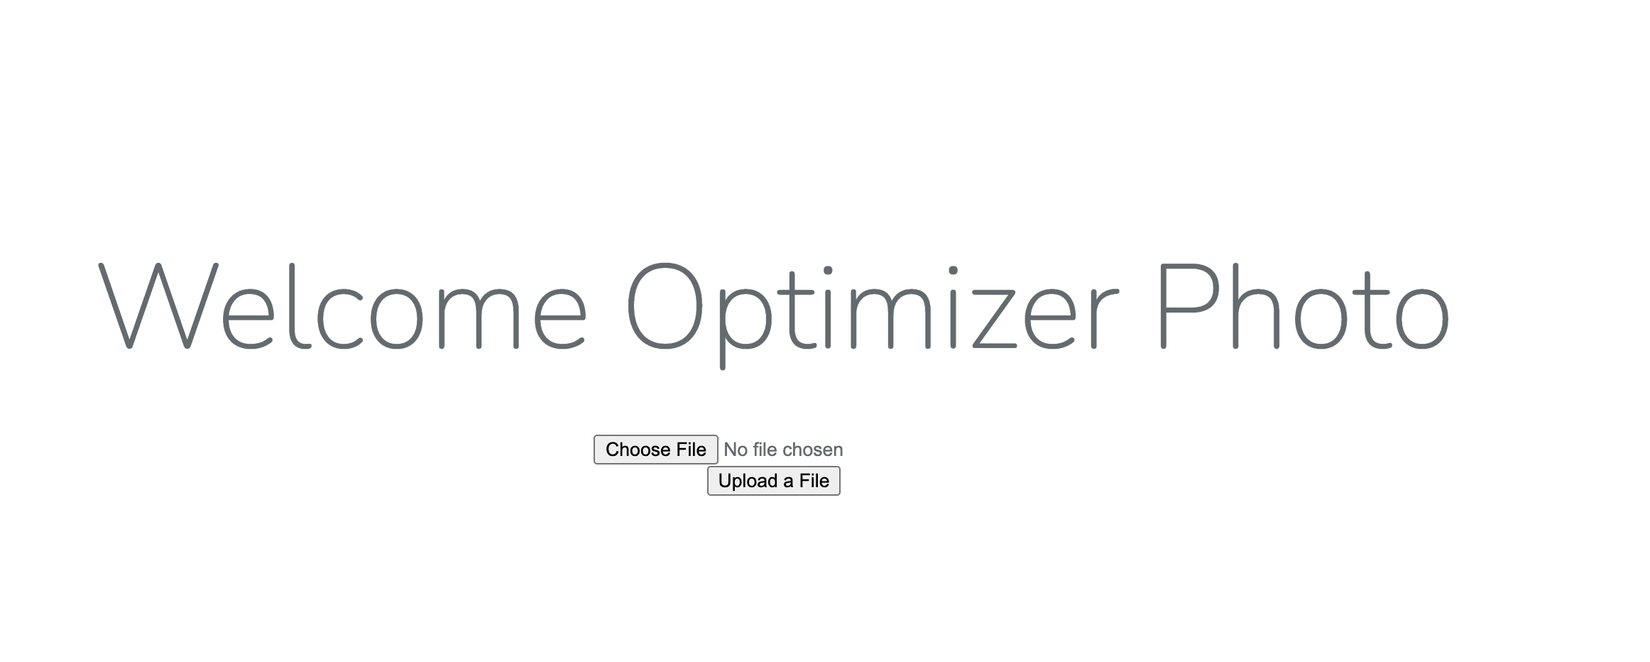
Như vậy khi truy cập domain sẽ trỏ về view home đã được tạo ở trên.
(Hình ảnh trang Home)
Thêm 1 routes nữa để thực hiện việc submit file
Route::get('/', 'OptimizePhotoController@submit');
Mở file controller lúc đầu , chúng ta khai báo thêm 1 method submit như sau:
public function submit(Request $request)
{
   $request->file('file')->store('images');

   return back()
       ->with('success', 'File uploaded successfully');
}
Nếu như quá trình lưu file thành công thì ảnh sẽ nằm trong đường dẫn : storage/app/images
Bước 1 đã hoàn tất việc tạo UI và controller sang bước 2 chúng ta sẽ cần config sử dụng sdk Cloudinary cho việc tối ưu ảnh. Đây là công cụ quan trọng giúp cho quá trình optimize image có được tối ưu thực sự hay không.
2. Cài đặt và sử dụng Cloudinary
Đây là 1 service bên thứ 3 cho phép bạn tối ưu ảnh, chỉnh sửa cũng như lưu trữ. Và không chỉ ảnh mà còn cả Video, nó không miễn phí hoàn toàn, tuy nhiên đối với nhu cầu cá nhân và lưu trữ ít dữ liệu trên blog thì hoàn toàn có thể dùng Free được đó.
Đăng ký Cloudinary
Mình tạo 1 tài khoản và sử dụng xem thế nào.
Sau khi confirm email xong bạn có thể sử dụng Free Plan rồi.
(Hình ảnh đăng ký)

Cài đặt SDK Cloudinary
Command:
composer require cloudinary-labs/cloudinary-laravel
Sau khi cài đặt finished, bạn vào lại Dashboard của Cloudinary, nhớ bấm vào button Dashboard để thấy thông tin như trong ảnh nha:
(Hình ảnh Cloudinary Dashboard)
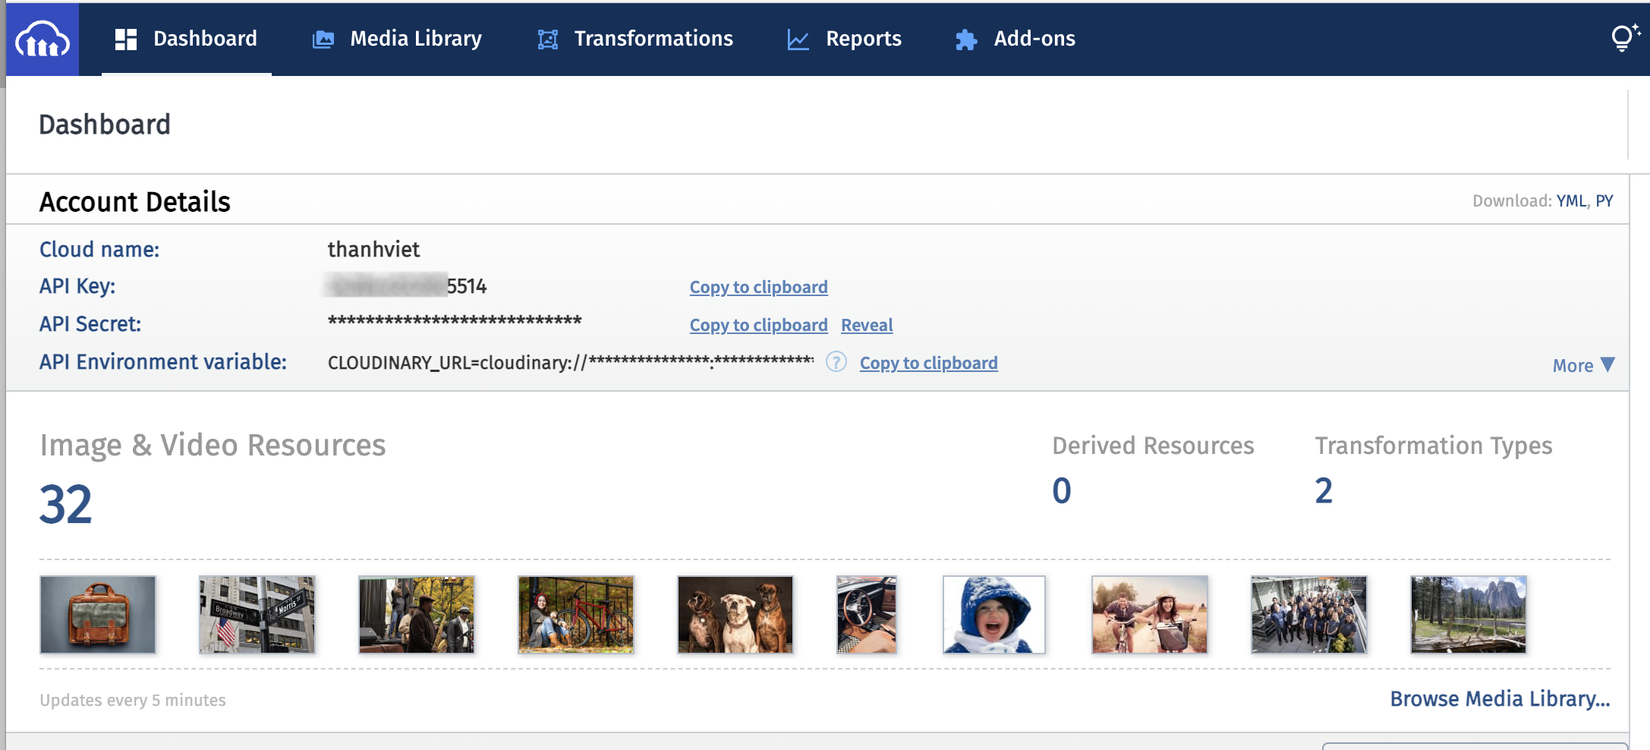
Để lấy key cho bước tiếp theo
Config .env
Đã có key rồi bạn thêm phần khai báo này trong file môi trường:
CLOUDINARY_URL=xxxxxxxxxxxxx
CLOUDINARY_UPLOAD_PRESET=xxxxxxxxxxxxx
CLOUDINARY_NOTIFICATION_URL=
Bạn vào trong config/app.php
Tìm phần này và thêm CloudinaryServiceProvider của Cloudinary
'providers' => [
    ...
    CloudinaryLabs\CloudinaryLaravel\CloudinaryServiceProvider::class,
    ...
]
Trong section aliases
'aliases' => [
    ...
    'Cloudinary' => CloudinaryLabs\CloudinaryLaravel\Facades\Cloudinary::class,
    ...
]
Chạy lệnh sau để publish config:
php artisan vendor:publish --provider="CloudinaryLabs\CloudinaryLaravel\CloudinaryServiceProvider" --tag="cloudinary-laravel-config"
Sửa method submit ở trong controller thành:
OptimizePhotoController.php
public function submit(Request $request)
    {

        $image_name = $request->file('file');

        $compressedImage = cloudinary()->unsignedUpload($image_name, [
            'folder' => 'upload',
            'transformation' => [
                'quality' => 'q_auto',
                'format' => 'f_jpg'
            ]
        ])->getSecurePath();

        dd($compressedImage);

        return back()
            ->with('success', 'File uploaded successfully');
    }
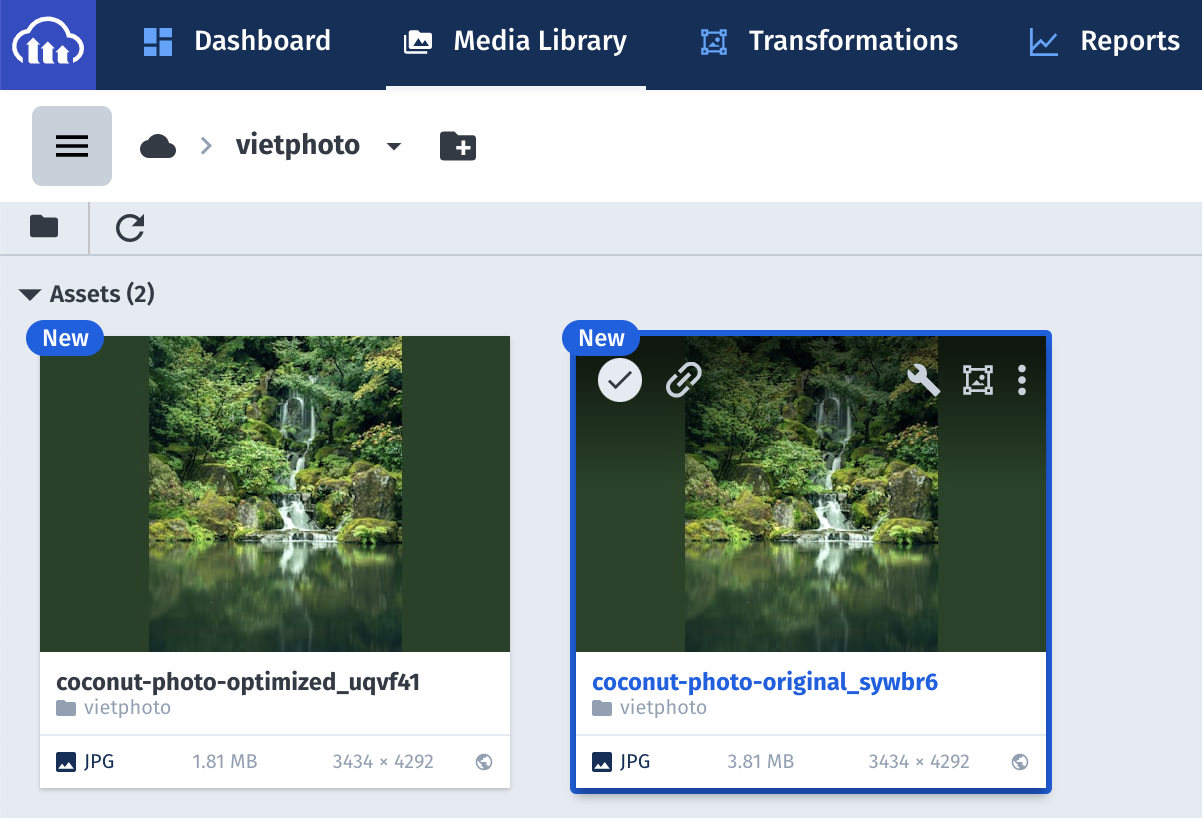
Kết quả:
Sau khi bạn chạy project và kiểm tra dữ liệu trên Dashboard để thấy sự khác nhau của file gốc và file ảnh đã được optimize
(Ảnh kết quả)
File gốc: 3.81Mb
File Optimized: 1,81Mb
Cách resize image khi cần:
$resizedImage = cloudinary()->upload($request->file('file')->getRealPath(), [
            'folder' => 'avatar',
            'transformation' => [
                      'width' => 250,
                      'height' => 250,
              ‘gravity’ => ‘faces’,
              ‘crop’ => ‘fill’
             ]
])->getSecurePath();
Crop image:
$cropImage = cloudinary()->upload($request->file('file')->getRealPath(), [
            'folder' => 'uploads',
            'transformation' => [
                      'width' => 100,
                      'height' => 100,
              ‘crop’ => ‘limit’
             ]
])->getSecurePath();
3. Tổng kết
Bài viết trên đây giới thiệu cách sử dụng Cloudinary để tối ưu ảnh của bạn trở nên tốt hơn, hy vọng sẽ giúp ích được các bạn trong quá trình build project đang gặp khó khăn về xử lý ảnh trên storage. Nếu có vướng mắc các bạn hãy để lại comment để được mọi người cùng chia sẻ nhé. 
All rights reserved
