Tìm hiểu về SwiftUI (Phần 4): Xây dựng context menu cho List View
Bài đăng này đã không được cập nhật trong 6 năm
I. Giới thiệu
Context menu là một dạng menu mới, được Apple giới thiệu khi ra mắt iOS 13. Về cơ bản, Context menu cũng giống với cơ chế hoạt động menu Peek and Pop của 3D Touch. Trước đây, trên các điện thoại có 3D Touch, khi chúng ta nhấn lực đủ mạnh vào icon app, một menu sẽ hiển thị ra với list các action.
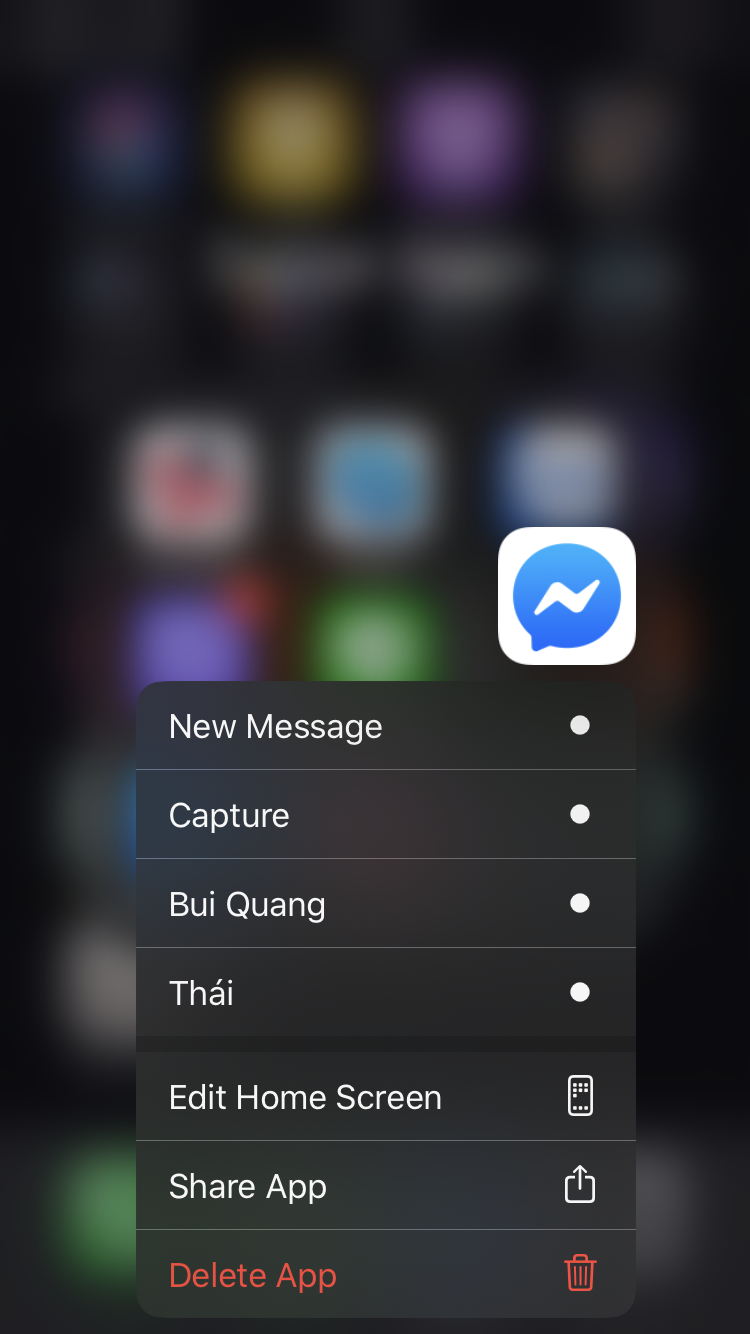
Trên iOS 13, Peek and Pop đã được thay thế bằng Context menu, cơ chế hoạt động của Context menu cũng tương tự Peek and Pop, chỉ khác là chúng ta không phải nhấn mạnh nữa, thay vào đó là nhấn và giữ trong 1 khoảng thời gian. Context menu cũng hỗ trợ tất cả các máy, chứ không chỉ riêng các máy có 3D Touch.
Trong bài này, chúng ta sẽ cùng xây dựng 1 ứng dụng đơn giản bằng SwiftUI, sử dụng Context menu để thêm action cho các View trong App.
II. Nội dung
1. Start project
Bài này giả định là các bạn đã đọc qua hết các bài viết của serial này, và đã biết các khái niệm cơ bản, cách tạo View của SwiftUI. Trong 2 bài viết đầu của loạt bài viết tìm hiểu về SwiftUI, tôi đã giới thiệu cách tạo một List View, chúng ta sẽ sử dụng luôn project của bài đó. Các bạn có thể xem lại bài viết tại đây: Phần 1 Phần 2.
Dành cho các bạn không muốn đọc lại 2 bài viết trên, các bạn có thể tạo project mới bằng SwiftUI, và thêm code sau:
struct ContentView: View {

    var phones: Array = phoneData

    var body: some View {
        NavigationView {
            List(phones) { phone in
                NavigationLink(destination: PhoneDetail(phone: phone)) {
                    PhoneCell(phone: phone)
                }
            }
            .navigationBarTitle("List iPhone")
        }
    }
}

struct ContentView_Previews: PreviewProvider {
    static var previews: some View {
        ContentView(phones: phoneData)
    }
}

struct Phone: Identifiable {
    var id = UUID()
    var name: String
    var price: String
}

let phoneData = [
    Phone(name: "iPhone 11 Pro Max", price: "1099$"),
    Phone(name: "iPhone 11 Pro", price: "999$"),
    Phone(name: "iPhone 11", price: "699$"),
    Phone(name: "iPhone XR", price: "599$"),
    Phone(name: "iPhone 8", price: "449$")
]

struct PhoneCell: View {

    var phone: Phone

    var body: some View {
        VStack(alignment: .leading) {
            Text(phone.name)
                .font(.largeTitle)
                .foregroundColor(Color.orange)
                .background(Color.gray)
            Text(phone.price)
                .border(Color.gray, width: 1)
                .foregroundColor(Color.red)
        }
    }
}

struct PhoneCell_Previews: PreviewProvider {
    static var previews: some View {

        PhoneCell(phone: phoneData[0])
    }
}


struct PhoneDetail: View {
    var phone: Phone

    var intro = "The iPhone is a line of smartphones designed and marketed by Apple Inc. All generations of the iPhone use Apple's iOS mobile operating system software. The first-generation iPhone was released on June 29, 2007, and multiple new hardware iterations with new iOS releases have been released since."

    var body: some View {
        VStack(alignment: .center) {
            Text(phone.name)
                .font(.largeTitle)
            Divider()
            Text(phone.price)
                .font(.title)
            Divider()
            Text(intro)
                .font(.headline)
                .multilineTextAlignment(.center)
                .lineLimit(10)
        }
        .padding()
        .navigationBarTitle(phone.name)
    }
}

struct PhoneDetail_Previews: PreviewProvider {
    static var previews: some View {
        PhoneDetail(phone: phoneData[0])
    }
}
2. Thêm trạng thái hiển thị cho List cell
Đầu tiên, thêm property didBuy trong Struct Phone như sau:
struct Phone: Identifiable {
    var id = UUID()
    var name: String
    var price: String
	var didBuy = false  // thêm property
}
Tiếp theo, thay đổi hiển thị của cell như sau:
struct PhoneCell: View {

    var phone: Phone

    var body: some View {
        HStack() {
            VStack(alignment: .leading) {
                Text(phone.name)
                    .font(.largeTitle)
                    .foregroundColor(Color.orange)
                    .background(Color.gray)
                Text(phone.price)
                    .border(Color.gray, width: 1)
                    .foregroundColor(Color.red)
            }

            // Thêm icon checkmark
            if phone.didBuy == true {
                Spacer()

                Image(systemName: "checkmark")
                    .foregroundColor(.yellow)
            }
        }
    }
}
3. Tạo context menu
Bây giờ, chúng ta cần hiển thị menu khi bấm và giữ PhoneCell. Việc tạo context menu cũng khá đơn giản, muốn tạo context menu cho view nào, thì chúng ta add vào view đó, cụ thể ở đây chúng ta cần tạo context menu cho PhoneCell như sau:
struct ContentView: View {

    var phones: Array = phoneData

    var body: some View {
        NavigationView {
            List(phones) { phone in
                NavigationLink(destination: PhoneDetail(phone: phone)) {
                    PhoneCell(phone: phone)
                        .contextMenu { // 1
                            Button(action: {    // 2
                                // mark as bought
                            }) {
                                HStack {
                                    Text("Mark as bought")
                                    Image(systemName: "checkmark")
                                }
                            }

                            Button(action: {    // 3
                                // delete
                            }) {
                                HStack {
                                    Text("Delete")
                                    Image(systemName: "trash")
                                }
                            }
                    }
                }
            }
            .navigationBarTitle("List iPhone")
        }
    }
}
Trong đoạn code trên, chúng ta lần lượt làm:
- 1: Tạo context menu cho PhoneCell. Các bạn luôn nhớ, tạo context menu cho View nào thì trong code chúng ta gán luôn ở View đó
- 2: Tạo button “Mark as bought” cho menu. Trong button gồm text, ảnh checkmark và action xử lý chúng ta tạm bỏ trống
- 3: Tạo button “Delete” cho menu. Trong button gồm text, ảnh trash và action xử lý delete chúng ta tạm bỏ trống
4. Tạo các hàm xử lý cho context menu
Đầu tiên, chúng ta cần chuyển property phones thành property wrapper như sau:
@State var phones: Array = phoneData
Property wrapper tôi đã đề cập trong bài viết trước, nếu bạn nào chưa biết thì có thể tham khảo tại đây
Tiếp theo, vẫn trong struct ContentView, chúng ta thêm 2 hàm xử lý delete và markAsBought như sau:
	private func setAsBought(item phone: Phone) {
        if let index = self.phones.firstIndex(where: { $0.id == phone.id }) {
            self.phones[index].didBuy.toggle()
        }
    }

    private func delete(item phone: Phone) {
        if let index = self.phones.firstIndex(where: { $0.id == phone.id }) {
            self.phones.remove(at: index)
        }
    }
Cuối cùng, chúng ta thêm các hàm xử lý này vào các button của context menu như sau:
	var body: some View {
        NavigationView {
            List(phones) { phone in
                NavigationLink(destination: PhoneDetail(phone: phone)) {
                    PhoneCell(phone: phone)
                        .contextMenu { // 1
                            Button(action: {    // 2
                                self.setAsBought(item: phone)
                            }) {
                                HStack {
                                    Text("Mark as bought")
                                    Image(systemName: "checkmark")
                                }
                            }

                            Button(action: {    // 3
                                self.delete(item: phone)
                            }) {
                                HStack {
                                    Text("Delete")
                                    Image(systemName: "trash")
                                }
                            }
                    }
                }
            }
            .navigationBarTitle("List iPhone")
        }
    }
Build chạy thử App, bấm và giữ 1 row bất kỳ 1 lúc, context menu sẽ hiển thị ra như hình sau:
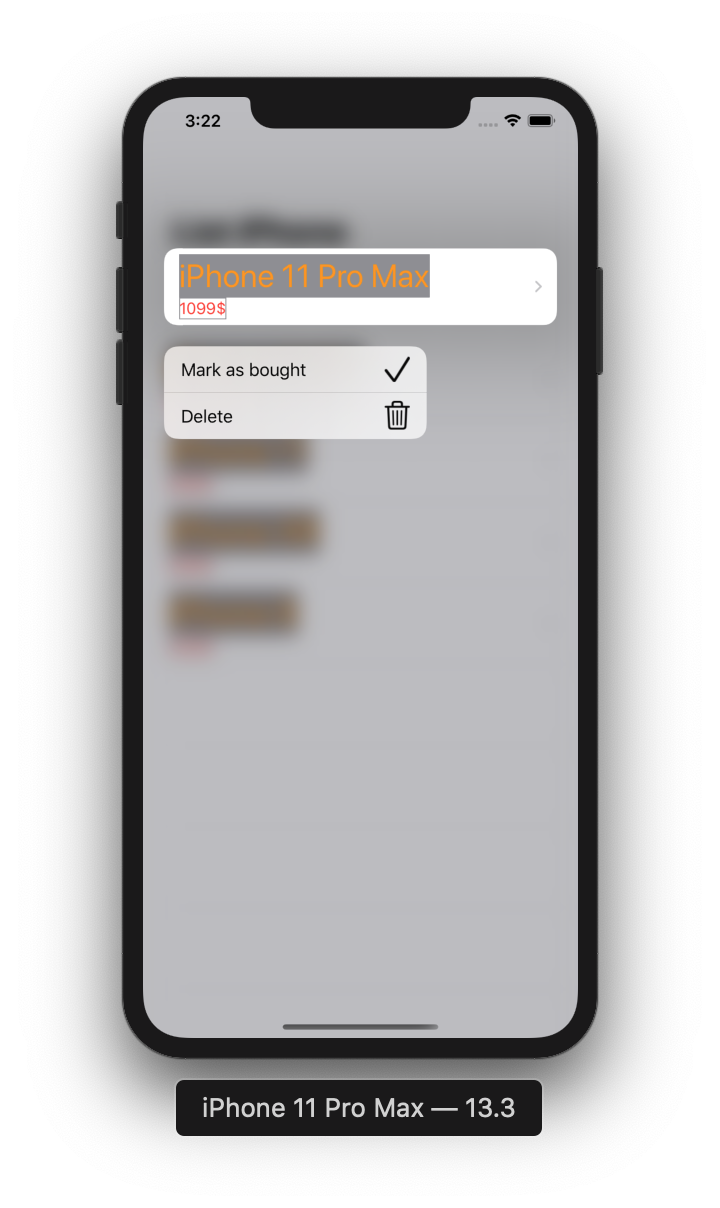
Chọn vào các action, chúng ta sẽ được kết quả như mong muốn
III. Kết luận
Trên đây tôi đã hướng dẫn các bạn cách tạo context menu cho View trong ứng dụng. Hi vọng bài viết này giúp ích các bạn trong việc tìm hiểu về context menu nói riêng và SwiftUI nói chung.
Cuối cùng, xin cảm ơn các bạn đã theo dõi bài viết, have a nice day 
All rights reserved
