Tạo ứng dụng đọc các loại mã vạch với Mobile Vision API
Bài đăng này đã không được cập nhật trong 7 năm
Chào các bạn! Đến hẹn lại phải lên, hôm nay mình sẽ hướng dẫn các bạn tạo một ứng dụng đọc mã vạch sử dụng Google Play Services.
Trước hết bạn cần tạo một project Android mới, cách tạo rất cơ bản mình xin phép không nêu chi tiết ở đây.
Cấu hình thư viện thông qua build.gradle
Chúng ta sẽ sử dụng Mobile Vision APIs của thư viện Google Play Services vì vậy phải cài đặt dependencies trong app/build.gradle như sau:
dependencies {
    implementation fileTree(dir: 'libs', include: ['*.jar'])
    implementation 'com.android.support:appcompat-v7:27.0.2'
    implementation 'com.google.android.gms:play-services-vision:15.0.0'
}
Sau đó nhấn nút Sync Gradle cho Android Studio sync các thư viện về project.
Tạo layout cho ứng dụng
Chúng ta tạo layout đơn giản gồm 1 image hiển thị ảnh của barcode, 1 button khi nhấn vào đó sẽ bắt đầu đọc nội dung từ ảnh mã vạch và 1 TextView để hiển thị nội dung sau khi decode mã vạch.
Tại activity_home vừa tạo bạn sắp xếp các Views như sau:
<?xml version="1.0" encoding="utf-8"?>
<RelativeLayout xmlns:android="http://schemas.android.com/apk/res/android"
    android:layout_width="match_parent"
    android:layout_height="match_parent"
    android:orientation="vertical">

    <TextView
        android:id="@+id/txtContent"
        android:layout_width="wrap_content"
        android:layout_height="wrap_content"
        android:layout_margin="4dp"
        android:padding="4dp"
        android:text="Decoded Result: " />

    <Button
        android:id="@+id/button"
        android:layout_width="wrap_content"
        android:layout_height="wrap_content"
        android:layout_below="@+id/txtContent"
        android:layout_centerHorizontal="true"
        android:text="Process" />

    <ImageView
        android:id="@+id/imgview"
        android:layout_width="wrap_content"
        android:layout_height="wrap_content"
        android:layout_below="@+id/button"
        android:layout_centerHorizontal="true" />
</RelativeLayout>
Thêm ảnh mã vạch vào ứng dụng
Thông thường bạn sẽ chụp ảnh mã vạch với camera của thiết bị, hoặc sử dụng camera preview và detect và decode từng frame nhưng trong phạm vi bài viết này để cho đơn giản mình sẽ chỉ hướng dẫn các bạn decode từ 1 ảnh Bitmap mà thôi.
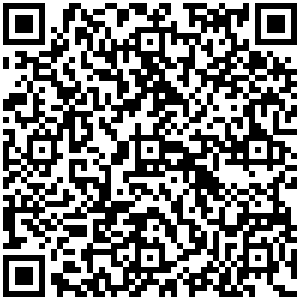
Đây sẽ là ảnh chúng ta sử dụng, bạn có thể tải nó về và đặt tên là puppy.png sau đó thêm nó vào thư mục res/drawable của project.

Đọc mã vạch
Xử lý button
Bởi vì trong layout của chúng ta có 1 button, khi nhấn vào button đó chúng ta sẽ load ảnh puppy.png và đưa nó vào API xử lý đọc ra nội dung, chúng ta sẽ thêm đoạn code sau vào method onCreate() của HomeActivity.java như sau:
Button btn = (Button) findViewById(R.id.button);
btn.setOnClickListener(new View.OnClickListener() {
        @Override
        public void onClick(View v) {
        }
});
Load ảnh
Để cho dễ hình dung và cảm nhận trước hết chúng ta sẽ hiển thị ảnh puppy.png vào ImageView trong layout dùng BitMapFactory đọc ảnh từ resource R.drawable.puppy vào một Bitmap và hiển thị nó lên ImageView.
ImageView myImageView = (ImageView) findViewById(R.id.imgview);
Bitmap myBitmap = BitmapFactory.decodeResource(
                        getApplicationContext().getResources(),
                        R.drawable.puppy);
myImageView.setImageBitmap(myBitmap);
Sử dụng Barcode Detector
Tiếp theo chúng ta sẽ cài đặt API để nhận dạng mã vạch và đọc mã vạch.
BarcodeDetector detector =
    new BarcodeDetector.Builder(getApplicationContext())
                        .setBarcodeFormats(Barcode.DATA_MATRIX | Barcode.QR_CODE)
                        .build();
if(!detector.isOperational()){
   txtView.setText("Could not set up the detector!");
   return;
}
Trong lần chạy đầu tiên của detector. Google Play Services chưa sẵn sàng xử lý barcodes vì vậy chúng ta cần phải kiểm tra detector của chúng ta đã hoạt động chưa trước khi sử dụng nó. Nếu chưa chúng ta phải đợi đến khi nó tải dữ liệu xong hoặc thông báo cho người dùng biết họ cần kết nối internet hoặc cần thêm dung lượng trống.
BarcodeDetector detector =
    new BarcodeDetector.Builder(getApplicationContext())
                        .setBarcodeFormats(Barcode.DATA_MATRIX | Barcode.QR_CODE)
                        .build();
if(!detector.isOperational()){
   txtView.setText("Could not set up the detector!");
   return;
}
Detect mã vạch
Bây giờ chúng ta đã cài đặt xong detector và biết rằng nó hoạt động bình thường chúng ta sẽ bắt đầu đọc nội dung trong mã vạch. Chúng ta sẽ làm đơn giản là tạo một frame từ Bitmap bên trên sau đó đưa nó vào detector. Nó sẽ trả ra 1 SparseArray chứa các mã vạch đọc được.
API có khả năng detect nhiều mã vạch trong cùng một frame. Trong trường hợp của chúng ta thì toàn bộ ảnh chỉ là 1 mã vạch QR mà thôi.
Frame frame = new Frame.Builder().setBitmap(myBitmap).build();
SparseArray<Barcode> barcodes = detector.detect(frame);
Decode
Thông thường trong bước này bạn sẽ duyệt qua SparseArray và xử lý riêng từng mã vạch. và cũng có khả năng là sẽ không có mã vạch nào hoặc có vài mã vạch. Trường hợp của chúng ta biết rằng có duy nhất 1 QR code nên chúng ta có thể xử lý đơn giản như sau:
Barcode thisCode = barcodes.valueAt(0);
TextView txtView = (TextView) findViewById(R.id.txtContent);
txtView.setText(thisCode.rawValue);
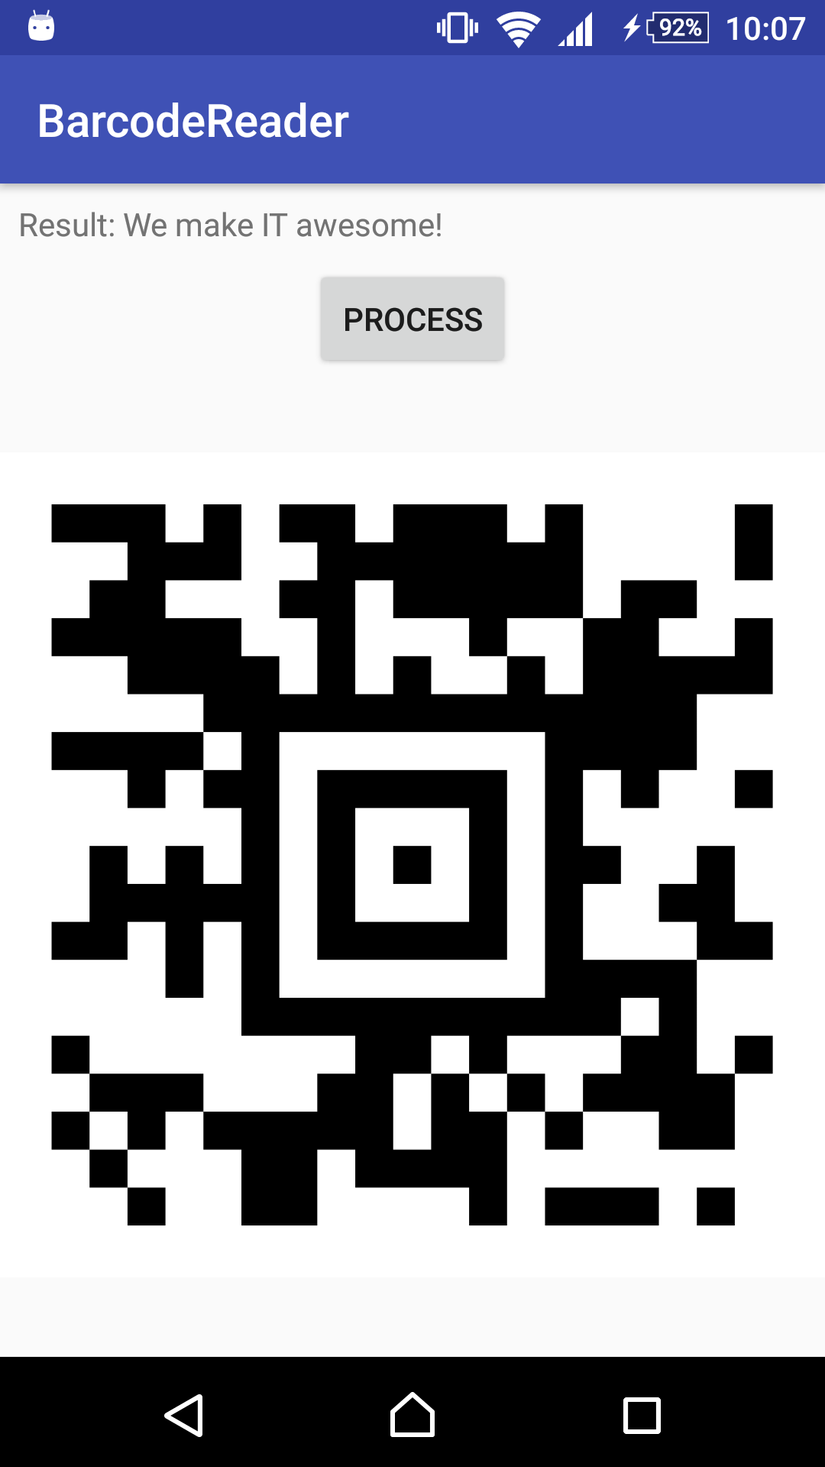
Kết quả
BarcodeDetector support đọc hầu hết các loại mã vạch 1D hay 2D như QR code, Data Matrix, Aztec Code, EAN 13, UPC, Codabar ..vv.. nhưng mã 2 vạch thì chắc chắn không đọc được.
Bạn chạy ứng dụng sau đó nhấn nút và sẽ thấy kết quả.

Hết
Xin cảm ơn.
All rights reserved