Tạo resful API đơn giản với Laravel (Part 2)
Bài đăng này đã không được cập nhật trong 6 năm
Ở phần trước thì chúng ta đã tìm hiểu về migration rồi, phần này chúng ta sẽ tiếp tục với Controller và Routes:
Để tạo controller gõ lệnh như sau:
$php artisan make:controller ApiController
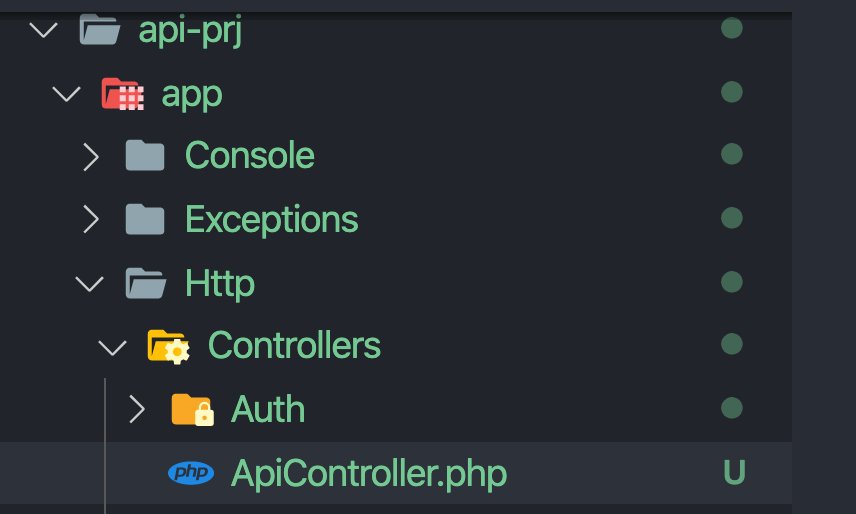
Lức này thì file ApiController.php được tạo ra ở thư mực app\http\controllers:
Thêm các functions như dưới đây:
app\http\controllers\ApiController.php
<?php

namespace App\Http\Controllers;

use Illuminate\Http\Request;

class ApiController extends Controller
{
    public function getAllStudents()
    {
        // Lấy toàn bộ danh sách về thông tin của học sinh tại đây
    }

    public function createStudent(Request $request)
    {
        // Tạo thông tin học sinh tại đây
    }

    public function getStudent($id)
    {
        // Lấy thông tin học sinh có mã ID tại đây
    }

    public function updateStudent(Request $request, $id)
    {
        // Update thông tin của một học sinh tại đây
    }

    public function deleteStudent($id)
    {
        // Xoá thông tin của một học sinh tại đây

    }
}
Kế tiếp, chúng ta cần tạo Route để dẫn đến các method thông qua Controller:
routes/api.php:
Route::get('students', 'ApiController@getAllStudents');
Route::get('students/{id}', 'ApiController@getStudent');
Route::post('students', 'ApiController@createStudent');
Route::put('students/{id}', 'ApiController@updateStudent');
Route::delete('students/{id}', 'ApiController@deleteStudent');
Note: chú ý là tất cả các API đều có tiền tố là /api, ví dụ http://localhost/api/students
Ở bài này, chúng ta tạo ra thành công Controller và Route chỉ đến Controller và method nào. Bài kế tiếp, chúng ta sẽ đi sâu vào để định nghĩa từng chức năng có được trong Controller.
All rights reserved
