Tạo game Scribble It đơn giản
Bài đăng này đã không được cập nhật trong 4 năm
Dạo nhóm bạn mình có chơi tựa game Scribble It! khá thú vị, vậy là mình nổi hứng cover tựa game này :v Hôm nay mình sẽ hướng dẫn các bạn làm một game Scribble It! cực kỳ đơn giản

Khởi tạo project
Project này mình sẽ sử dụng thư viện express và socket.io để làm server. Giao diện mình sử dụng HTML thuần.
Tạo thư mục project và một số file cần thiết:
$ mkdir scribble-it && cd scribble-it
$ touch app.js && touch index.html && touch package.json
File index.html dùng để hiển thị giao diện của game. Tạm thời, ta chỉ khởi tạo nó, nội dung sẽ được thêm ở phần sau
<!doctype html>
<html>
<head>
    <title>Scribble It</title>
</head>
<body>
    Hello world
</body>
<script src="/socket.io/socket.io.js"></script>
<script>
    var socket = io();
</script>
</html>
Trong app.js, ta tạo một server đơn giản với express.js và socket.io chạy ở cổng 3000
const express = require('express');
const app = express();
const http = require('http');
const server = http.createServer(app);
const { Server } = require("socket.io");
const io = new Server(server);

app.get('/', (req, res) => {
    res.sendFile(__dirname + '/index.html', { points: points });
});

io.on('connection', (socket) => {
    console.log('a user connected');
});

server.listen(3000, () => {
    console.log('listening on *:3000');
});
Trong file package.json ta thêm một số thông tin cơ bản như sau:
{
    "name": "scribble-it-example",
    "version": "0.0.1",
    "scripts": {
        "start": "node app.js"
    },
    "dependencies": {
        "express": "^4.17.1",
        "socket.io": "^4.1.2"
    }
}
Khi đã tạo xong các file, chúng ta cần cài đặt các package express và socket.io với câu lệnh
$ npm install
Vì file package.json mình đã đăng ký script start với command node app.js nên ta có thể bật server lên bằng
$ npm start

> scribble-it-example@0.0.1 start
> node app.js

listening on *:3000
a user connected
Sau khi đã chạy server thành công, các bạn truy cập địa chỉ http://localhost:3000. Nếu browser hiển thị dòng chữ Hello world và terminal của các bạn xuất hiện dòng chữ a user connected nghĩa là bạn đã khởi tạo project thành công.
Xây dựng giao diện
Trở lại với file index.html, chúng ta sẽ xây dựng khung giao diện cơ bản chia thành 3 cột danh sách user, bảng vẽ và chat box. Phần style cho web mình sẽ không viết ở đây vì nó khá dài và không cần thiết, các bạn có thể tham khảo tại repository của mình
<!doctype html>
<html>
<head>
    <title>Scribble It</title>
    <style>
        ... tham khảo tại github.com/SownBanana/scribble-it
    </style>
</head>

<body>
    <div id="root">
        <div id="user-list">
            User list
        </div>
        <div id="sketch">
             <!-- Element canvas để vẽ lên -->
            <canvas id="board">
            </canvas>
        </div>
        <div id="chat-pane">
            <ul id="chat-box">
            </ul>
            <form id="chat-form" action="">
                <input id="chat-input"/><button>Send</button>
            </form>
        </div>
    </div>
</body>

<script src="/socket.io/socket.io.js"></script>
<script>
    var socket = io();
</script>

</html>
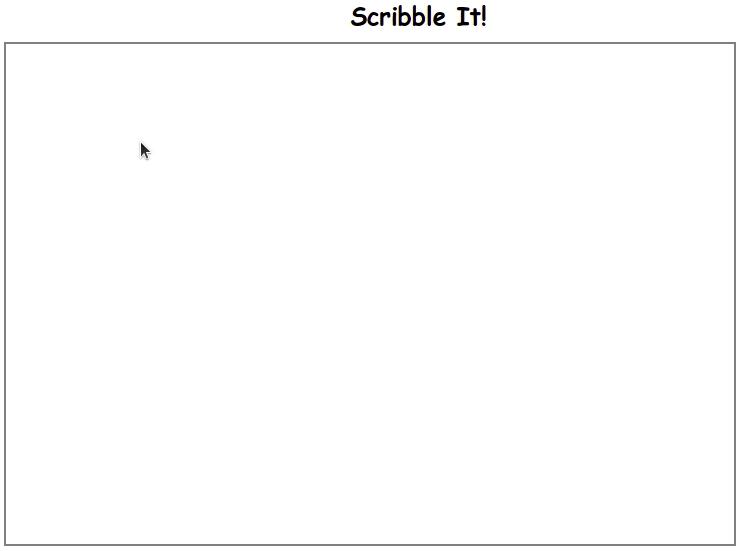
Kết quả thu được như sau
 Tiếp theo chúng ta sẽ bắt đầu xây dựng lại các chức năng của game
1. Vẽ lên bảng vẽ
Đầu tiên, để có thể vẽ lên bảng vẽ, chúng ta khởi tạo bảng vẽ #board có kích thước khớp với khung #sketch và lắng nghe sự kiện mousemove (di chuyển chuột) trên #board và lưu lại vị trí con trỏ chuột hiện tại trên #board
var canvas = document.querySelector('#board');
var ctx = canvas.getContext('2d');

var sketch = document.querySelector('#sketch');
var sketch_style = getComputedStyle(sketch);
canvas.width = parseInt(sketch_style.getPropertyValue('width'));
canvas.height = parseInt(sketch_style.getPropertyValue('height'));

// Khởi tạo context canvas
ctx.lineWidth = 5;
ctx.lineJoin = 'round';
ctx.lineCap = 'round';
ctx.strokeStyle = 'blue';

var mouse = { x: 0, y: 0 };
var last_mouse = { x: 0, y: 0 };
// Lắng nghe sự kiện di chuyển chuột trên canvas để lưu lại điểm di chuyển
canvas.addEventListener('mousemove', function (e) {
    last_mouse.x = mouse.x;
    last_mouse.y = mouse.y;

    mouse.x = e.pageX - this.offsetLeft;
    mouse.y = e.pageY - this.offsetTop;

    console.log(mouse.x, mouse.y);
}, false);
 Sau đó, ta sẽ bắt sự kiện nhấn chuột của người dùng bằng event
 mousedown và bắt đầu thêm hành động vẽ lên canvas khi di chuyển chuột. Hành động vẽ này kết thúc khi người dùng nhả chuột ra, tương ứng với mouseup.
Để vẽ lên canvas, chúng ta chỉ cần nối vị trí chuột hiện tại - lưu ở biến mouse và vị trí chuột ngay trước - lưu ở biến last_mouse - bằng một đường thẳng.
// Bắt đầu vẽ khi có sự kiện mousedown - nhấn chuột trái
canvas.addEventListener('mousedown', function (e) {
    canvas.addEventListener('mousemove', onDraw, false);
}, false);

// Ngừng vẽ khi có sự kiện mouseup - nhả chuột trái
canvas.addEventListener('mouseup', function () {
    canvas.removeEventListener('mousemove', onDraw, false);
}, false);

var onDraw = function () {
    ctx.beginPath();
    ctx.moveTo(last_mouse.x, last_mouse.y);
    ctx.lineTo(mouse.x, mouse.y);
    ctx.closePath();
    ctx.stroke();
};

2. Broadcast dữ liệu
Để gửi bảng vẽ cho các client khác, chúng ta cần lấy được dữ liệu bảng vẽ hiện tại, gửi cho server để server broadcast đến các client còn lại. Chúng ta sẽ viết thêm quá trình gưi dữ liệu vào hàm onDraw(). Ta có hai cách để làm điều này:
- Chuyển canvas thành ảnh và gửi dữ liệu blob
//Vì dữ liệu ảnh khá nặng nên ta cần debounce bằng cách set timeout
var timeout;
var onDraw = function () {
   ...
   if(timeout) clearTimeout(timeout)
   timeout = setTimeout(() => {
        socket.emit('board data', canvas.toDataURL('img/png')));
    }, 500)
};

//Vẽ lại lên canvas của mình khi nhận được dữ liệu từ board data
    socket.on('board data', function (data) {
        var image = new Image();
        var canvas = document.querySelector('#board');
        var ctx = canvas.getContext('2d');
        image.onload = function () {
            ctx.drawImage(image, 0, 0);
        }
        image.src = data;
    });
- Hoặc gửi cặp vị trí 2 điểm nối để client khác tái hiện lại
//Làm cách này dữ liệu gửi đi không lớn nên ta có thể gửi trực tiếp
var onDraw = function () {
   ...
  socket.emit('board data', { last_mouse, mouse });
};

//Vẽ lại lên canvas của mình khi nhận được dữ liệu từ board data
socket.on('board data', function (point) {
    ctx.beginPath();
    ctx.moveTo(point.last_mouse.x, point.last_mouse.y);
    ctx.lineTo(point.mouse.x, point.mouse.y);
    ctx.closePath();
    ctx.stroke();
});
Với cách thứ 2, dữ liệu gửi đi thời gian thực nên nét vẽ trên bảng của client khác sẽ liền mạch hơn, dữ liệu gửi đi nhỏ nên cũng ít tốn băng thông hơn
Tương tự với dữ liệu tin nhắn
var form = document.getElementById('chat-form');
var input = document.getElementById('chat-input');

form.addEventListener('submit', function (e) {
    e.preventDefault();
    if (input.value) {
        socket.emit('chat message', input.value);
        addMessage(input.value);
        input.value = '';
    }
});

socket.on('chat message', function (msg) {
    addMessage(msg);
});

function addMessage(msg) {
    var box = document.getElementById('chat-box');
    var item = document.createElement('li');
    item.textContent = msg;
    box.appendChild(item);
    window.scrollTo(0, document.body.scrollHeight);
}
Chúng ta cũng cần viết thêm vào file server app.js để xử lý chuyển tiếp dữ liệu:
io.on('connection', (socket) => {
    socket.on('chat message', (msg) => {
        console.log('message: ' + msg);
        socket.broadcast.emit('chat message', msg);
    });
});

io.on('connection', (socket) => {
    socket.on('board data', (data) => {
        points.push(data);
        socket.broadcast.emit('board data', data);
    });
});
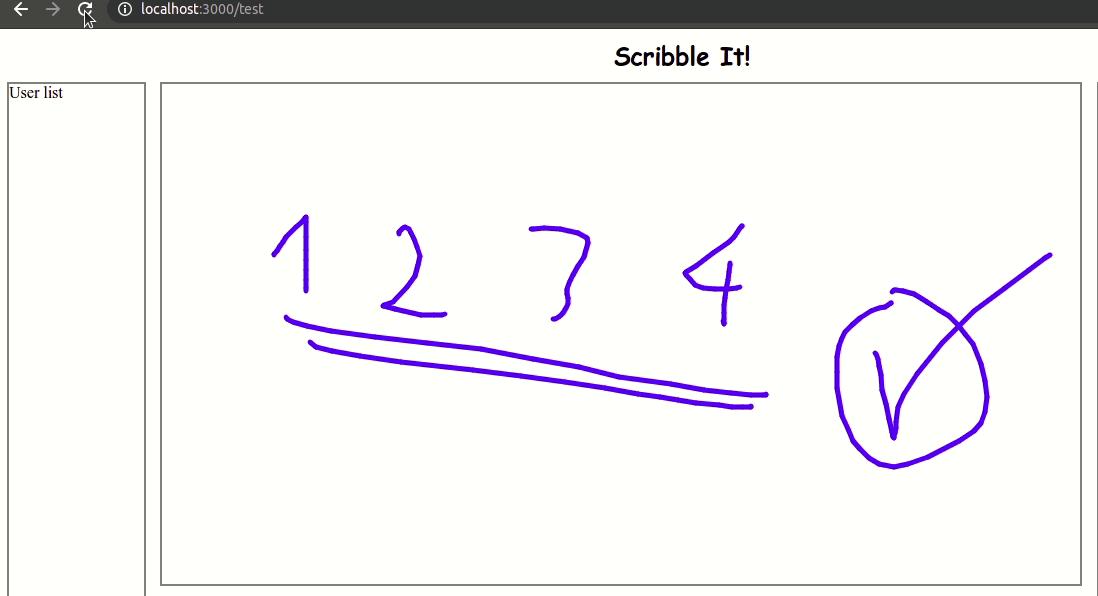
Kết quả:
 Chúng ta đã truyền thành công dữ liệu, nhưng khi mới vào lại phòng, client mới sẽ không nhận được state trước đó. Chúng ta cần chỉnh sửa server một chút để lưu trữ được state cũ.
3. Lưu dữ liệu lịch sử vị trí con trỏ
Rất đơn giản, chúng ta chỉ cần lưu lại vị trí con trỏ mỗi khi nhận được từ client và mảng và gửi mảng dữ liệu này cho client mới kết nối tới
// Thêm biến lưu trữ vị trí
var points = [];

//Gửi lịch sử điểm points cho client khi client kết nối
io.on('connection', (socket) => {
    console.log('a user connected');
    socket.emit('init', points);
});

// Chỉnh sửa hàm nhận và chuyển tiếp dữ liệu
io.on('connection', (socket) => {
    socket.on('board data', (data) => {
        points.push(data);
        socket.broadcast.emit('board data', data);
    });
});
Ở phía client, ta lắng nghe kênh này và vẽ lại khi nhận được dữ liệu
socket.on('init', async function (points) {
    points.forEach(point => {
        ctx.beginPath();
        ctx.moveTo(point.last_mouse.x, point.last_mouse.y);
        ctx.lineTo(point.mouse.x, point.mouse.y);
        ctx.closePath();
        ctx.stroke();
    })
});
 Vậy là đã hoạt động như chúng ta mong muốn. Nhưng client render ra dữ liệu nhanh quá :v để mượt mà hơn, chúng ta thêm một chút delay khi vẽ
function timeout(ms) {
    return new Promise(resolve => setTimeout(resolve, ms));
}
socket.on('init', async function (points) {
    for (let i = 0; i < points.length; i++) {
        const point = points[i];
        await timeout(5);
        ctx.beginPath();
        ctx.moveTo(point.last_mouse.x, point.last_mouse.y);
        ctx.lineTo(point.mouse.x, point.mouse.y);
        ctx.closePath();
        ctx.stroke();

    }
});

4. Thêm một số công cụ
Chúng ta cũng có thể thay đổi màu sắc, độ rộng của nét vẽ... bằng cách thay đổi context ctx.
Thêm giao diện
<div id="sketch">
    <canvas id="board">
    </canvas>
    <div id="tool-bar">
        <input id="color" type="color" value="#0447C3">
        <select id="shape">
            <option value="0" selected>Bút</option>
            <option value="1">Đường</option>
            <option value="2">Tròn</option>
            <option value="3">Chữ nhật</option>
        </select>
        <input id="width" type="range" value="5" min="1" max="50">
        <button class="tool-btn" onclick="clearBoard(true)">
            Clear
        </button>
    </div>
</div>
Gắn sự kiện vào các công cụ vừa thêm
const PEN = "pen";
const LINE = "line";
const CIRCLE = "circle";
const RECTANGLE = "rec";

var shape = PEN;
var canvas = document.querySelector('#board');
var ctx = canvas.getContext('2d');

var colorPicker = document.querySelector('#color');
var widthPicker = document.querySelector('#width');
var shapePicker = document.querySelector('#shape');

//Thay đổi màu sắc nét vẽ
colorPicker.addEventListener('change', function (e) {
    ctx.strokeStyle = e.target.value;
})
//Thay đổi độ rộng nét vẽ
widthPicker.addEventListener('change', function (e) {
    ctx.lineWidth = e.target.value;
})
//Chọn hình dạng vẽ
shapePicker.addEventListener('change', function (e) {
    shape = e.target.value
})
Để vẽ thêm những hình dạng mới, ta xử lý như sau
var start = {};
var mouseDownFunction = () => {
    canvas.addEventListener('mousemove', onDraw, false);
    start.x = last_mouse.x;
    start.y = last_mouse.y;
    if (shape !== PEN) {
        ctx.beginPath();
        ctx.moveTo(start.x, start.y);
        ctx.lineTo(mouse.x, mouse.y);
        ctx.stroke();
    }
}
// Bắt đầu vẽ khi có sự kiện mousedown - nhấn chuột trái
canvas.addEventListener('mousedown', mouseDownFunction, false);


var mouseUpFunction = () => {
    canvas.removeEventListener('mousemove', onDraw, false);
    if (shape === CIRCLE) {
        drawCircle(start, mouse);
    } else if (shape === LINE) {
        drawLine(start, mouse);
    } else if (shape === RECTANGLE) {
        drawRectangle(start, mouse);
    }
    if (shape !== PEN) {
        socket.emit('board data', {
            last_mouse: start,
            mouse,
            pen: {
                color: ctx.strokeStyle,
                width: ctx.lineWidth,
                shape
            }
        });
    }
}
// Ngừng vẽ khi có sự kiện mouseup - nhả chuột trái
canvas.addEventListener('mouseup', mouseUpFunction, false);

function clearBoard(broadcast = false) {
    ctx.clearRect(0, 0, canvas.width, canvas.height);
    if (broadcast) socket.emit('clear board');
}
function drawLine(last_point, point, pen) {
    ctx.beginPath();
    ctx.moveTo(last_point.x, last_point.y);
    ctx.lineTo(point.x, point.y);
    ctx.closePath();
    ctx.stroke();
}
function drawCircle(last_point, point, pen) {
    ctx.beginPath();
    ctx.arc(
        Math.floor((point.x + last_point.x) / 2),
        Math.floor((point.y + last_point.y) / 2),
        Math.floor(Math.sqrt((last_point.x - point.x) * (last_point.x - point.x) + (last_point.y - point.y) * (last_point.y - point.y)) / 2), 0, 2 * Math.PI);
    ctx.stroke();
}
function drawRectangle(last_point, point, pen) {
    ctx.beginPath();
    ctx.rect(last_point.x, last_point.y, point.x - last_point.x, point.y - last_point.y);
    ctx.stroke();
}
function drawBoard(last_point, point, pen) {
    if (last_point && point) {
        const previousWidth = ctx.lineWidth;
        const previousColor = ctx.strokeStyle;
        if (pen) {
            ctx.lineWidth = pen.width;
            ctx.strokeStyle = pen.color;
        }
        switch (pen.shape) {
            case PEN:
            case LINE:
                drawLine(last_point, point, pen);
                break;
            case CIRCLE:
                drawCircle(last_point, point, pen);
                break;
            case RECTANGLE:
                drawRectangle(last_point, point, pen);
                break;
            default:
                drawLine(last_point, point, pen);
                break;
        }
        ctx.lineWidth = previousWidth;
        ctx.strokeStyle = previousColor;
    }
}
Vì sữ liệu gửi đi thay đổi cấu trúc một chút nên ta cũng sửa lại các hàm lắng nghe socket
socket.on('init', async function (points) {
    for (let i = 0; i < points.length; i++) {
        const point = points[i];
        await timeout(1);
        drawBoard(point.last_mouse, point.mouse, point.pen);
    }
});
socket.on('board data', function (point) {
    drawBoard(point.last_mouse, point.mouse, point.pen);
});

socket.on('clear board', function (data) {
    clearBoard();
});
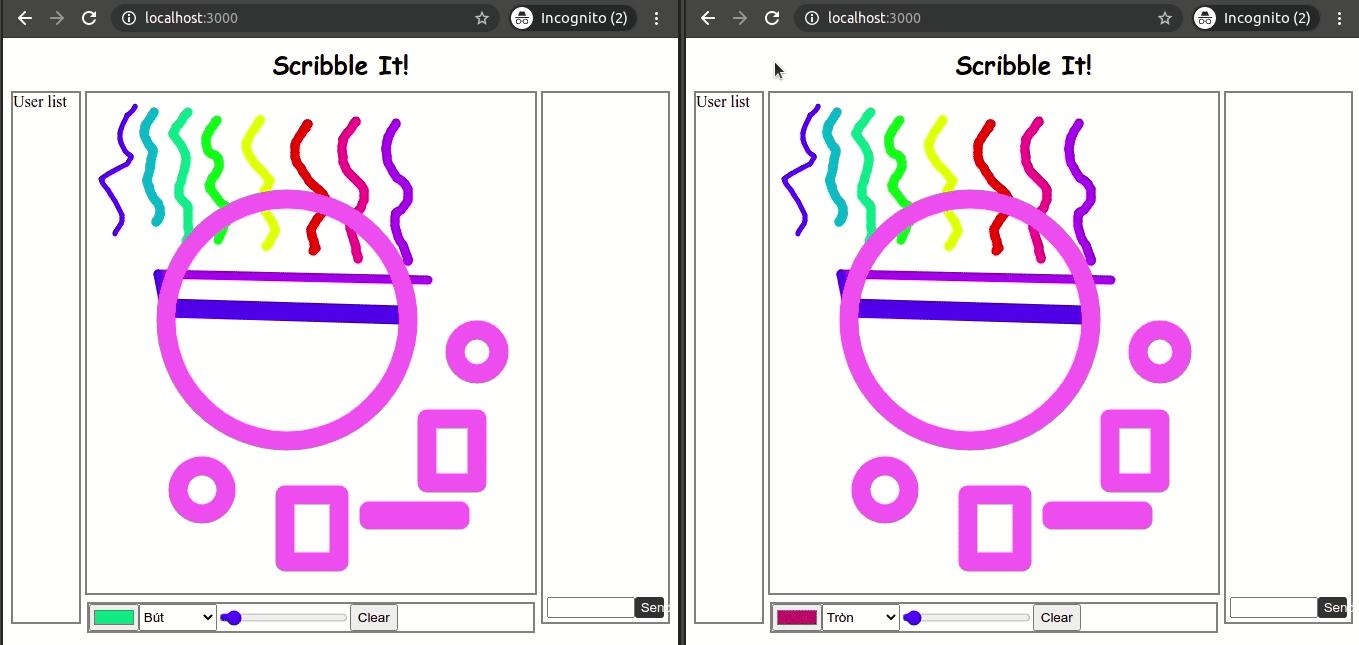
Thành quả

Kết luận
Vậy là chúng ta đã cùng làm nhái lại game Scribble It cũng khá đơn giản phải không nào  Các bạn có thể xem source code của project này tại Github của mình. Cảm ơn các bạn đã theo dõi!!!
All rights reserved