Tạo 1 ứng dụng với Android Wear!
Bài đăng này đã không được cập nhật trong 4 năm
Trong part 1, Trong part 1,Tổng quan về Android Wear!, chúng ta đã biết được sơ lược về lịch sử phát triển cũng như những hiểu biết cơ bản về android Wear. Tuy nhiên với đa số các lập trình viên thì dù có niềm đam mê nhưng việc sắm được 1 wear device thực sự thì không phải ai cũng có khả năng! Bài viết này sẽ hướng dẫn xây dựng 1 ứng dụng đơn giản trên Android Wear. Connect từ handled device đến emulator . Nhưng yêu cầu về cài đặt:
- SDK Tools
- Platform tools
- Build tools
I: Tạo 1 Wearable AVD!
Khi bạn cài 1 ứng dụng đồng bộ Android Wear trên smartphone hoặc tablet, device này sẽ có thể giao tiếp với wearable AVD giống như giao tiếp với 1 thiết bị wearable thật!
Step 1
Trên Android phone, cài đặt ứng dụng Android Wear app!
Step 2 Enable USB debugging trên Android device , và sử dụng kết nối USB để kết nối với máy tính!
Step 3
Trước khi Android Wear AVD có thể giao tiếp với thiết bị cầm tay của bạn, bạn phải mở cổng TCP: 5601 trên máy tính của bạn. Mở Terminal trên OS X hoặc Command Prompt trên Windows, change đường dẫn đến thư mục platform-tools!
Step 4 Trên Terminal hoặc command promt, mở cổng cần thiết bằng câu lệnh:
./adb -d forward tcp:5601 tcp:5601
Step 5
Trong android device, khởi động Android Wear companion app, tap vào icon đồng hồ trên app toolbar và chờ đợi kết nối! Khi muốn kết nối device thật với Wearable AVD, bạn có thể phải lặp lại quá trình trên, có thể tiết kiệm thời gian bằng cách cho emulator chạy dưới background và điện thoại của bạn kết nối với máy tính khi thực hiện các bước trên!
II Sample app. Ready notification!
Step 1: Project Setup
File menu => New Project. Nhập project name =>Next. Chọn Phone and tablet, chọn minimum SDK, =>Next. Chọn Blank Activity =>Next. Nhập Activity name:(vd MyActivity). =>Click Finish !
Step 2: Update Gradle Build File
dependencies { compile fileTree(dir: 'libs', include: ['*.jar']) compile 'com.android.support:support-v4:20.0+' }
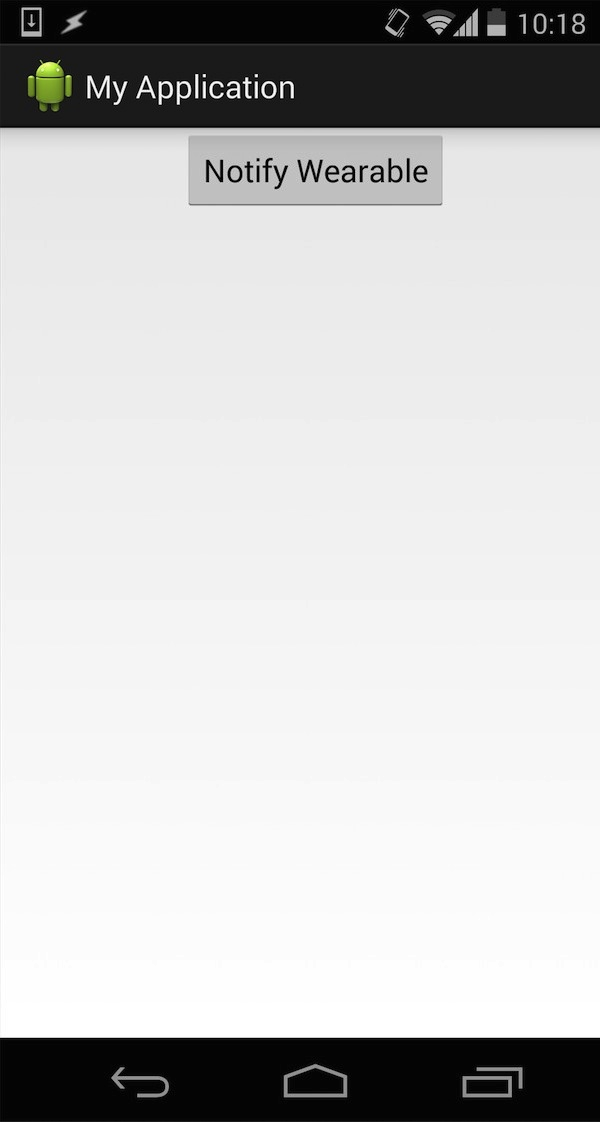
Step 3: Create User Interface
app > src > main > res > layout > activity_my.xml
<LinearLayout
  xmlns:android="http://schemas.android.com/apk/res/android"
  xmlns:tools="http://schemas.android.com/tools"
  android:layout_width="match_parent"
  android:layout_height="match_parent"
  android:orientation="vertical"
  tools:context=".MyActivity">
  <Button
    android:layout_width="wrap_content"
    android:layout_height="wrap_content"
    android:text="@string/notify"
    android:id="@+id/wearButton"
    android:layout_gravity="center_horizontal" />
</LinearLayout>
Values > strings.xml
<string name="notify">Notify Wearable</string>
Step 4: Create a Notification
app > src > main > java > MyActivity
package com.example.jessica.myapplication;

import android.app.Activity;
import android.os.Bundle;
import android.support.v4.app.NotificationCompat;
import android.support.v4.app.NotificationManagerCompat;
import android.view.View;
import android.widget.Button;

public class MyActivity extends Activity {
    @Override
    protected void onCreate(Bundle savedInstanceState) {
        super.onCreate(savedInstanceState);
        setContentView(R.layout.activity_my);

        Button wearButton = (Button)findViewById(R.id.wearButton);
        wearButton.setOnClickListener(new View.OnClickListener() {
            @Override
            public void onClick(View v) {
                int notificationId = 001;

                NotificationCompat.Builder notificationBuilder =
                        new NotificationCompat.Builder(MyActivity.this)
                                .setSmallIcon(R.drawable.ic_launcher)
                                .setContentTitle("Title")
                                .setContentText("Android Wear Notification");

                NotificationManagerCompat notificationManager =
                        NotificationManagerCompat.from(MyActivity.this);

                notificationManager.notify(notificationId, notificationBuilder.build());
            }
        });

    }
}
Step 5: Testing Notifications
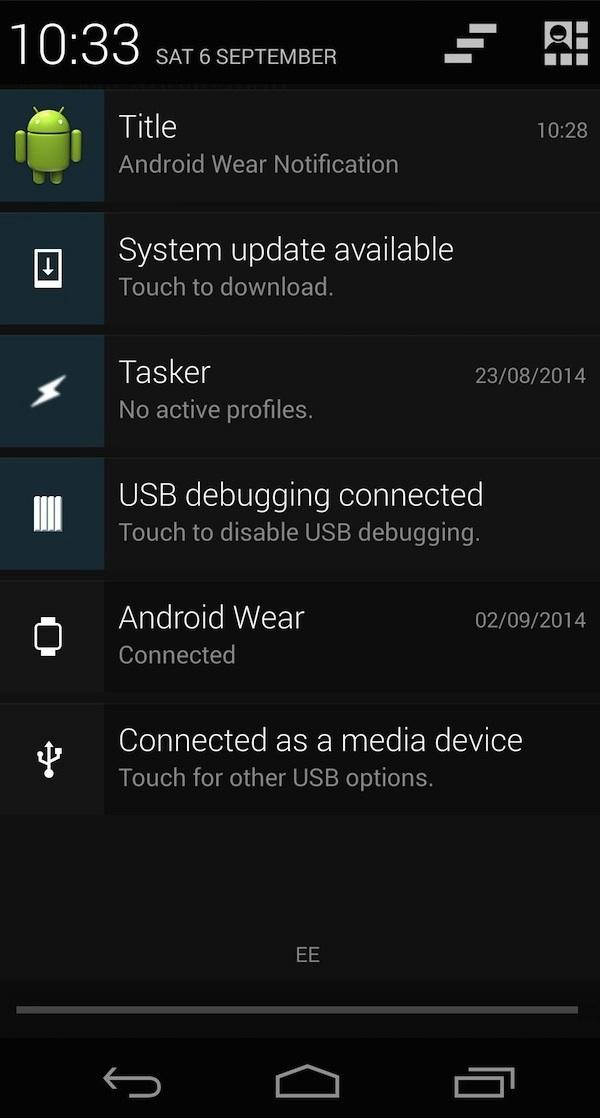
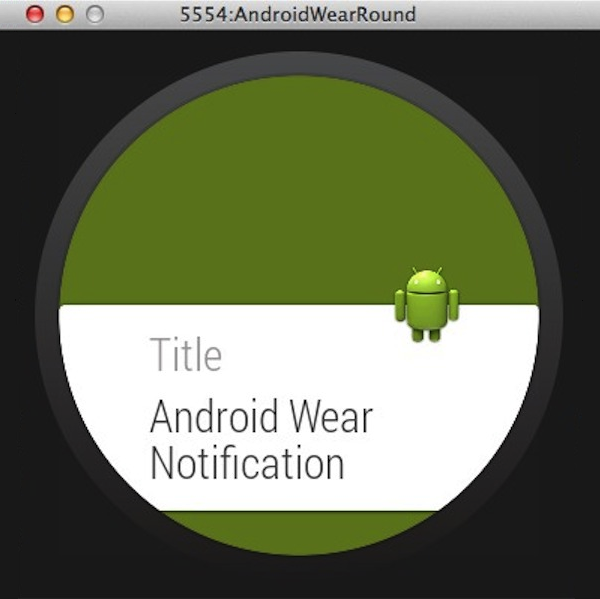
*Run=>Run 'app'=> Choose Device : Chỉ định device *


Trên đây là các bước hướng dẫn xây dựng 1 ứng dụng đơn giản về notifications ready của wearable emulator! Trong tutorial tiếp theo chúng ta sẽ tìm hiểu về cách xây dựng một ứng dụng wear full screen, tìm hiểu kỹ hơn về các cách thức giao tiếp giữa Android phone/tablet với wearable device!
All rights reserved