Setup Ruby on Rails Development Enviroment for Windows
Bài đăng này đã không được cập nhật trong 5 năm
Since version 1607, Windows 10 allows you to run Linux on your Windows machine which called Windows Subsystem for Linux (WSL). Most Ruby on Rails tutorials and dependencies work best on Linux, so this allows you to gets best of both worlds. Note that WSL only works on 64-bit installations of Windows.
Installing the Windows Subsystem for Linux
Windows 10 allows you to run various Linux operating systems inside of Windows similar to a virtual machine, but natively implemented. We'll use this to install Ruby and run our Rails apps.
Open Powershell as Administrator and run:
dism.exe /online /enable-feature /featurename:Microsoft-Windows-Subsystem-Linux /all /norestart
dism.exe /online /enable-feature /featurename:VirtualMachinePlatform /all /norestart
After running these two commands, you should restart your computer to complete the WSL installation.
Install Linux distribution of your choice
- Open Microsoft Store and select your favorite Linux distribution.
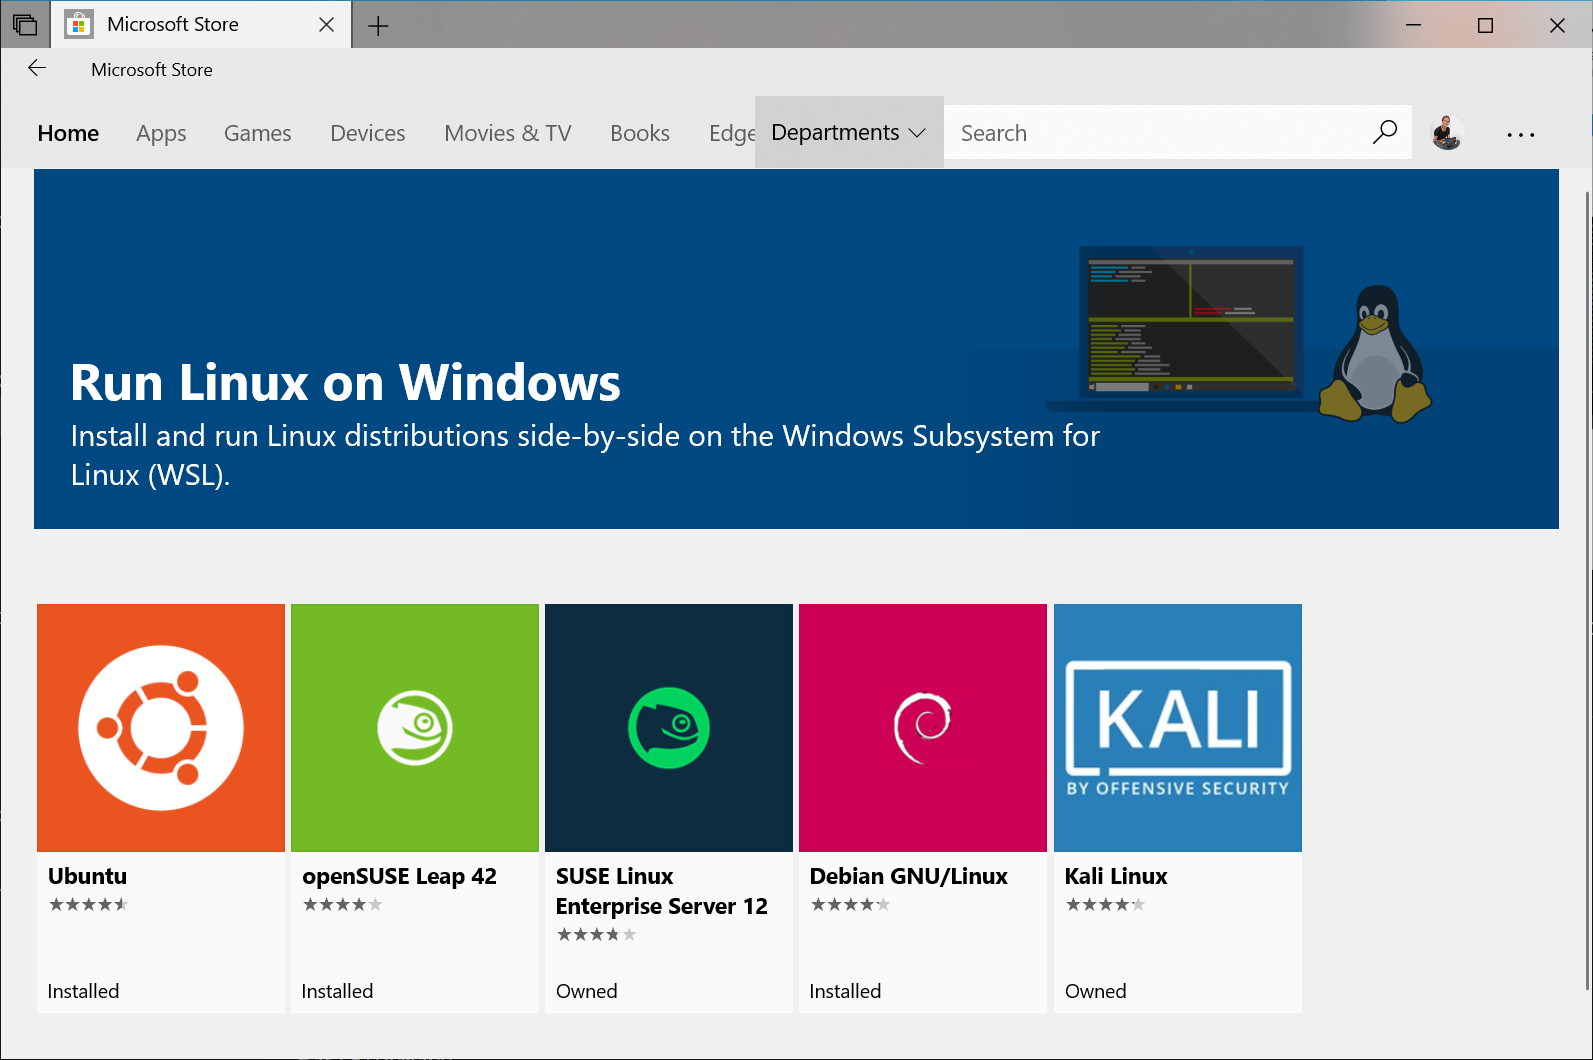
Alternative, you can access one of these following links to open Microsoft store for each distribution directly:
- Ubuntu 16.04 LTS
- Ubuntu 18.04 LTS
- Ubuntu 20.04 LTS
- openSUSE Leap 15.1
- SUSE Linux Enterprise Server 12 SP5
- SUSE Linux Enterprise Server 15 SP1
- Kali Linux
- Debian GNU/Linux
- Fedora Remix for WSL
- Pengwin
- Pengwin Enterprise
- Alpine WSL
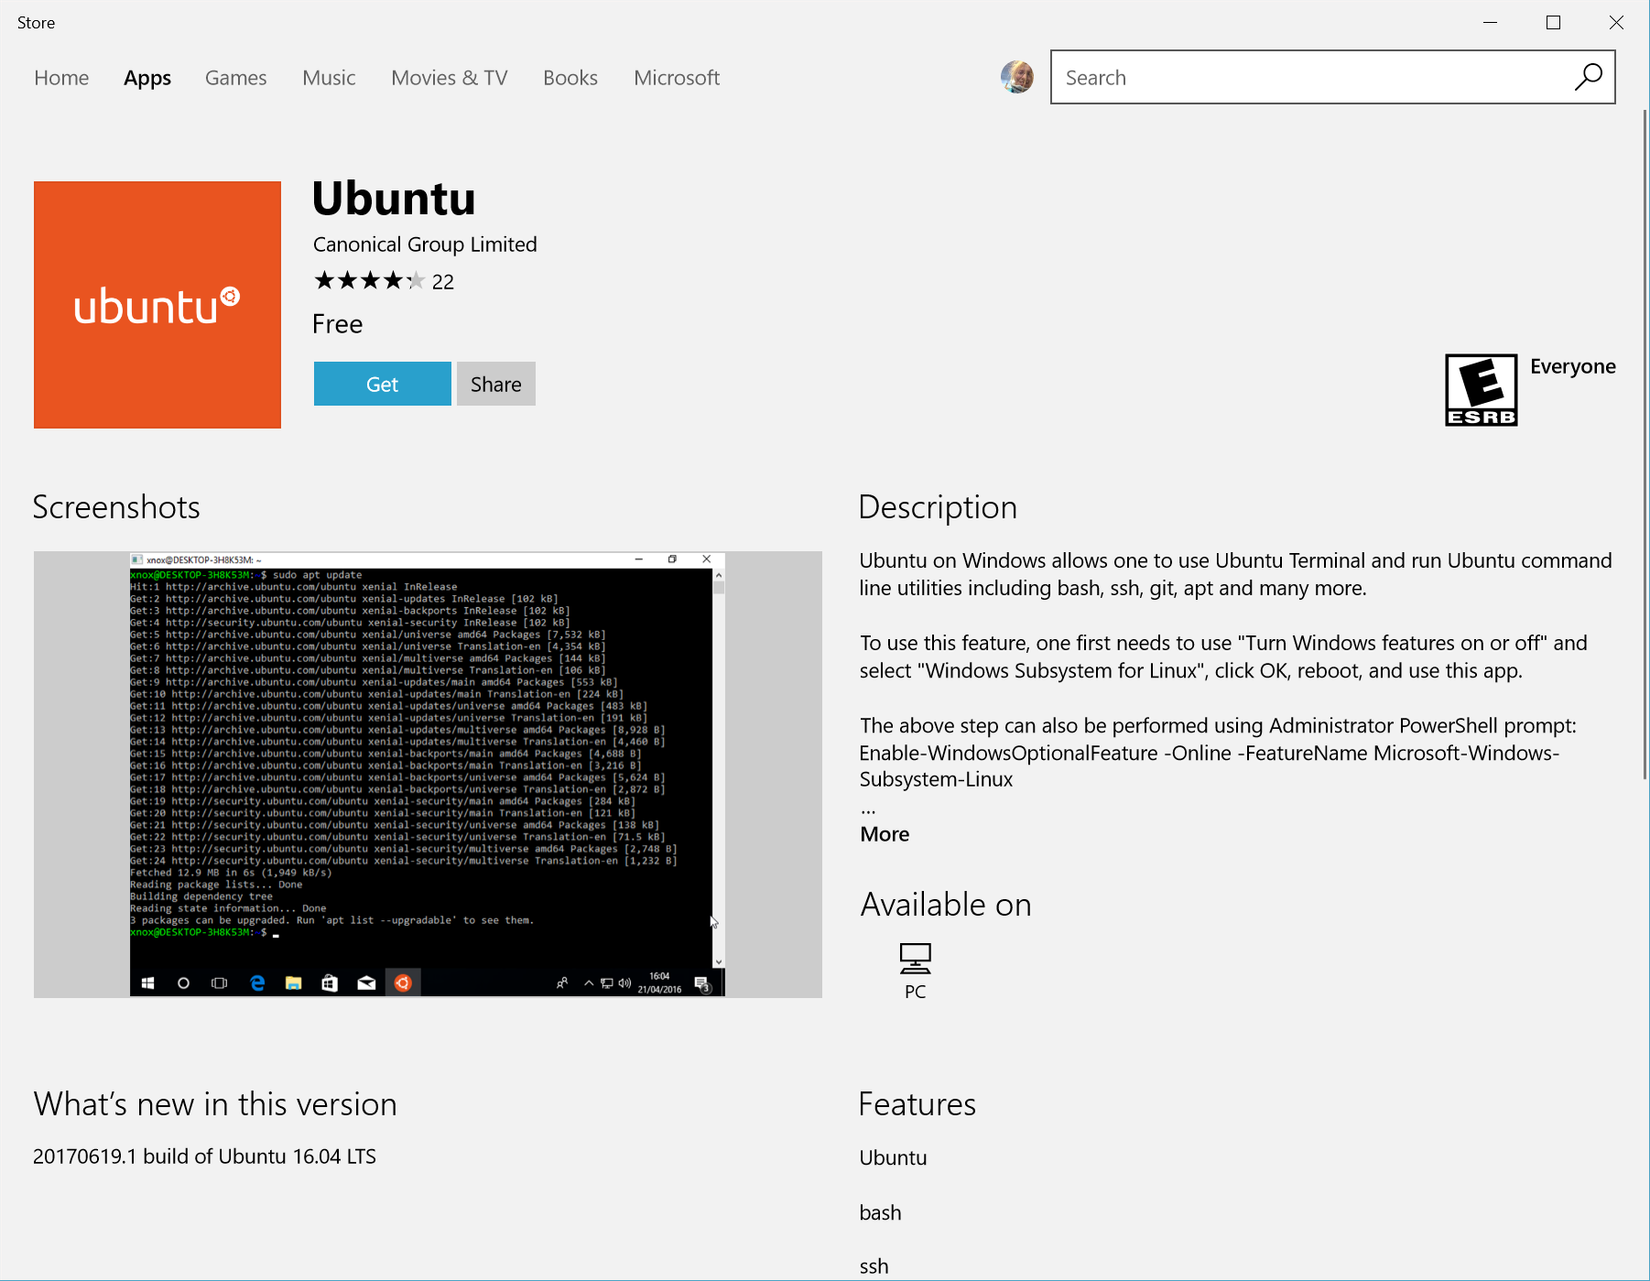
In this post, I choose Ubuntu 20.04 LTS to setup the environment.
- From the distribution's page, select "Get"
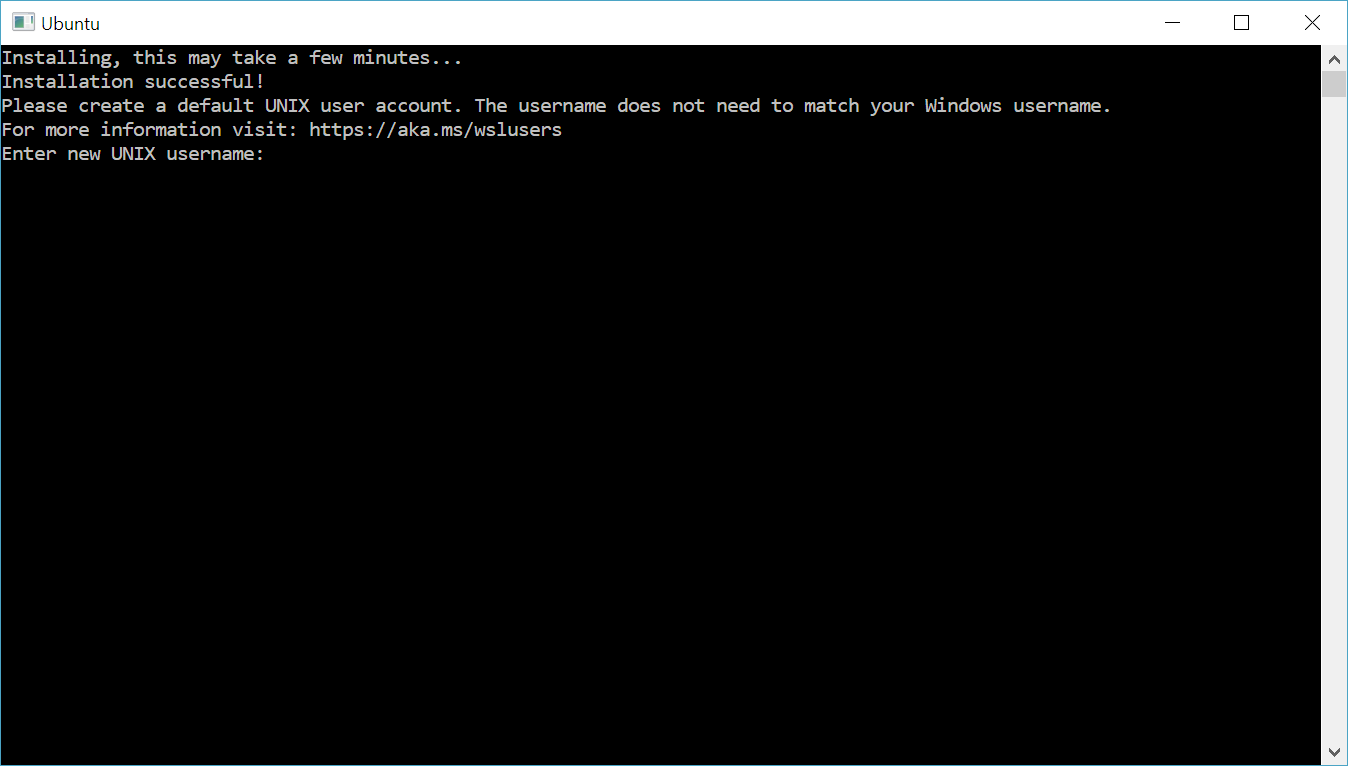
- Set up a new distribution
The first time you launch a newly installed Linux distribution, a console window will open and you'll be asked to wait for a minute or two for files to de-compress and be stored on your PC. All future launches should take less than a second.
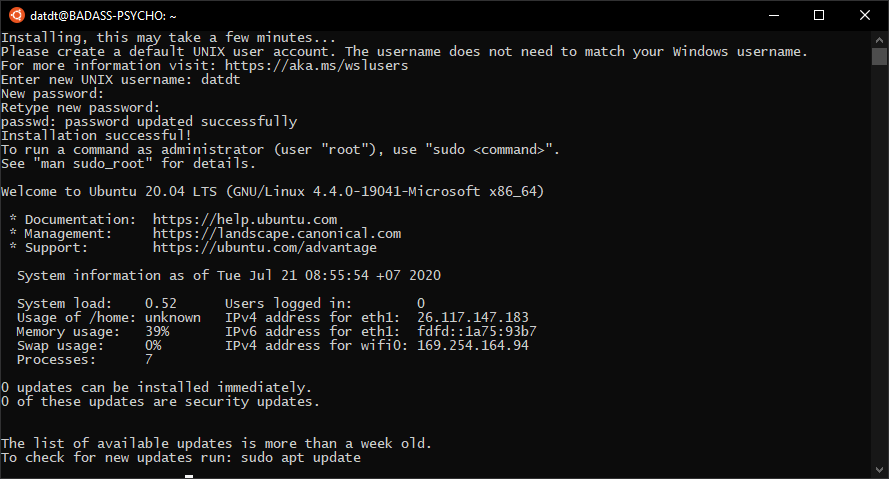
You will then need to create a user account and password for your new Linux distribution.
When you finish, it should look like this
Installing RVM and Ruby
- The first step is to install some dependencies for Ruby
sudo apt-get update
sudo apt-get install git-core curl zlib1g-dev build-essential libssl-dev libreadline-dev libyaml-dev libsqlite3-dev sqlite3 libxml2-dev libxslt1-dev libcurl4-openssl-dev software-properties-common libffi-dev
- RVM - Ruby Version Manager is a tool that helps us to install multiple Ruby verions at the same time.
- Install some dependencies for rvm:
sudo apt-get install libgdbm-dev libncurses5-dev automake libtool bison libffi-dev
- Install GPG keys to verify installation package:
gpg --keyserver hkp://pool.sks-keyservers.net --recv-keys 409B6B1796C275462A1703113804BB82D39DC0E3 7D2BAF1CF37B13E2069D6956105BD0E739499BDB
- Install RVM:
curl -sSL https://get.rvm.io | bash -s stable
source ~/.rvm/scripts/rvm
- Verify if rvm is installed successfully:
rvm -v
- After intalling rvm, we will install Ruby:
rvm install 2.7.1
rvm use 2.7.1 --default

# Verify if ruby is installed successfully
ruby -v
- The last step is to install
Bundler
gem install bundler
Installing Rails
Since Rails ships with so many dependencies these days, we're going to need to install a Javascript runtime like NodeJS and a package manager called Yarn.
- To Install nvm, node.js and Yarn, run the following commands:
 sudo apt install gcc g++ make

sudo apt-get install curl

curl -o- https://raw.githubusercontent.com/nvm-sh/nvm/v0.35.3/install.sh | bash
- To verify installation, enter
nvm --version
this should return current nvm version, if you receive 'command not found' or no response at all, close your current terminal, reopen it, and try again.
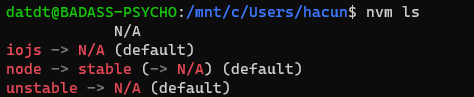
- List which versions of Node are currently installed (should be none this point):
nvm ls
- Install the current release of Node.js (for testing the newest feature improvements, but more likely to have issues):
nvm install node
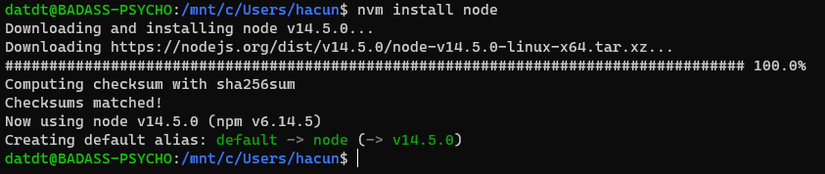
Check to see if the installation has been successful
node --version
yarn --version
Now we can install Rails
gem install rails -v 6.0.2.2
After installation, check Rails version
rails --version
# Rails 6.0.2.2
Configuring Git
Create an account in Github Install git command-line
sudo apt-get install git-core
Config git
git config --global color.ui true
git config --global user.name "YOUR NAME"
git config --global user.email "YOUR@EMAIL.com"
ssh-keygen -t rsa -b 4096 -C "YOUR@EMAIL.com"
The next step is to take the newly generated SSH key and add it to your Github account. You want to copy and paste the output of the following command and paste it here.
cat ~/.ssh/id_rsa.pub
Once you've done this, you can check and see if it worked:
ssh -T git@github.com
You should get a message like this:
Hi excid3! You've successfully authenticated, but GitHub does not provide shell access.
Setting Up MySQL
Rails ships with sqlite3 as the default database. Chances are you won't want to use it because it's stored as a simple file on disk. You'll probably want something more robust like MySQL or PostgreSQL.
There is a lot of documentation on both, so you can just pick one that seems like you'll be more comfortable with.
You can install MySQL server and client from the packages in the Ubuntu repository. As part of the installation process, you'll set the password for the root user. This information will go into your Rails app's database.yml file in the future.
sudo apt-get install mysql-server mysql-client libmysqlclient-dev
Installing the libmysqlclient-dev gives you the necessary files to compile the mysql2 gem which is what Rails will use to connect to MySQL when you setup your Rails app.
Final Steps
Navigate to the drive you would like to place your code:
cd /mnt/d
/mnt/d here is actually the D: drive on Windows and it lets you to use Sublime Text, Atom, Visual Studio Code etc on Windows to edit your Rails application.
And now for the moment of truth. Let's create your first Rails application:
rails new myapp

cd myapp

rake db:create

rails server
You can now visit http://localhost:3000 to view your new website!
All rights reserved
