Selection Widget
Bài đăng này đã không được cập nhật trong 4 năm
Tài liệu này được dịch và thao tác làm lại dựa trên tài liệu dạy học Android của trường đại học Cleveland.
Selection Widgets
RadioButtons và CheckButtons khá phù hợp cho việc select đối với những trường hợp có ít sự chọn.
Khi các options lớn dần lên thì có các widgets khác phù hợp hơn, ví dụ như listboxes, comboboxes, drop-down lists, picture galleriesv.v...
Android cũng cung cấp một frameworl với các data adapters - đây là 1 interface được sử dụng khá nhiều cho phép config các selection list từ dạng mảng static cho đến DB.
Selection Views là widgets để hiển thị danh sách chọn. Cái này được cung cấp 1 adapter cho những sự lựa chọn thực tế.
Display/Selecting Options
Dữ liệu để hiển thị trong list các options sẽ được xử lý thông qua DataAdapter và hiện thị thông qua ListView.
ArrayAdapter là adapter dễ sử dụng nhất, tất cả những gì bạn cần chỉ là cho nó vào trong java.util.List instance như sau
String[] items={"this", "is", "a","really", "silly", "list"};

new ArrayAdapter<String>(this,
	android.R.layout.simple_list_item_1,
	items);
ArrayAdapter sẽ cso 3 param :
- Nội dung để sử dụng (thường là
this) - resource ID của view mà bạn định sử dụng
- Mảng của danh sách list cần show
Sau đây là 1 vài ví dụ về Selection Widgets.
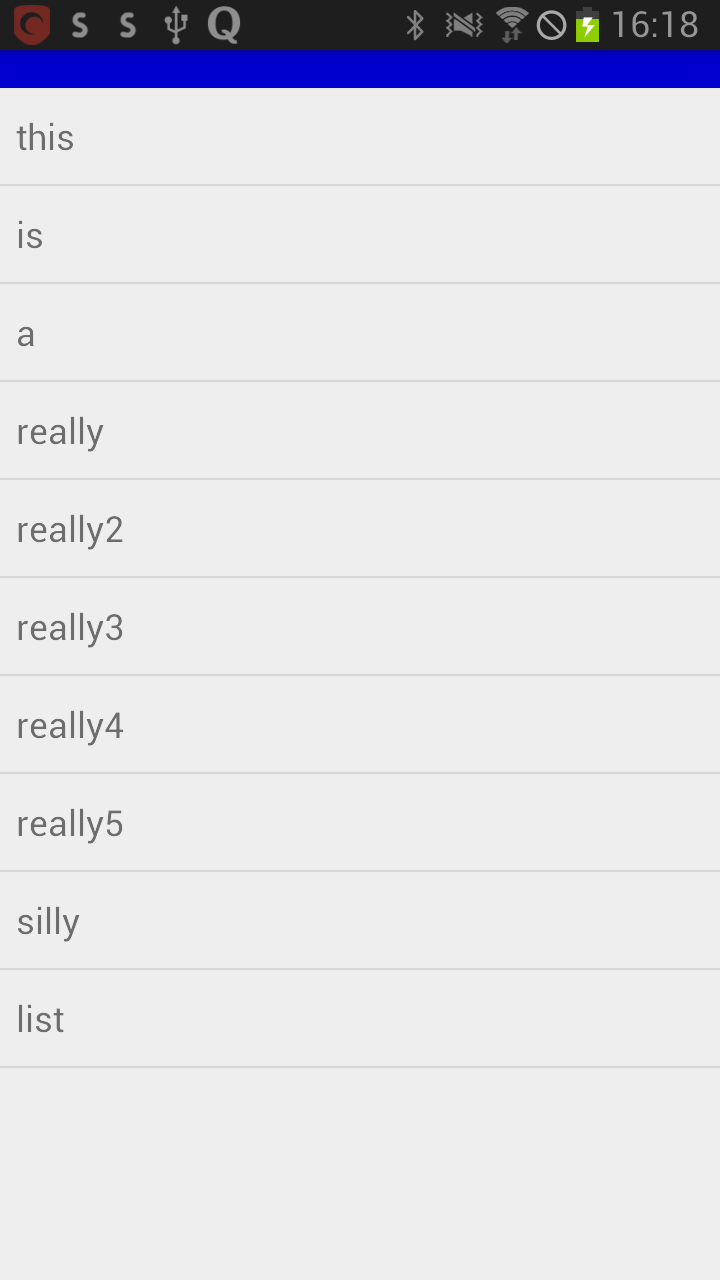
A SIMPLE LIST
Thay vì Activity, chúng ta sử dụng ListActivity - đây là 1 lớp của Android được sử dụng trong ListView.
package com.example.duongichi.helloworld2;

import android.os.Bundle;
import android.view.View;

import android.app.ListActivity;
import android.widget.ArrayAdapter;
import android.widget.ListView;
import android.widget.TextView;

public class MainActivity extends ListActivity {
    TextView selection;
    String[] items = { "this", "is", "a", "really",
            "really2", "really3","really4",
            "really5", "silly", "list" };

    public void onCreate(Bundle savedInstanceState) {
        super.onCreate(savedInstanceState);
        setContentView(R.layout.activity_main);
        setListAdapter(new ArrayAdapter<String>(
                this,
                android.R.layout.simple_list_item_1,
                items));
        selection=(TextView)findViewById(R.id.selection);
    }
    @Override
    protected void onListItemClick(ListView l, View v,
                                   int position, long id) {
        super.onListItemClick(l, v, position, id);
        String text = " position:" + position + " " + items[position];
        selection.setText(text);
    }
}
<?xml version="1.0" encoding="utf-8"?>
<LinearLayout
    xmlns:android="http://schemas.android.com/apk/res/android"
    android:orientation="vertical"
    android:layout_width="fill_parent"
    android:layout_height="fill_parent" >

    <TextView
        android:id="@+id/selection"
        android:layout_width="fill_parent"
        android:layout_height="wrap_content"
        android:background="#ff0033cc"
        android:textSize="14pt"
        android:textStyle="bold" />

    <Spinner
        android:id="@+id/spinner"
        android:layout_width="fill_parent"
        android:layout_height="wrap_content" />
</LinearLayout>
Quan sát ví dụ ở trên bạn có thể thấy là ví dụ này sử dụng 1 số nhưng component được định nghĩa sẵn ở Android.
-
Trong phần XML layout chúng ta sử dụng
ListViewwidget được gọi trongandroid:id/list. -
Tiếp đó, trong phần setting cho ArrayAdapter chúng ta liên kết tới
android.R.layout.activity_main)
Spinner
Trong Android thì Spinner là 1 drop-down selector.
Spinner có nhiều chứng năng tương tự với ListView nhưng chiếm ít không gian hơn.
Giống như ListView, bạn có thể cung cấp adapter để link data tới các views con sử dụng setAdapter().
Ngoài ra thì add thêm các đối tượng listener để bắt các hành động chọn trong danh sách list setOnItemSelectedListener()
Sử dụng setDropDownViewResource() để cung cấp resource ID.
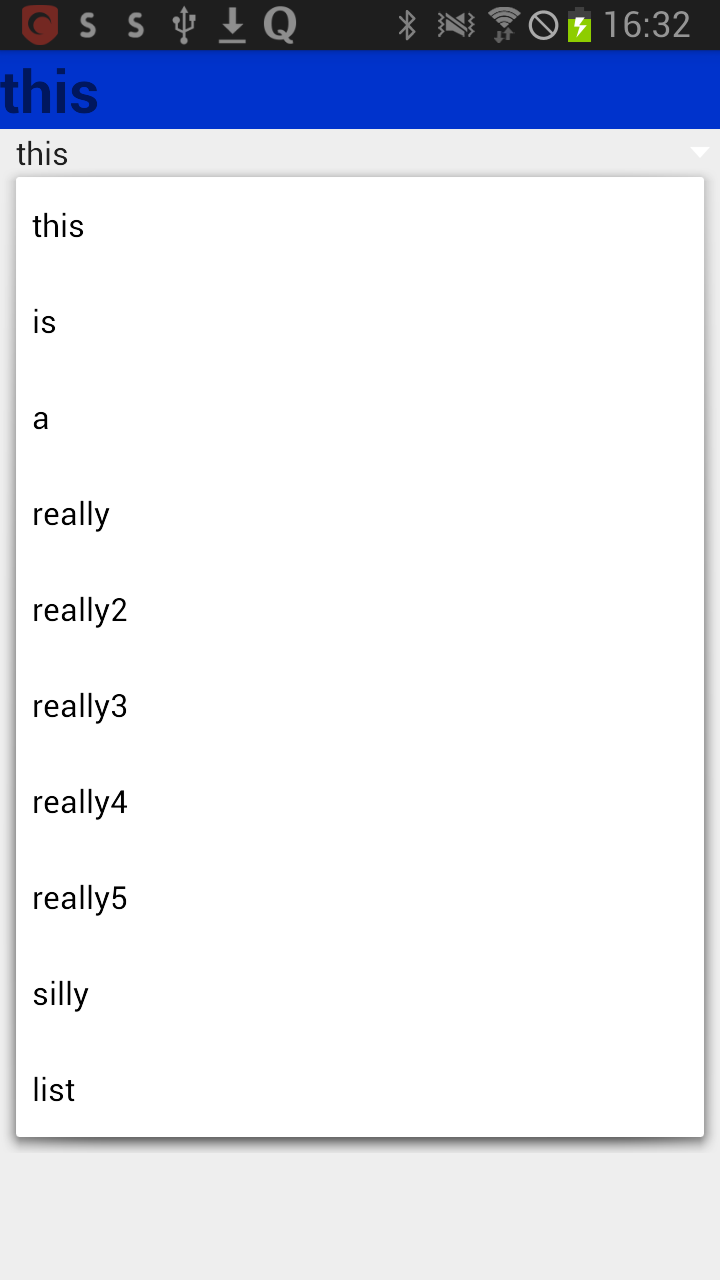
Dưới đây là một ví dụ về cách sử dụng Spinner.
package com.example.duongichi.helloworld2;

import android.app.Activity;
import android.os.Bundle;
import android.view.View;

import android.widget.ArrayAdapter;
import android.widget.AdapterView;
import android.widget.Spinner;
import android.widget.TextView;

public class MainActivity extends Activity
    implements AdapterView.OnItemSelectedListener {
        TextView selection;
        String[] items = { "this", "is", "a",
                "really", "really2", "really3",
                "really4", "really5", "silly", "list" };

        @Override
        public void onCreate(Bundle icicle) {
            super.onCreate(icicle);
            setContentView(R.layout.activity_main);
            selection = (TextView) findViewById(R.id.selection);
            Spinner spin = (Spinner) findViewById(R.id.spinner);
            spin.setOnItemSelectedListener(this);
            // set a clickable right push-button comboBox to show items
            ArrayAdapter<String> aa = new ArrayAdapter<String>(
                    this, android.R.layout.simple_spinner_item, items);
            // provide a particular design for the drop-down lines
            aa.setDropDownViewResource(
                    android.R.layout.simple_spinner_dropdown_item);
            // associate GUI spinner and adapter
            spin.setAdapter(aa);
        }
        public void onItemSelected(
                AdapterView<?> parent, View v, int position, long id) {
            selection.setText(items[position]);
        }
        public void onNothingSelected(AdapterView<?> parent) {
            selection.setText("");
        }
}
<?xml version="1.0" encoding="utf-8"?>
<LinearLayout
    xmlns:android="http://schemas.android.com/apk/res/android"
    android:orientation="vertical"
    android:layout_width="fill_parent"
    android:layout_height="fill_parent" >

    <TextView
        android:id="@+id/selection"
        android:layout_width="fill_parent"
        android:layout_height="wrap_content"
        android:background="#ff0033cc"
        android:textSize="14pt"
        android:textStyle="bold" />

    <Spinner
        android:id="@+id/spinner"
        android:layout_width="fill_parent"
        android:layout_height="wrap_content" />
</LinearLayout>
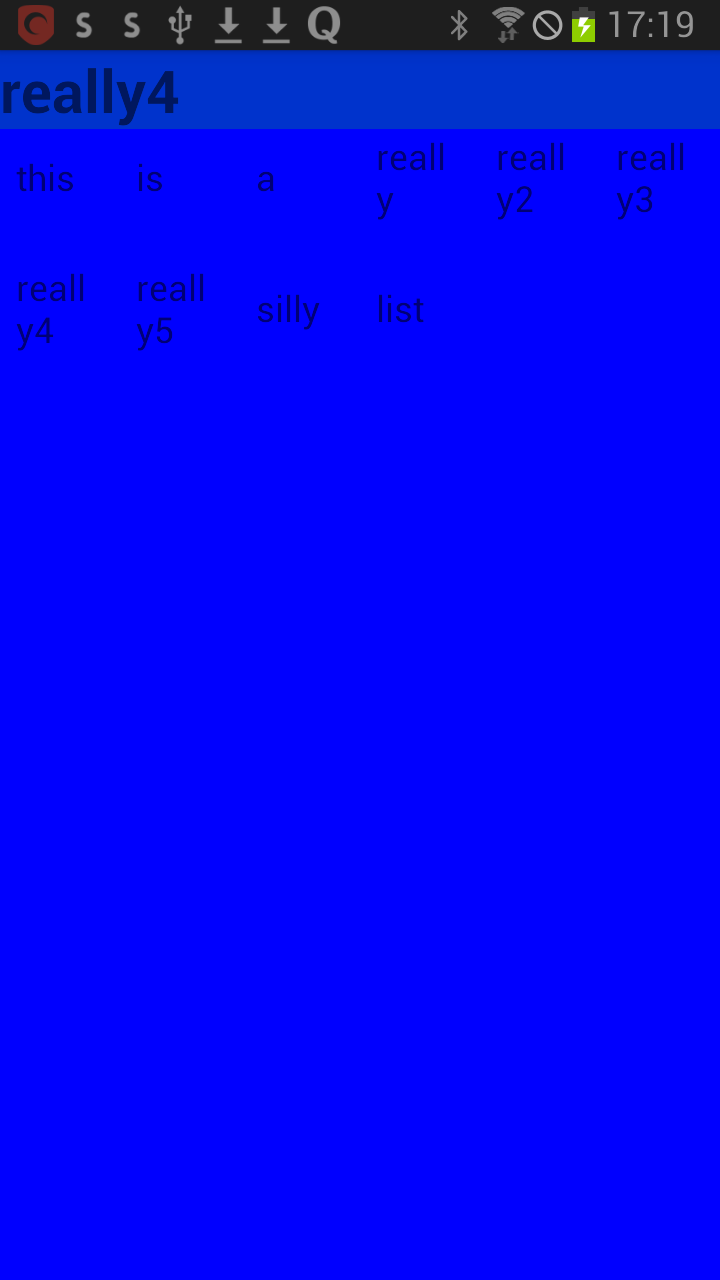
GRID VIEW
GridView là một ViewGroup mà hiển thị các danh sách theo 2 chiều.
Grid items sẽ được chèn vào trong layout một cách tự động sử dụng ListApdater.
Một vài thuộc tính được sử dụng để quyết định số lượng cột và kích thước của nó :
andoird:numColums : số lượng cột, nếu bạn chọn auto_fit thì Android sẽ tự đọng tính toán số lượng cột cần thiết.
android:verticalSpacing và android:horizontalSpacing cho thấy số lượng phần trống cần thiết giữa những items trong grid.
android:columnWidth : cho thấy có bao nhiêu pixel wide tương ứng với mỗi cột.
android:stretchMode : chỉ sư dụng đối với các grid có chế độ auto_fit cho android:numColumns.
package com.example.duongichi.helloworld2;

import android.app.Activity;
import android.os.Bundle;
import android.view.View;

import android.widget.ArrayAdapter;
import android.widget.AdapterView;
import android.widget.GridView;
import android.widget.TextView;

public class MainActivity extends Activity
    implements AdapterView.OnItemClickListener {
        TextView selection;
        String[] items = { "this", "is", "a",
                "really", "really2", "really3",
                "really4", "really5", "silly", "list" };

        public void onCreate(Bundle icicle) {
            super.onCreate(icicle);
            setContentView(R.layout.activity_main);
            selection = (TextView) findViewById(R.id.selection);
            GridView gv = (GridView) findViewById(R.id.grid);
            ArrayAdapter<String> aa = new ArrayAdapter<String>(
                    this,
                    android.R.layout.simple_list_item_1,
                    items );
            gv.setAdapter(aa);
            gv.setOnItemClickListener(this);
        }
        public void onItemClick(AdapterView<?> parent, View v,
                                int position, long id) {
            selection.setText(items[position]);
        }
}
<?xml version="1.0" encoding="utf-8"?>
<LinearLayout
    xmlns:android="http://schemas.android.com/apk/res/android"
    android:orientation="vertical"
    android:layout_width="fill_parent"
    android:layout_height="fill_parent"
    >
    <TextView
        android:id="@+id/selection"
        android:layout_width="fill_parent"
        android:layout_height="wrap_content"
        android:background="#ff0033cc"
        android:textSize="14pt"
        android:textStyle="bold"
        />
    <GridView
        android:id="@+id/grid"
        android:background="#ff0000ff"
        android:layout_width="fill_parent"
        android:layout_height="fill_parent"
        android:verticalSpacing="35px"
        android:horizontalSpacing="5px"
        android:numColumns="auto_fit"
        android:columnWidth="100px"
        android:stretchMode="columnWidth"
    android:gravity="center"
    />
</LinearLayout>
GridView có thể sử dụng image thay vì chỉ mỗi text. Đây chính là một điểm khá thú vị của View này. Lúc này bạn phải sử dụng ImageAdapter hoặc là BaseAdapter để chỉ định cho hệ thống biêt phải làm gì khi select, click vào ảnh.
Ngoài ra có thêm vài View nữa như là AutoCompleteTextView, Gallery Widget bạn tự tìm hiểu thêm nhé.
Customized Lists
Mục cuối là Customized List. Phần này mình lười quá ko chạy thử code nên chỉ dịch thôi.
Android cung cấp những layout hàng được định nghĩa trước để hiển thị một list đơn giản. Tuy nhiên bạn có thể muốn nhiều hơn thế nữa ví dụ như là :
- Không phải tất cả mọi row đều sử dụng cùng 1 kiểu layouts
- Bạn có thể muốn config widget trong rows.
Trong trường hợp đó, tốt hơn hết là bạn hãy tự tạo subclass riêng cho Adapter bạn muốn.
Để tạo 1 subclass bạn phải làm 2 bước :
- override
getView() - tự xây dựng hàng riêng của bạn
Bài viết xin được kết thúc tại đây.
All rights reserved
