Redux toolkit - Refactor lại redux structure
Bài đăng này đã không được cập nhật trong 5 năm
Mở đầu

Bài viết này mình viết với mục đích giới thiệu một concept thiết kế khác cho phần redux trong các ứng dụng được xây dựng bằng reactjs. Với kiến trúc thiết kế cấu trúc cũ, Redux cũng đã phần nào cải thiện rõ rệt việc cấu trúc các file. Tuy nhiên đối với mình, mình vẫn thấy chúng có một số nhược điểm như:
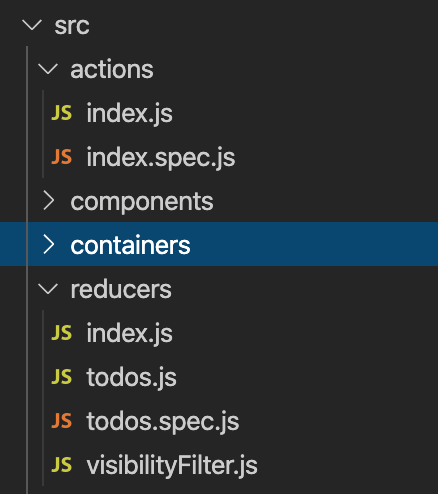
Với kiến trúc cũ sẽ tồn tại 2 folder chính cho reducer logic là reducers/index.js và action creators là actions/index.js.

Những ứng dụng lớn mình thường chia các file reducer và action tương ứng với nhau thành ra sẽ gặp vấn đề là mỗi lần thêm hay sửa một function trong actions lại phải lọ mọ sang bên reducers để định nghĩa hoặc sửa đổi => khá tốn effort . Chưa kể đến việc khi app lớn dần việc các file trong reducers ngày một nhiều, khi đấy việc tìm kiếm file cần sửa đổi trong một list dài ngoằng cũng khá tốn time
=> Do đó Redux toolkit đem đến một luồng gió mới để xử lý vấn đề tưởng chừng nhỏ bé nhưng lại thường là nguyên nhân tăng số lượng dòng code cũng như thời gian phát triển phần mềm lên khá nhiều.
Bài viết này mình sẽ hướng dẫn các bạn cách sử dụng redux toolkit bằng cách convert một app từ redux thường sang sử dụng redux toolkit.
Chuẩn bị
- Đầu tiên thì chắc chắn bạn đã phải nắm được kiến thức về Redux và Reactjs
- Chuẩn bị resource thực hành: Mình sẽ dùng sample kinh điển có sẵn của redux là todos app
git clone https://github.com/reduxjs/redux.git

cd redux/examples/todos
yarn install
yarn start

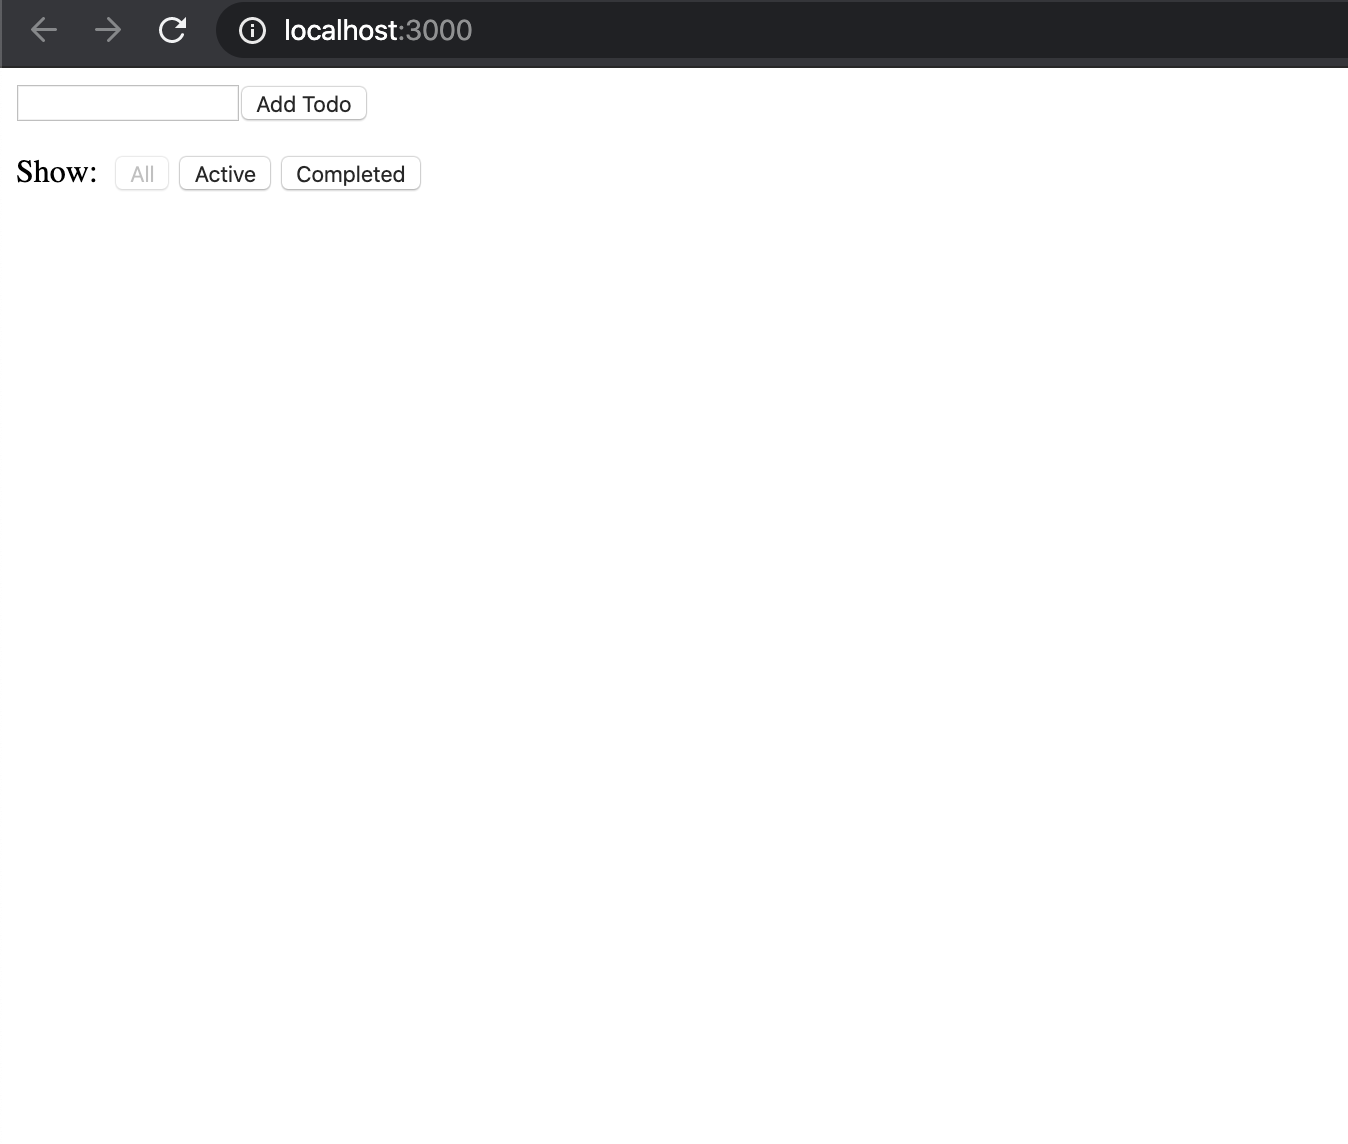
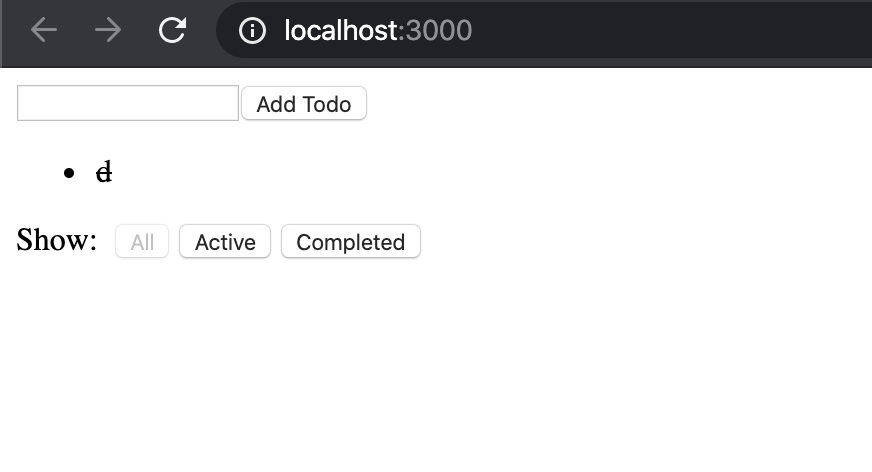
Về cơ bản thì giao diện của trang web khá đơn giản, bên cạnh đó với app này thì cũng không có side effect do đó cũng không phải bận tâm đến vấn đề middleware sẽ không phải bận tâm lắm. Ở trong bài tiếp theo mình sẽ hướng dẫn các bạn tích hợp middleware vào.
Ok, khá ổn, trước khi bắt đầu code thì chúng ta thêm một file jsconfig.json để import các package tiện hơn :
{
  "compilerOptions": {
    "baseUrl": "src"
  }
}
Thực hành
Tiếp theo là các bước để convert một ứng dụng từ sử dụng redux thuần sang sử dụng redux toolkit
Install package và configureStore
Đầu tiên phải install package toolkit đã:
# If you're using NPM:
npm install @reduxjs/toolkit

# Or for Yarn:
yarn add @reduxjs/toolkit
Khởi tạo Store bằng configureStore Sửa đổi lại một chút ở src/index.js, việc khởi tạo store chúng ta sẽ dùng hàm configureStore của package redux toolkit thay vì createStore của redux. Hàm này nhận params đầu vào là một object có key là reducer
import React from 'react'
import { render } from 'react-dom'
import { configureStore } from '@reduxjs/toolkit'
import { Provider } from 'react-redux'
import App from './components/App'
import rootReducer from './reducers'

const store = configureStore({
  reducer: rootReducer,
})

render(
  <Provider store={store}>
    <App />
  </Provider>,
  document.getElementById('root')
)
Khởi tạo Slice
Đây chính là phần chính mà redux toolkit mang đến, cũng là một định nghĩa mới. Trong phần này chúng ta sẽ cùng tìm hiểu định nghĩa và cách implement vào ứng dụng hiện tại.
Understanding Slices
Về cơ bản thì như phần đầu đã nói, redux toolkit được sử dụng nhằm để kết hợp giữa actions và reducers lại với nhau và đó chính là nhiệm vụ của slice và được thực thi bằng hàm createSlice. Thực chất trong phần lỗi thì nó cũng có các hàm createReducer và createAction, có thể để phục vụ những ai muốn dùng redux toolkit nhưng lại thích thiết kế cũ (hmmm) . Tuy nhiên chúng ta chỉ cần quan tâm đến createSlice, hàm này thực chất chính là kết hợp 2 hàm createReducer và createAction.
Giải thích một chút kĩ hơn thì các bạn có thể nhìn file root reducer:
import { combineReducers } from 'redux'
import todos from './todos'
import visibilityFilter from './visibilityFilter'

export default combineReducers({
  todos,
  visibilityFilter
})
Trong đây chúng ta dùng hàm combineReducers để gộp các file reducer con lại thành 1 root reducer, chúng ta có thể tạm hiểu các file nhỏ đấy sẽ được gọi là một slice, tuy nhiên để thành slice thì chúng sẽ phải chưa thêm các function để update lại các state của chúng.
Convert to Slices
Đầu tiên chúng ta sẽ băt đầu từ file reducers/todos.js:
const todos = (state = [], action) => {
  switch (action.type) {
    case 'ADD_TODO':
      return [
        ...state,
        {
          id: action.id,
          text: action.text,
          completed: false
        }
      ]
    case 'TOGGLE_TODO':
      return state.map(todo =>
        (todo.id === action.id)
          ? {...todo, completed: !todo.completed}
          : todo
      )
    default:
      return state
  }
}

export default todos
Nhiệm vụ của file này sẽ là:
- Thêm todo vào list khi người dùng gọi 'ADD_TODO'
- Đồi trạng thái của todo
Chúng ta sẽ tạo một folder features dành riêng cho các Slice, như vậy todos sẽ có cấu trúc file /features/todos/todosSlice.js :
import { createSlice } from '@reduxjs/toolkit'

const todosSlice = createSlice({
  name: 'todos',
  initialState: [],
  reducers: {
    addTodo(state, action) {
      const { id, text } = action.payload
      state.push({ id, text, completed: false })
    },
    toggleTodo(state, action) {
      const todo = state.find(todo => todo.id === action.payload)
      if (todo) {
        todo.completed = !todo.completed
      }
    }
  }
})

export const { addTodo, toggleTodo } = todosSlice.actions

export default todosSlice.reducer
Nhìn qua có thể nhận thấy rằng đây chính là bản nâng cấp của file reducers/todos.js, tại đây chúng ta có thêm object reducers dường như chứa cả các action tương ứng với phần logic thay đổi state => giảm đươc từ 2 file trở thành 1 file duy nhất.
Như vậy createSlice sẽ nhận 3 đối số :
- name: Đây sẽ coi như là tiền tố để phân chia các slice để sau này dispatch các action dễ dàng hơn
- initialState: Phần này tương tự như kiến trúc cũ, là phần các state khởi tạo của redux
- reducers: Một object mà mỗi key giống như là một action, các action này sẽ kích hoạt khi chúng được dispatch type tương ứng (Nhìn ban đầu sẽ giống như là các case reducers trong switch của kiến trúc cũ)
Có thể hiểu rằng addTodo case reducer sẽ được kích hoạt khi mà action với type 'todos/addTodo' được kích hoạt
Nếu các bạn để ý thì chúng ta đã mất đi case defaults , case này sẽ trả về state hiên tại, chúng không mất đi mà được createSlice tự động handle vào.
Sử dụng Todos Slice
Đầu tiên là phải sửa lại phần root reducer reducers/index.js :
import { combineReducers } from 'redux'
import todosReducer from 'features/todos/todosSlice'
import visibilityFilter from './visibilityFilter'

export default combineReducers({
  todos: todosReducer,
  visibilityFilter,
})
Tiếp theo sẽ phải update lại function addTodo được gọi ở component containers/AddTodo.js, ở đây hàm vẫn gọi đến action cũ, chúng ta sẽ sửa lại như sau :
import React, { useState } from 'react'
import { connect } from 'react-redux'
import { addTodo } from 'features/todos/todosSlice'

const mapDispatch = { addTodo }

const AddTodo = ({ addTodo }) => {
  const [todoText, setTodoText] = useState('')

  const onChange = (e) => setTodoText(e.target.value)

  return (
    <div>
      <form
        onSubmit={(e) => {
          e.preventDefault()
          if (!todoText.trim()) {
            return
          }
          addTodo(todoText)
          setTodoText('')
        }}
      >
        <input value={todoText} onChange={onChange} />
        <button type="submit">Add Todo</button>
      </form>
    </div>
  )
}

export default connect(null, mapDispatch)(AddTodo)
Tiêp theo cũng phải sửa lại một chút cho case toggleTodo ở VisibleTodoList.js
import { connect } from 'react-redux'
import { toggleTodo } from '../actions'
import TodoList from '../components/TodoList'
import { toggleTodo } from 'features/todos/todosSlice'

const getVisibleTodos = (todos, filter) => {
  switch (filter) {
    case VisibilityFilters.SHOW_ALL:
      return todos
    case VisibilityFilters.SHOW_COMPLETED:
      return todos.filter((t) => t.completed)
    case VisibilityFilters.SHOW_ACTIVE:
      return todos.filter((t) => !t.completed)
    default:
      throw new Error('Unknown filter: ' + filter)
  }
}

const mapStateToProps = (state) => ({
  todos: getVisibleTodos(state.todos, state.visibilityFilter),
})

const mapDispatchToProps = { toggleTodo }

export default connect(mapStateToProps, mapDispatchToProps)(TodoList)
Creating and Using Filter Slice
Tương tự như todos thì chúng ta còn một slice nữa cần chuyển đổi chính là visibilityFilters.js :
import { createSlice } from '@reduxjs/toolkit'

export const VisibilityFilters = {
  SHOW_ALL: 'SHOW_ALL',
  SHOW_COMPLETED: 'SHOW_COMPLETED',
  SHOW_ACTIVE: 'SHOW_ACTIVE'
}

const filtersSlice = createSlice({
  name: 'visibilityFilters',
  initialState: VisibilityFilters.SHOW_ALL,
  reducers: {
    setVisibilityFilter(state, action) {
      return action.payload
    }
  }
})

export const { setVisibilityFilter } = filtersSlice.actions

export default filtersSlice.reducer
Sửa lại rootReducer:
import { combineReducers } from 'redux'
import todosReducer from 'features/todos/todosSlice'
import visibilityFilterReducer from 'features/filters/filtersSlice'

export default combineReducers({
  todos: todosReducer,
  visibilityFilter: visibilityFilterReducer,
})
Tiếp theo để hiển thị thì chúng ta phải sửa đổi lại ở UI
- FilterLink.js
import { connect } from 'react-redux'
import { setVisibilityFilter } from 'features/filters/filtersSlice'
import Link from '../components/Link'

const mapStateToProps = (state, ownProps) => ({
  active: ownProps.filter === state.visibilityFilter,
})

const mapDispatchToProps = { setVisibilityFilter }

export default connect(mapStateToProps, mapDispatchToProps)(Link)
- Link.js
import React from 'react'
import PropTypes from 'prop-types'

const Link = ({ active, children, setVisibilityFilter, filter }) => (
  <button
    onClick={() => setVisibilityFilter(filter)}
    disabled={active}
    style={{
      marginLeft: '4px',
    }}
  >
    {children}
  </button>
)

Link.propTypes = {
  active: PropTypes.bool.isRequired,
  children: PropTypes.node.isRequired,
  setVisibilityFilter: PropTypes.func.isRequired,
  filter: PropTypes.string.isRequired,
}

export default Link
Cleanup
Như vậy việc chuyển đổi đã loading đến 99%, việc tiép theo của chúng ta là bỏ đi nhưng folder thừa thãi. Và đây sẽ là danh sách nhưng folder sẽ bị loại bỏ :
- actions/index.js
- reducers/todos.js
- reducers/visibilityFilter.js
Cấu trúc cuối sẽ như sau :
/src
- /components
- App.js
- /features
- /filters
- FilterLink.js
- filtersSlice.js
- Footer.js
- Link.js
- /todos
- AddTodo.js
- Todo.js
- TodoList.js
- todosSlice.js
- todosSlice.spec.js
- VisibleTodoList.js
- /filters
- /reducers
- index.js
- index.js

Repo hoàn thiện các bạn có thể tham khảo : https://github.com/reduxjs/rtk-convert-todos-example
Kết luận
Như vậy phần trên mình đã giới thiệu một phương pháp để xây dựng ứng dụng reactjs có sử dụng đến redux. Với Redux toolkit thì số lượng code sẽ được mở rộng theo chiều dọc thay vì chiều ngang so với kiến trúc cũ. Bài viết phía trên ứng dụng cho một ứng dụng nhỏ chưa phải động đến middleware. Nhưng bài viết tiếp theo mình sẽ hướng dẫn các bạn cách để tích hợp với những ứng dụng phức tạp hơn.
Tham khảo
Bài viết phía trên mình thực nghiệm và tóm tăt lại, với những ai muốn tìm hiểu bản đầy đủ có thể đọc tại docs của react toolkit : https://github.com/reduxjs/redux-toolkit/blob/master/docs/tutorials/intermediate-tutorial.md
All rights reserved