RecyclerView with layout animations
Bài đăng này đã không được cập nhật trong 7 năm
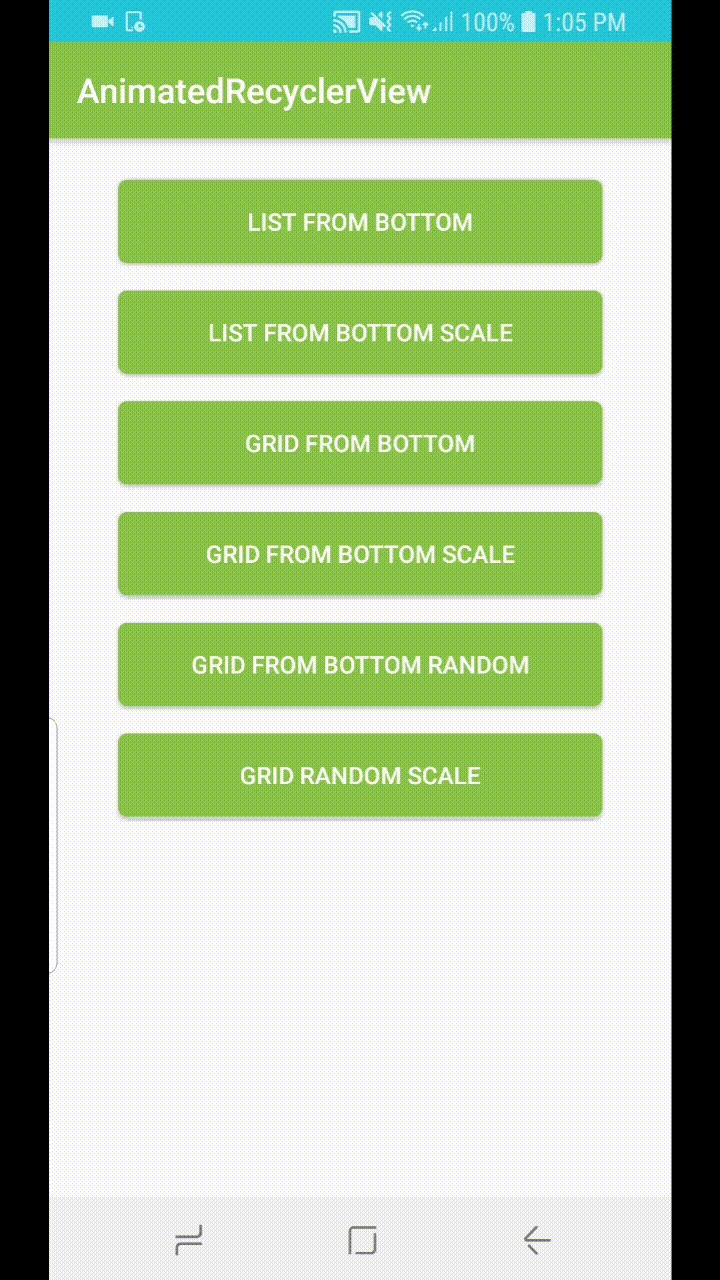
Khi các bạn tạo một RecyclerView thông thường đã khiến bạn quá nhàm chán, vậy tại sao không thử bổ sung thêm những hiệu ứng cho thật bắt mắt hơn nhỉ? Trong bài viết này, mình sẽ hướng dẫn các bạn tạo thêm 1 số hiệu ứng, chuyển động thêm phần sinh động hơn dành cho RecyclerView, sử dụng LayoutAnimation.
1. Custom Animation
Đây là bước quan trọng nhất, bởi nó sẽ quyết định hiệu ứng chuyển động của RecyclerView nó sẽ như thế nào, đẹp hay xấu tùy thuộc vào khả năng custom anim của các bạn nữa  Chúng ta sẽ áp dụng Tween animation và layoutAnimation. Custom 1 số animation như sau:
(Ở bài viết này, mình sẽ demo 1 loại anim, các bạn hoàn toàn có thể tự custom cho riêng mình 1 loại anim bất kỳ nhé)
Chúng ta sẽ áp dụng Tween animation và layoutAnimation. Custom 1 số animation như sau:
(Ở bài viết này, mình sẽ demo 1 loại anim, các bạn hoàn toàn có thể tự custom cho riêng mình 1 loại anim bất kỳ nhé)
- Tween animation: res/anim/item_animation_from_bottom.xml
<?xml version="1.0" encoding="utf-8"?>
<set xmlns:android="http://schemas.android.com/apk/res/android"
    android:duration="500">

    <translate
        android:fromYDelta="50%p"
        android:interpolator="@android:anim/accelerate_decelerate_interpolator"
        android:toYDelta="0" />

    <alpha
        android:fromAlpha="0"
        android:interpolator="@android:anim/accelerate_decelerate_interpolator"
        android:toAlpha="1" />

</set>
- layoutAnimation: res/anim/layout_animation_from_bottom.xml
<?xml version="1.0" encoding="utf-8"?>
<layoutAnimation xmlns:android="http://schemas.android.com/apk/res/android"
    android:animation="@anim/item_animation_from_bottom"
    android:animationOrder="normal"
    android:delay="15%" />
1. Custom RecyclerView
Custom RecyclerView bao gồm đầy đủ các dạng layout như: grid, list, orientation... và setLayoutAnimation trên.
- Create Attribute: res/value/attr.xml
<?xml version="1.0" encoding="utf-8"?>
<resources>

    <declare-styleable name="AnimatedRecyclerView">
        <attr name="layoutAnimation" format="reference" />
        <attr name="animationDuration" format="integer" />
        <attr name="layoutManagerOrientation" format="integer">
            <enum name="horizontal" value="0" />
            <enum name="vertical" value="1" />
        </attr>
        <attr name="layoutManagerReverse" format="boolean" />
        <attr name="layoutManagerType" format="integer">
            <enum name="linear" value="0" />
            <enum name="grid" value="1" />
        </attr>
        <attr name="gridLayoutManagerColumns" format="integer" />
    </declare-styleable>

</resources>
- Custom RecyclerView:
public class AnimatedRecyclerView extends RecyclerView {
    private int orientation = LinearLayoutManager.VERTICAL;
    private boolean reverse = false;
    private int animationDuration = 600;
    private int layoutManagerType = LayoutManagerType.LINEAR;
    private int columns = 1;
    @AnimRes
    private int animation = R.anim.layout_animation_from_bottom;
    private LayoutAnimationController animationController;

    public AnimatedRecyclerView(Context context, int orientation, boolean reverse,
                                int animationDuration, int layoutManagerType, int columns,
                                int animation, LayoutAnimationController animationController) {
        super(context);
        this.orientation = orientation;
        this.reverse = reverse;
        this.animationDuration = animationDuration;
        this.layoutManagerType = layoutManagerType;
        this.columns = columns;
        this.animation = animation;
        this.animationController = animationController;
        init(context, null);
    }

    public AnimatedRecyclerView(Context context) {
        super(context);
        init(context, null);
    }

    public AnimatedRecyclerView(Context context, @Nullable AttributeSet attrs) {
        super(context, attrs);
        init(context, attrs);
    }

    public AnimatedRecyclerView(Context context, @Nullable AttributeSet attrs, int defStyle) {
        super(context, attrs, defStyle);
        init(context, attrs);
    }

    @SuppressLint("Recycle")
    private void init(Context context, @Nullable AttributeSet attrs) {
        TypedArray typedArray = context.obtainStyledAttributes(attrs, R.styleable.AnimatedRecyclerView, 0, 0);

        orientation = typedArray.getInt(R.styleable.AnimatedRecyclerView_layoutManagerOrientation, orientation);
        reverse = typedArray.getBoolean(R.styleable.AnimatedRecyclerView_layoutManagerReverse, reverse);
        animationDuration = typedArray.getInt(R.styleable.AnimatedRecyclerView_animationDuration, animationDuration);
        layoutManagerType = typedArray.getInt(R.styleable.AnimatedRecyclerView_layoutManagerType, layoutManagerType);
        columns = typedArray.getInt(R.styleable.AnimatedRecyclerView_gridLayoutManagerColumns, columns);
        animation = typedArray.getResourceId(R.styleable.AnimatedRecyclerView_layoutAnimation, -1);

        if (animationController == null)
            animationController = animation != -1
                    ? AnimationUtils.loadLayoutAnimation(getContext(), animation)
                    : AnimationUtils.loadLayoutAnimation(getContext(), R.anim.layout_animation_from_bottom);

        animationController.getAnimation().setDuration(animationDuration);
        setLayoutAnimation(animationController);

        if (layoutManagerType == LayoutManagerType.LINEAR)
            setLayoutManager(new LinearLayoutManager(context, orientation, reverse));
        else if (layoutManagerType == LayoutManagerType.GRID)
            setLayoutManager(new GridLayoutManager(context, columns, orientation, reverse));
    }

    public void notifyDataSetChanged() {
        getAdapter().notifyDataSetChanged();
        scheduleLayoutAnimation();
    }

    public @interface LayoutManagerType {
        int LINEAR = 0;
        int GRID = 1;
    }
}
- Load Animation, setLayoutAnimation khi khởi tạo RecyclerView
setLayoutAnimation(animationController);
Ở đây, mình đã custom LayoutManager bằng thuộc tính layoutManagerType cho RecyclerView, việc còn lại các b sẽ config đó là 1 thuộc tính khi định nghĩa RecycleView trong xml
Ví dụ:
<?xml version="1.0" encoding="utf-8"?>
<RelativeLayout xmlns:android="http://schemas.android.com/apk/res/android"
    xmlns:app="http://schemas.android.com/apk/res-auto"
    android:layout_width="match_parent"
    android:layout_height="match_parent">

    <AnimatedRecyclerView
        android:id="@+id/recycler_view"
        android:layout_width="match_parent"
        android:layout_height="match_parent"
        app:animationDuration="600"
        app:layoutAnimation="@anim/layout_animation_from_bottom"
        app:layoutManagerOrientation="vertical"
        app:layoutManagerReverse="false"
        app:layoutManagerType="linear" />
</RelativeLayout>
Và việc cuối cùng, vô cùng đơn giản, các b chỉ cần tạo adapter, tạo data và đẩy lên RecyclerView.
        View view = inflater.inflate(layout, container, false);
        RecyclerView recyclerView = (AnimatedRecyclerView) view.findViewById(R.id.recycler_view);
        recyclerView.setAdapter(adapter);
        adapter.notifyDataSetChanged();
        recyclerView.scheduleLayoutAnimation();
Cám ơn các b đã đọc bài viết!
All rights reserved
