React Native + Firebase + Redux Saga
Bài đăng này đã không được cập nhật trong 7 năm
Giới thiệu
Xin chào các bạn, hôm nay mình sẽ cùng các bạn làm 1 demo về Redux-saga nhé. Ở bài này mình sẽ không nói về Redux là gì hoặc Redux-saga là gì. Những cái này đã có rất nhiều viết rồi, hãy tìm đọc nhé.
Nếu vẫn chưa hiểu về cách làm Redux-saga trong React Native, hãy quay lại đấy nhé 
Mình sẽ sử dụng bộ source của bài trước (https://viblo.asia/p/su-dung-firebase-trong-react-native-L4x5xwxOlBM) có khác là sẽ thêm Redux-saga vào.
Ở bài này mình sẽ không nói về lý thuyết Redux hay là Redux-saga là gì. Chúng ta sẽ tập trung vào việc đưa redux-saga vào project của mình nhé.
Nếu mình có viết không đúng về mặt lý thuyết, rất mong các bạn comment vào bên dưới cho mình biết nhé 
Bắt đầu clone demo về nào, hãy nhớ checkout sang bracnh redux-saga nhé. Ok hãy bắt đầu thôi.
Thư viện sử dụng
"react-redux": "^5.0.7" (https://www.npmjs.com/package/react-redux)
"redux": "^4.0.1", (https://www.npmjs.com/package/redux)
"redux-saga": "^0.16.2" (https://www.npmjs.com/package/redux-saga)
Các bạn cứ install bản mới nhất về nhé .
API
Trước hết hãy đưa API signInWithEmailAndPassword của firebase ra một file .js riêng nhé
import firebase from 'react-native-firebase'
 export const User = {
    loginWithEmail: (userParam) => {
        console.log('firebase user', userParam)
        return firebase.auth()
            .signInWithEmailAndPassword(userParam.userInfo.email, userParam.userInfo.password)
            .then(response => response)
    }
}
Đưa redux và redux-saga vào App.js
import { createStore, applyMiddleware } from 'redux';
import createSagaMiddleware from 'redux-saga'
import { Provider } from 'react-redux'

import rootSaga from './src/redux/sagas'
import allReducers from './src/redux/reducers'
Provider, createStore, applyMiddleware cái này thì không cần phải giải thích rồi. Nó là methods thuộc tính của redux. Nhằm tạo ra store, đưa middleware vào store. và Provider store đó vào project của bạn.
createSagaMiddleware Saga là 1 middleware của redux, tương tự như redux-thunk vậy. Vì thế cần khởi tạo saga middleware và apply nó vào store.
Ơ thế cái rootSaga với allReducers là cái gì? Nếu project của bạn lớn dần lên, có nhiều chức năng, hãy tách nó thành nhiều saga và reducer cho dễ quản lý maintenance. VD: userSaga, employeeSaga,...
const sagaMiddleware = createSagaMiddleware()
let store = createStore(allReducers, applyMiddleware(sagaMiddleware))
sagaMiddleware.run(rootSaga)
class App extends Component {
   render() {
    return (
      <Provider store={store}>
        <AppNavigation ref={nav => {this.navigator = nav}} />
      </Provider>
    )
  }
}
Action Type
export const LOGIN_AUTO = 'LOGIN_AUTO';
export const LOGIN_REQUIRED = 'LOGIN_REQUIRED'
export const LOGIN = 'LOGIN';
export const LOGIN_SUCCESS = 'LOGIN_SUCCESS';
export const LOGIN_FAIL = 'LOGIN_FAIL';
Đơn giản đây chỉ là các key tương ứng với mỗi action
Saga
Tạo một file saga.js để làm saga tổng như mình đã nói ở trên.
Ơ thế yield, takeLatest, takeEvery, put là gì? Nếu bạn thắc mắc nó là gì thì xem ra bạn chưa đọc về saga. Hãy vào đọc doc của saga nhé (https://redux-saga.js.org/docs/api/)
import {all, takeLatest, takeEvery} from 'redux-saga/effects';
import * as ActionTypes from './actionTypes'
import * as UserSaga from './../redux/user/saga'
 export default function* rootSaga() {
    yield all([
        yield takeLatest(ActionTypes.LOGIN, UserSaga.loginWithEmail)
    ])
}
user saga
import firebase from 'react-native-firebase'
import { select, call, put, take } from 'redux-saga/effects'
import * as ActionTypes from './../actionTypes'
import * as Firebase from './../../api/Firebase'
 export function* loginWithEmail(action) {
  try {
    // console.log('userSaga action --', action)
    // In ra các data được dispatch qua action
    const state = yield select()
    // console.log('UserSaga state-- ', state)
    // In ra các data đang có trong store
    const response = yield call(Firebase.User.loginWithEmail, action);
    console.log('User Saga Response', JSON.stringify(response))
    yield put({ type: ActionTypes.LOGIN_SUCCESS, response })
  } catch (error) {
    console.log('UserSaga', JSON.stringify(error))
    yield put({ type: ActionTypes.LOGIN_FAIL, error })
  }
}
đây là nơi chứa các function của user saga. Sau này nếu bạn có thêm nhiều tính năng hãy tạo các saga tương ứng và cho vào saga tổng.
Reducer
Tương tự như saga tổng thì đây cũng là reducer tổng.
import { combineReducers } from 'redux';
import userReducer from './user/reducer'
 const allReducers = combineReducers({
    user: userReducer,
})
 export default allReducers
user Reducer
ở user saga. Sau khi Login success và thực hiện lệnh put vơi action type là LOGIN_SUCCESS.
Data sẽ được gửi vào đây để lưu vào store.
yield put({ type: ActionTypes.LOGIN_SUCCESS, response })
đây là user reducer
import * as ActionTypes from './../actionTypes'
 const initialState = {}
 const userReducer = (state = initialState, action) => {
    console.log('userReducer', JSON.stringify(action))
    // Thử in ra action ở đây xem trong này có những data gì nhé :D
    switch (action.type) {
        case ActionTypes.LOGIN:
            return Object.assign({}, state)
        case ActionTypes.LOGIN_SUCCESS:
            state.userInfo = action.response.user
            return Object.assign({}, state)
        default:
            return state;
    }
}
 export default userReducer
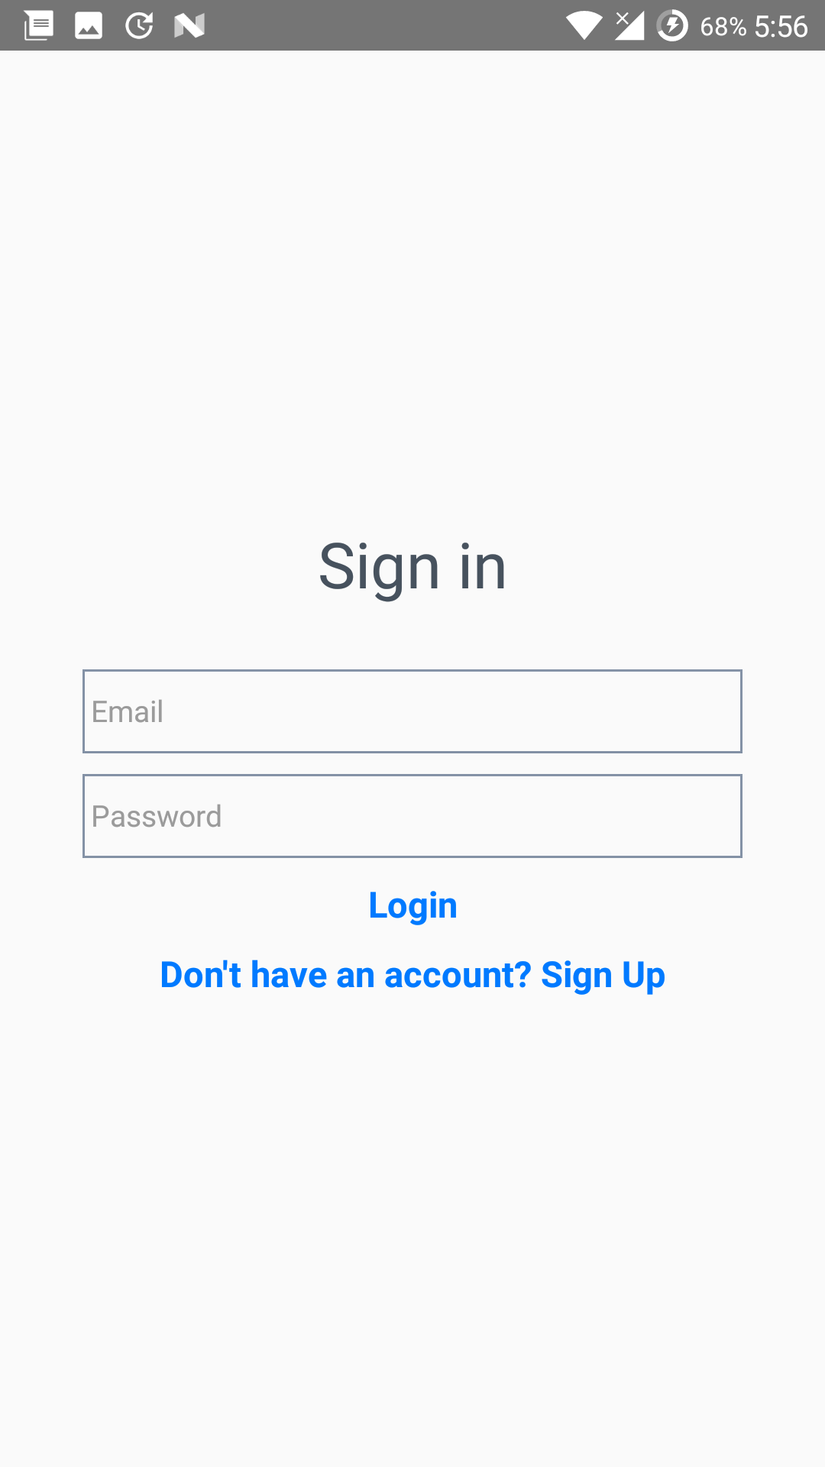
Login screen
Vậy là phần saga và reducer đã xong rồi đấy. Bây giờ chúng ta hãy qua các screen để xem dispatch 1 action như thế nào và lấy data ra sao sau khi 1 function saga được thực thi nhé
Đầu tiên chúng ta cần connect giữa screen và store(dispatch, state)
const mapStateToProps = state => ({
  user: state.user
})
 const mapDispatchToProps = dispatch => ({
  dispatch: dispatch
})
 export default connect(mapStateToProps, mapDispatchToProps)(Login)
Tại sao lại là state.user mà không phải là cái gì khác. Hãy kéo lại phần reducer nhé. Ở đó các chúng ta đã đặt là user: userReducer state.user chính là cái này nhé . 2 cái tên này phải giống nhau.
Dispatch 1 action
handleLogin = () => {
    let userInfo = {
      email: this.state.email,
      password: this.state.password
    }
    if (userInfo.email.trim() != "" && userInfo.password.trim() != "") {
      this.props.dispatch({type: ActionTypes.LOGIN, userInfo})
    }
  }
Hãy in log action ở cả saga và reducer để xem luồng dữ liệu được truyền như thế nào khi dispatch 1 action nhé.
Props nhận được
Vẫn trong màn hình Login.js, sau khi dispatch action và Server trả về chúng ta sẽ hứng ở đây. Như vậy nếu login thành công và có dữ liệu, chúng ta sẽ navigate sang màn hình Main.
componentWillReceiveProps(nextProps) {
    console.log('login componentWillReceiveProps', JSON.stringify(nextProps.user))
    if(nextProps.user.userInfo) {
      this.props.navigation.navigate('Main')
    }
  }
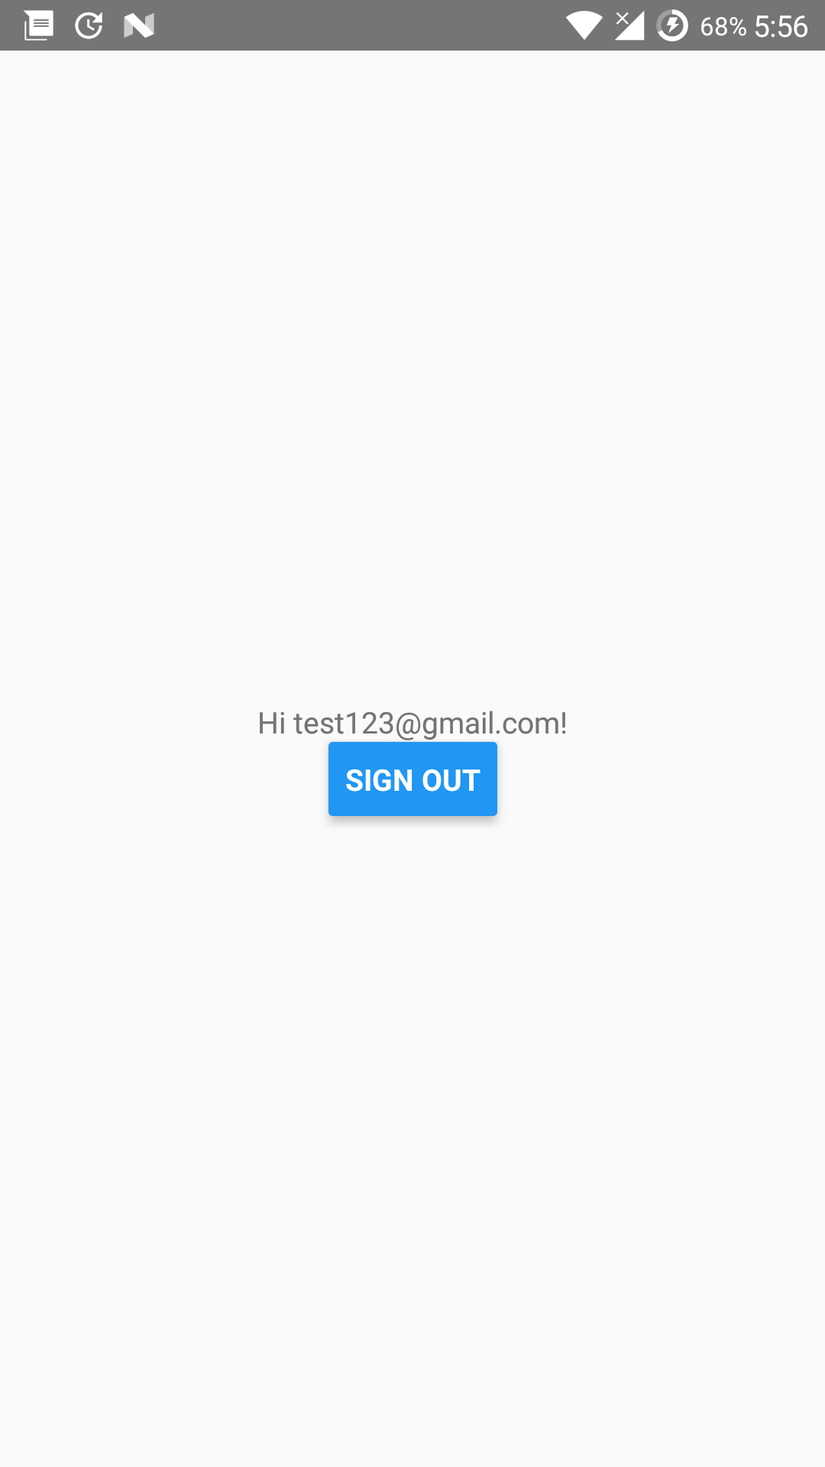
Main screen
Ở màn hình main screen này chúng ta hãy lấy data từ store ra kiểu gì nhé. Giống như ở màn Login, màn hình Main cần connect với store để có thể lấy dữ liệu ra.
const mapStateToProps = state => ({
  user: state.user
})
 const mapDispatchToProps = dispatch => ({
  dispatch: dispatch
})
 export default connect(mapStateToProps, mapDispatchToProps)(Main)
Lấy data từ store
componentWillMount() {
    let user = this.props.user.userInfo
    console.log('main will mount props', user)
    if(user != null) {
      this.setState({currentUser: user})
    }
}
Kết luận
Như vậy bài hướng dẫn về redux của mình đã xong rồi. Chúc các bạn thành công. Hãy để lại comment nếu các bạn có câu hỏi hay thấc mắc nào nhé
Nếu các bạn vẫn chưa thành công thì hãy thử clone source của mình về nhé.
https://github.com/oNguyenManhDuc/rn-demo-firebase
Nếu các bạn build app và chạy hãy thử với tài khoản test123@gmail.com và pass: 123456 nhé.
Phần signup mình chưa sử dụng redux-saga nên khi đăng ký các bạn sẽ thấy lỗi thì phải )
Hãy thực hành luôn phần sign up nhé .
Chúc các bạn thành công
All rights reserved
