(Phần 1) Spring boot 3.0 và Spring security 6.0
Trong Series Spring Boot 3 và Spring Security 6 này, mình sẽ dựa trên docs cũng như nhiều nguồn khác nhau để giúp các bạn đang tìm hiểu về Spring Boot 3 có thể config cũng như tạo một bộ khung hoàn chỉnh authentication và authorization.
Với bài đầu tiên trong series, mình sẽ bắt đầu từ việc config security cho ứng dụng.
Như mọi người đã biết thì Spring Boot đã ra mắt phiên bản thứ 3 vào cuối tháng 11(24/11/2022) mang theo khá nhiều sự thay đổi, một trong số đó là Spring Security. Nếu như ở phiên bản Spring Security 5 chúng ta cấu hình Security bằng cách extends class WebSecurityConfigAdapter như sau:
@Configuration
@EnableWebSecurity
public class ApplicationConfig extends WebSecurityConfigurerAdapter {

}
thì ở phiên bản hiện tại class WebSecurityConfigAdapter đã không còn được Spring Boot hỗ trợ và bị xóa ra khỏi thư viện Spring Security 6. Điều này sẽ làm mọi người gặp khó khăn trong việc migrate từ Spring Boot 2.x lên Spring Boot 3,x, cũng như các anh em mới bắt đầu học về Spring Boot giống như mình Không thể nào cấu hình được Security khi xem các tutorial cũ. Chính vì vậy, trong bài viết ngày hôm nay mình sẽ chia sẻ cách cấu hình Spring Security 6 sử dụng Spring Boot 3.
Lưu ý: ở bài viết này mình dùng Spring Boot 3.4.5 là phiên bản mới nhất cho đến hiện tại(trước khi modify thì bài viết này sử dụng 3.0.2 và Spring 6, tuy nhiên khi update lên spring 6.1 thì phần syntax có chút thay đổi)
1. Cài đặt
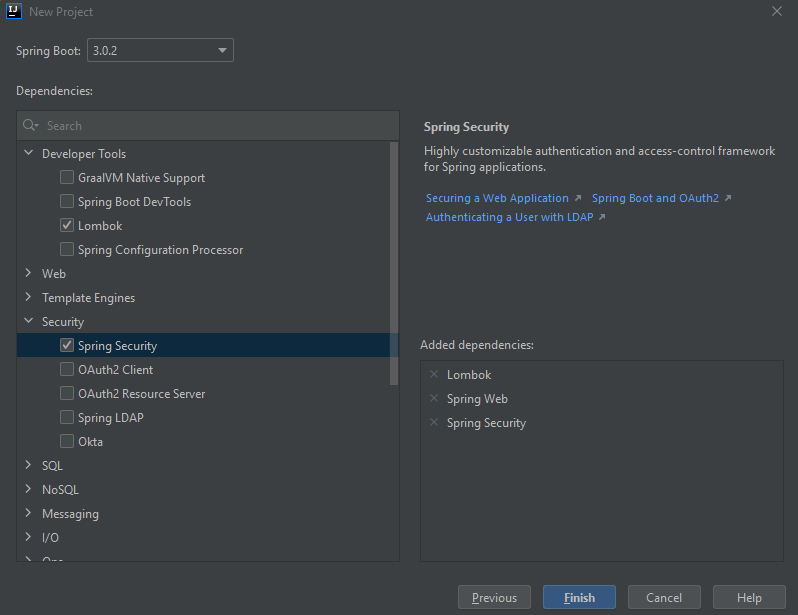
Đầu tiên, chúng ta cài các thư viện cần thiết bao gồm: Spring Security và Spring Web và Lombok
 Tiếp theo, tạo model Customer:
@Data
@AllArgsConstructor
@NoArgsConstructor
@ToString
@Builder
public class Customer {
    private String id;
    private String name;
    private String phoneNumber;
    private String email;
}
Vì bài này tập trung vào Security nên mình sẽ fake data và truyền thẳng vào controller như sau:
@RestController
public class CustomerController {
    final private List<Customer> customers = List.of(
            Customer.builder().id("1").name("Customer 1").email("c1@gmail.com").build(),
            Customer.builder().id("2").name("Customer 2").email("c2@gmail.com").build()
    );

    @GetMapping("/hello")
    public ResponseEntity<String> hello() {
        return ResponseEntity.ok("hello is exception");
    }

    @GetMapping("/customer/{id}")
    public ResponseEntity<Customer> getCustomerList(@PathVariable("id") String id) {
        List<Customer> customers = this.customers.stream().filter(customer -> customer.getId().equals(id)).toList();
        return ResponseEntity.ok(customers.get(0));
    }
}
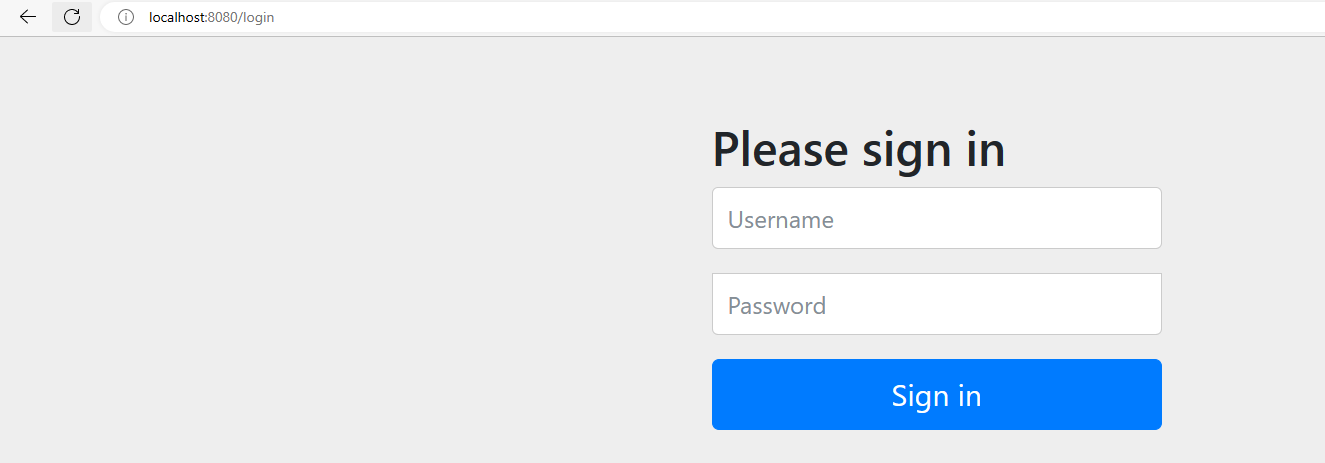
Như mọi người đã biết thì đôi khi chúng ta cũng sẽ có một số endpoint không cần authentication(ví dụ như endpoint phục vụ cho việc đăng nhập), cho nên ở đây mình đã thêm vào 1 function tên hello() không cần authenticate. Tuy nhiên hiện tại chúng ta chưa config endpoint ngoại lệ, nên khi truy cập thì Spring Boot vẫn yêu cầu đăng nhập
Ngoài ra mình cũng sẽ hard code bằng cách khai báo username và password trong application.properties:
spring.security.user.name=admin
spring.security.user.password=password
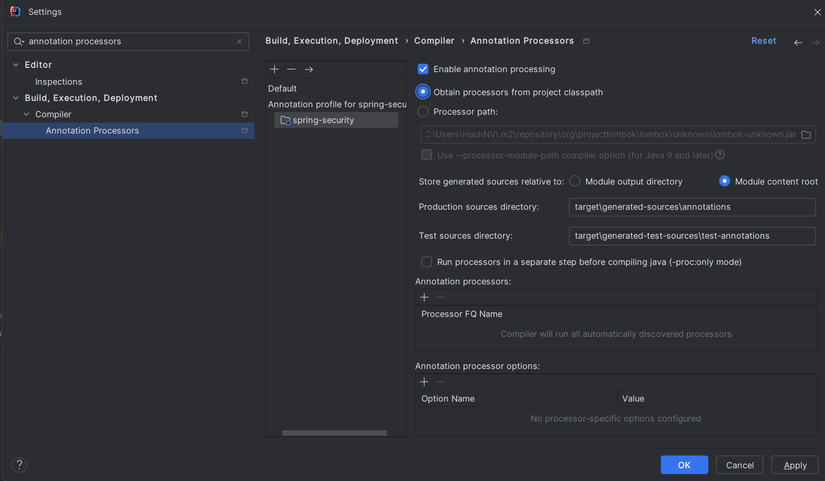
Có một lưu ý ở đây: mặc dù Java và Spring Boot đã ra version mới nhưng Lombok chưa hỗ trợ cho nên khi khởi động chương trình, một số bạn sẽ gặp phải lỗi java: cannot find symbol. Để xử lý lỗi này thì mọi người có thể vào Setting và tìm kiếm Annotation Processors, chọn tên project và chọn Obtain processors from project classpath là được(và chỉ nên dùng ở bản Java 17 hoặc 21 thôi, cao hơn thì hình như còn lỗi khác nữa, và cũng k cần dùng đến chức năng của các bản Java cao hơn nên mình sẽ không tập trung vào version nhiều nha
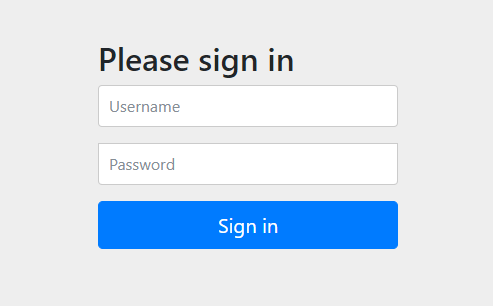
Khi khởi động chương trình, trỏ vào đường dẫn http://localhost:8080/hello nó sẽ redirect vào trang login trước khi vào nội dung của trang web:
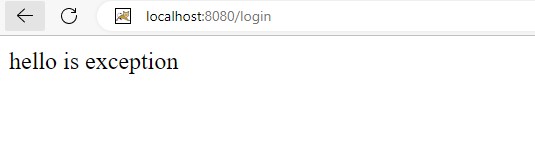
Sau khi login thành công sẽ redirect về trang hello:
Tương tự với trang customer
2. Implement
Như ở trên mình đã nói, chúng ta cần phải config Security cho ứng dụng cũng như là để tạo ra các endpoint ngoại lệ không cần đăng nhập.
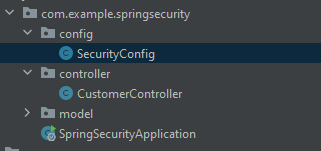
Đầu tiên, chúng ta sẽ tạo package config và class SecurityConfig để implement Spring Security 6..
Tiếp theo chúng ta sẽ thêm vào các annotation cần thiết khi config
 Để tìm hiểu chi tiết hơn về các annotation thì mình xin gắn link bài viết mình đã từng đọc:
- Configuration: https://viblo.asia/p/spring-boot-6-atconfiguration-va-atbean-bJzKmyprK9N
- EnableWebSecurity: https://stackoverflow.com/questions/44671457/what-is-the-use-of-enablewebsecurity-in-spring#:~:text=The %40EnableWebSecurity is a marker,prompting for username and password.
Ở phiên bản Spring Security 5, khi implement WebSecurityConfigAdapter chúng ta có 2 override method nhận tham số truyền vào khác nhau.
- Thứ nhất là configure method với tham số là AuthenticationManagerBuilder. Ở đây chúng ta có thể khai báo thông tin của các user(user, password, role), và method này có liên quan đến authentication
    @Override
	public void configure(AuthenticationManagerBuilder auth)
			throws Exception {

		// in-memory authentication
		auth.inMemoryAuthentication().withUser("pankaj").password("pankaj123").roles("USER");

		// using custom UserDetailsService DAO
		auth.userDetailsService(new AppUserDetailsServiceDAO());
	}
- Thứ hai là configure method với tham số là HttpSecurity. Ở đây chúng ta có thể cấu hình web security cho các HTTP request cụ thể. Theo mặc định, nó sẽ được áp dụng cho tất cả các request, tuy nhiên chúng ta có thể tạo ra các ngoại lệ bằng cách sử dụng requestMatcher (requestMatcher) hoặc các phương thức tương tự khác. Và method này có liên quan đến authorization
    @Override
  public void configure(HttpSecurity http) throws Exception {
     http
         .authorizeRequests()
             .antMatchers("/rest/**").authenticated()
             .antMatchers("/**").permitAll()
             .anyRequest().authenticated()
             .and()
            .csrf() //Disabled CSRF protection
             .disable();
}
Ở Spring Security 6, chúng ta có một số class mới thay thế như sau:
- Đối với việc khai báo thông tin của các user liên quan đến authentication chúng ta sẽ sử dụng interface UserDetailsService của Spring Security để khởi tạo bean. Sau khi khai báo thông tin của các user, vì bài viết này chỉ tập trung vào security config nên mình sẽ lưu data vào InMemory(Có một lưu ý nhỏ ở đây là password thì luôn cần được bảo mật và mã hóa nên mình sẽ khởi tạo thêm bean PasswordEncoder để encode password)
@Bean
// authentication
public UserDetailsService userDetailsService(PasswordEncoder encoder) {
    UserDetails admin = User.withUsername("admin")
            .password(encoder.encode("password"))
            .roles("ADMIN")
            .build();
    UserDetails user = User.withUsername("user")
            .password(encoder.encode("pwd1"))
            .roles("USER")
            .build();
    return new InMemoryUserDetailsManager(admin, user);
}
 @Bean
public PasswordEncoder passwordEncoder() {
    return new BCryptPasswordEncoder();
}
- Đối với việc cấu hình web security cho các HTTP request, thì Spring Boot 3.0 đã tạo ra một method mới có tên là SecurityFilterChain để xử lý authorization . Như ở trên mình đã khai báo controller gồm 2 method là hello() và getCustomerList(), với method hello() mình sẽ để tất cả mọi người có thể truy cập vào mà không cần authentication và với method getCustomerList() mình sẽ yêu cầu authentication trước khi truy cập.
@Bean
    public SecurityFilterChain securityFilterChain(HttpSecurity http) throws Exception {
        return http.csrf(AbstractHttpConfigurer::disable)
                .authorizeHttpRequests(authorize -> authorize
                        .requestMatchers("/hello").permitAll() // với endpoint /hello thì sẽ được cho qua
                        .requestMatchers("/customer/**").authenticated() // với endpoint /customer/** sẽ yêu cầu authenticate
                )
                .formLogin(Customizer.withDefaults())
                .httpBasic(Customizer.withDefaults())
                .build();
    }
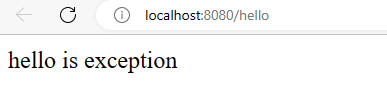
Sau khi config thì chúng ta sẽ run để test xem config có hoạt động hay không. Đối với endpoint /hello sẽ không yêu cầu authenticate và đây là kết quả:
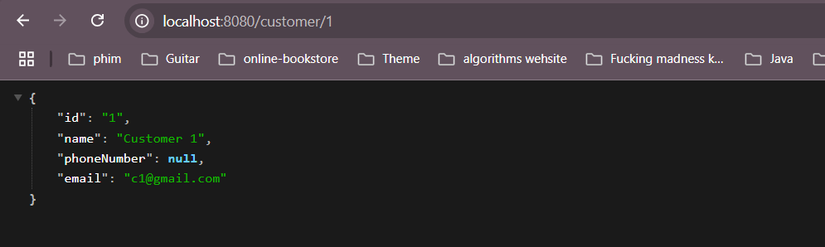
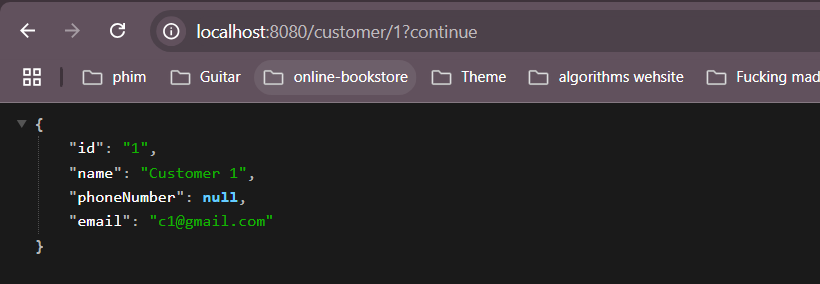
Đối với endpoint /customer/1 thì sẽ yêu cầu authenticate:
Và sau khi login thành công, chúng ta sẽ có được thông tin của customer 1:
Link source code: https://github.com/hachnv8/spring-security-basic
Trên đây là config cơ bản cho Spring Boot 3 và Spring Security 6. Ở bài tiếp theo mình sẽ nói về việc phân quyền admin và user cũng như là login bằng user trong database. Hy vọng bài viết sẽ giúp ích cho mọi người trong việc config security trong spring boot 3.
All rights reserved
